Almost at the end of January and I am surprised how fast the month of January passed by. Wasn't it hardly a few days ago that we spent a gala holiday time partying for the New year? And boy, we've already crossed a month! Personally for me, this month has been packed with lots of surprises and challenges. On professional front, I am excited as my career graph moves a step ahead and am looking forward to the new learning and challenges it poses. Fortunately, the strong support from my family ties keep me enthusiastic and passionate about my work.
A lending hand does come from my parents, especially my mom. And with their relentless support I have been able to manage home smoothly. At times, when I am back home exhausted from a long day at work, mom resues me with her ready to cook batters, instant powders and spice mixes. Even her freshly chopped vegetables or picked and cleaned greens give me a helping hand that make our life much simpler. Preparing the batter or chopping vegetables may look less of an effort, but honestly it's one of those kitchen jobs I always detest to do. Like this simple Ragi dosa that doesn't require much of an effort, but a good amount of time for soaking and grinding. Looks extremely simple and hardly an effort, yet not so! While I generally get Ragi dosa batter from my mom, this weekend I pursued to make them myself so that my litte one could relish them too. This also happens to be my husband's favorites and he prefers this over the plain urad dosa.
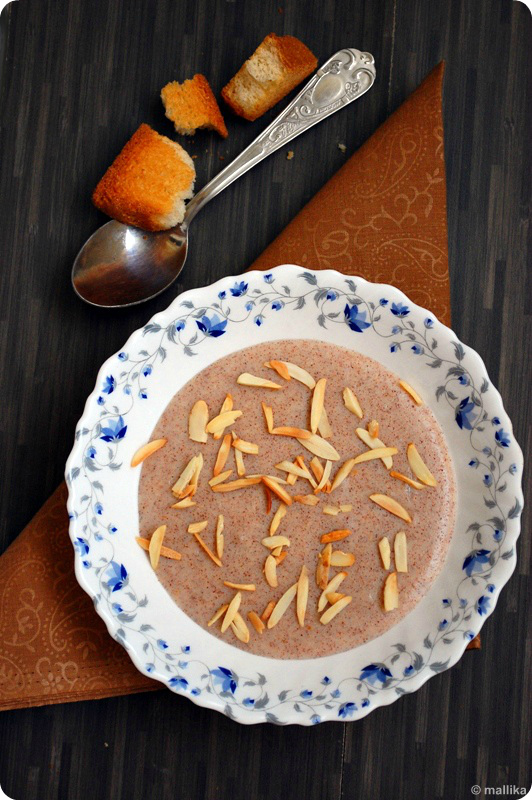
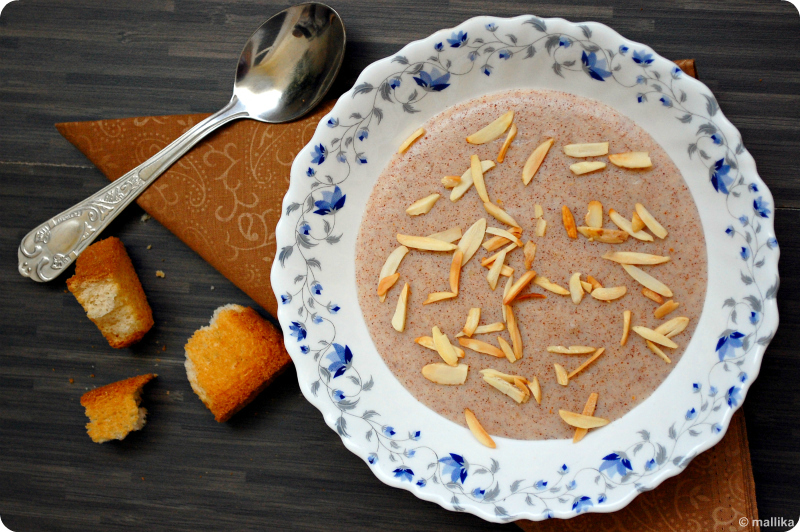
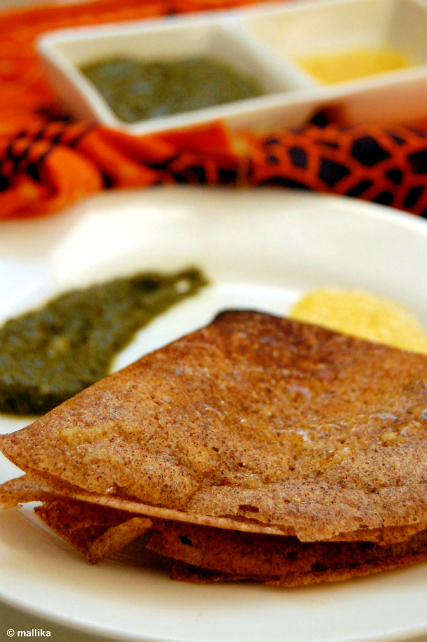
Ragi or finger millet is extremely healthy, gluten-free and rich in iron and vitamins. You can make thin or thick dosas depending on your taste. We prefer thin and crisp dosas, sometimes paper-thin too and they go very well with ghee and chutney. On occasions when I am short of time to make chutneys, I serve these with a dollop of ghee-honey mix. As kids we've loved that combination and I can eat almost anything that way... breads, rotis, dosas, idlis... I guess almost anything. It's one of those traditional tricks my grandma used to lure kids to enjoy our breakfast. Simply mix equal quantites of ghee and honey and serve a dollop of this with the dosa. They taste yum!
A lending hand does come from my parents, especially my mom. And with their relentless support I have been able to manage home smoothly. At times, when I am back home exhausted from a long day at work, mom resues me with her ready to cook batters, instant powders and spice mixes. Even her freshly chopped vegetables or picked and cleaned greens give me a helping hand that make our life much simpler. Preparing the batter or chopping vegetables may look less of an effort, but honestly it's one of those kitchen jobs I always detest to do. Like this simple Ragi dosa that doesn't require much of an effort, but a good amount of time for soaking and grinding. Looks extremely simple and hardly an effort, yet not so! While I generally get Ragi dosa batter from my mom, this weekend I pursued to make them myself so that my litte one could relish them too. This also happens to be my husband's favorites and he prefers this over the plain urad dosa.
Ragi Dosa
INGREDIENTS
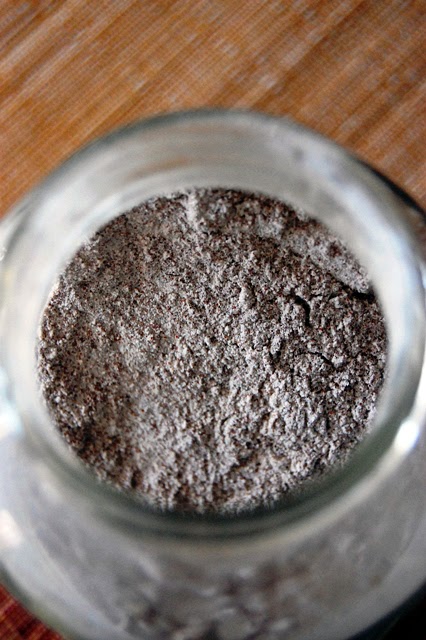
1 and 1/2 cup ragi flour
1 cup urad dal
1 cup raw rice
1-2 tsp methi seeds
Salt to taste
DIRECTIONS
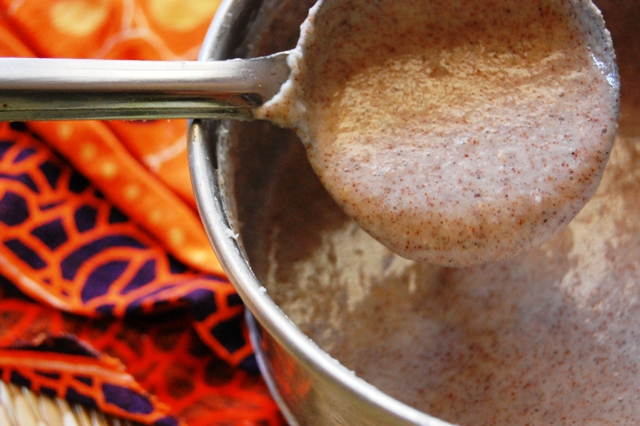
Wash and soak urad dal, rice and methi seeds in ample amount of water for atleast 3-4 hours. Discard the soaked water. Grind them together to a smooth paste using less than half a cup of water. Finally add in the ragi flour and stir the batter very well. The batter should be thick, not runny. Transfer this batter to a large vessel which can accommodate double the volume. Place in a warm dry place, like that of a pre-heated oven. Allow the batter to ferment overnight or atleast 8 hours. By then the batter will rise due to fermentation. Beat the batter well before preparing the dosa.
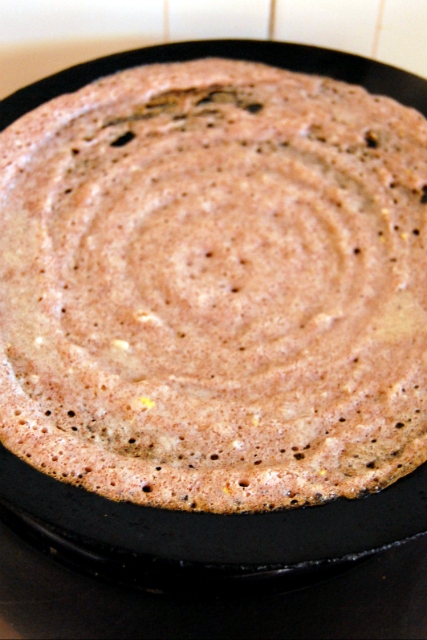
Oil an iron griddle and heat it. If using a non stick pan, oiling is not required, but I suggest you use an iron griddle for best thin and crisp dosas. Take a laddle full of batter and spread them on the griddle gently using the back of the laddle. If you find the batter too thick and not spreadable, then add little extra water, beat well and make dosas. Serve hot with fresh chutney.
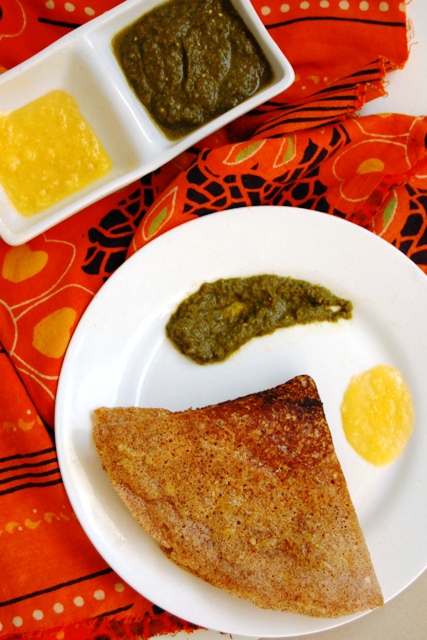
Ragi or finger millet is extremely healthy, gluten-free and rich in iron and vitamins. You can make thin or thick dosas depending on your taste. We prefer thin and crisp dosas, sometimes paper-thin too and they go very well with ghee and chutney. On occasions when I am short of time to make chutneys, I serve these with a dollop of ghee-honey mix. As kids we've loved that combination and I can eat almost anything that way... breads, rotis, dosas, idlis... I guess almost anything. It's one of those traditional tricks my grandma used to lure kids to enjoy our breakfast. Simply mix equal quantites of ghee and honey and serve a dollop of this with the dosa. They taste yum!