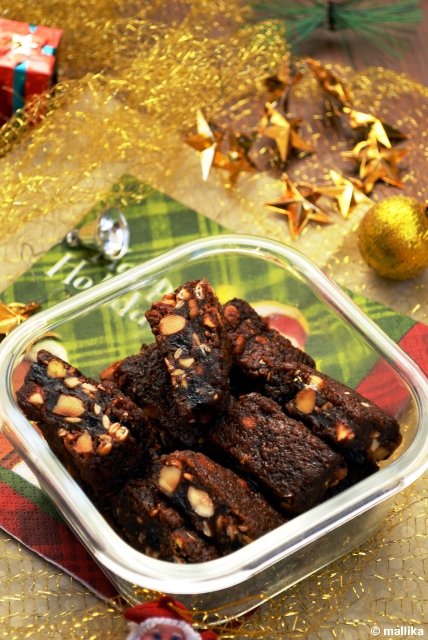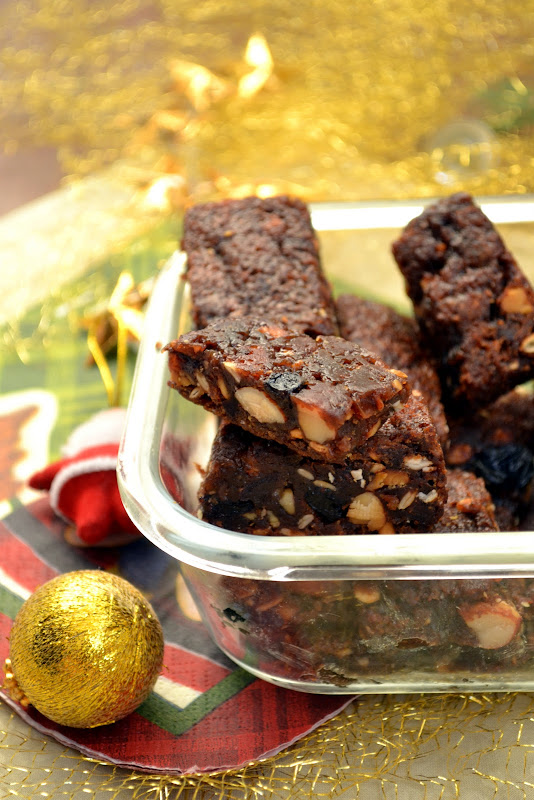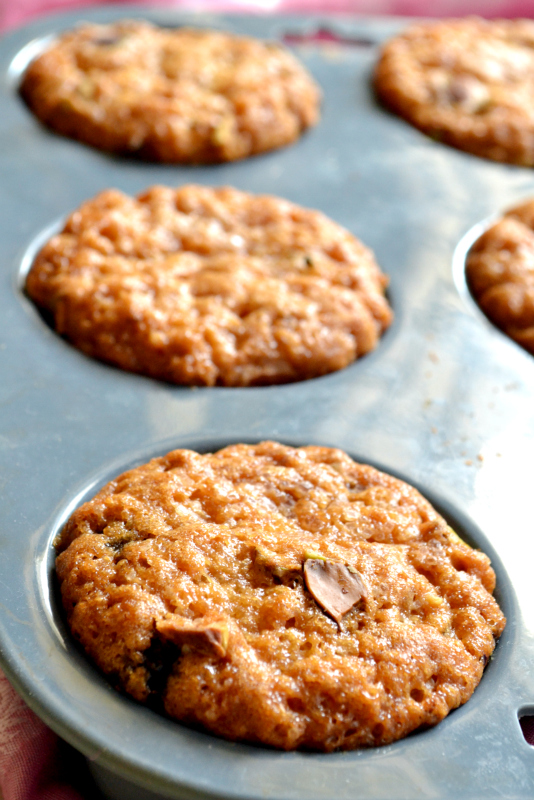
It’s been long since I baked some cookies and this seemed the perfect occasion when I should be baking more of them. My little tot is in her teething phase and loves putting almost everything into her mouth. Door-mats seem to entice her more than anything else and we have a tough time hiding them from her. We’ve been playing a lot of peek-a-boo games with her and my little brat is full of untiring energy, life and zest. She’s been gaining strength and weight to crawl and pull herself well now, but should have some more time to go before she can be independent on her feet. While she loves pulling objects and putting them to her teeth, we have a terrible time objecting her from doing so! This seemed the perfect reason for me to bake some cookies so that she can hold them and bite into her itching teeth.
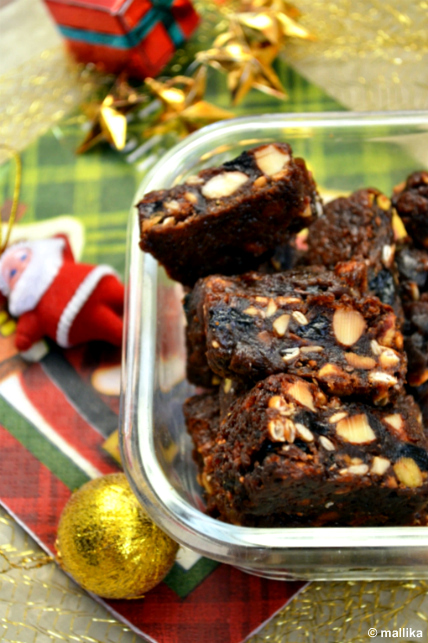
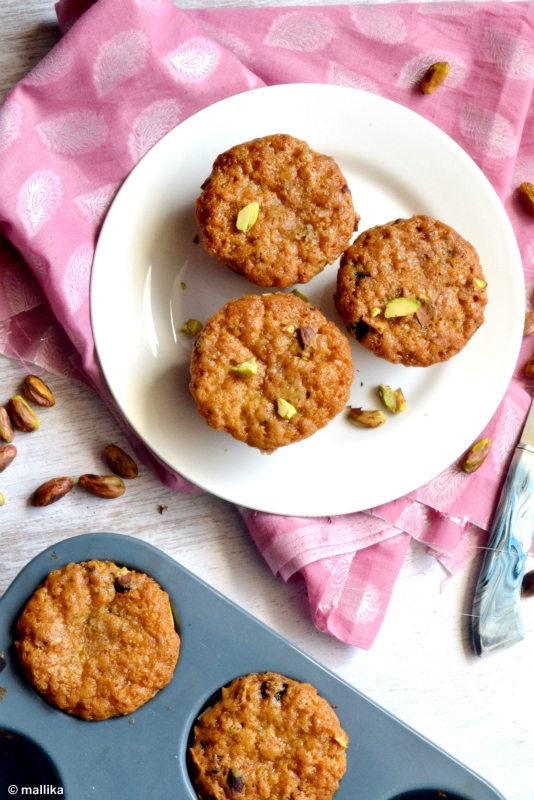
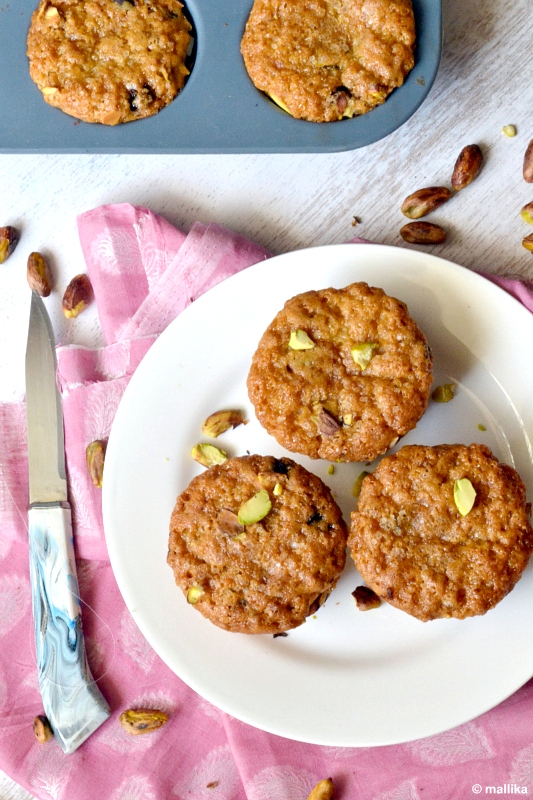
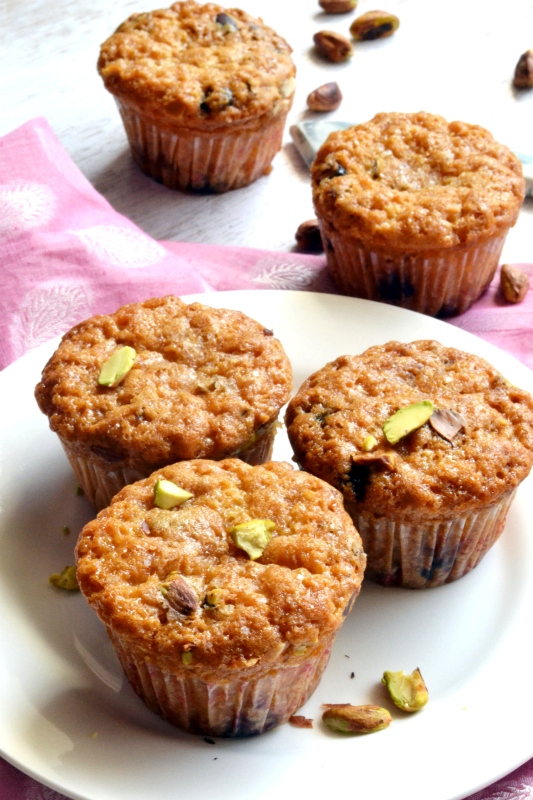
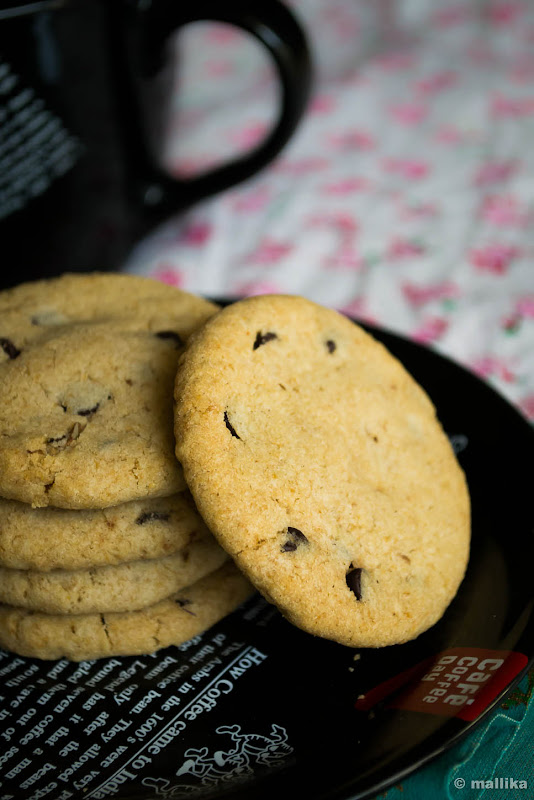
With 2 bunny teeth on lower and 1 on upper gums and the fourth breaking its way out, she hasn’t yet got over her itch to bite into almost anything close to solid. While she’s pretty fussy with her choices when it comes to food, digestive biscuits seem to be her favorites. And no, not the milk dipped softened ones done specifically for her, but a solid bite into the biscuit is what she demands. I played around with these Chocolate & Coffee Whole Wheat Cookies, adapted from the cookbook, Chocolate: The Food and the Music to make cookies which were healthy so she can bite into. I’ve made 2-3 batches of varying ingredients, all on similar lines of the base recipe. For my little one, I skipped chocolate and coffee. I omitted egg completely, instead used thin flax-meal paste. For the adults, I like to use same amount of coffee liquor as much the volume of an egg. They turn out good each time promising to be good companions for your cup of tea. And my little toddler surely seems to be enjoying them.
I like thin, crisp cookies which have a crunch with every bite. That my prefect bake. On the other hand, my husband prefers more chewy cookies over the crunch. If you want your cookies crisp, you bake 2 minutes longer. For chewy ones, remove the cookies as they begin to brown on edges.
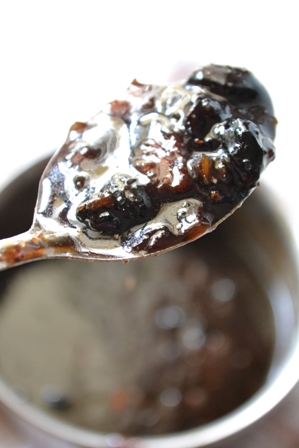
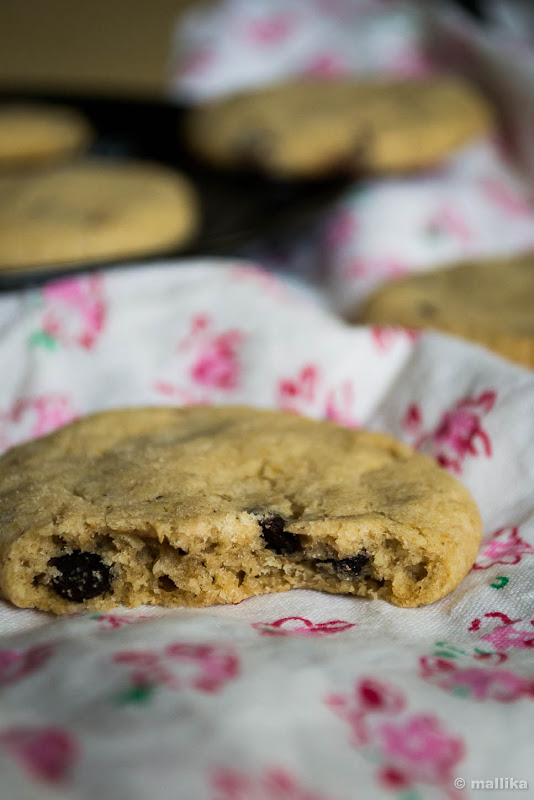
We use flax quite a lot in Indian cooking, specially South. While my mom’s roasted flaxseed chutney powder is my favorite, I personally dislike the flavor of flax in my baked goods. So I was cautious with my use of flax-meal powder this time and made a pretty thin paste instead of a thick gooey one. I like to think these are good for you. They have bran, rolled oats, whole wheat flour, flax-meal, walnuts and chocolate chips in them. Now, isn’t that goodness of everything in one?
With 2 bunny teeth on lower and 1 on upper gums and the fourth breaking its way out, she hasn’t yet got over her itch to bite into almost anything close to solid. While she’s pretty fussy with her choices when it comes to food, digestive biscuits seem to be her favorites. And no, not the milk dipped softened ones done specifically for her, but a solid bite into the biscuit is what she demands. I played around with these Chocolate & Coffee Whole Wheat Cookies, adapted from the cookbook, Chocolate: The Food and the Music to make cookies which were healthy so she can bite into. I’ve made 2-3 batches of varying ingredients, all on similar lines of the base recipe. For my little one, I skipped chocolate and coffee. I omitted egg completely, instead used thin flax-meal paste. For the adults, I like to use same amount of coffee liquor as much the volume of an egg. They turn out good each time promising to be good companions for your cup of tea. And my little toddler surely seems to be enjoying them.
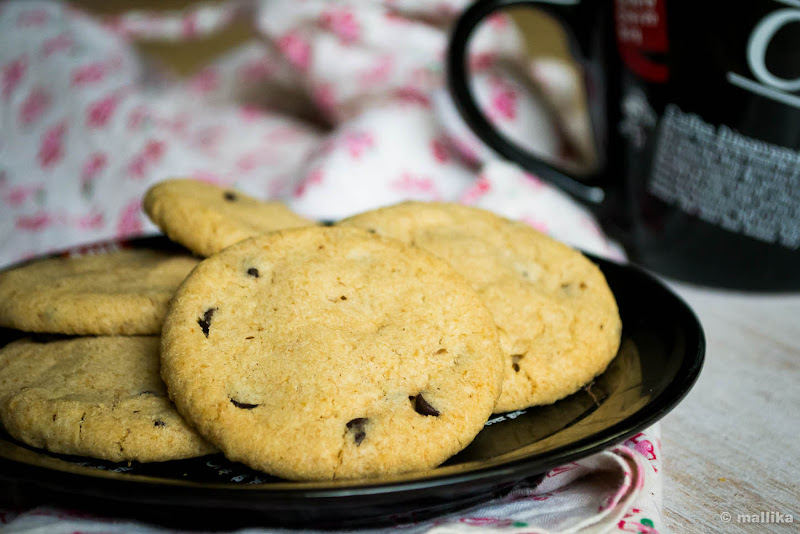
Chocolate & Coffee Whole Wheat Cookies
Adapted from Chocolate: The Food and the Music
INGREDIENTS
3/4 cup unsalted butter, plus extra for greasing
1 cup brown sugar
1 egg (replace with 1 tbsp. gooey flax-meal paste or 1 tbsp. of coffee liquor if making for adults)
1/2 cup all-purpose flour
1 tsp. baking soda
A pinch of salt
1/2 cup whole wheat flour
1 tbsp. bran (I used whole wheat bran)
1 1/3 cups semisweet chocolate chips
2 cup rolled oats
1 tbsp. strong coffee (Add more for stronger flavor)
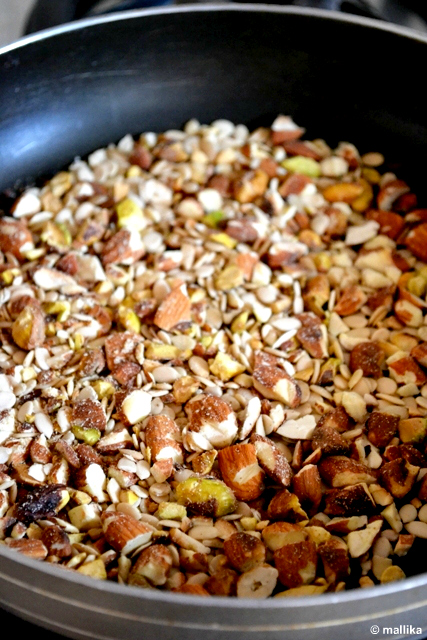
2/3 cup walnuts, toasted and coarsely chopped

DIRECTIONS
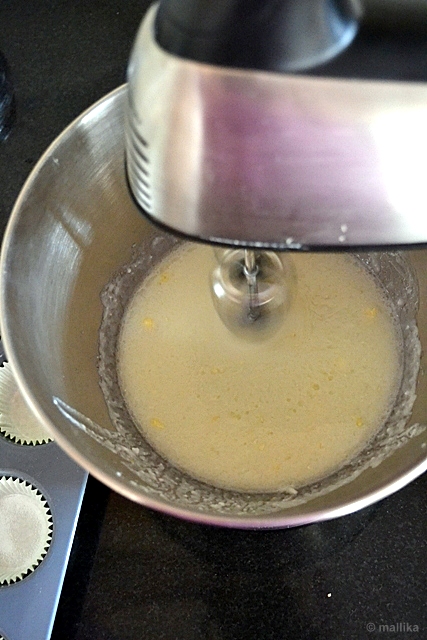
Preheat oven to 375 degrees F. Grease 2 large cookies sheets. Cream the butter and sugar together in a bowl. Add the egg (replace with 1 tbsp. gooey flax-meal paste or 1 tbsp. of coffee liquor, if making for adults) and beat well, using an electric mixer.
In a separate bowl, sift together the all-purpose flour, baking soda, and salt, then add in the whole wheat flour and bran. Mix in the egg / flax mixture, then stir in the chocolate chips, oats, coffee and nuts. If it's for the baby, skip the chocolates and coffee. Mix well.
Drop tablespoonful of the mixture onto the prepared cookie sheets, dabbing each lightly using the back of a spoon (if you prefer thin, crisp cookies), leaving room for the cookies to spread during cooking. Transfer the cookie sheets to preheated oven and bake for 16-18 minutes, or until the cookies are golden brown.
Remove from the oven, the transfer to a cooling rack and let cool before serving.

I like thin, crisp cookies which have a crunch with every bite. That my prefect bake. On the other hand, my husband prefers more chewy cookies over the crunch. If you want your cookies crisp, you bake 2 minutes longer. For chewy ones, remove the cookies as they begin to brown on edges.
We use flax quite a lot in Indian cooking, specially South. While my mom’s roasted flaxseed chutney powder is my favorite, I personally dislike the flavor of flax in my baked goods. So I was cautious with my use of flax-meal powder this time and made a pretty thin paste instead of a thick gooey one. I like to think these are good for you. They have bran, rolled oats, whole wheat flour, flax-meal, walnuts and chocolate chips in them. Now, isn’t that goodness of everything in one?