I am clueless how months have flown by since my last post here. Let me put excuses aside and so that you know, let's get started with first things first. While many guessed, for the ones who remained uninformed, I made a big move from India to the US about 6 months ago. That was way back in the mid of March when the snow caps here in Connecticut were on the verge of melting and the spring sat on its edges awaiting to set in. From the summer heat of Bangalore to the ceasing winters of New England, I moved in with 2 huge suitcases packing all that meant the world to me.
It took me a while to settle down to the demands of not-so-new-anymore place, work and routine. And believe me, while it wasn't hard at all, I did not have it all easy either. It was life at work that was most consuming. Caught up in a new place, with new folks, new skills to learn and new team to work with, I was jostling myself with an identity crisis. I worked on many weekends and put aside blogging for a while for the sheer busyness and lack of motivation. And when we had time off, we hit the road and traveled places to make most of the summer.
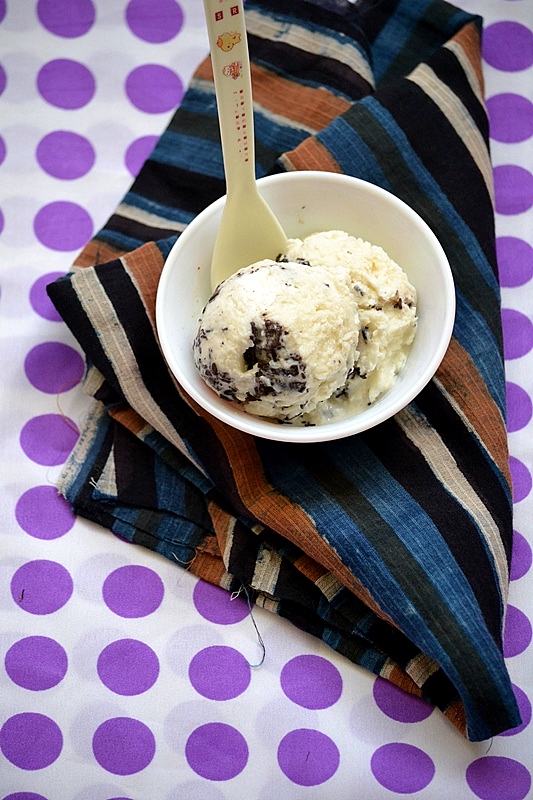
We also have my parents over here right now. That's a big joy and great support knowing that our little girl has just started school and will be back home in the noon to house full of folks she loves and is pampered by the most. They will be around till the mid of November to witness the glorious fall season. That tells you our kitchen has been the busiest place at home where most of the action is seen. You can hear whistles of pressure cooker go by at regular intervals. You can smell pots of steaming rice and sambhar bubbling away. We just got done with guLiappams and chutney for breakfast this morning. Right now, potatoes are being boiled for Aloo Parathas tonight, the husband's all time favorite. And there's this Chocolate Black Forest Ice Cream sitting in the freezer to be devoured for dessert at will.
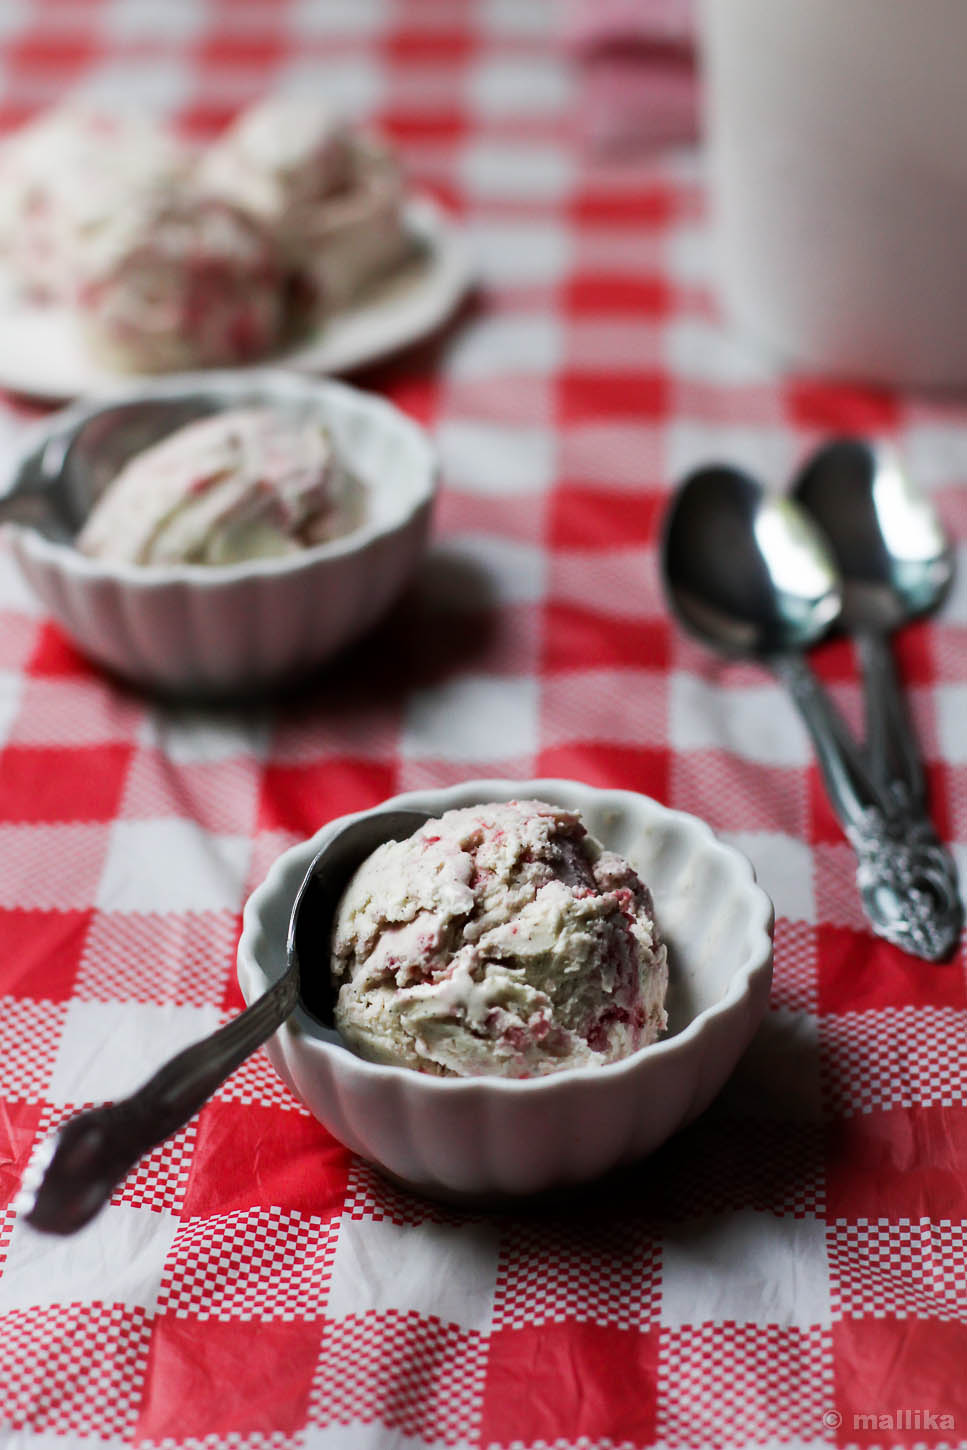
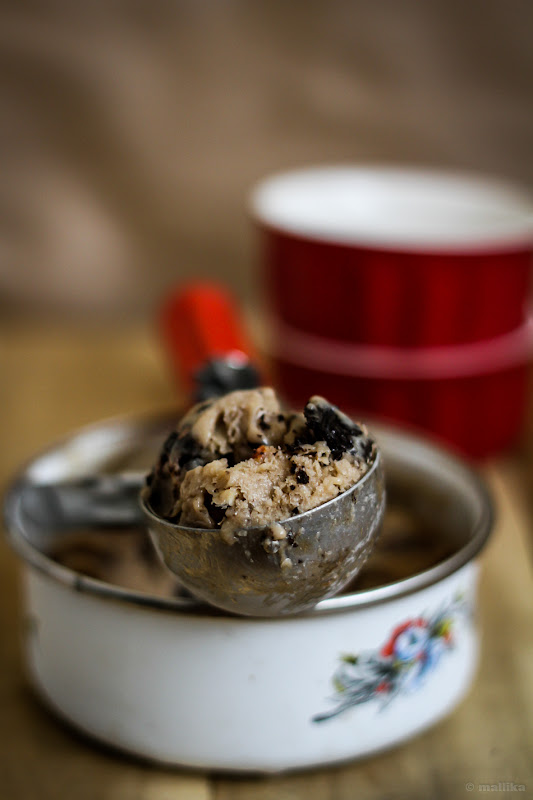
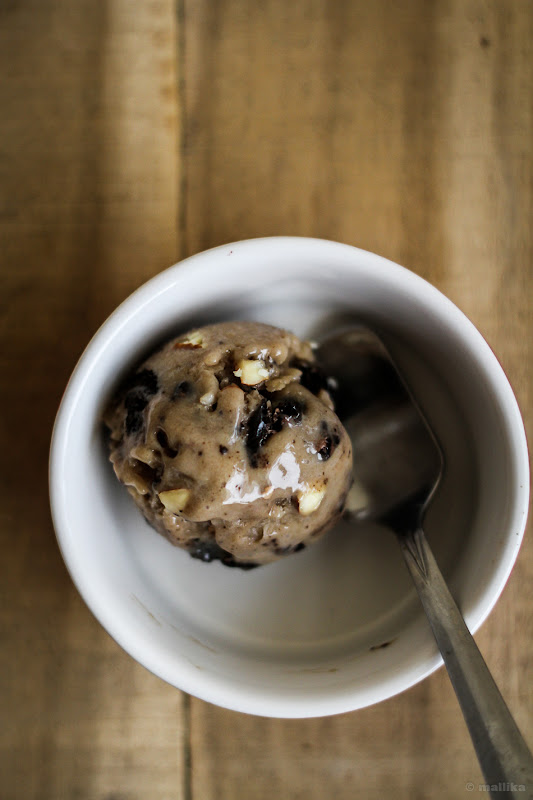
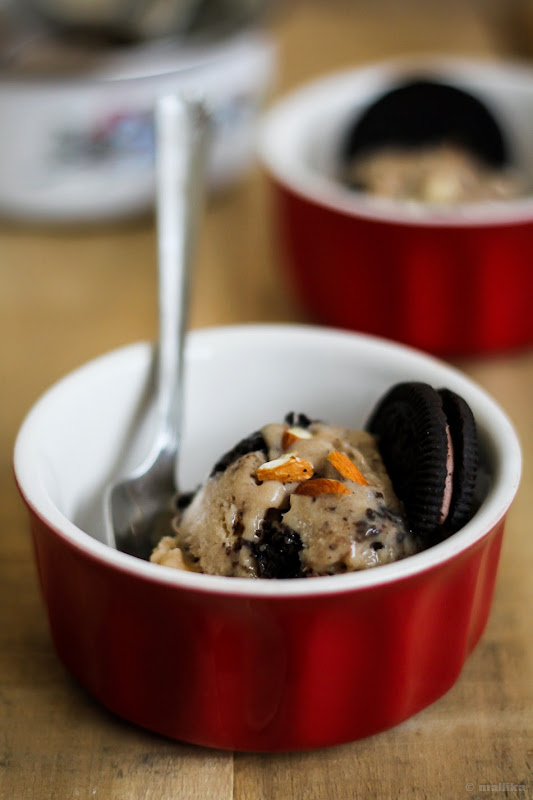
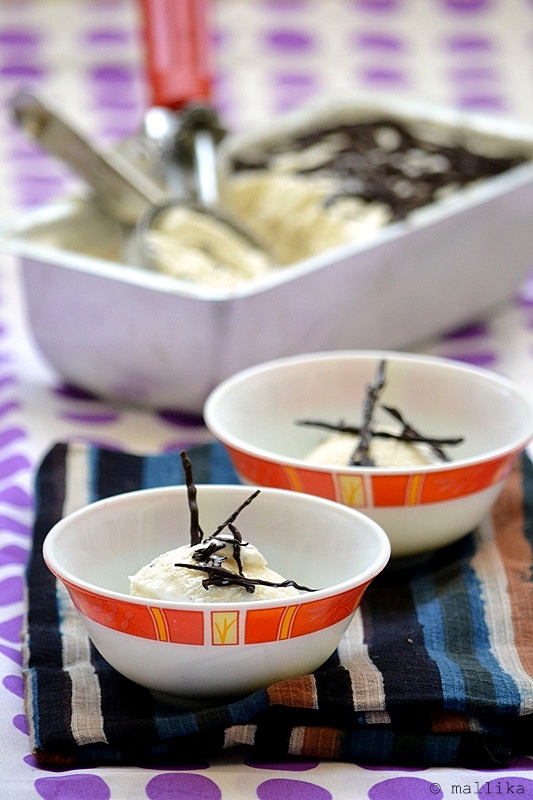
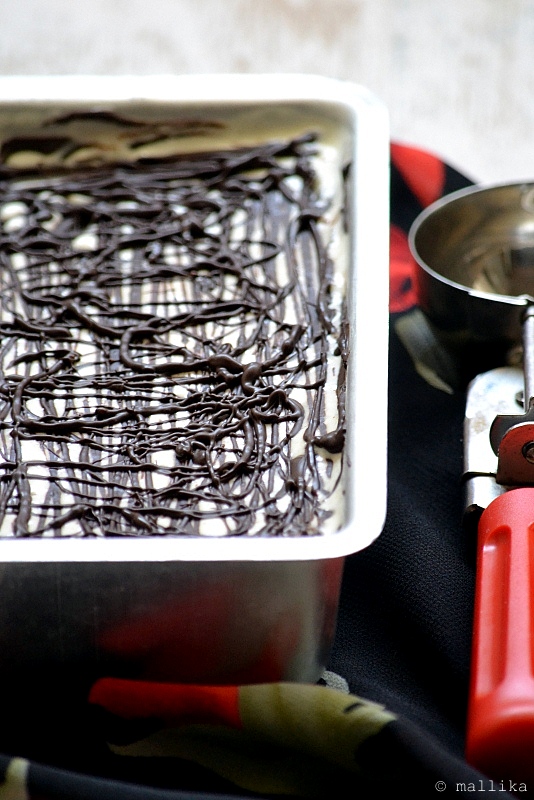
I made a repeat of these brownies last weekend. I also had a can of condensed milk, a box of fresh cherries and some leftover cocoa powder awaiting to be consumed. So it turned out that this Chocolate Black Forest Ice Cream was a well timed recipe to make use all that I had been wanting to consume. The cherries I used here were fresh sweet ones. You can make do with frozen ones too. Roasted walnuts are quite optional, but give a lovely crunch to this ice cream and pair really well with the brownies. If you aren't a fan of chocolate ice cream, but love brownies, try skipping the cocoa powder while making ice cream and leave it plain old vanilla. Don't forget to stir in the cherries and brownies, because that's what makes them Black Forest :). For a more decadent, richer, adult version, I highly recommend using rum soaked cherries in place of fresh cherries. Drizzle some hot chocolate sauce before you serve this to your chocolate loving guests and I would probably call that death by chocolate!

It took me a while to settle down to the demands of not-so-new-anymore place, work and routine. And believe me, while it wasn't hard at all, I did not have it all easy either. It was life at work that was most consuming. Caught up in a new place, with new folks, new skills to learn and new team to work with, I was jostling myself with an identity crisis. I worked on many weekends and put aside blogging for a while for the sheer busyness and lack of motivation. And when we had time off, we hit the road and traveled places to make most of the summer.
We also have my parents over here right now. That's a big joy and great support knowing that our little girl has just started school and will be back home in the noon to house full of folks she loves and is pampered by the most. They will be around till the mid of November to witness the glorious fall season. That tells you our kitchen has been the busiest place at home where most of the action is seen. You can hear whistles of pressure cooker go by at regular intervals. You can smell pots of steaming rice and sambhar bubbling away. We just got done with guLiappams and chutney for breakfast this morning. Right now, potatoes are being boiled for Aloo Parathas tonight, the husband's all time favorite. And there's this Chocolate Black Forest Ice Cream sitting in the freezer to be devoured for dessert at will.

I made a repeat of these brownies last weekend. I also had a can of condensed milk, a box of fresh cherries and some leftover cocoa powder awaiting to be consumed. So it turned out that this Chocolate Black Forest Ice Cream was a well timed recipe to make use all that I had been wanting to consume. The cherries I used here were fresh sweet ones. You can make do with frozen ones too. Roasted walnuts are quite optional, but give a lovely crunch to this ice cream and pair really well with the brownies. If you aren't a fan of chocolate ice cream, but love brownies, try skipping the cocoa powder while making ice cream and leave it plain old vanilla. Don't forget to stir in the cherries and brownies, because that's what makes them Black Forest :). For a more decadent, richer, adult version, I highly recommend using rum soaked cherries in place of fresh cherries. Drizzle some hot chocolate sauce before you serve this to your chocolate loving guests and I would probably call that death by chocolate!
Chocolate Black Forest Ice Cream
INGREDIENTS
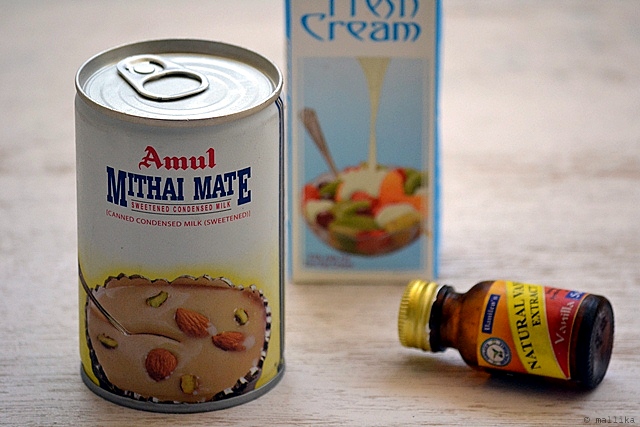
400 ml heavy cream, cold
200 grams condensed milk, preferably cold
2 tbsp. good cocoa powder
1 tbsp. vanilla essence
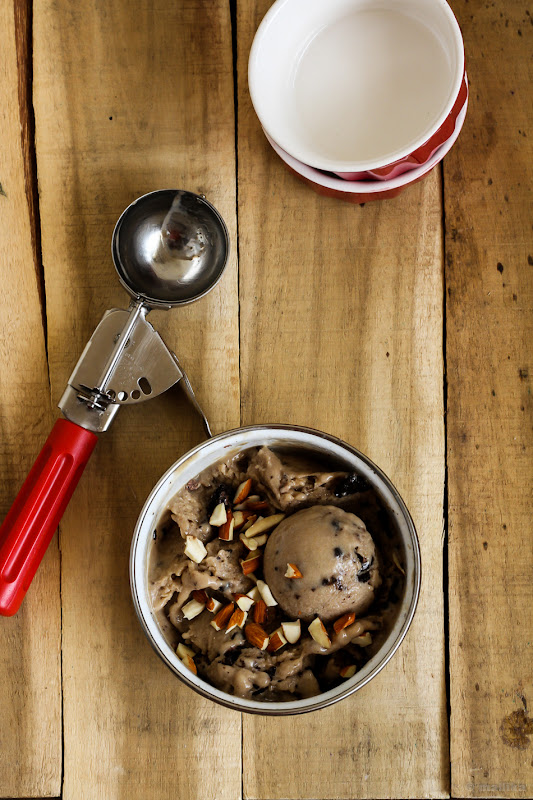
1/4 cup chopped roasted walnuts
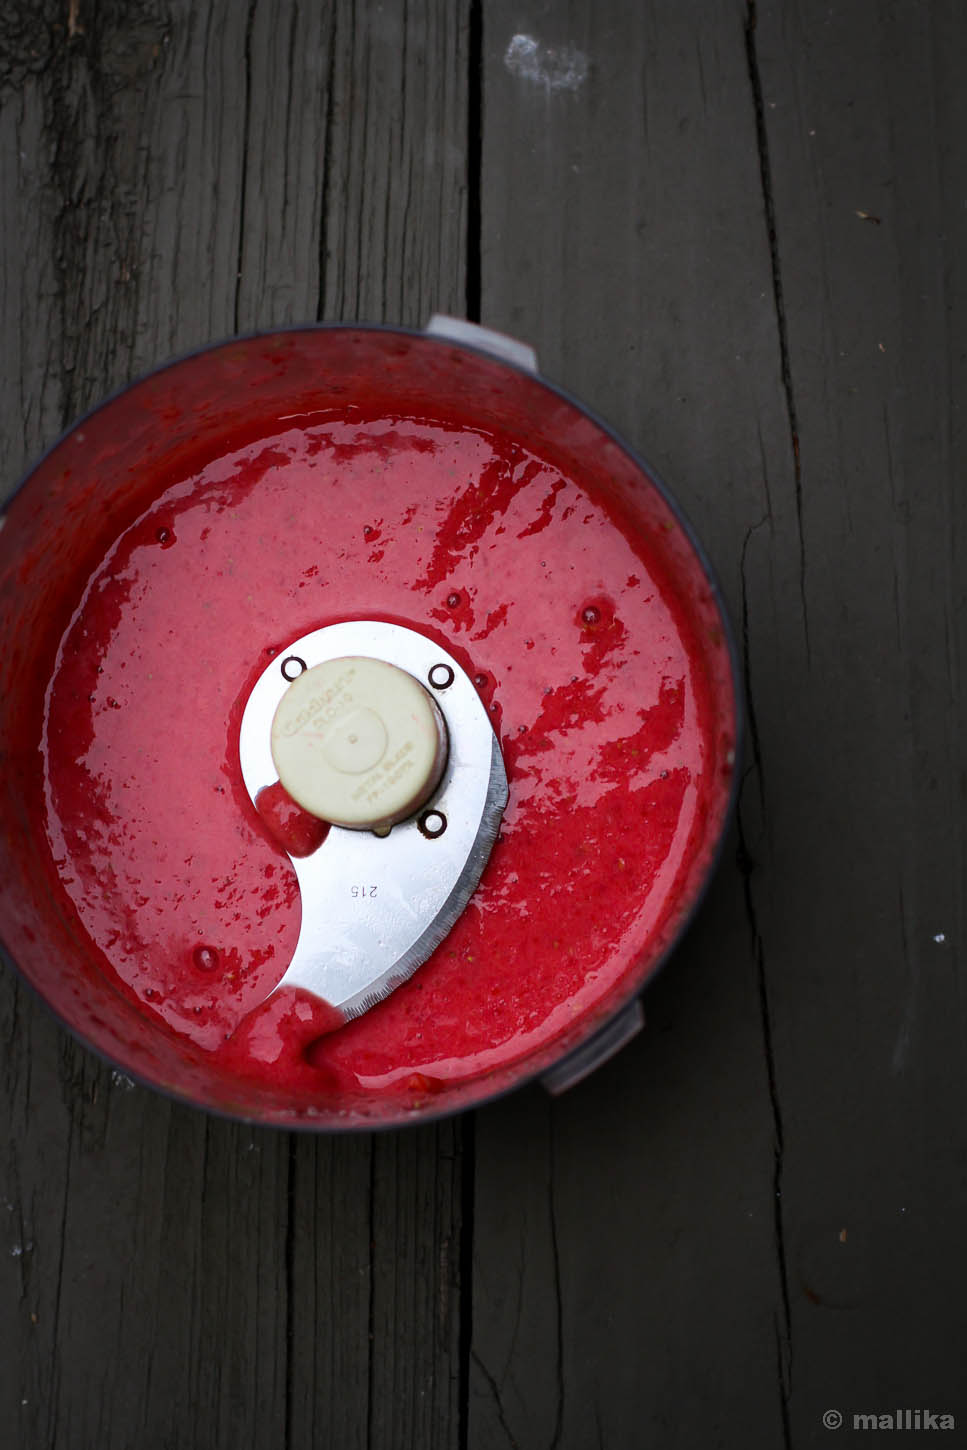
1/2 cup chopped fresh cherries
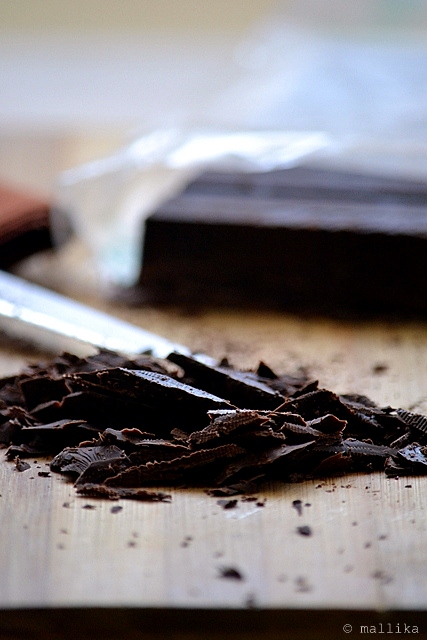
1/2 cup crumbled / bite sized chocolate brownie chunks
DIRECTIONS
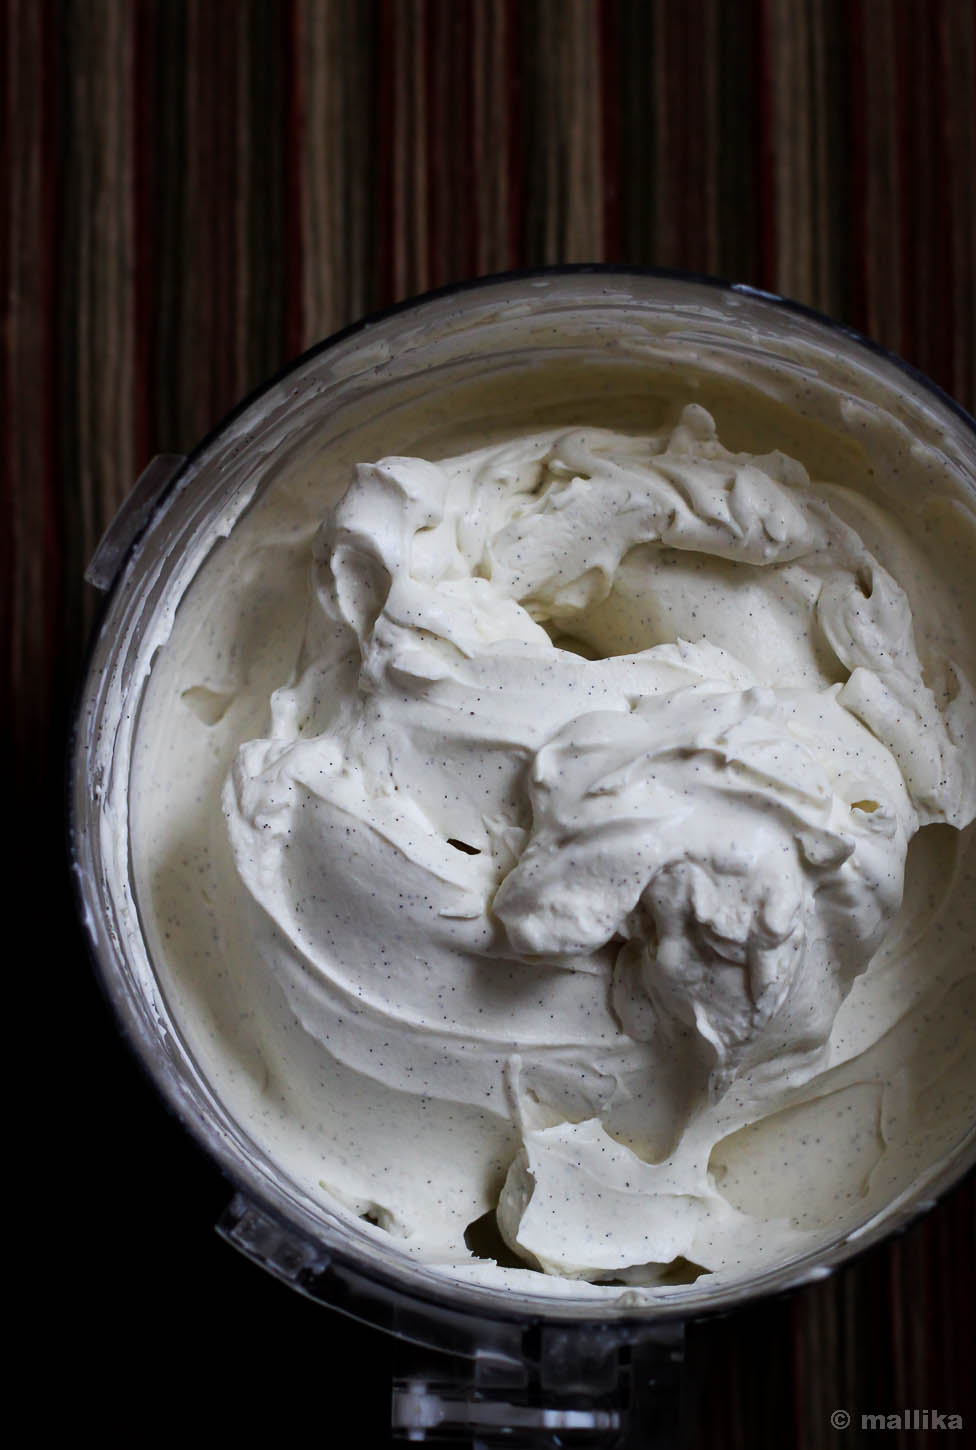
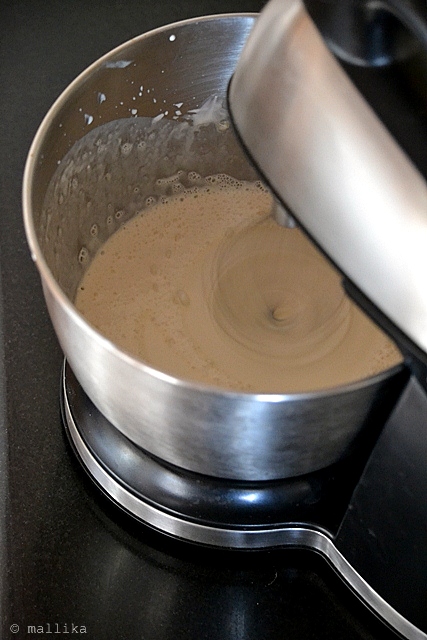
To prepare the chocolate ice cream, whip the heavy cream till it doubles and holds soft peaks. Then add the condensed milk, vanilla extract and cocoa powder. Continue to whip until the mixture is smooth and fluffy and holds soft peaks, about 1 minute.
Transfer half the prepared ice cream to a loaf tin or your ice cream container of your choice. Top it with half of the brownie chunks, cherries and walnut. Using a fork, gently swirl so that the nuts, brownies and cherries mix into the ice cream.
Top this with another layer of prepared ice cream, followed by topping of the remaining half of the brownie chunks, cherries and walnut. Swirl again gently.
Cover with a lid or plastic wrap and allow the ice cream to set in the freezer for at least 4-6 hours. To serve, remove from freezer and place the ice cream in fridge for 10 minutes to soften. Using a warm ice cream scooper, spoon out the ice cream and serve.