I don’t generally enjoy Danish rolls, Croissants or Strudels elsewhere as much I do here at my workplace. I presume it has to do with the freshness. There’s a fabulous bakery named Chocolate by La Terrace that serves one of the best bakes I have ever had. I call them the best since their bakes are fresh, bodied with flavor and authentic. And their freshly baked Pineapple Strudel and Apple Strudel is to die for. Really. For a tiny bakery that serves 20000 odd employees, I think they are doing a fabulous job!
For my mid-mornings, the bakery serves me just the right kind of snack to go along with my cup of tea. As you make your pick from all the sweet and savory items on display, the background brims with brisk work by the bakers busy mixing dough, filling tart cases, brushing glazes, pushing trays to life sized ovens, it’s a sight which most would ignore to glance. Sure enough, their wicker cane baskets loaded with baked goods, full of cakes, pastries, tarts, rolls and breads will make you more hungry than when you came through the door. And that smell of freshly baked goodies is so intoxicating, it gives you an all high and stimulates your senses.
From the glimpse of the bakers working in the background, I have often seen them put together the pastry dough from scratch effortlessly and as it tempts me more often to be a part of that activity or at least, capture them on pixels, I know that possibility is far from remote. It’s a passionate bakers delight to watch sheets of butter encased into a massive mass of rolled dough, enveloped and passed through automated commercial rollers couple of times to form perfect pastry sheets, all neatly folded and piled up to be refrigerated for further use. The process takes hardly anything more than 10 minutes.
Prior to this, I had never seen a live action of pastry dough being made from scratch, even getting a glimpse of this is so heartening that it calls out for the baker in me. For some time now, I have been contemplating to recreate a similar pastry dough at home. Of course minus all that commercial equipment, it’s an ardent task, good enough to consume an entire day, consume all my muscle power and drain all the energies. But then isn’t that daring enough for a try?
I didn’t have enough time to make pastry dough, but Gordan Ramsay’s Rough Puff Pastry recipe is an awesome substitute. A good recipe for a keeper, especially when you want a quick, light flaky pastry in minutes.
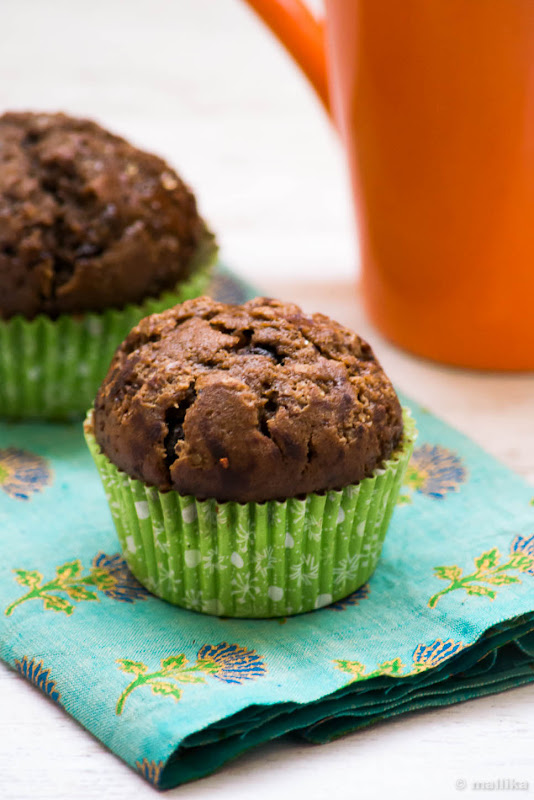
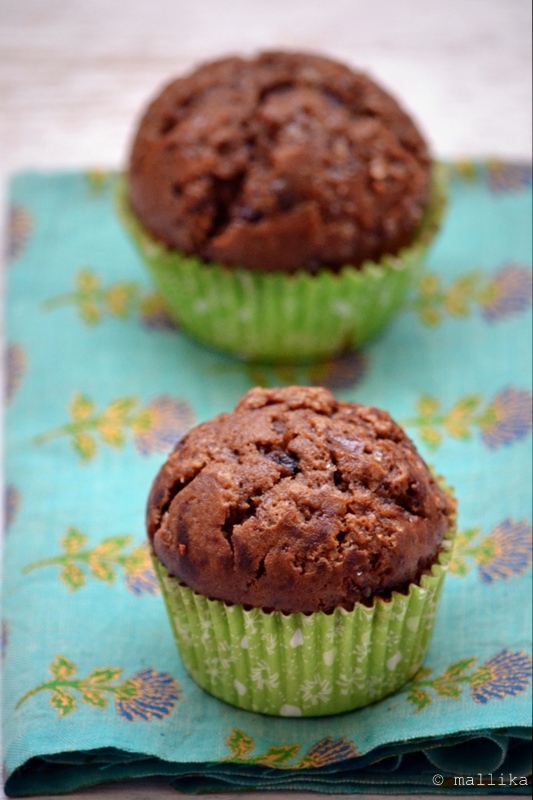
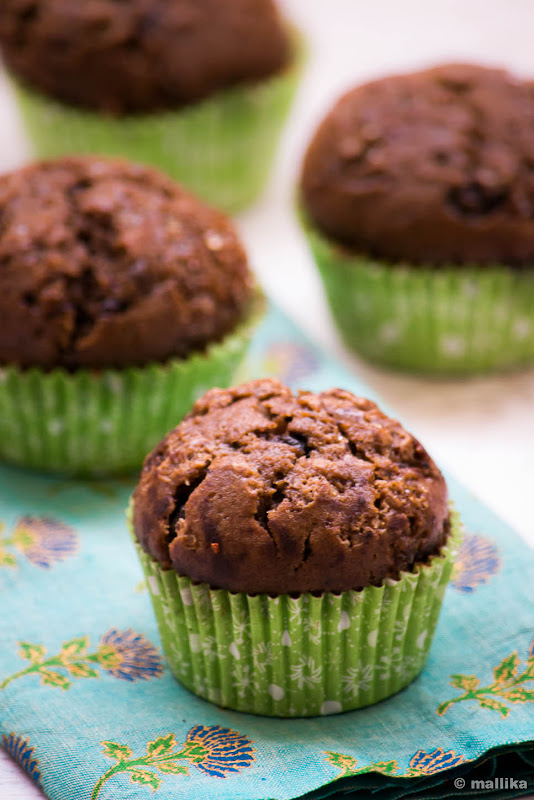
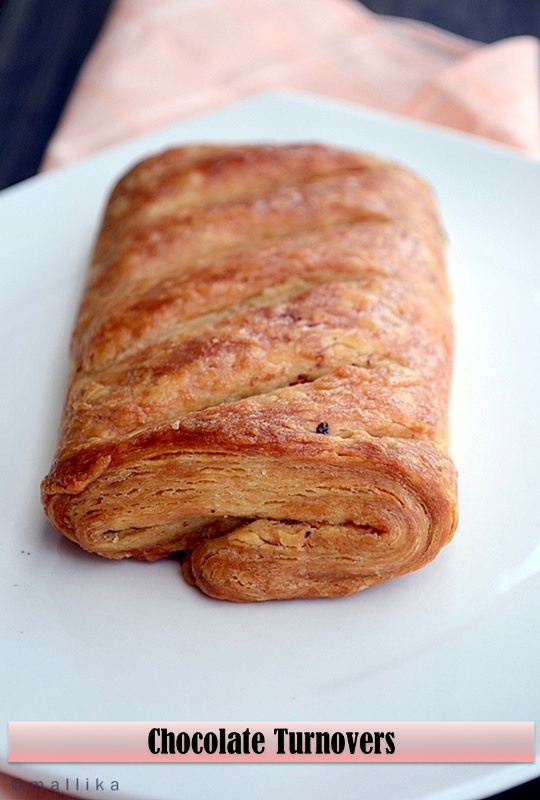
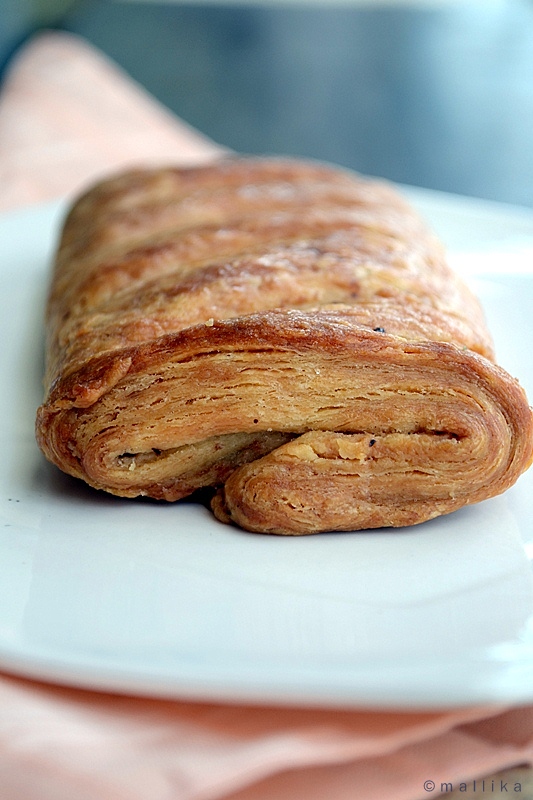
Enjoy these Chocolate Turnovers over a hot cup of tea.
For my mid-mornings, the bakery serves me just the right kind of snack to go along with my cup of tea. As you make your pick from all the sweet and savory items on display, the background brims with brisk work by the bakers busy mixing dough, filling tart cases, brushing glazes, pushing trays to life sized ovens, it’s a sight which most would ignore to glance. Sure enough, their wicker cane baskets loaded with baked goods, full of cakes, pastries, tarts, rolls and breads will make you more hungry than when you came through the door. And that smell of freshly baked goodies is so intoxicating, it gives you an all high and stimulates your senses.
From the glimpse of the bakers working in the background, I have often seen them put together the pastry dough from scratch effortlessly and as it tempts me more often to be a part of that activity or at least, capture them on pixels, I know that possibility is far from remote. It’s a passionate bakers delight to watch sheets of butter encased into a massive mass of rolled dough, enveloped and passed through automated commercial rollers couple of times to form perfect pastry sheets, all neatly folded and piled up to be refrigerated for further use. The process takes hardly anything more than 10 minutes.
Prior to this, I had never seen a live action of pastry dough being made from scratch, even getting a glimpse of this is so heartening that it calls out for the baker in me. For some time now, I have been contemplating to recreate a similar pastry dough at home. Of course minus all that commercial equipment, it’s an ardent task, good enough to consume an entire day, consume all my muscle power and drain all the energies. But then isn’t that daring enough for a try?
I didn’t have enough time to make pastry dough, but Gordan Ramsay’s Rough Puff Pastry recipe is an awesome substitute. A good recipe for a keeper, especially when you want a quick, light flaky pastry in minutes.
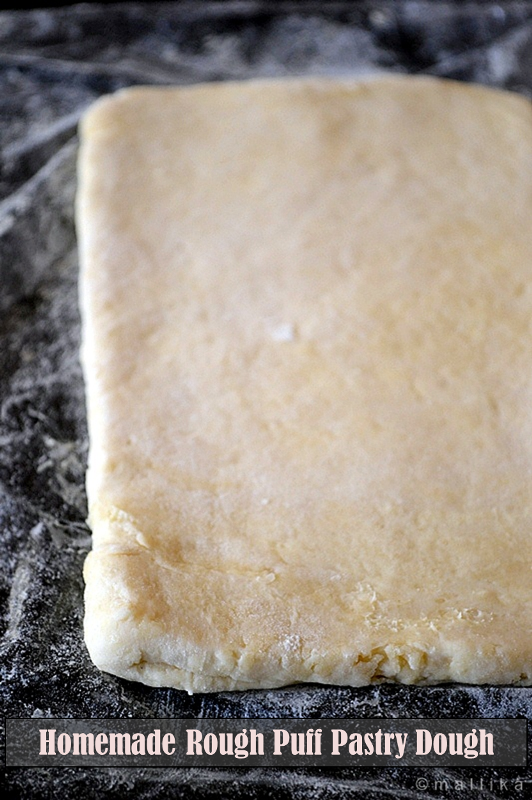
Gordon Ramsay's Rough Puff Pastry Dough
Adapted from BBC GoodFood
INGREDIENTS
250g strong plain flour
1 tsp. fine sea salt
250g butter, at room temperature, but not soft
About 150ml cold water
DIRECTIONS

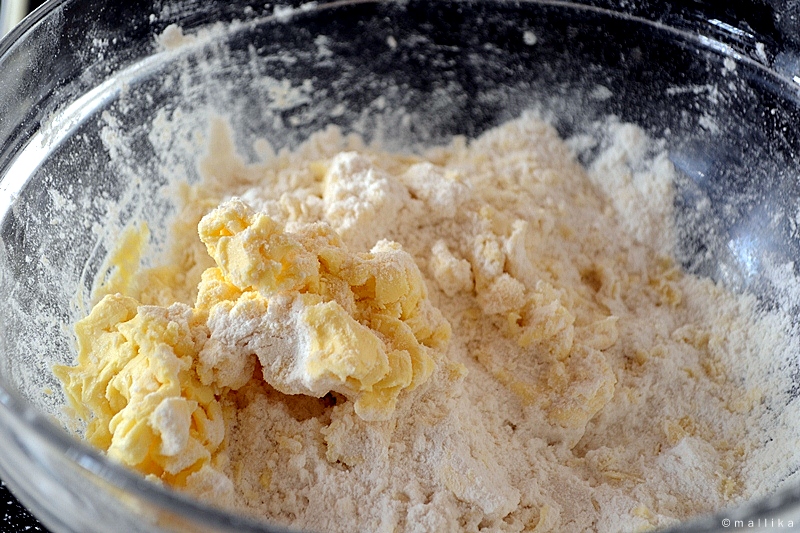
Sift the flour and salt into a large bowl. Roughly break the butter in small chunks or grate them, adding it to the flour.
Rub the grated butter into the flour very loosely. You need to see lots of streaks of butter.
Make a well in the bowl and pour in about two-thirds of the cold water, mixing until you have a firm rough dough adding very little extra water if needed.
Handle very gently. Cover with cling film and leave to rest for 20 mins. in the fridge.
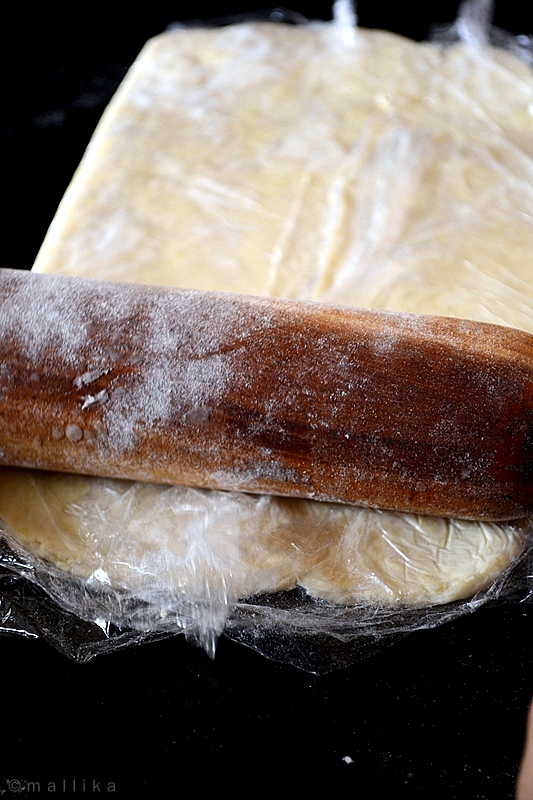
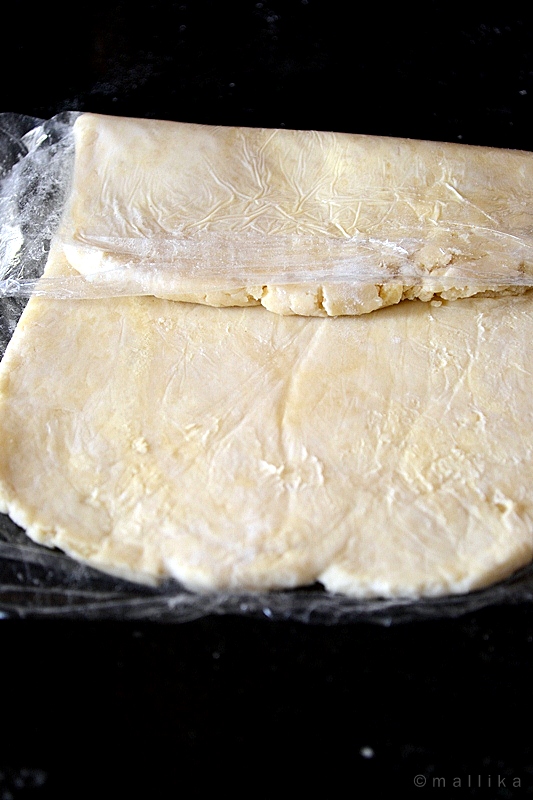
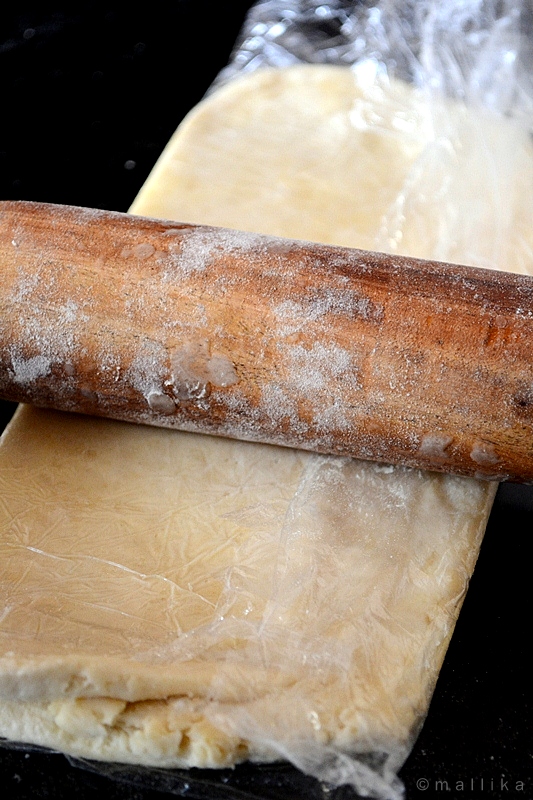
Turn out onto a lightly floured board, knead lightly and form into a smooth rectangle. Roll the dough in one direction only, until 3 times the width, about 20 x 50cm. Keep edges straight and even. Don't overwork the butter streaks; you should have a marbled effect. Fold the top third down to the center.
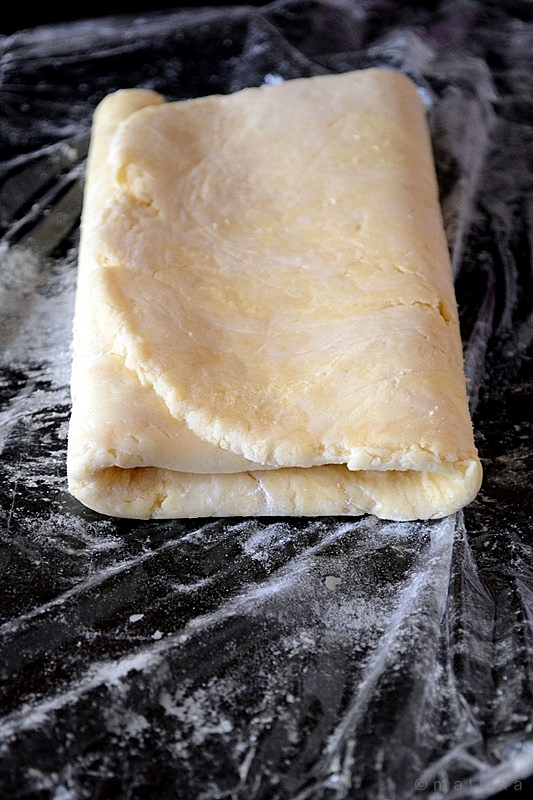
Fold the bottom third up and over that. Give the dough a quarter turn (to the left or right) and roll out again to three times the length.

Fold as before, the top third down, the bottom third up and over that. Give the dough a quarter turn roll out again to three times the length. Repeat again. Cover with cling film and chill for at least 20 mins before rolling to use. If the dough ceases to act, then place it in the freezer immediately. Work on it after 10 minutes.
The puff pastry dough can be kept in the freezer for over a month. To use, bring the dough out and thaw it. Roll it and use as required.


Chocolate Turnovers
INGREDIENTS
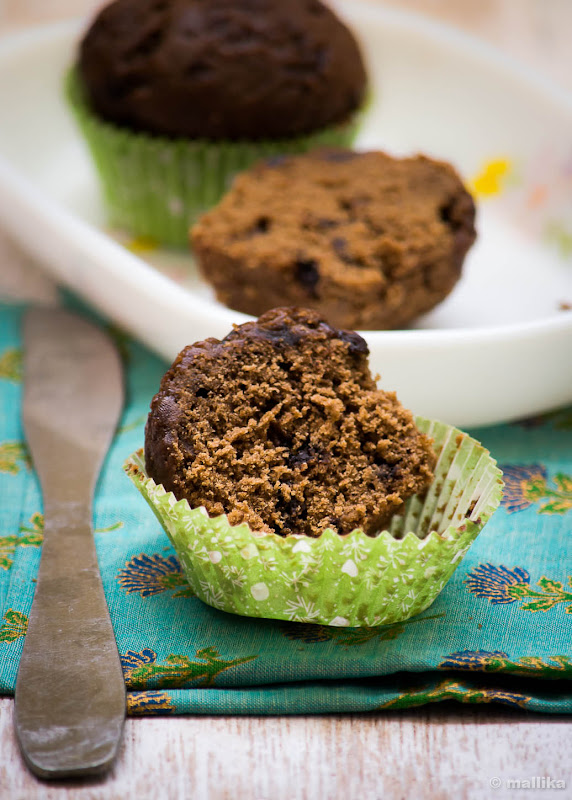
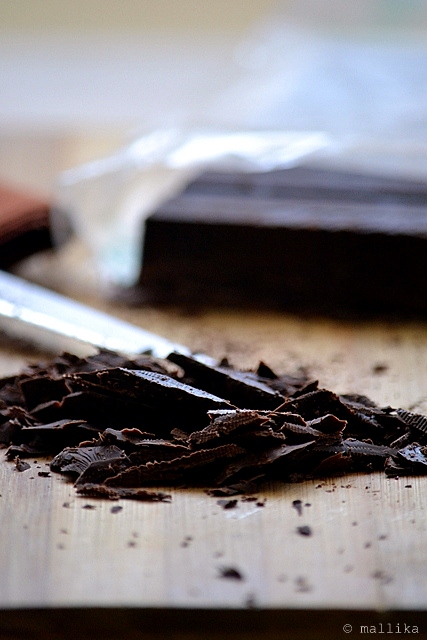
1 thick chunk of dark chocolate
Puff pastry sheet of 15x15 cm
DIRECTIONS
Roll the puff pastry sheet to about 10x10cm in length and width. Place a chunk of dark chocolate, placing it closer to one end at about 3cm away from the centre. Lightly mark the pastry sheet to half and flip over the other half of dough over the chocolate, gently pressing along the edges to seal the sides. Bake in a pre-heated over at 180 deg for 30 minutes or till its golden brown.
Note: I've used dark chocolate here for the filling. You may use milk or white chocolate too. You can make a fruit filling or any other filling for this recipe. For a savoury version, use any vegetable filling of your choice. You can make these into any other shapes you like.
Enjoy these Chocolate Turnovers over a hot cup of tea.