I am not giving up baking with dark chocolate, but certainly you’ll see them reducing a bit in this space. You know well that all this while I have been using Morde Dark Chocolate in my bakes. While I have nothing against them and do love the fact that they are cheap (say 200 bucks for 500 gms), I’m increasingly aware that it comes at a cost that’s detrimental to our health. Stripped of all the cocoa butter and replaced with hydrogenated vegetable fats, including trans fats, it took me some determination for my daughter’s sake to give up on Morde or Selbourne and move to a better brand.
A while ago I asked my Bangalore buddies on FB if there was an alternative to it, since Cadbury’s Bournville was way too expensive for baking, but I got no satisfactory answers. What if there was a baking disaster? I would care not to lose night’s sleep over wasting couple of bars of bournville in my failed baking attempts! Does anyone have an answer please???
I love dark chocolates and biting into them makes me sensational. It evokes my happy moods.
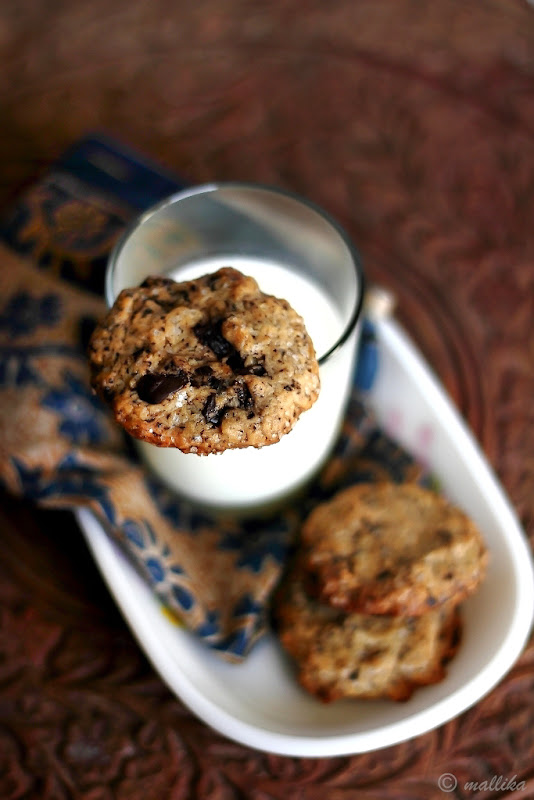
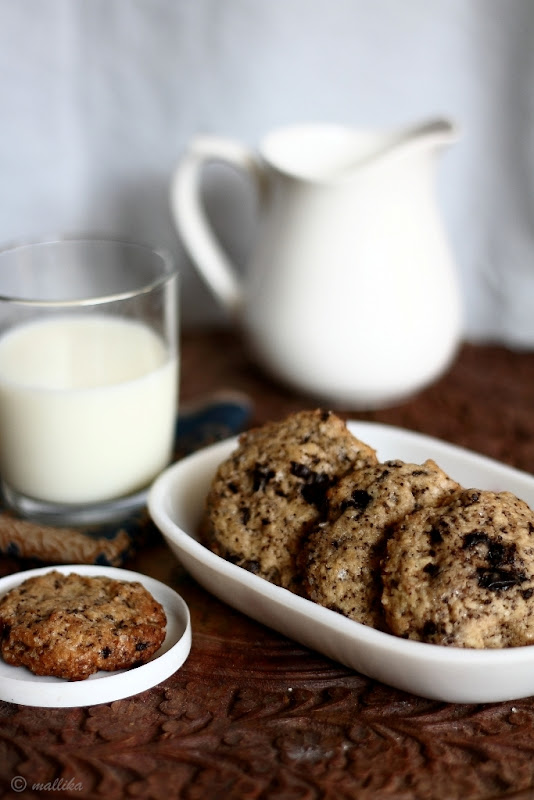
I gambled into some cookie cravings this week while the weather wasn't so nice and chill as I would have loved it to be. For the first time I experimented with a bar of Cadbury’s Bournville dark chocolate and used them in baking like this Dark Chocolate Chunk Cookies, least they fail, the less guiltier I feel about my failing attempt or the expensive bars. They are still too expensive for baking, but till I look for an alternative I may go with these. I baked these cookies for our evening tea and they turned out delicious our evening bites.
A while ago I asked my Bangalore buddies on FB if there was an alternative to it, since Cadbury’s Bournville was way too expensive for baking, but I got no satisfactory answers. What if there was a baking disaster? I would care not to lose night’s sleep over wasting couple of bars of bournville in my failed baking attempts! Does anyone have an answer please???

I love dark chocolates and biting into them makes me sensational. It evokes my happy moods.
I gambled into some cookie cravings this week while the weather wasn't so nice and chill as I would have loved it to be. For the first time I experimented with a bar of Cadbury’s Bournville dark chocolate and used them in baking like this Dark Chocolate Chunk Cookies, least they fail, the less guiltier I feel about my failing attempt or the expensive bars. They are still too expensive for baking, but till I look for an alternative I may go with these. I baked these cookies for our evening tea and they turned out delicious our evening bites.
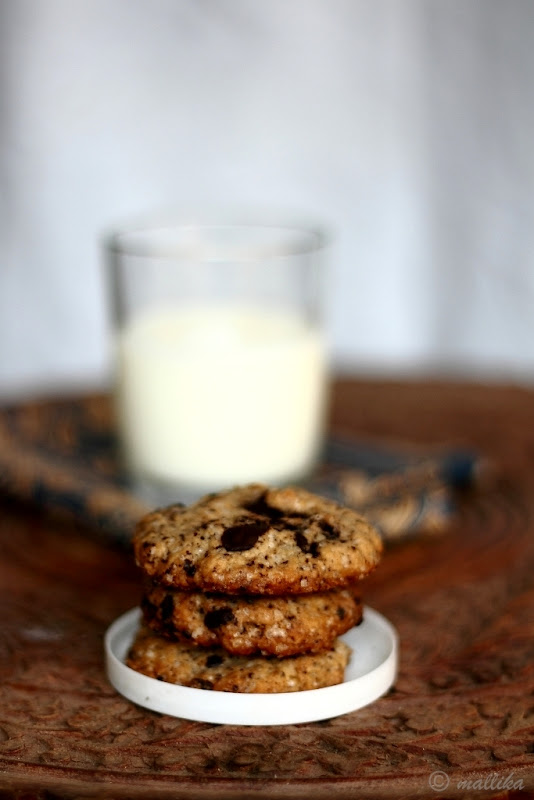
Chocolate Chunk Cookies
Adapted from the Big Book of Baking
INGREDIENTS
88 gm plain flour
62 gm soft salted butter
42 gm brown sugar
28 gm white sugar
1/2 egg
1/2 tsp. vanilla extract
1 tsp. baking powder
62 gm chocolate chunks
DIRECTIONS
Pre-heat the oven to 180 deg C. Lightly grease the baking trays.
Place all the ingredients in a large mixing bowl and beat them till well combined. Please a teaspoonful of the dough on the prepared tray, giving sufficient space between them to allow spreading while cooking.
Bake in a pre-heated oven for 10-12 minutes, or till the cookies are golden brown. Once done, transfer the cookies carefully to a cooling rack and cool them completely.
Notes:
* To adapt to a vegan version, replace egg with equal amount of flax meal paste. Use vegan dark chocolate and replace salted butter with a vegan butter substitute.