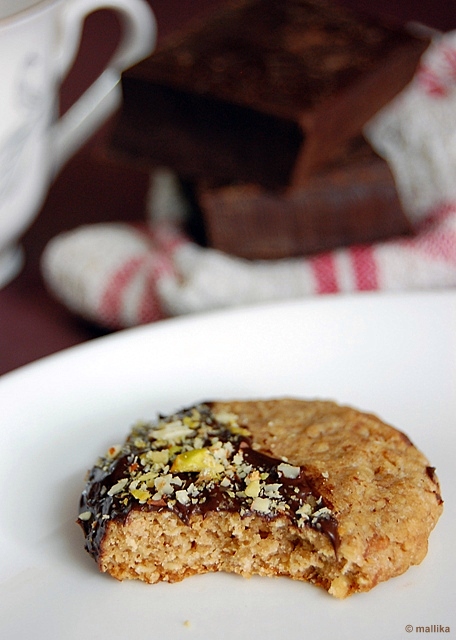
Most of my desserts are a little low on sweetness. We love it that way, just with hints of sweetness, unless if it were a cake or mousse with no frosting. This is probably the reason why I love bittersweet dark chocolates with over 60-70% cocoa over the most loved milk chocolates. But my sensibilities do warn me that people in general adore high sugar levels in most sweetmeats, which I agree would be great considering it is actually how a dessert is meant to be. I try being considerate and adjust an extra helping of sugar if I have guests around, but I guess sometimes, that too runs on a lower range! Health is just a smaller part of the concern, while the primary reason is our palatable tastes.
I promised. I would be back with another dessert from Mulberries. Well, that was long ago ;) With many parts of the world celebrating the coveted spring and with summer fruits, berries and stone fruits showing major prominence on most blog spaces, I thought I shouldn't keep myself a step behind. So I had the perfect reason to bring out my mulberry compotes and pair them with fresh cherries and yogurt to layer my verrines.
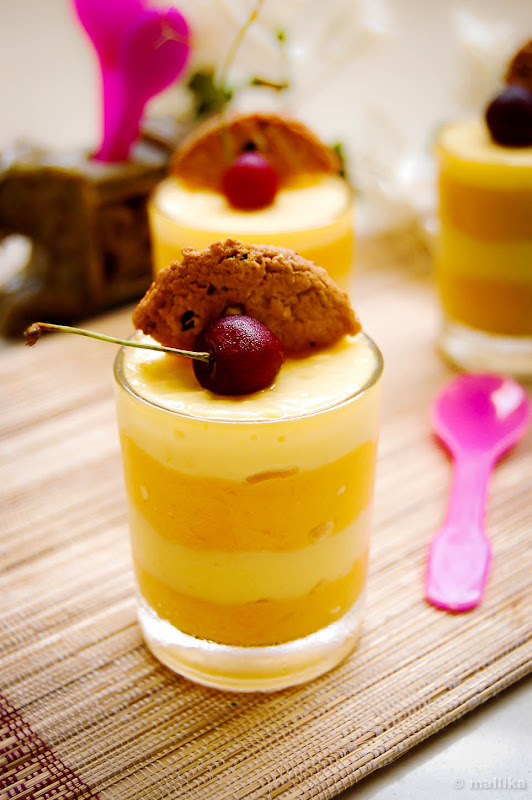
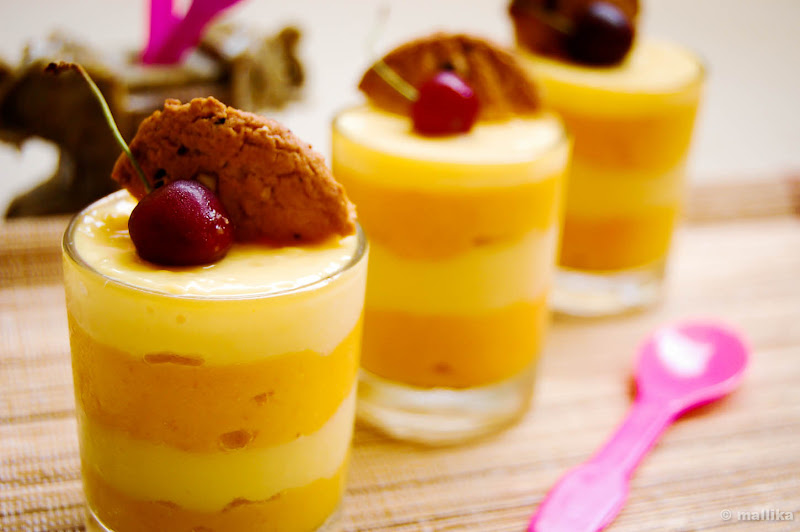
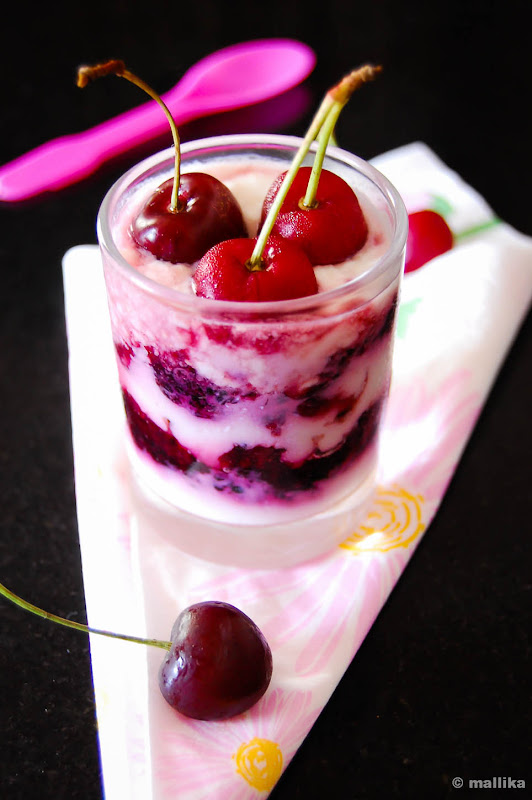
A verrine is a well known French dessert which is made by layering ingredients in a small glass, generally in verrine glasses. It can be either sweet or savory. This one with Mulberries and Cherries is a healthy classic verrine with health from fruit compotes and goodness from yogurt. The yogurt impart a tangy twist. This verrine is mild on sweetness and goes great as a breakfast dessert.
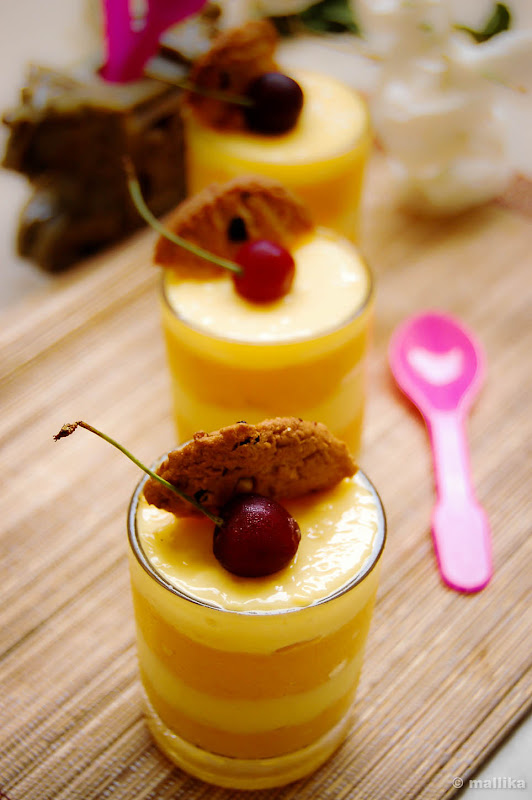
I love the entire process of creating and layering the verrines. Those verrine glasses are my all time favorites from the rack and I take immense care of them. I haven't done a neat job here to create the aesthetic look, but I loved those purple hues we get as we dig into our glasses. The thick yogurt and fruit alternating in it made it more a breakfast dessert, with a well balanced sweetness and tart.
To make a more exotic fruity dessert, substitute with cream cheese or sour cream. The varied mingled flavors that you can create with each verrine will surely leave you with a treat.
I promised. I would be back with another dessert from Mulberries. Well, that was long ago ;) With many parts of the world celebrating the coveted spring and with summer fruits, berries and stone fruits showing major prominence on most blog spaces, I thought I shouldn't keep myself a step behind. So I had the perfect reason to bring out my mulberry compotes and pair them with fresh cherries and yogurt to layer my verrines.
A verrine is a well known French dessert which is made by layering ingredients in a small glass, generally in verrine glasses. It can be either sweet or savory. This one with Mulberries and Cherries is a healthy classic verrine with health from fruit compotes and goodness from yogurt. The yogurt impart a tangy twist. This verrine is mild on sweetness and goes great as a breakfast dessert.
Mulberry & Cherry Verrine
INGREDIENTS
1/2 cup mulberry compote
1/2 cup cherries, chopped
1 cup hung yogurt
2 tbsp sugar
DIRECTIONS
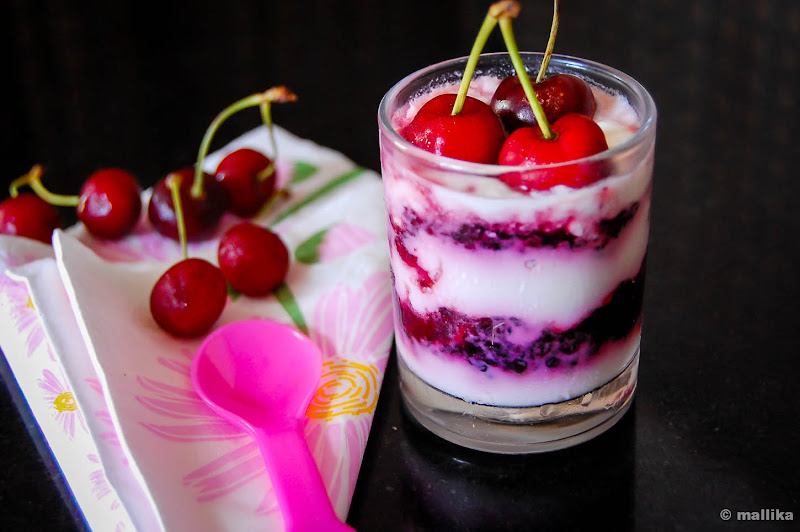
Beat the thick hung yogurt with sugar. I used sugar free here. Layer the verrine glasses with mulberry compote. The compote I made had vanilla in it. You can add vanilla to the yogurt too. Top with some yogurt and freshly pitted chopped cherries. Top another layer with mulberry compote, some yogurt and freshly pitted chopped cherries.
Chill and serve for best flavors. Garnish with a few fresh cherries and mulberries before serving.

I love the entire process of creating and layering the verrines. Those verrine glasses are my all time favorites from the rack and I take immense care of them. I haven't done a neat job here to create the aesthetic look, but I loved those purple hues we get as we dig into our glasses. The thick yogurt and fruit alternating in it made it more a breakfast dessert, with a well balanced sweetness and tart.
To make a more exotic fruity dessert, substitute with cream cheese or sour cream. The varied mingled flavors that you can create with each verrine will surely leave you with a treat.