Celebrations generally continue at our place with birthdays falling in the first week of January. The Capri girl that I am, I am usually flooded with greetings not only for the New Year, but following my birthday too. I am extremely poor at remembering birth dates and I feel overwhelmed when people take effort to remember my birthday and wish me, including my close friends whose birthdays I've always missed to wish. It happens often that I end up remembering them a week or even a month later, then repenting not having wished them, once again.
The trip to Mangalore earlier during the Christmas was fun. Being at home town is always comforting and that too in a city where I grew up and spent most of my teen life. Yes, I do have a sense of belonging attached here. We relaxed and the trip took us away from all the hustle bustle of city life. We rested through our stay, while the calm, serene and peaceful city indeed did the best to our souls and we felt extremely rejuvenated post the trip.
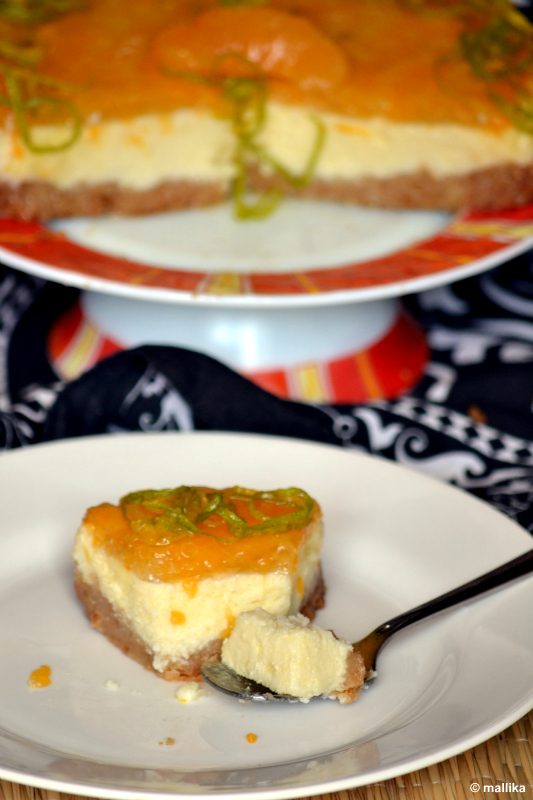
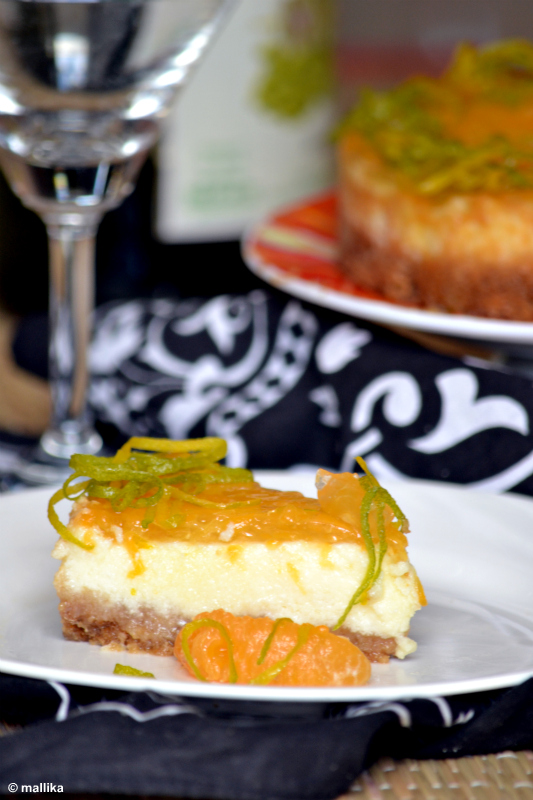
And even as we were bouncing back to our routine life, we had another trip planned in advance to Mumbai. Hubby hadn't seen Mumbai for more than a decade and badly wanted to pay a visit. With all that travel and bag packing done, there wasn't much scope for baking for my birthday. Fortunately, we were home on the New year eve. With our baby around, her sleep and food patterns would hamper her schedule and put us to trouble, so we stuck to staying indoors and partying at home. Same evening when I had a little time at hand, I put a few ingredients together and worked briskly to bake this simple yet delicious cheesecake which we not just enjoyed over the New Year Eve, but was carried over to my birthday as well.
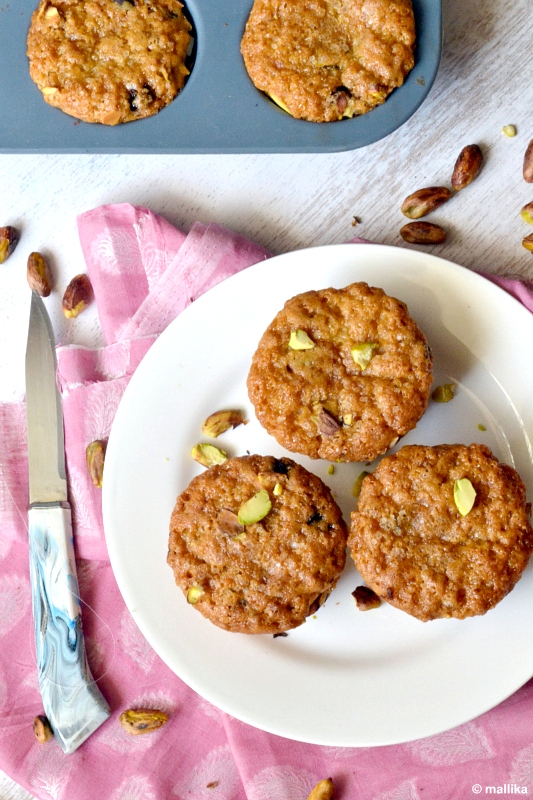
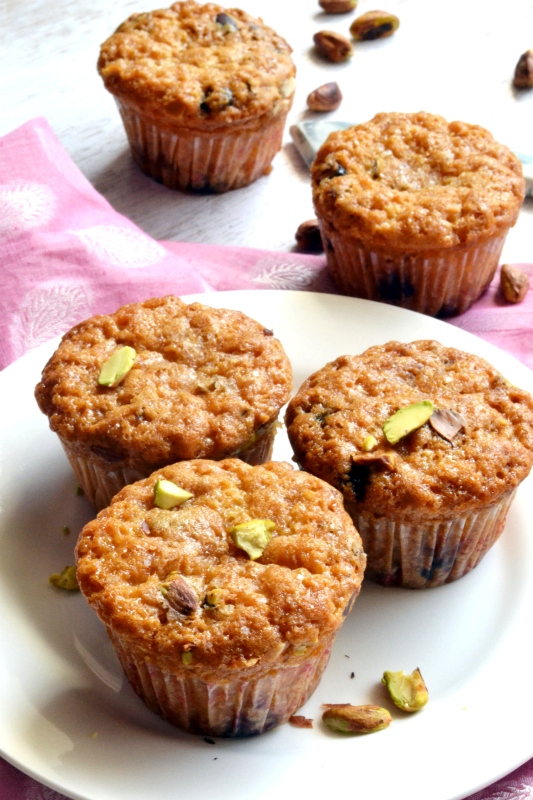
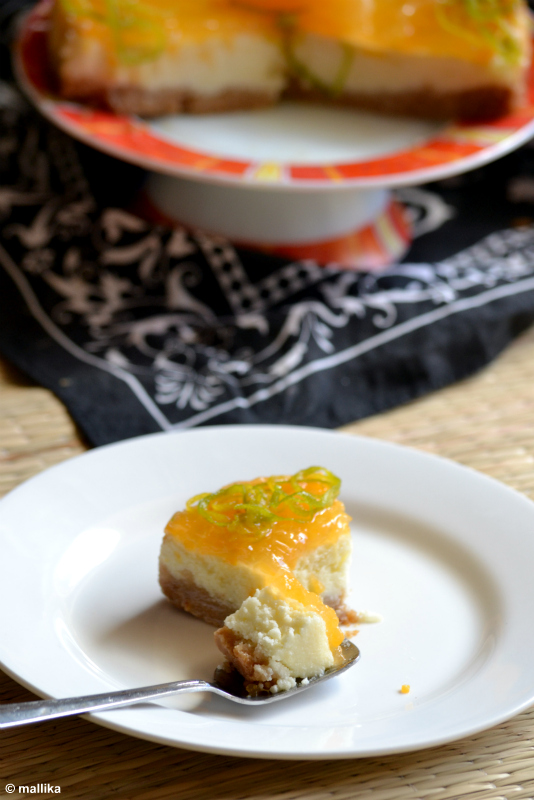
The key to a good cheesecake is to allow it to set overnight or at least for 6 hours in refrigerator. That's when the flavors develop and mingle well, also letting the cake set firmly. The cheesecake was fabulous and made up for not just the New year, but my birthday too. On the flip side, I found the crust uneven and thicker on edges and I need to work on getting them right. I also felt the filling could have increased in quantity for the crust made, which would in turn give the cake the desired height, making it more presentable. But nevertheless the cheesecake had all the flavors right. The orange flavors burst out with every bite. The orange rind is extremely refreshing and adds that zing factor to this cheesecake, so I suggest you do not miss on that. They not only add flavor, but the glamuor element to the cake. Cottage cheese cannot be tasted and blends well with the cream, thus making this cake soft, moist, cheesy, citric and rich. A totally decadent treat.
The trip to Mangalore earlier during the Christmas was fun. Being at home town is always comforting and that too in a city where I grew up and spent most of my teen life. Yes, I do have a sense of belonging attached here. We relaxed and the trip took us away from all the hustle bustle of city life. We rested through our stay, while the calm, serene and peaceful city indeed did the best to our souls and we felt extremely rejuvenated post the trip.
And even as we were bouncing back to our routine life, we had another trip planned in advance to Mumbai. Hubby hadn't seen Mumbai for more than a decade and badly wanted to pay a visit. With all that travel and bag packing done, there wasn't much scope for baking for my birthday. Fortunately, we were home on the New year eve. With our baby around, her sleep and food patterns would hamper her schedule and put us to trouble, so we stuck to staying indoors and partying at home. Same evening when I had a little time at hand, I put a few ingredients together and worked briskly to bake this simple yet delicious cheesecake which we not just enjoyed over the New Year Eve, but was carried over to my birthday as well.
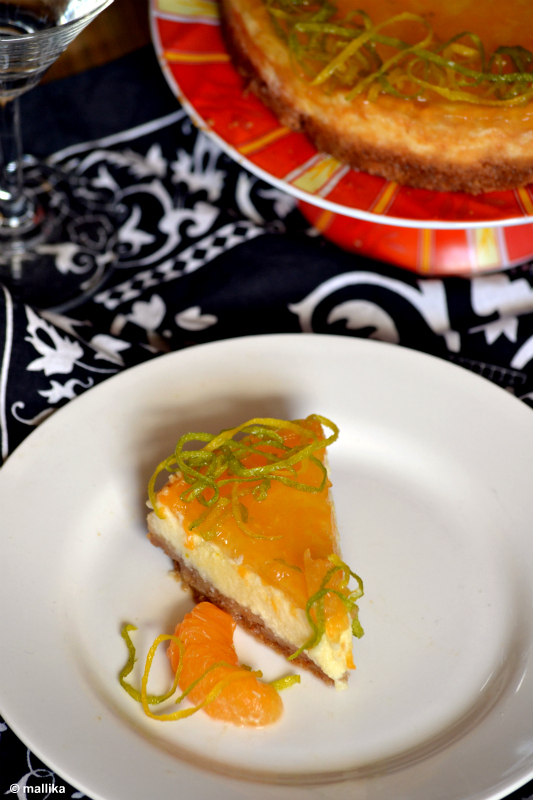
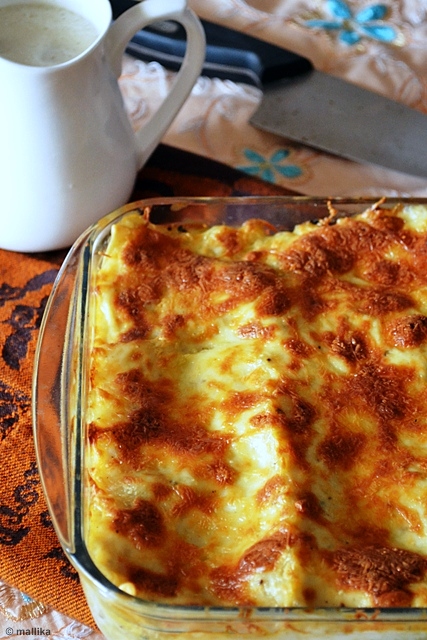
Baked Cheesecake with Orange Glaze
INGREDIENTS
For the Crust
75 gms digestive biscuit (I used McVities)
1 tbsp sugar
4 tbsp melted butter
For the Filling
1 cup grated homemade fresh paneer (cottage cheese)
1 cup medium fat cream
1/2 cup thick hung yogurt/Amul Srikhand
1 cup sugar
1 tsp vanilla extract
1 tbsp corn starch
For Orange Glaze
1/2 tsp agar-agar powder
1/4 cup orange juice, fresh or canned
1 tbsp sugar or more, depending on your taste
1 tsp orange rind
Flesh from 1 orange

DIRECTION
For the crust: Mix the finely crushed biscuits, sugar and butter and press the mixture evenly into a 6" diameter loose bottom tin or a spring-form pan. Chill in a freezer.
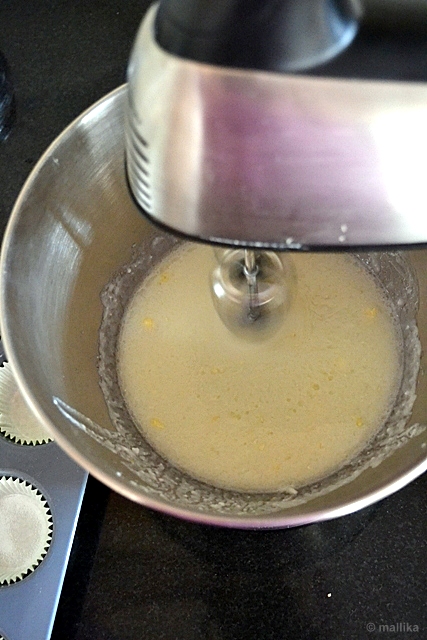
For the filling: Blend the paneer till it's liquid and pour-able. Add the hung yogurt and sugar to blend with paneer further. Ensure it's blended well uniformly. Whip in the medium fat cream and add it to the above mixture along with corn starch and vanilla. Whiz once more.
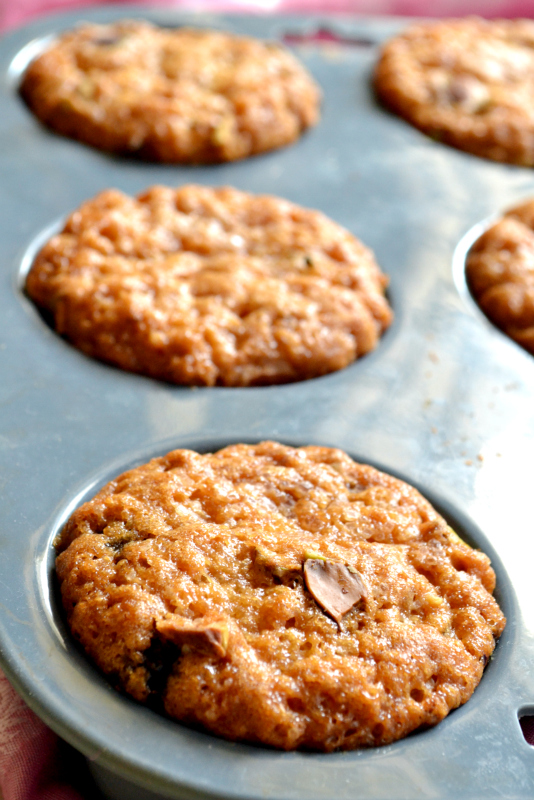
To assemble: Pour the filling over the set crust. Bake in a hot oven at 200 degree c (400 degree f) for 15-20 minutes or till the sides are set and the center is still a little jiggly. Remove and allow to cool in th refrigerator.
To prepare the glaze: Dissolve the agar in cold water and bring it to boil. Add in the orange juice, rind, sugar and orange flesh. Bring to a boil and pour on prepared cheesecake. Allow to set. Decorate with orange rind if desired.

The key to a good cheesecake is to allow it to set overnight or at least for 6 hours in refrigerator. That's when the flavors develop and mingle well, also letting the cake set firmly. The cheesecake was fabulous and made up for not just the New year, but my birthday too. On the flip side, I found the crust uneven and thicker on edges and I need to work on getting them right. I also felt the filling could have increased in quantity for the crust made, which would in turn give the cake the desired height, making it more presentable. But nevertheless the cheesecake had all the flavors right. The orange flavors burst out with every bite. The orange rind is extremely refreshing and adds that zing factor to this cheesecake, so I suggest you do not miss on that. They not only add flavor, but the glamuor element to the cake. Cottage cheese cannot be tasted and blends well with the cream, thus making this cake soft, moist, cheesy, citric and rich. A totally decadent treat.