Showing posts with label Desserts. Show all posts

Sous Vide Strawberry Cheesecake Jars

How to make Sous Vide Strawberry Cheesecake Jars | Easy Cheesecake Pots Recipe
For long, I have stayed away from baking desserts or breads that require me to take that additional step of caution, such as wrapping cake tins with foil, or placing ramekins in a water bath or creating steam to bake crisp crusted breads. For this reason, I haven't made cheesecakes in a while. I love them and seeing the small bites of the silky sweet cheesy treats, especially during the Christmas Eve holiday parties always brings joy and smile to my face.

KitchenBoss Sous Vide Cooker


Making cheesecakes at home aren't tricky anymore, especially after discovering a new alternative to cook them to perfection. Making these Strawberry Cheesecake Pots in my new KitchenBoss Sous Vide Cooker to celebrate the daughter's birthday earlier this week on Monday was such an absolute delight! The cheesecake was cooked to perfection and most of the job was done unattended. I love desserts in jars, and making sous vide way has got to be my new favorite. It cooks unattended, there's no overcooking, results are perfect because the temperature is regulated, I love serving individual portions and the longer life because of the sealed mason containers - these are good enough reasons for me to love sous vide. I've been experimenting with quite a few recipes the sous vide way and I've been able to ferment a big jar of yogurt and dosa batter successfully! Loving the ease of using my new KitchenBoss Sous Vide Cooker, hence will be using it more often.

For the uninitiated, Sous vide means “under vacuum” in French. This technique has been long used by restaurant chefs to slow cook the food in a water bath for longer time at a precisely regulated temperature, which makes food more succulent and retains the flavors. And now KitchenBoss has made access to this gadget so much easier by bringing this to our homes.

Strawberry Cheesecake Jars


I have a giveaway going on my Instagram handle so I can introduce to the world of Sous Vide cooking too! Yes, it's a KitchenBoss Sous Vide Cooker Newest Model (G320) Giveaway!

KitchenBoss has generously agreed to select one of you to receive their newest Sous Vide Cooker (G320) for free and learn about their feedback! If you’re interested, you could participate now by following these steps:

1. Like the post and leave a comment.
2. Follow @kitchenboss_official and @vegbowl on IG On March 26, 5:00 pm (PST)

KitchenBoss will randomly select and tag the lucky audience in a comment underneath this post and he/she is going to receive a direct message from @Kitchenboss_official on IG on how to proceed. This giveaway is open to USA only. But if you know of your relatives and friends who reside in the US or have a US shipping address, you are free to participate too.

Sous Vide Strawberry Cheesecake Pots


Sous Vide Strawberry Cheesecake Pots

INGREDIENTS

For the base
8 Lotus cookies
1 ½ tbsp melted butter

For the filling

226 gm cream cheese (I used 1 pack of Philadelphia Cream Cheese)
1/3 cup condensed Milk (I used Nestle Milkmaid)
1/4 cup thick Greek yogurt
1 tsp vanilla extract

DIRECTIONS

For the cookie base, pulse the Lotus cookies and butter in a food processor until it forms a coarse mixture. Take 2 tbsp of this mixture and press them to the bottom of 4 mini mason jars. Keep the jars in the refrigerator for 15 minutes. Meanwhile proceed to make the cheesecake filling.

In a bowl whisk the cream cheese until smooth. Next add condensed milk, yogurt and vanilla extract. Whisk till well blended. Divide the prepared cheese batter into the 4 mason jars that was layered with biscuit butter. Leave about 1 1/2 inches of room at the top of each jar for the cheesecake to expand slightly during the cooking process. Tap the jar against the counter top gently to remove any air bubbles and smooth out the top with a spatula. Cover the jars with lids and seal it just enough to close, but do not tighten them.

Cook the cheesecakes:

Place the sous vide cooker in a pot of water and set it to temperature of 194 deg F at 1 hour. Once the water has come to the set temperature, place the jars in the water and cook for an hour. Once coked, remove the jars carefully and allow them to cool. For the best tasting cheesecake, refrigerate the jars for atleast 4 hours or overnight to allow them to set well before serving.

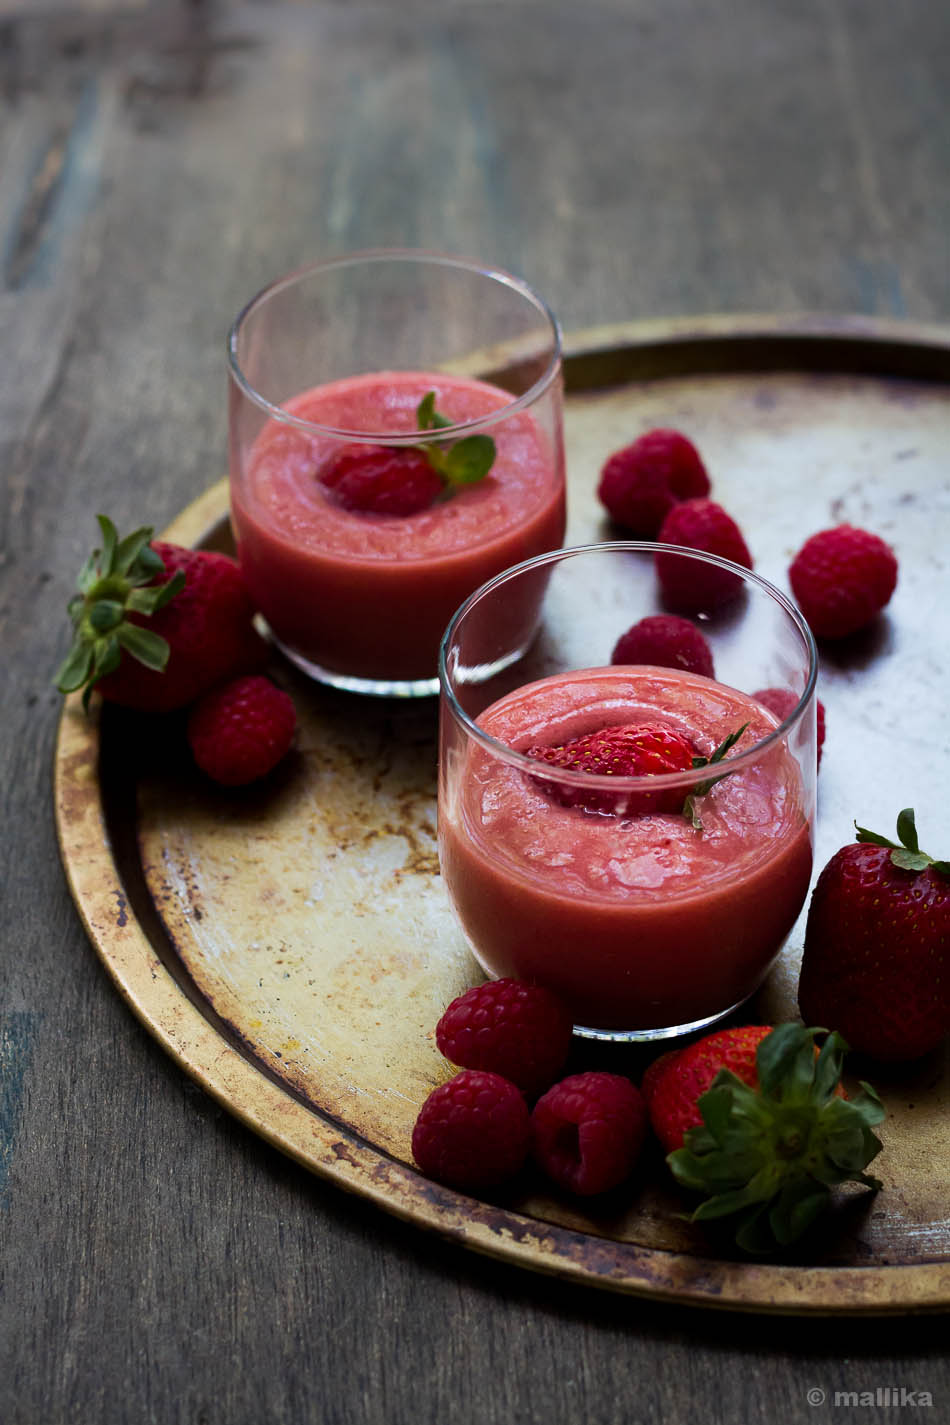
Make the strawberry topping: Finely blend 6 strawberries with 1 cup water and 1/2 tsp agar agar powder. Pour it into a pan and cook on medium heat till it comes to a rolling boil stirring well continuously. Turn off the heat and allow to cool slightly. Pour over the prepared cheesecakes till it fill up to 1/2 inch in height. Place the pots in the refrigerator for the topping to set well.

Recipe Notes

Use only thick Greek style yogurt or hung yogurt for this recipe. Homemade yogurt will have to be strained through cheesecloth overnight till it's water is drained out and it's thick for use.
You can top the Cheesecake with any fruit compote of your choice. It goes well with fresh fruits, berries and a dollop of whipped cream too.
You can also make these cheesecake pots the traditional way in a preheated oven, placing the mason jars / ramekins in a water bath and baking them for an hour. The lack of eggs here really helps and is not missed, yet the cheesecake is moist and decadent.
Vegan Crepes with Strawberry Coconut Cream

Vegan Crepe Recipe with Strawberry Coconut Cream.
Vegan Crepes 👆🏼 for your Valentine's Day. Are you looking out for an inspiration to make your Valentine's Day morning better? Or may be a dessert if you don't wish to bake? I have just the right recipe for you. A quick and easy Breakfast Crepe that's eggless and vegan and you can make and serve them under few minutes to please your Valentine 🥰. Crepes are versatile. They can be served as breakfast, main course or even desserts! This recipe I have for you is very adaptable to a savory version and you can serve it with any accompaniment of your choice. Stir fried mushrooms with spinach is my favorite! Think of it as an instant dosa. Slather some Mango Jam or stuff it with Indian styled Stir-Fried Potatoes.

Vegan Crepes with Strawberry Coconut Cream


Vegan Crepes

INGREDIENTS

1 cup all-purpose flour (can be replaced with whole wheat flour for healthier version, but the taste will differ)
1 1/2 cups unsweetened milk of your choice
2 tbsp neutral flavored oil
1/4 tsp salt

DIRECTIONS

Blend all the ingredients in a high speed blender until smooth. Allow it to rest for 20 mins. Heat a griddle pan and drop a small laddle of batter on it. Swirl it gently from the center to the edges to form thin crepes (similar to dosa). Cook for a minute on medium low heat. The sides will lift off easily when cooked. Carefully remove and serve it on a plate. Top with Strawberry Coconut Cream (recipe below), sliced strawberries, bananas and drizzle of maple syrup.

Strawberry Coconut Cream

INGREDIENTS

1/2 can full-fat coconut milk, refrigerated for 24 hours
2 tbsp. strawberry jam (homemade or store-bought)
1 tsp. vanilla extract

DIRECTIONS

Beat the cold coconut cream on medium speed for 4-5 minutes. The cream should become light and fluffy. Add in the strawberry jam and vanilla extract, and beat until incorporated. Adjust the jam to your taste and sweetness. Serve immediately along with the crepes.

Tiramisu

Make Tiramisu without raw eggs| Easy Tiramisu Recipe
I love baking cakes. Simple, quick and easy frost-less cakes are my kinds. The bare minimum, one bowl kinds. Also, by that I mean, they should come together with least effort, have less frills, are presumably uncomplicated to make, like a simple chocolate cake, or a tea cake without having to fuss over any frosting; the one that you can nibble plain as a snack. A fresh baked fruit bread that goes into the oven and is out on the plate in under an hour, enjoyed with a slather of butter alongside a cup of hot beverage, or for that matter, a pound cake or coffee cake with strudel topping fits my list well too. They are the kinds you sink your teeth into when a sudden craving to savor dessert hits yours sweet spot at ungodly hours. That's my kind-a-cake.

No Egg Tiramisu


Now, here's some word of truth. You see, I'm wary of baking tall towering cakes that have layers upon layers of sponge soaked in sweet juices and sandwiched with cream and fruits. Their surface embellished with delicate frosting of either whipped cream or fancy buttercream, topped with garnishes of fruits, chocolates and other fares make them elements of beauty, and treat to the eyes. Their delicateness is seen from the knee deep effort going into making them, hours sacrificed into adorning, an exercise of thought, patience and dedication. They demand attention and honor as they gleam tall on pedestal, deserving an applause. They mark a perfect score for being the right celebratory desserts to raise a toast to honor an occasion.

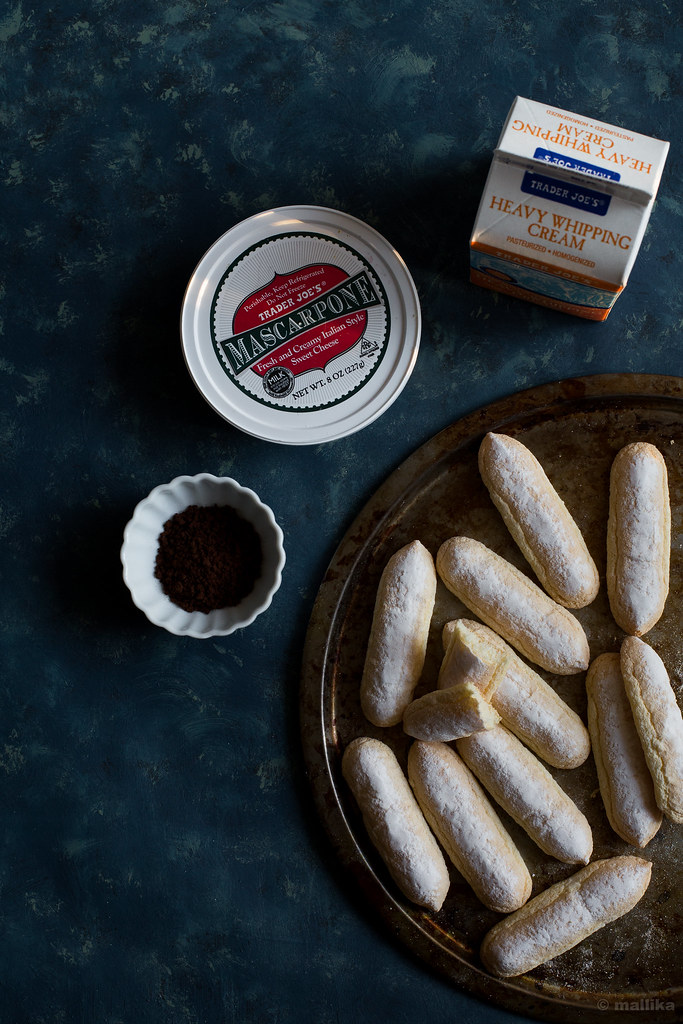
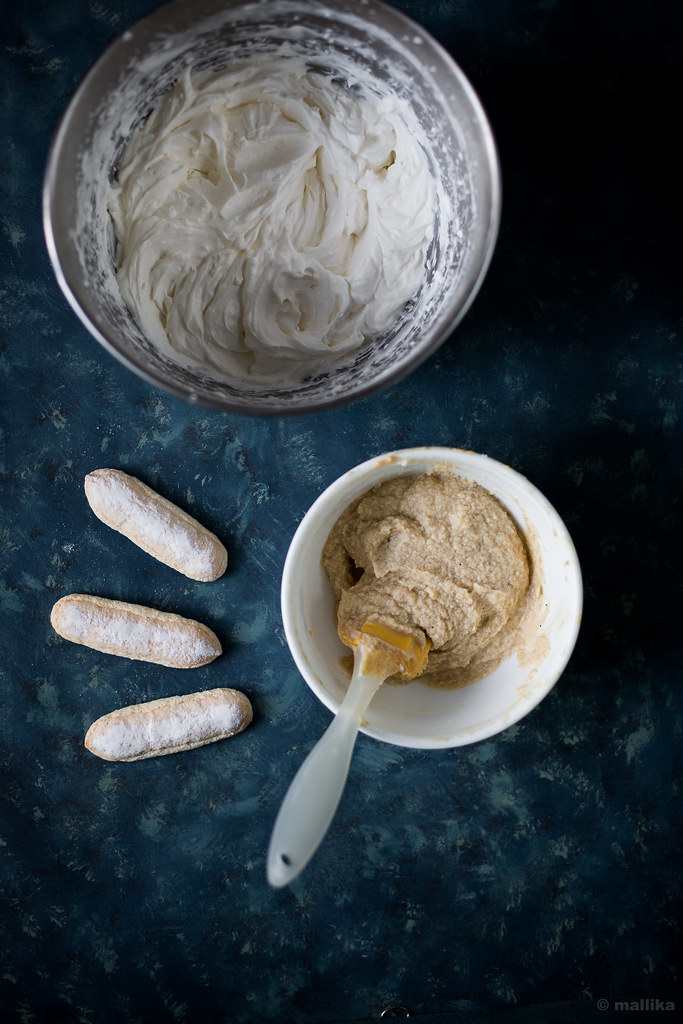
Tiramisu Prep
Tiramisu_Prep


Such cakes are fantastic, but not the everyday kinds. Neither do I have such occasions to celebrate that often, nor do I have the immense amount of patience (read motivation) needed to dole out multi tiered cakes that can be my pride and my pal's envy. Even when few odd urges to bake such cakes trigger, I have flopped miserably, often ending up with torn crumbs, messy fingers and merely half the cream in my mouth, not to forget the mounting annoyance caused by the cake failing to abide by my whims and fancies. I end up in exasperation, it's vexation so palpable that I resolve not to bake a tiered cake in months to come. Patience is truly a virtue, for all those who have it.

But then there are cakes like this Tiramisu that go-betweens. They don't take much of an effort to put together, but are celebratory enough to grace an occasion and make it rave-worthy. They have all of charms of layered cake but with minimal labor. You can make them in wine glasses and serve individual helpings or have a free standing cake that beams layers of cake and cream. They are so simple to make and taste so darn luscious that it can put a elaborate cake into shame!

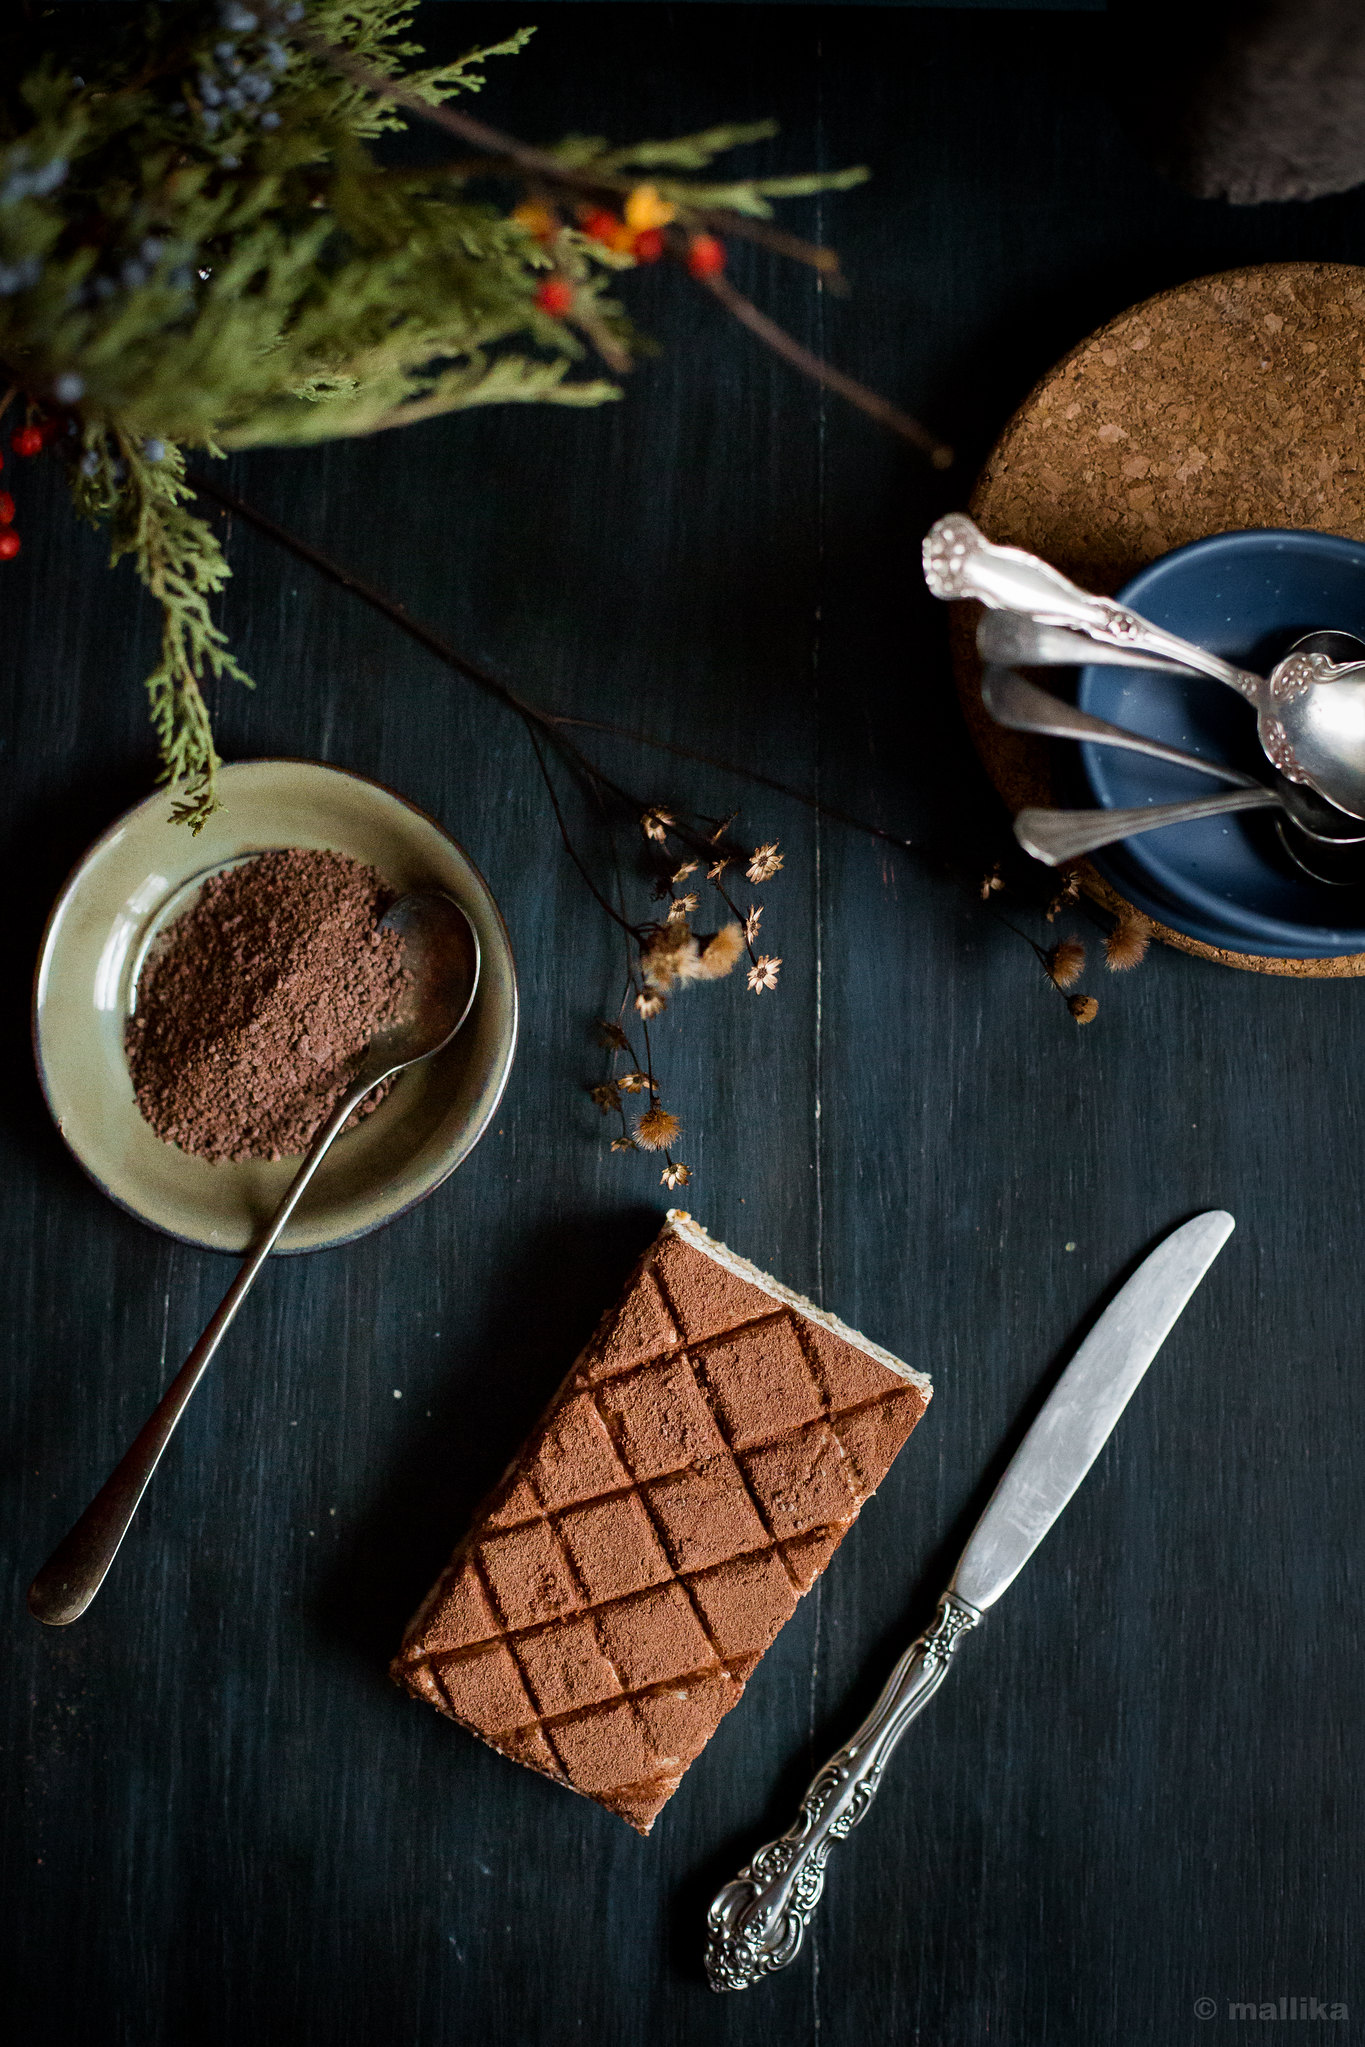
Tiramisu


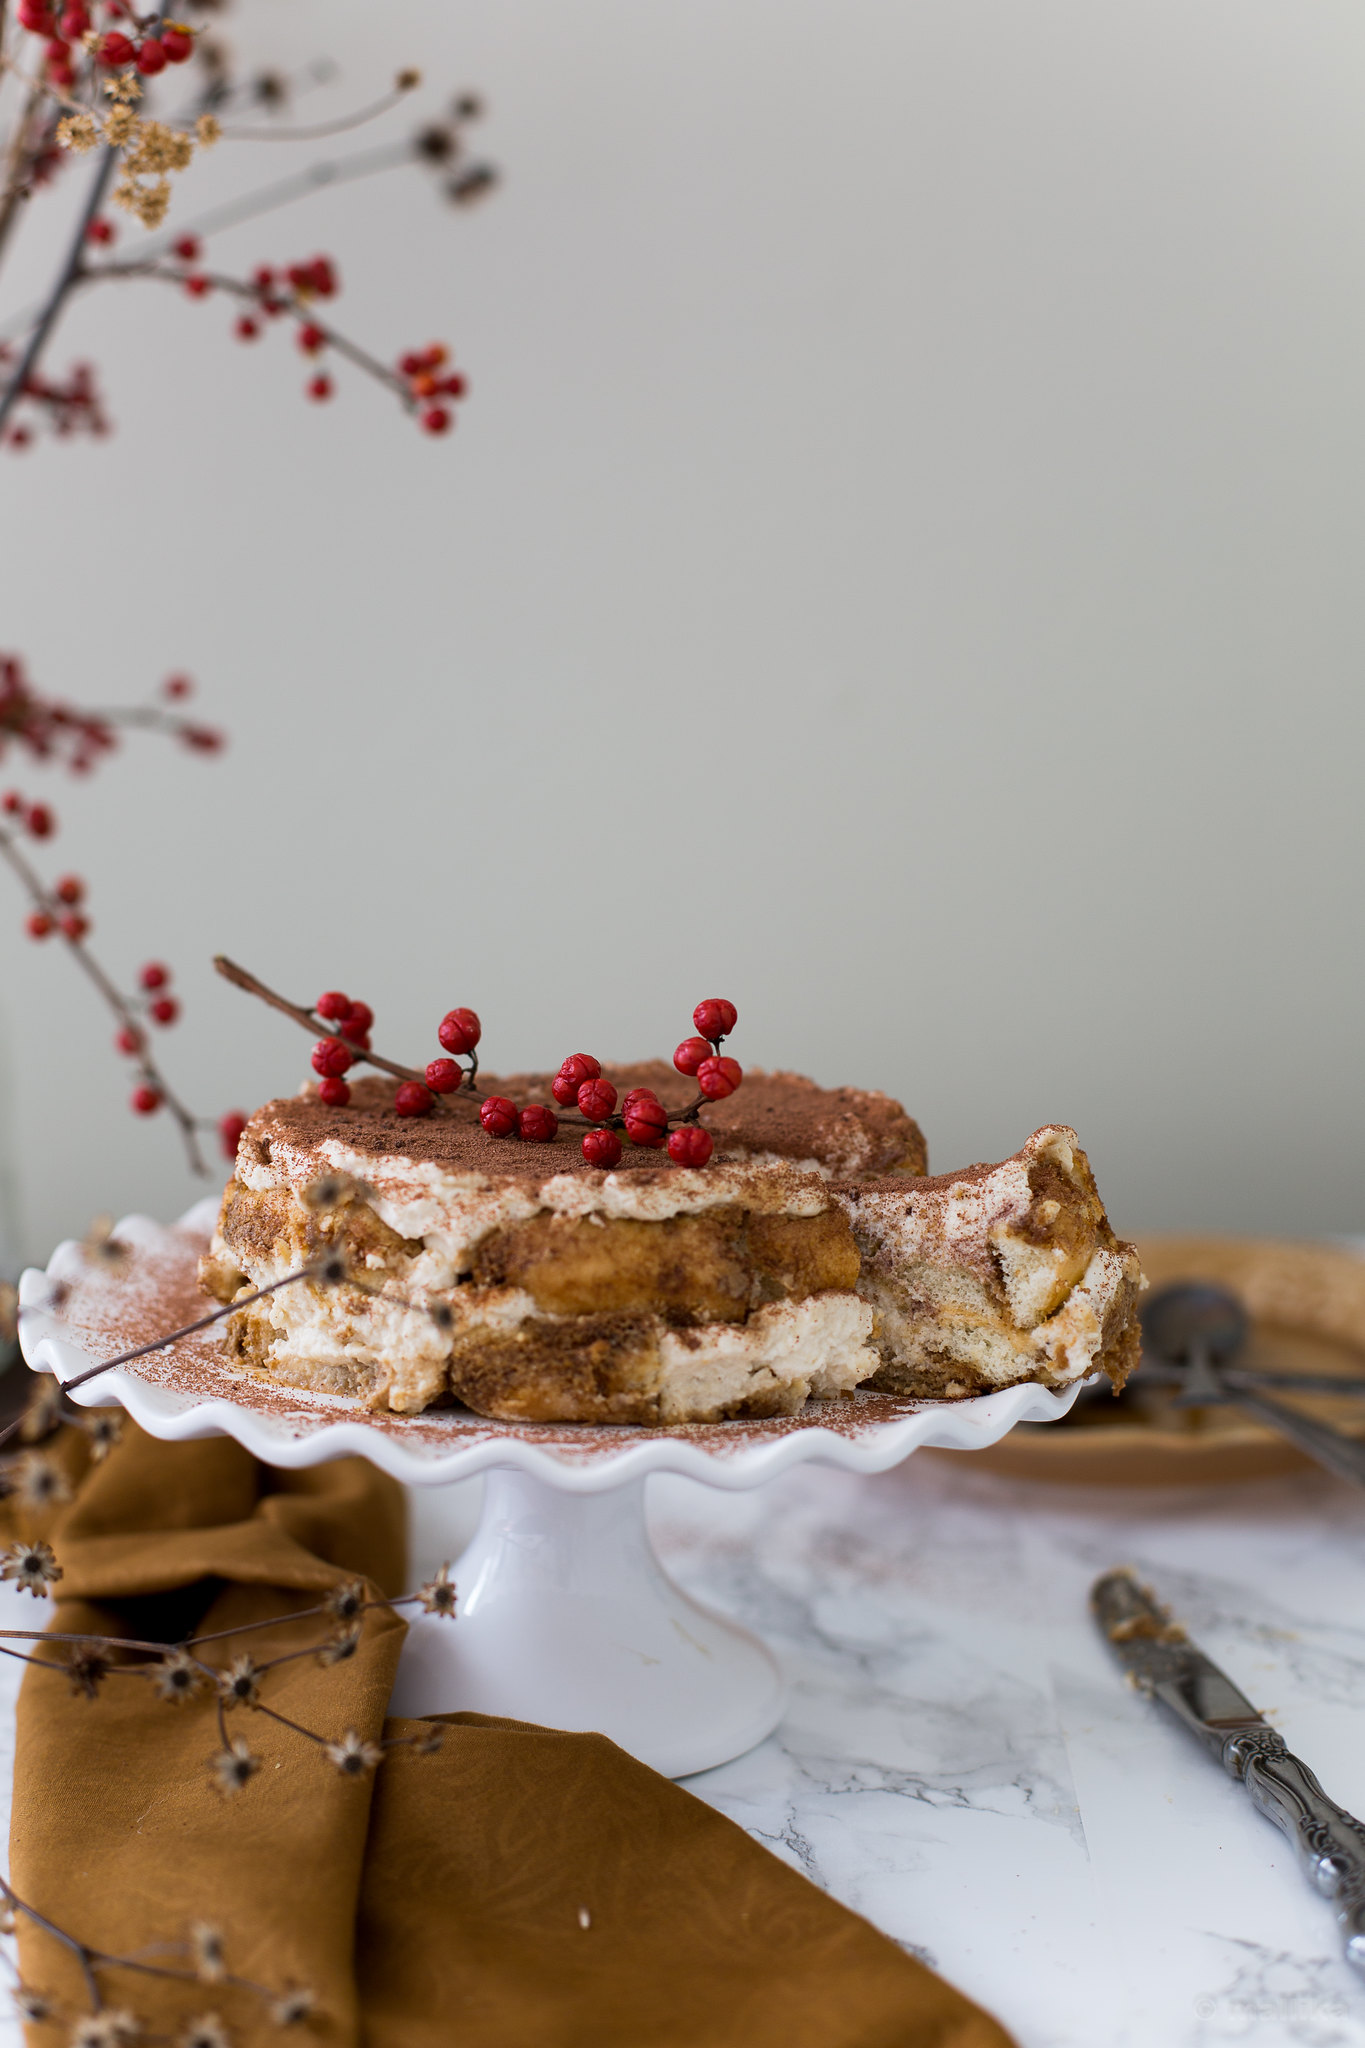
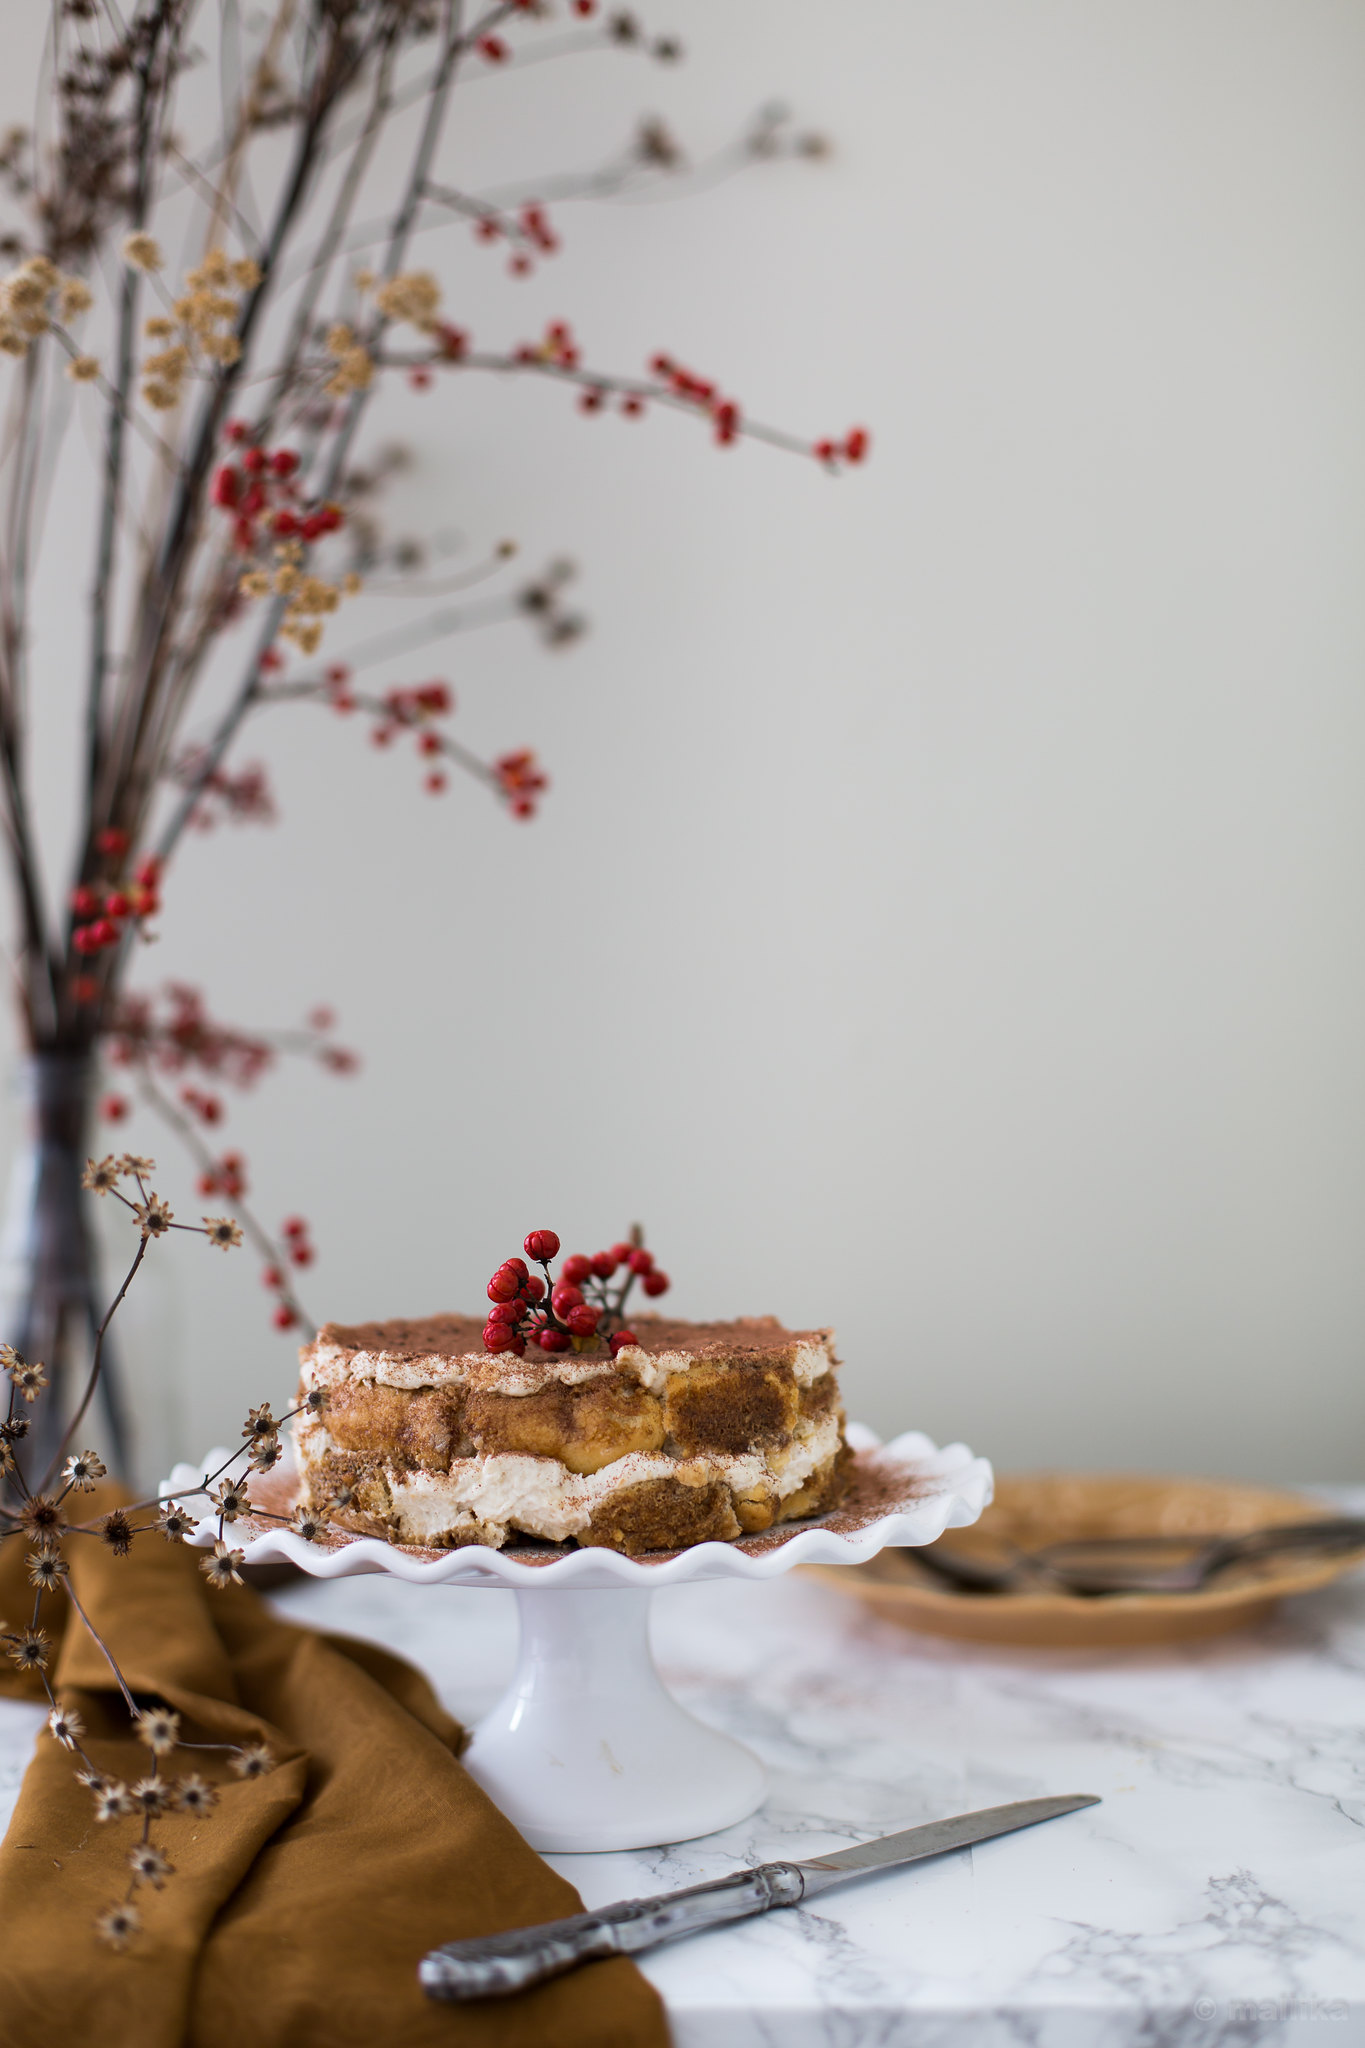
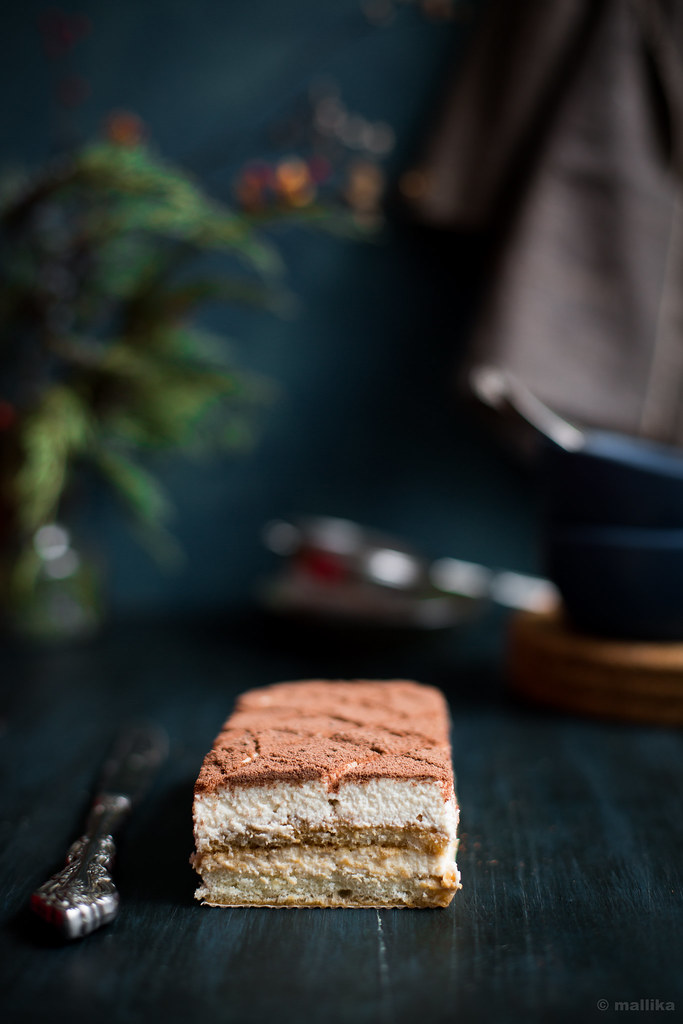
It was for Christmas eve party that I first made this Tiramisu cake and ever since then it has gone on repeat at home. You'll see them from the different photographs I took on two different occasions. Any why not! It's possibly one of the most easiest exotic looking dessert that tastes luxuriously rich, and indulgent and looks hours worth of effort, while it really isn't. This Italian celebratory dessert made by layering coffee spiked cookies, and sweet mascarpone cream, with a dusting of chocolate is a perfect dessert for any occasion or a celebration. Its simple, yet sophisticated. Put it on a cake stand, make it your centerpiece and it's sure to bring applause.

Traditionally, the cream for Tiramisu is made using mascarpone and zabaione (which is a custard made from egg yolks and sugar). This is a far simpler version where no raw eggs or alcohol is used, hence an ideal dessert for young kids too. Try this recipe at home and I bet you will love the ease of making it!

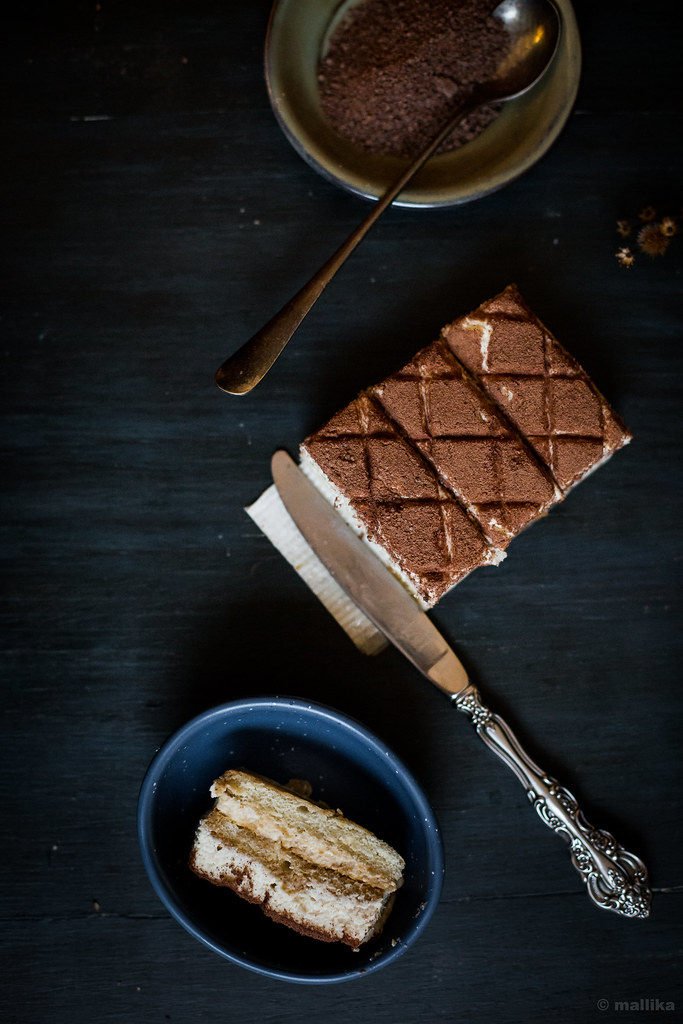
Tiramisu_Sliced


Easy Tiramisu (No Raw Eggs, No Alcohol)

INGREDIENTS

1 cup mascarpone cheese at room temperature (227 gm)
1 cup heavy whipping cream, chilled (236 ml)
1/2 cup sugar + 2 tbsp. for the coffee brew
28 Italian ladyfingers or Savoiardi cookies
1 cup very strong brewed coffee
1 tbsp. cocoa powder or grated chocolate for dusting

DIRECTIONS

1. Prepare a strong brew of coffee by mixing 2 tbsp. of instant coffee granules into 1 cup of hot water. Stir in 2 tbsp. of sugar and mix well till the sugar dissolves. Set aside.

2. Next, in a medium bowl, whip the chilled heavy cream and sugar with an electric whisk till near stiff peaks are formed. Carefully add in the mascarpone cheese into the whipped cream and fold gently till its uniform. Note - I added a tsp. of instant coffee granules into mascarpone cheese to intensify the coffee flavor. You can add a few tbsp. of coffee flavored alcohol instead.

3. Line the pan (either a cake pan or a loaf tin) with a plastic wrap so that it overlaps and hangs on the sides. This will help in easier and cleaner removal of the cake.

4. Pour the warm coffee decoction into a wide bowl. Dip each ladyfinger cookie one at a time, until soaked but not soggy and place them side by side on the bottom of the lined pan. Don't soak the cookies too long, else it will cause them to fall apart. I do this by dipping only the upper half of the ladyfinger (the sugar crusted side of the cookie) into the coffee decoction, placing the dipped side facing up. Consume half of the cookies in case you want 2 layers, and one-third of cookies in case you plan 3 layers. I do not suggest going above that as it can make the cake cutting quite flimsy and prone to dismantle. You can also layer the cake in a round film-lined tin, breaking the ladyfinger to fit the rounded sides as you go.

5. Spread one-third of the sweet mascarpone cream over the ladyfingers. Repeat with a second layer of espresso-dipped ladyfingers, this time arranging them in the opposite direction. Top again with another one-third of the sweet mascaporne cream. Repeat again if you want to go another layer, spreading the remaining mascarpone cream on top. Finally dust with the grated chocolate.

6. Cover with Tiramisu cake with plastic wrap. Refrigerate it for at least 4-5 hours or preferably over night.

7. To serve, remove from the refrigerator, undo the plastic wrap and dust with grated chocolate powder.

Tiramisu

Easy Cinnamon Rolls

How to make Cinnamon Rolls with Cooked Frosting | Easy Cinnamon Rolls Recipe
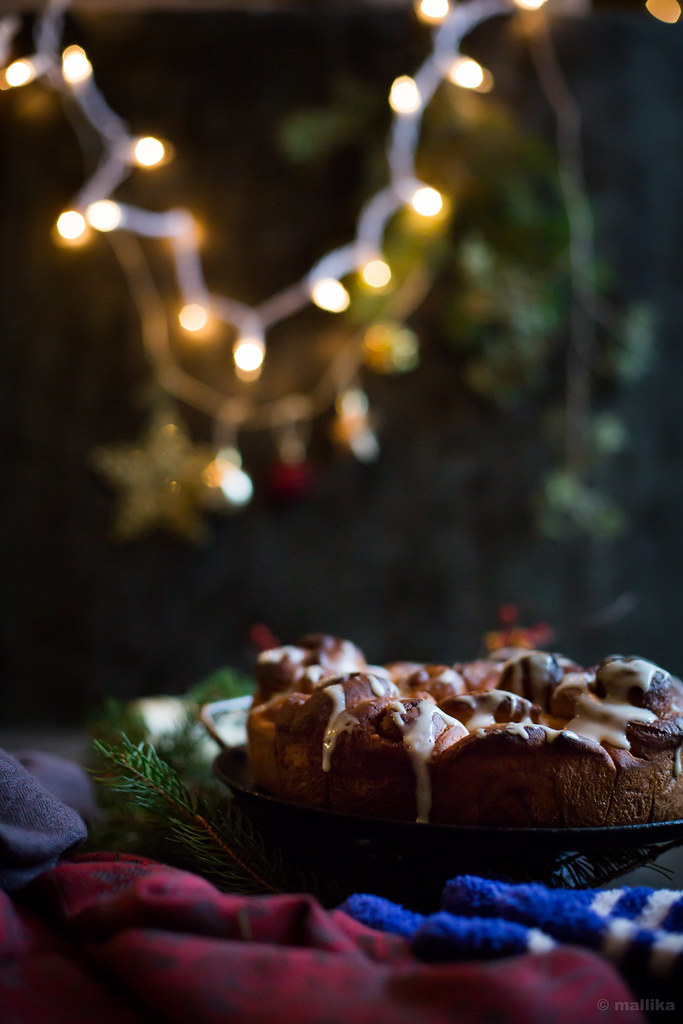
With Christmas around the corner and less than 4 days to go before you can sing Hallelujah, the Lord has come, I thought I'll peep in to help you with a lovely classic breakfast for your family to wake up to this Christmas morning. Its typically Western, hearty and sweet to call your morning off to a good start, supple enough that you may want to lay your head on it and snooze again, gives you the comfort of your bestie's company, and is the festive sorts that you can set up on table for your guests to dessert on.

Rising Bread DoughCinnamon Rolls (1)


For the longest time, I've had aversion to cinnamon in all things sweet. Let me not even get to the whys of it, for all I know, cinnamon in my arena existed best in the legion of savories, given the exception for a good Christmas fruit cake where it favorably unites with clove, cardamom and other spices, veiled in a way that it does not hit your senses directly and ruin the flavor. But, here it comes finally, the world coveted Cinnamon rolls looming right out of my kitchen to yours. I’m close to being a convert, convincingly not a cinnamon-dessert-hater anymore. These don’t look a lot like the traditional rolls. I mean they are not enormous in size to consume your palm, certainly not the perfect looking rolls that stand flawlessly edged shoulder to shoulder giving them a clean rip, nor do they bask in the sugary coated frosting that sinks into every groove merrily.

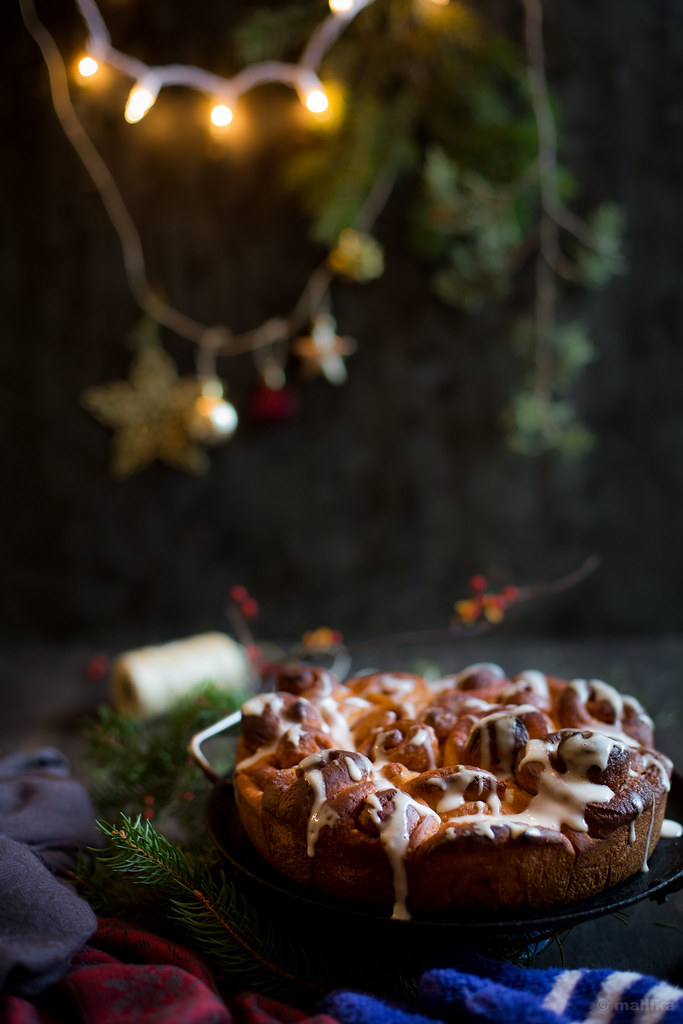
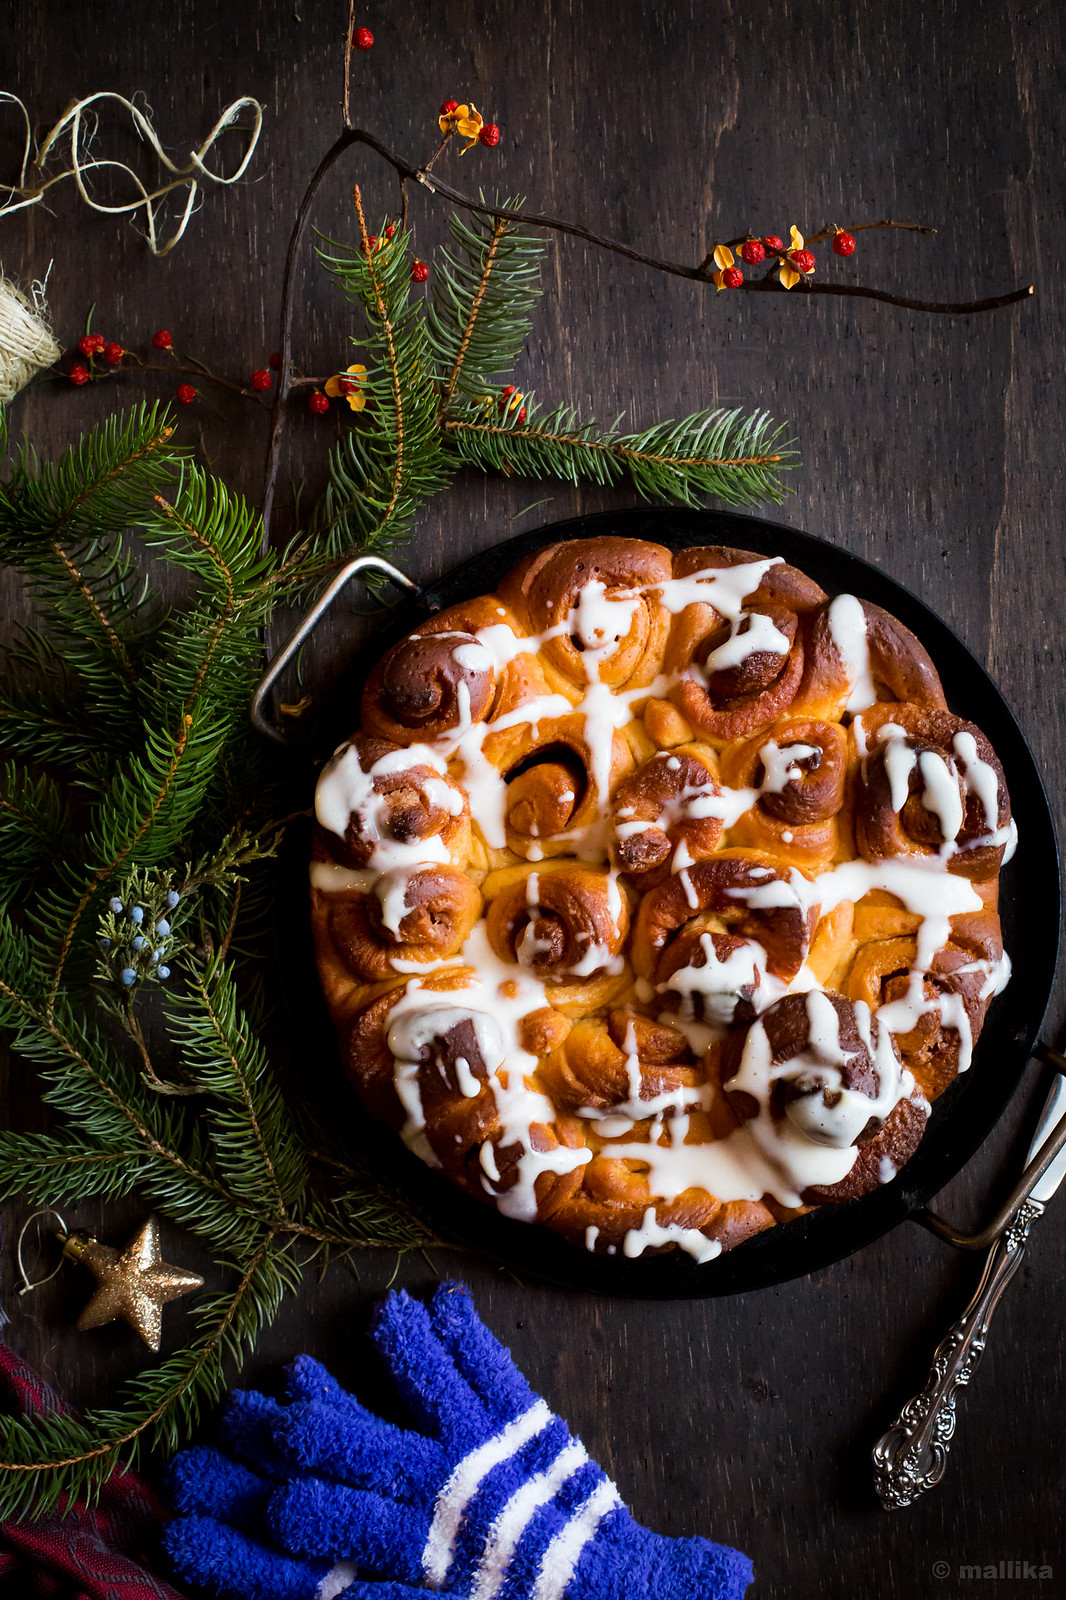
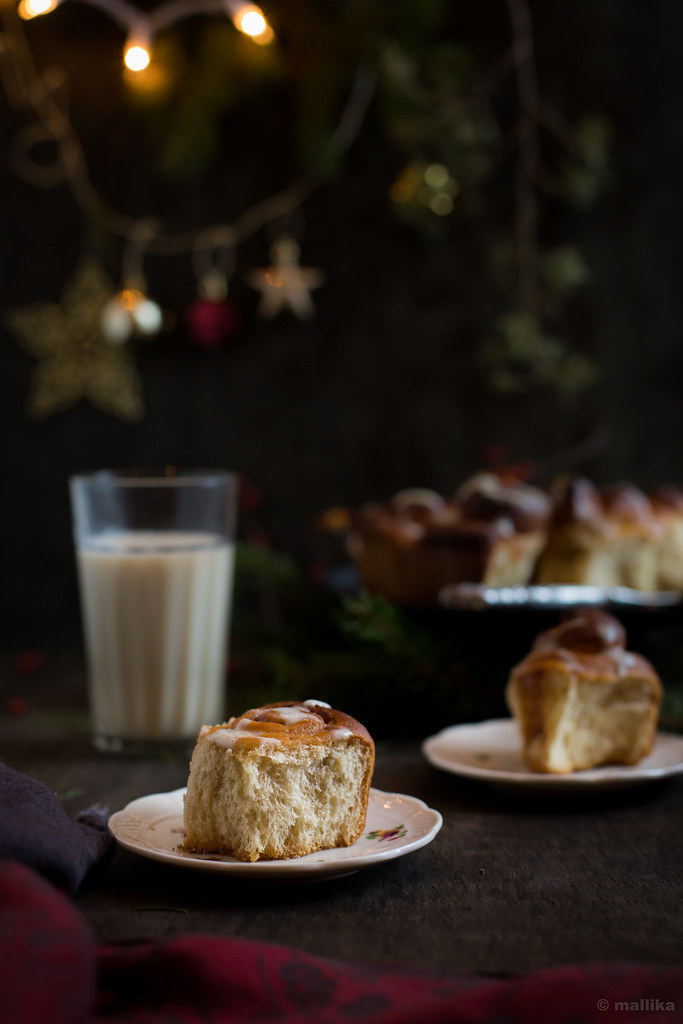
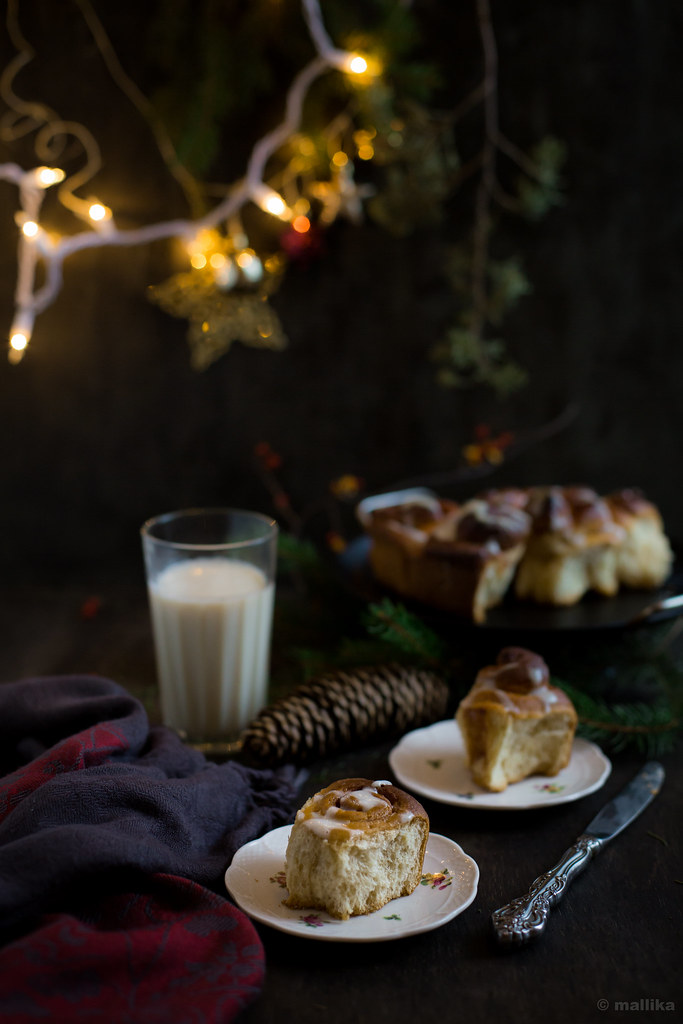
I would probably rechristen these as cinnamon pull apart rolls; owing to the pans I had and the amount of dough I made, they ended up this way. But they are cinnamon rolls essentially, so let's stick to that. They don’t snatch away the authenticity from the traditional ones. They smell great in and out of the oven, are near identical in their recipe, forgiving the eggs in the dough. They sat squishing in an eight inch round baking pan, my ideal dish to bake a nice chocolate cake in, but this time around they doubled up as my bread pan too, saving me gracefully from sunken cockeyed bread had I baked them in my ten inch dish instead. They nudged for space as they puffed up on their second sitting, and, by the time they were out they looked glorious in their golden crevices and sugar burnt hunches, flattering into characteristic pull apart rolls that need to be forked by the thumb and forefinger to tear them apart from their siblings. There’s a fun thing to it, to tear it apart in submission in an imperfect way and dunk it in milk over giggles and laughters with our little girl while tapping our feet to the melodies of Christmas jingles. That’s when you know you are up for a good start to a holiday season.

Cinnamon Rolls (2)


The frosting is purely optional. As for a daily bread, I would stay away from frosting these. They are sweet on their own and make a wonderfully perfect Sunday breakfast with a slather of some salted butter, or cream cheese and coffee by the side. But we are in a holiday season, and that calls for some adornment on the table to give it a festive ring. I have a clean, less sweeter old fashioned cooked vanilla frosting recipe that works really well for me. Since the bread is sweet by nature, a lighter frosting like this one is pleasing to our tastes. Unlike the traditional frosting where you mix milk to confectioners’ sugar till you get a desired consistency, this one is far better version that gives me a similar thick pour-able consistency, albeit far less sweeter than the original version. Give it a try, may be you'll fall for these too.

Cinnamon Rolls Plated


Cinnamon Rolls with Cooked Vanilla Frosting

INGREDIENTS

For Cinnamon Rolls:

2 1/4 cups all purpose flour
3/4 cup milk (I used full fat milk)
1/4 cup butter
1/2 tsp salt
1/4 cup coconut sugar
1 tsp. active dry yeast (or rapid rise)

For the Cinnamon Sugar Filling:

1/4 cup light brown sugar
1 tbsp. cinnamon powder
2 tbsp. melted butter

For the Cooked Vanilla Frosting:

1 cup full fat milk
3 tablespoons all-purpose flour
1/3 cup coconut sugar
1/4 teaspoon vanilla

DIRECTIONS

Heat the milk and butter in a large sauce pan till the butter has melted into the milk. Remove from heat and add in the sugar. Stir well and allow it cool down to lukewarm. The milk should be tepid enough to activate the yeast, but not too hot, else will kill the yeast.

Transfer the warm milk to a large mixing bowl and sprinkle yeast into it. Let it sit for 10 minutes, so that the yeast can feed on the sugar and froth.

Next, add flour starting with 1/2 cup at a time and stirring well as you go. Once it forms a loose batter, add the next half cup of flour and stir well. This will help activate the gluten in the dough and yield soft supple dough, resulting in a good, fluffy bread. Continue using all of the flour and stir well with each addition till it comes together to form a sticky dough. Knead it for a minute or two till its soft and supple.

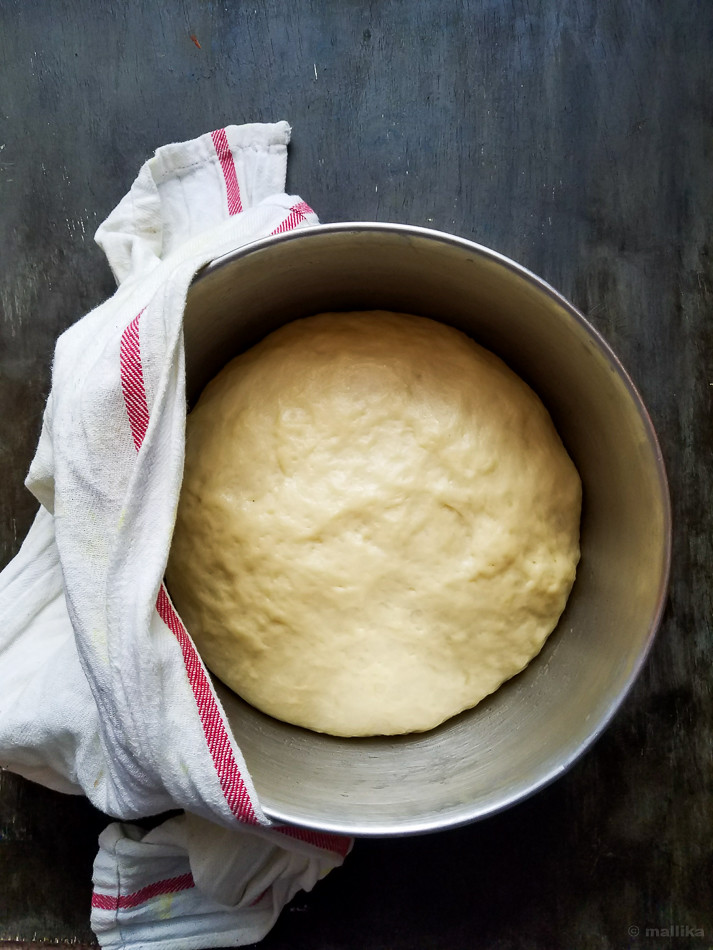
Place the dough in an oiled deep dish and cover it with a dish cloth. Let it rise in a warm place for about 2 hours. By this time the dough should double in size.

Transfer the dough to a lightly floured surface. I use the clean kitchen counter top that provides me ample space to work my dough on. Using a flour dusted rolling pin, roll the dough into a thin long rectangle. Brush it generously with melted butter. Prepare a mix of sugar and cinnamon powder and sprinkle it generously all over the dough.

Starting at the longer edge side, roll up the dough as tight as you can till forms a long log. To avoid opening up, place the seam side down. Using a cleaned knife dipped in flour, cut the log into slices of 1.5 inch each. Butter a 8x8-inch round baking tin. Place the rolls into the buttered tin, next to each other. Brush the rolls with some melted butter. Set aside to rise again for 45 minutes.

Preheat the oven to 350 degrees F. Bake the rolls for 25-30 minutes or until the bread is golden brown in color. If the top of the bread seems to change color sooner, while the underside still seems uncooked, cover the top with an aluminium foil and continue to bake till done.

Remove from oven and allow it to cool completely. Frost as desired.

For the frosting, combine milk and flour in a saucepan. Cook over medium low heat, stirring constantly, for about 3-5 minutes. The mixture should thicken and come to a boil. Add in sugar and stir well. Boil till the mixture coats the back of a wooden spatula, i.e. of custard consistency. Turn off the heat. Stir in vanilla essence. Cool completely. Before serving, whisk the frosting really well and swirl using a spoon on the cinnamon rolls.

Eggless Cinnamon Buns

How to make Healthy Raw Brownies | Easy Raw Brownie Recipe
Be thankful for what you have; you'll end up having more. If you concentrate on what you don't have, you will never, ever have enough. - Oprah Winfrey

Its Thanksgiving tomorrow and under five weeks, we'll be well into Christmas, my favorite time of the year when all else goes still and only food and festivities shall prevail. I am excited and am so looking forward to it. As for now, there isn't a grand event of celebration lined up for tomorrow, but, we'll take joy in the holiday to follow, time for togetherness and bonding over relaxed morning, lazying noon and a slow evening. Hurray to no work, no deadlines, no meetings for a day. We'll wake up late in the bed, follow a laid back routine and lavish a little on a good homemade breakfast. The day calls for my time in kitchen, where get to I play with pots and pans, may be tossing up some flour, butter and sugary goodness into a ton of fruits to come up with something worthy for Christmas. A cake is in store, a Christmas fruit cake that I can hopefully talk about in posts to come. We'll have our family at the table, the three of us, savoring lunch in an austere way, which in itself is a small celebration to do on a weekday - bringing in tit-bits of our weekend-ness, in a little modish way.


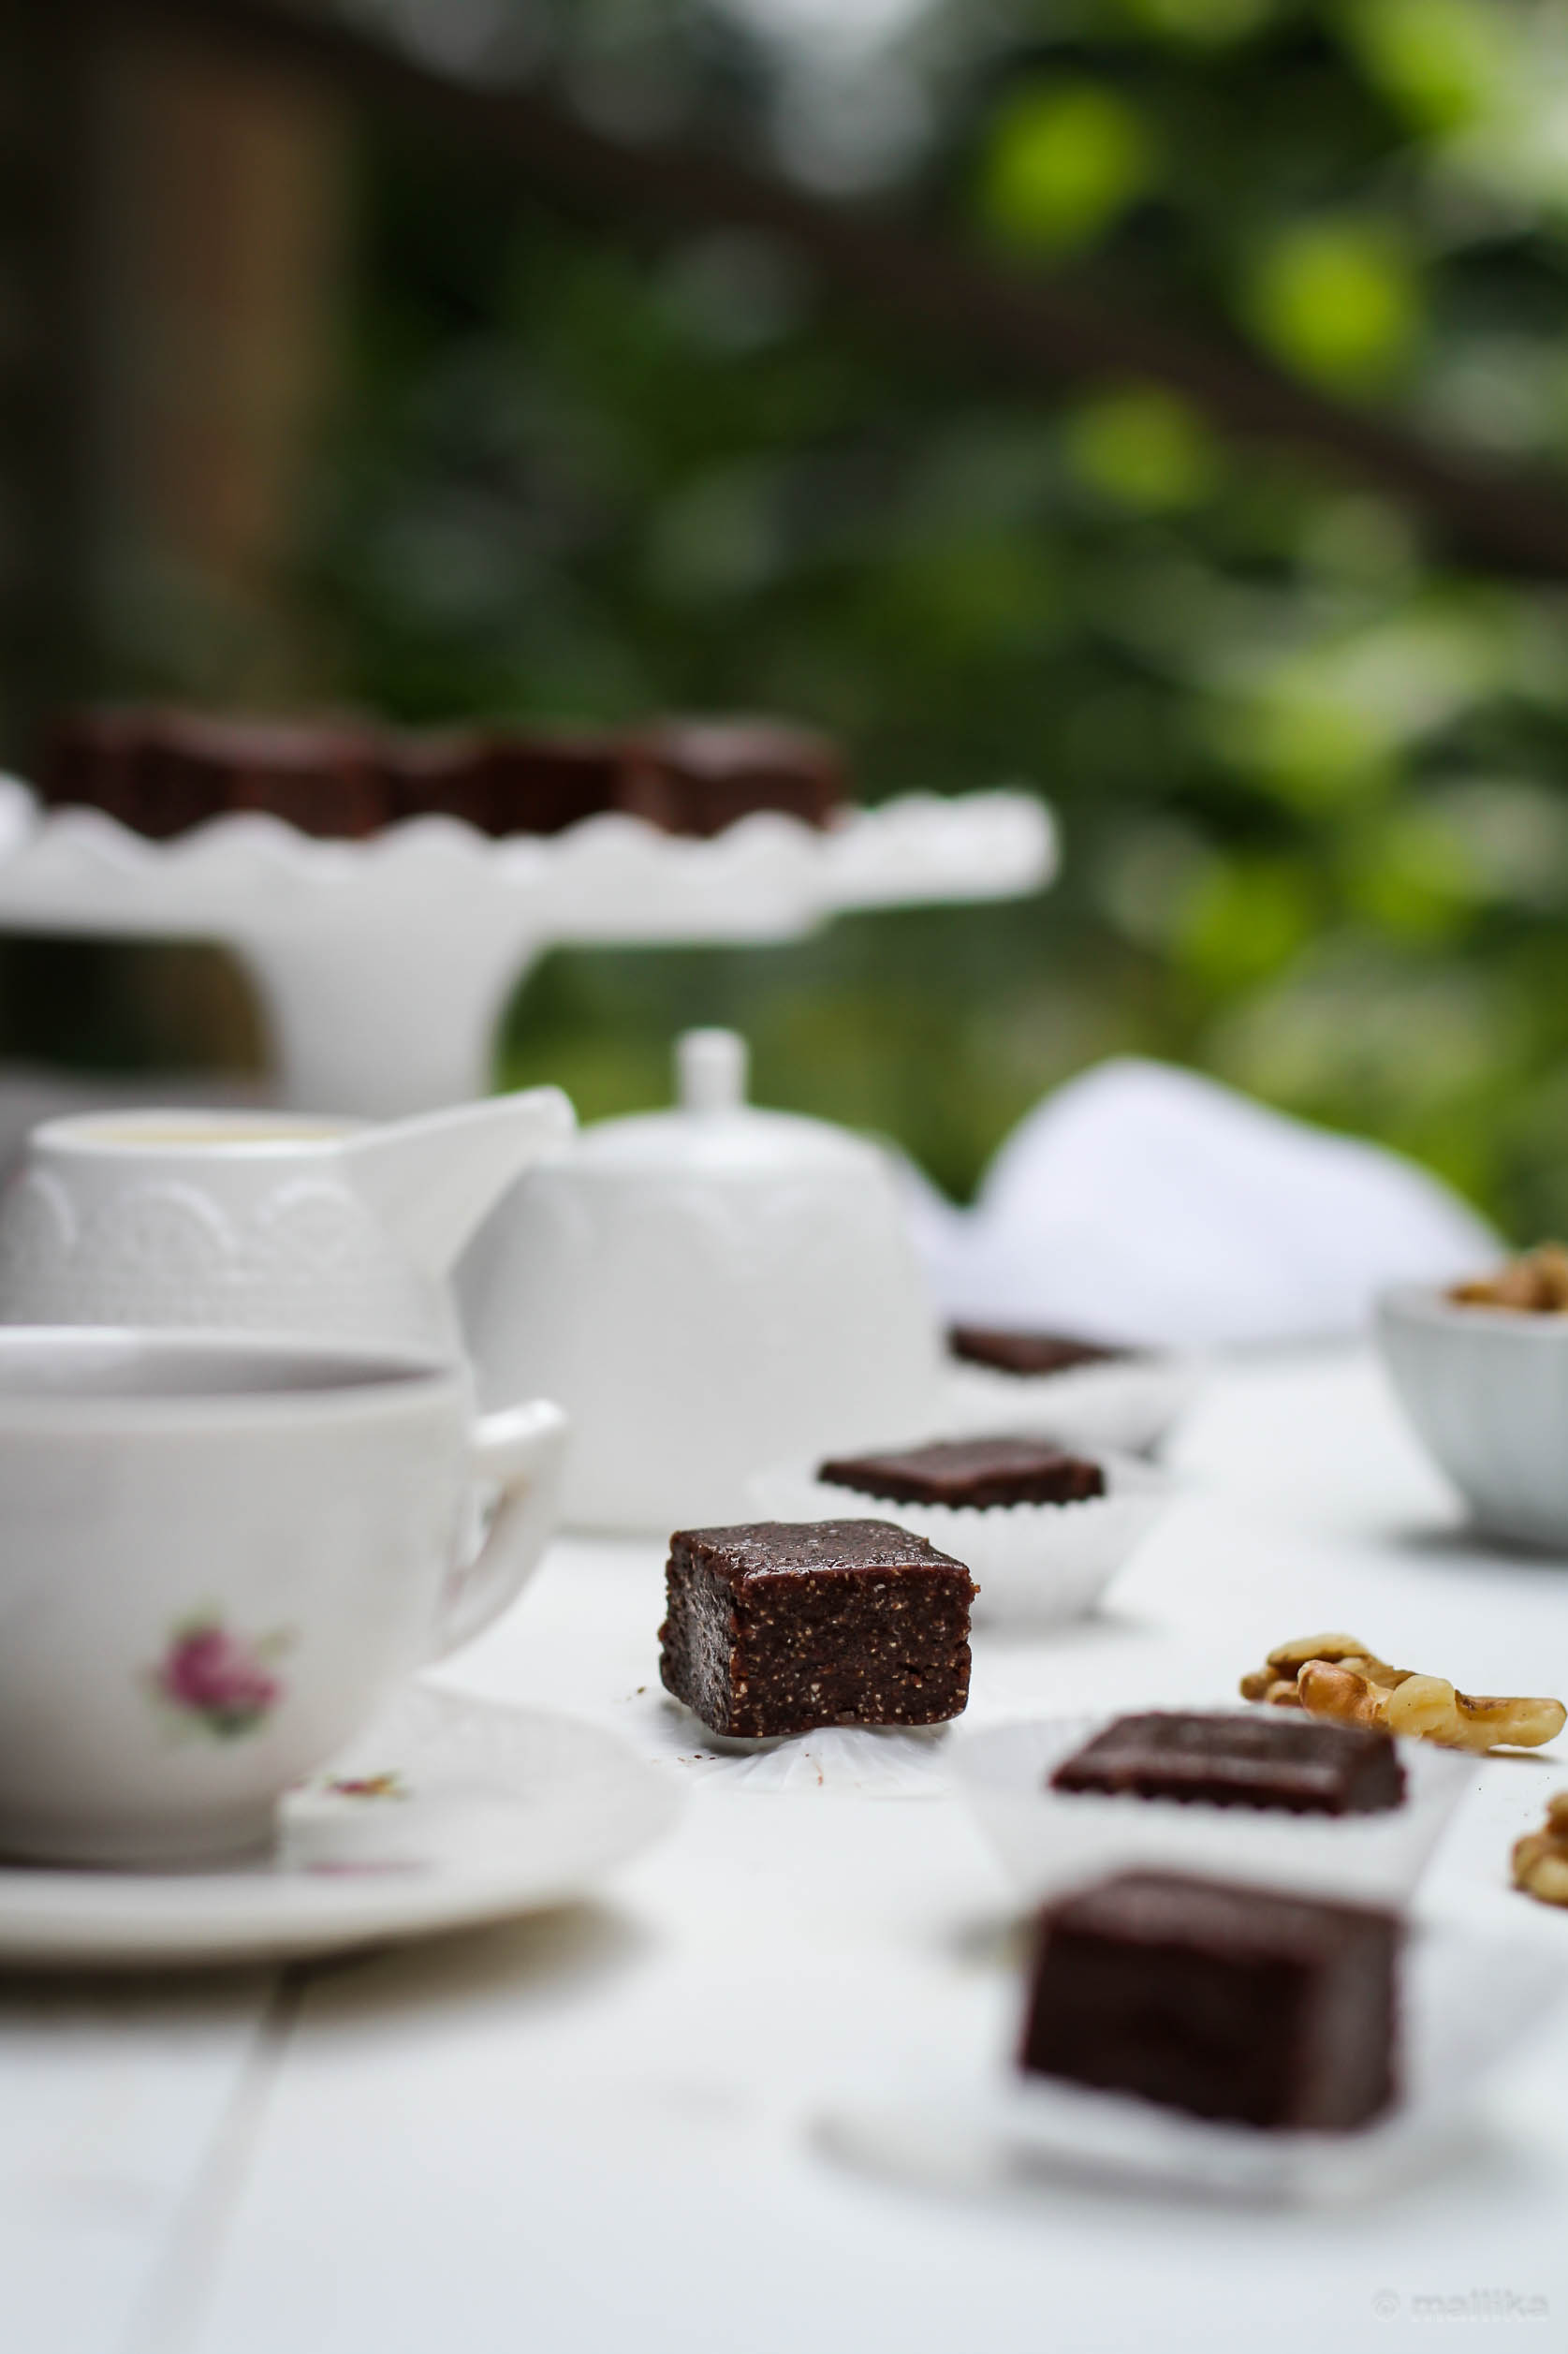
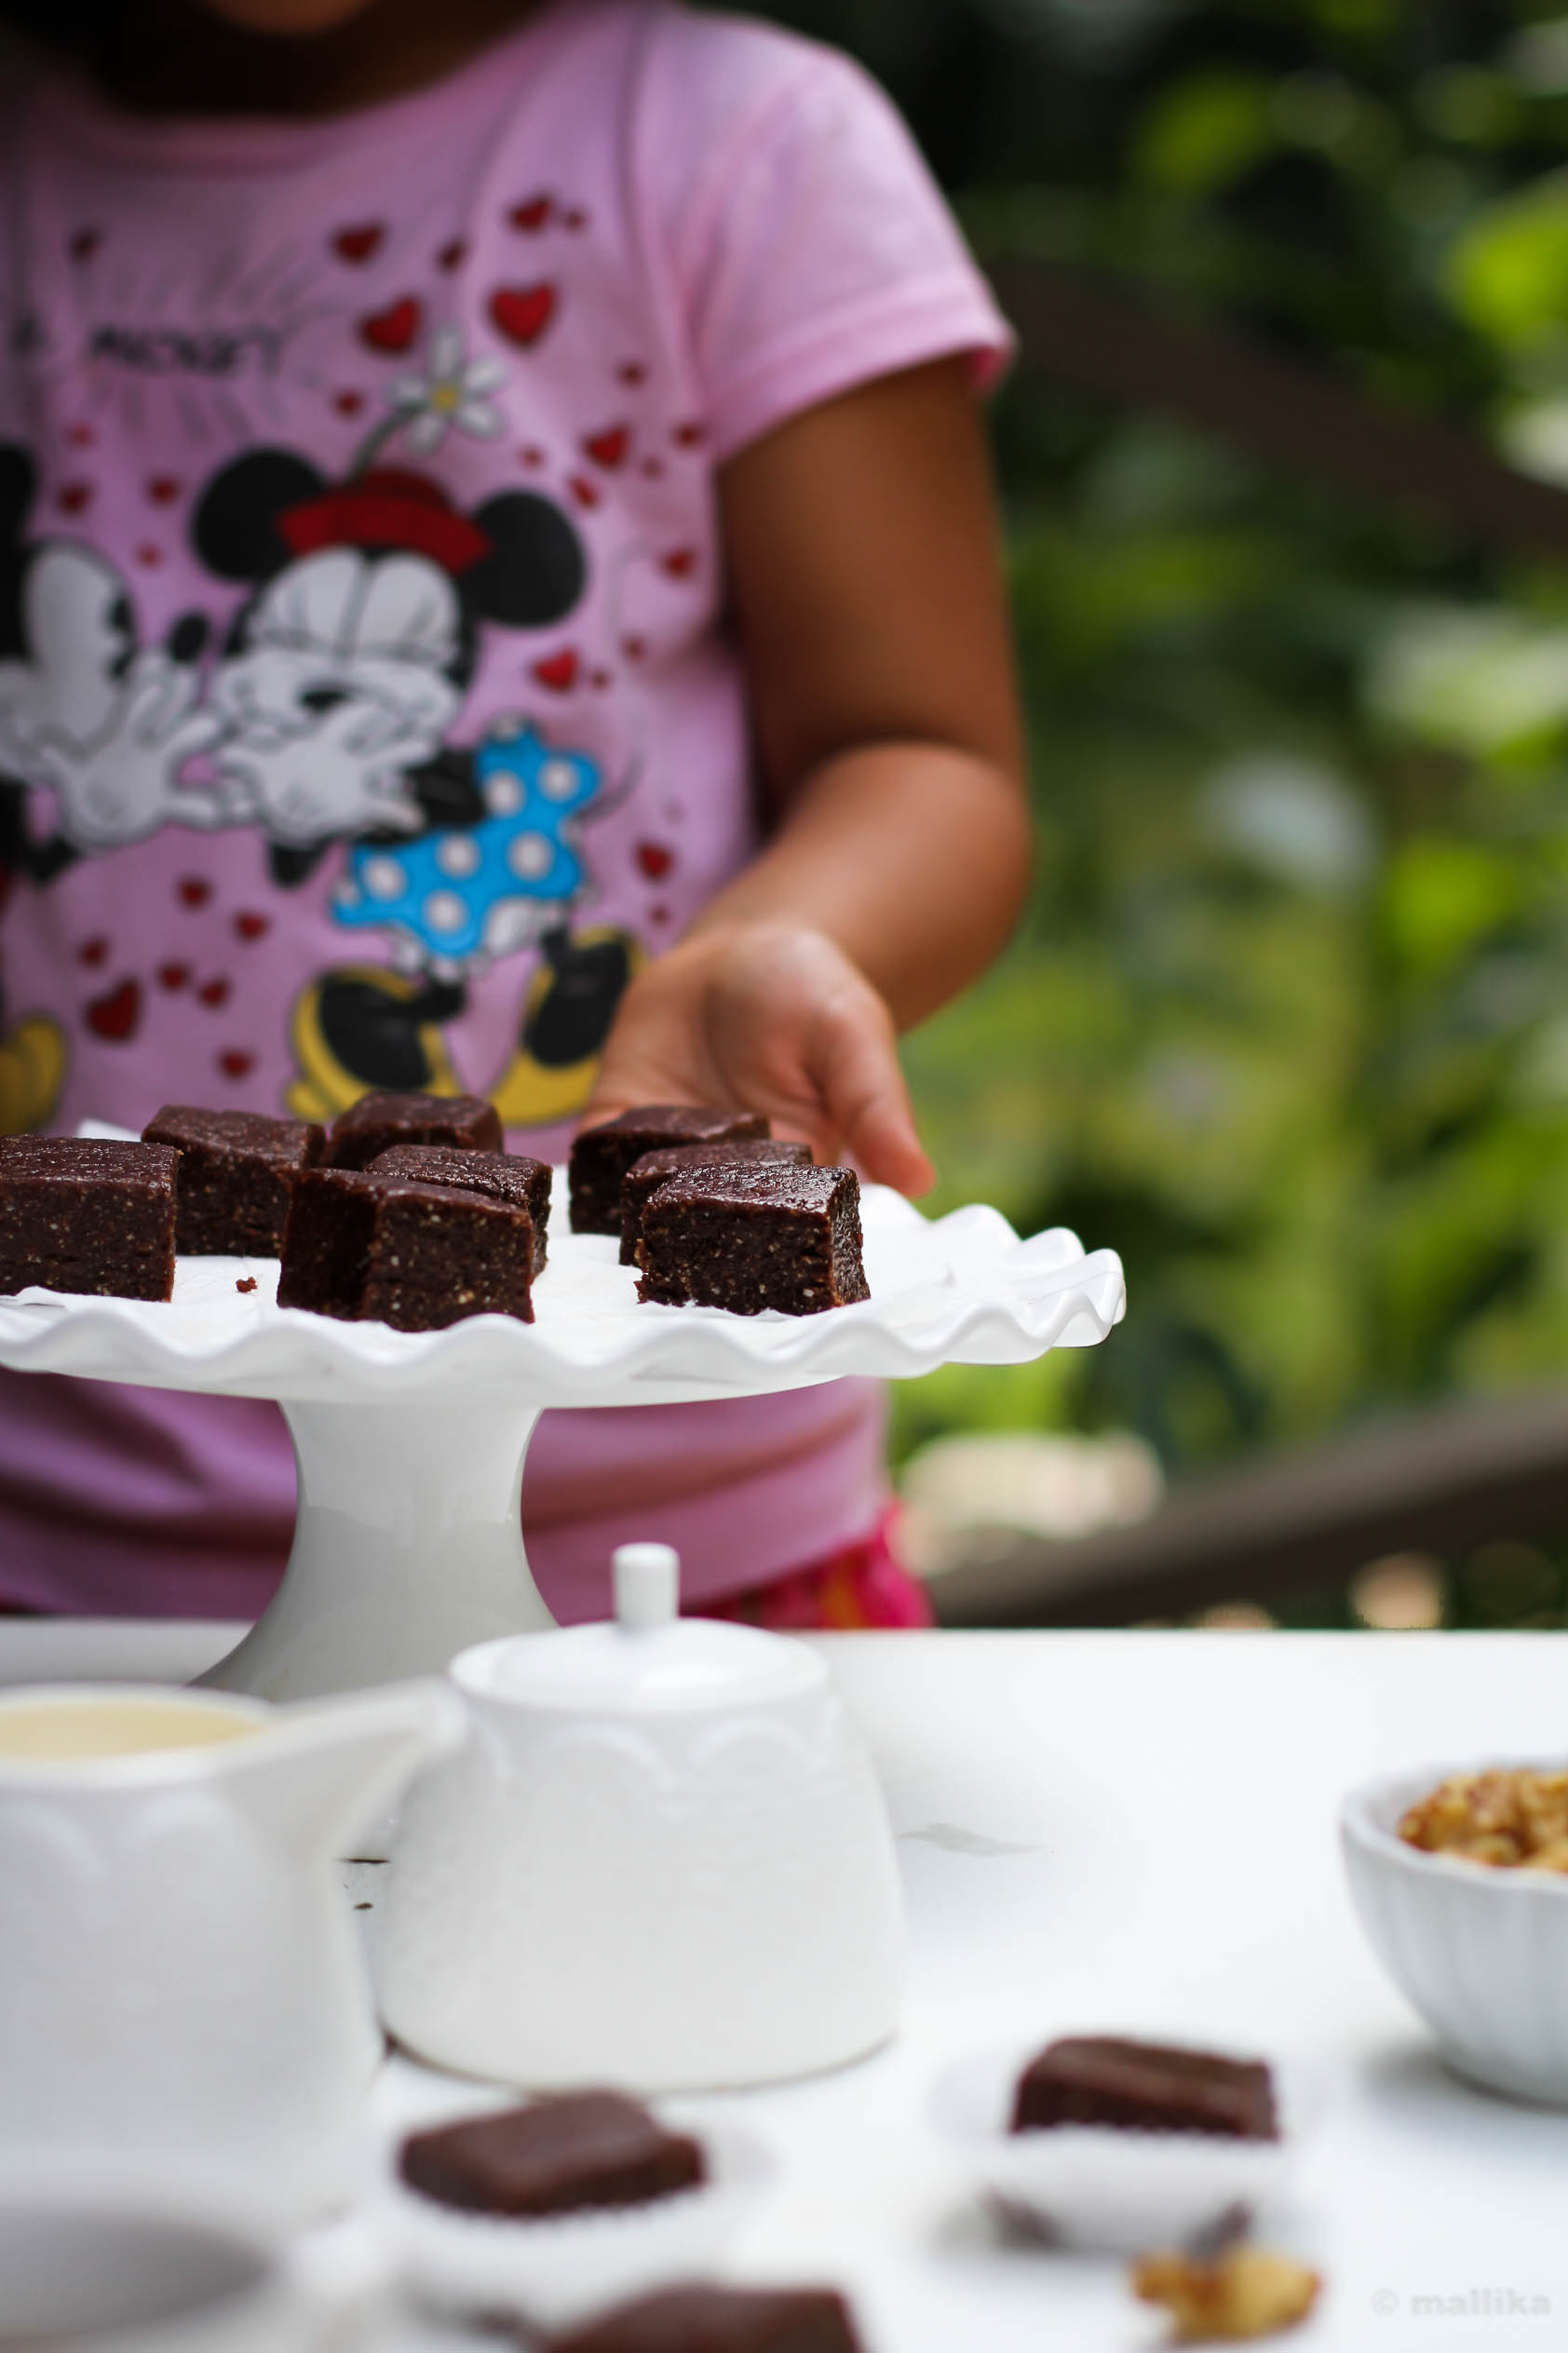
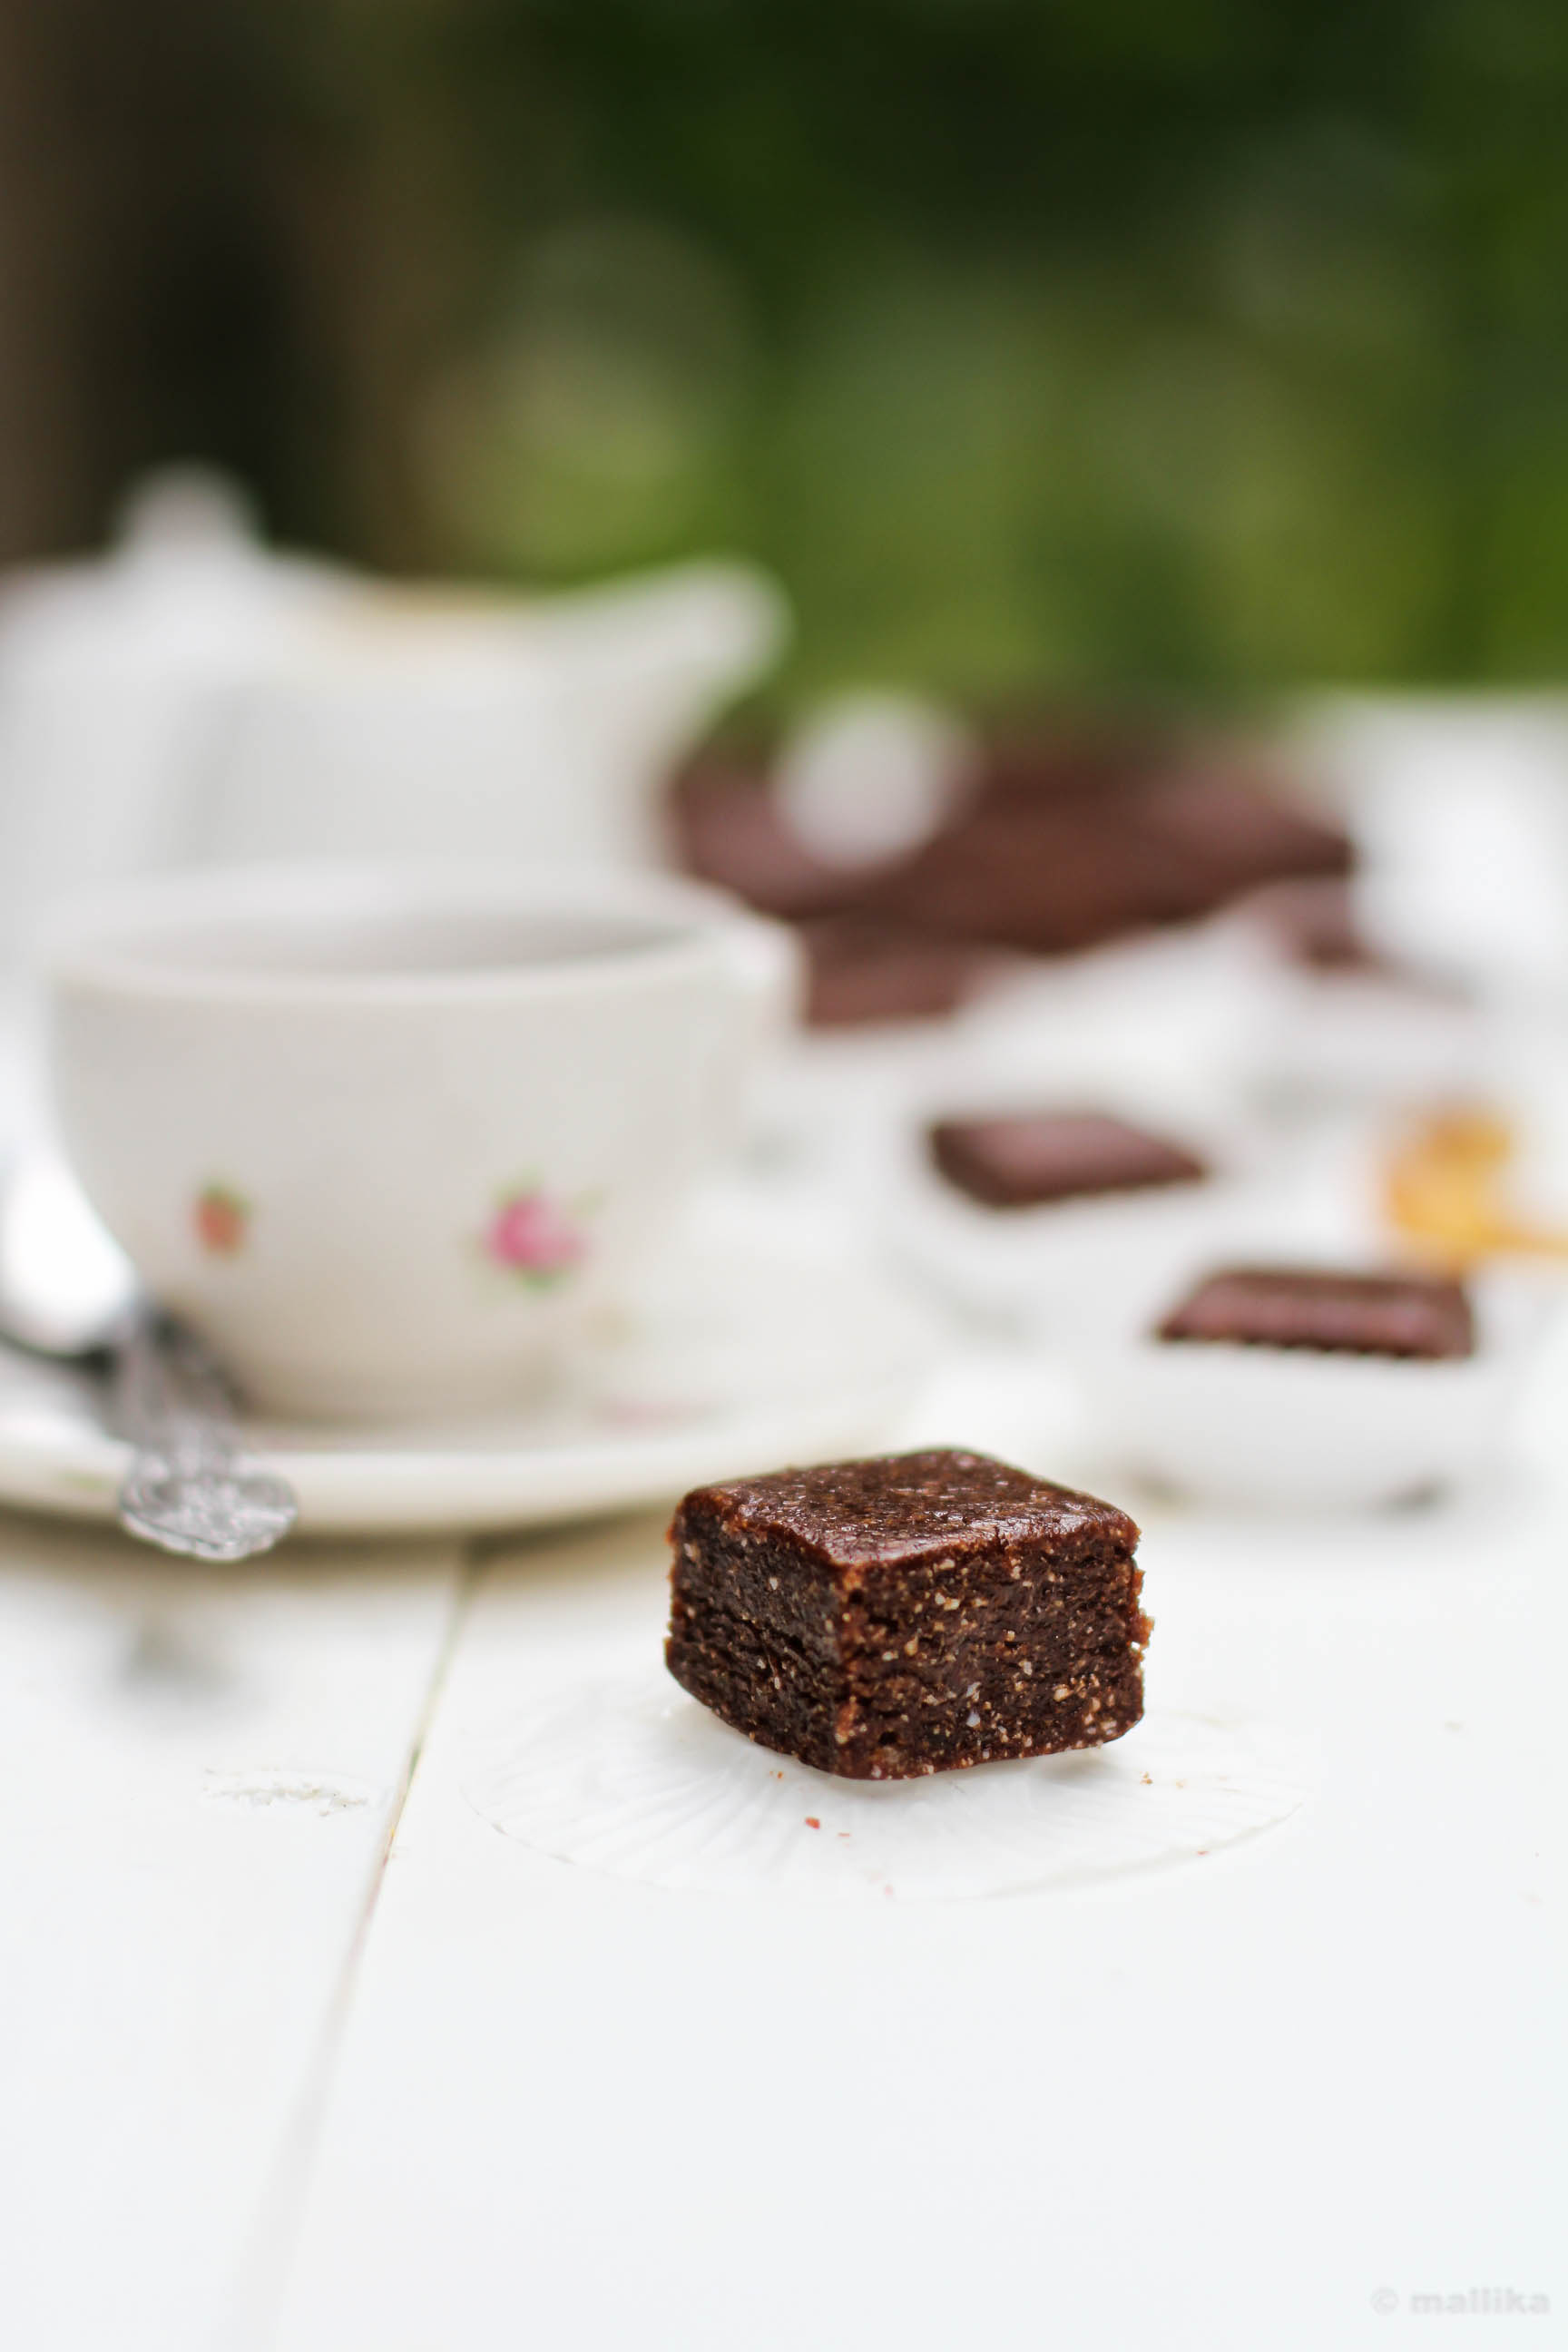
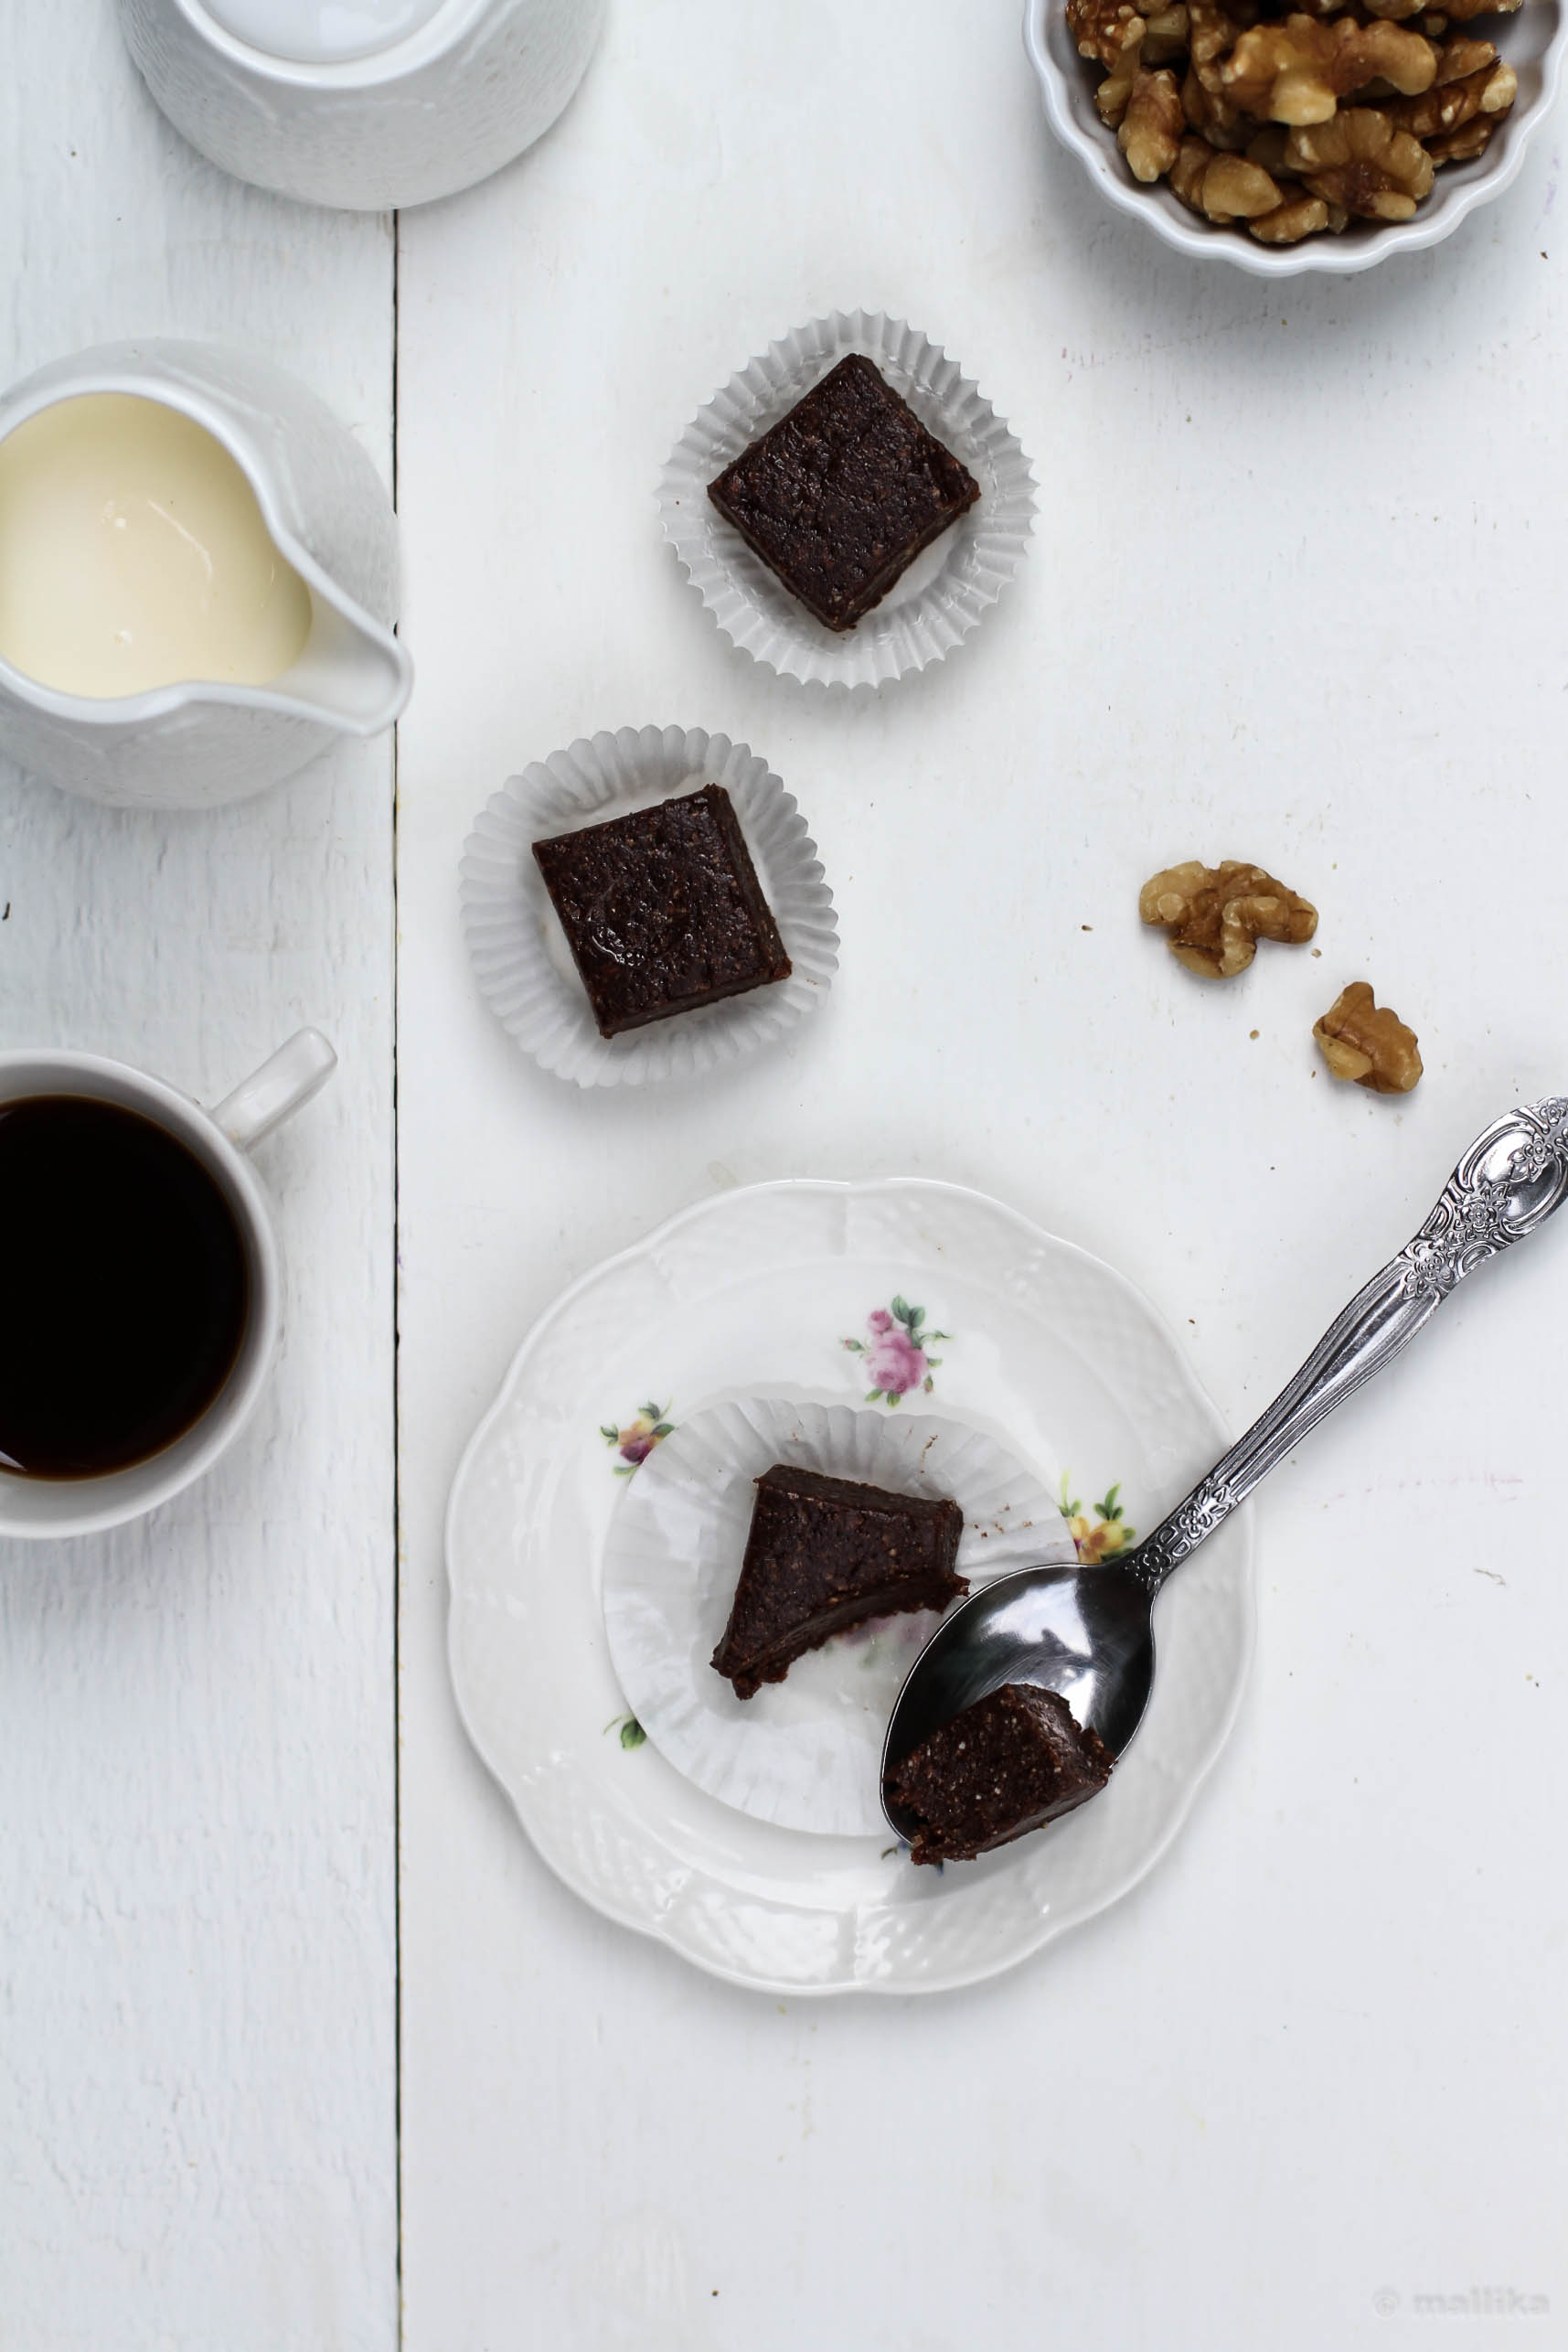
Meanwhile, I have these super healthy brownie treats for you to feature on your Thanksgiving table. I made them this summer, though they don't pertain to any seasons. They are treats you can make year round. No seasons attached. You can make them for your Thanksgiving dessert menu or keep them handy to treat your guests over a cup of coffee or just carry them on your hiking trip to give you adrenaline boost. There's no sugar in them, no butter whatsoever, no flour, no guilt too. And no no! I am not on diet if you ask so. But I thought I should be a little considerate and save you from splurging way too much before the year end celebrations kick in. There's a lot awaiting there, Christmas on its way, New Year dinner to follow, so you may want to treat yourself slowly and sanely before getting there. These little treats don't steal away the joy of splurging, mind you. They are delicious as is in small bites or you can make them in a wonderful no-bake pie base with fancy toppings. Hope these make your Thanksgiving table a little more glamorous.


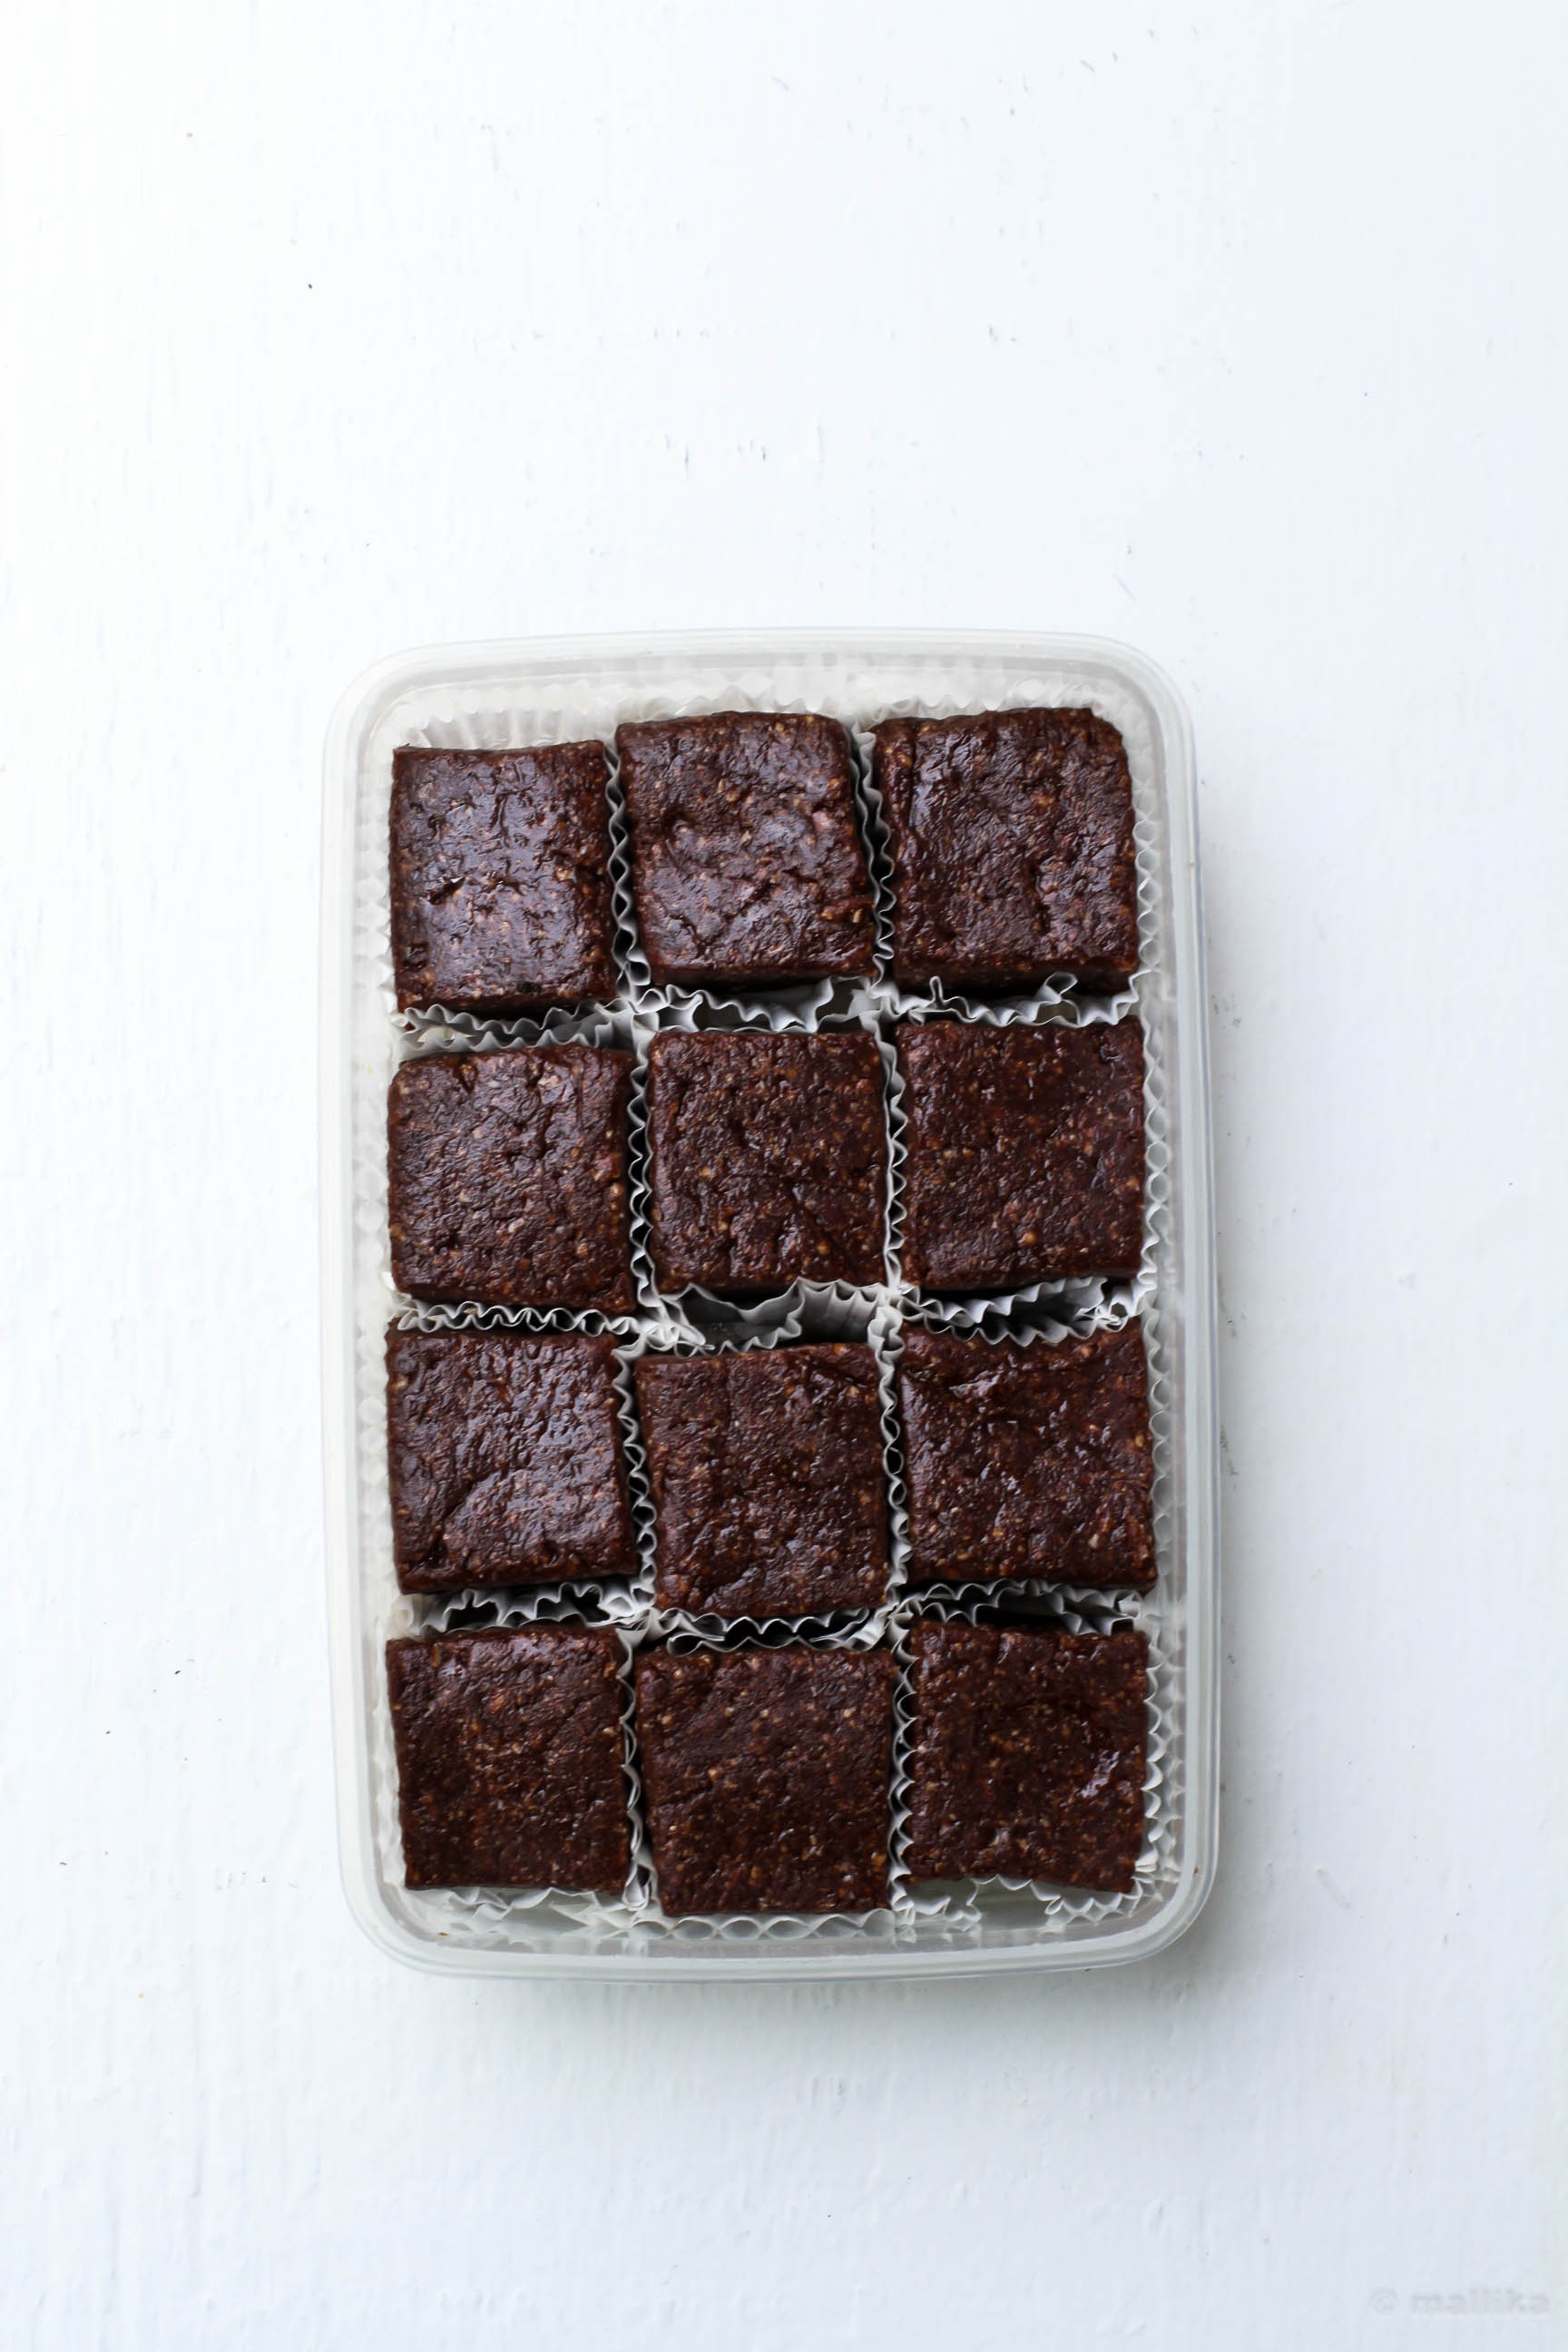
Raw Brownies

Prep Time: 5 mins | Pulse Time: 10 mins + 2 hrs refrigeration | Yield: 12 pieces

INGREDIENTS

2 cups of medjool dates
1/2 cup of roasted almonds
1/2 cup of raw walnuts
3 tablespoons of raw cacao powder
2 tablespoons of maple syrup

DIRECTIONS

Blend the almonds and walnuts in a food processor until they form a crumbly mixture. Then add the dates and blend again till dates are pureed. Next add the cacao and maple syrup and blend again. The mixture will come together in form of a dough. If its wet to handle, add in some walnuts and pulse again.

Place the mixture into a baking tray. Refrigerate for two hours or freeze for one hour so that it sets well. Cut into slices and serve. Store in an air tight container and keep them refridgerated for freshness.


Oatmeal Chocolate Chip Cookies

Oatmeal Chocolate Chip Cookies | Easy Oatmeal Chocolate Chip Cookies Recipe
In our direct sight, right outside our balcony are two young, strong maple trees that stand next to each other in a row. They are probably the last of few trees in our region to hold on to their deepest summer greens, while across the street, the one that we take to drop our daughter to the school bus stop, the towering maples have turned into fiery red, fancy yellows, even burnt browns, scattering themselves on sidewalks and spilling over streets in favor of the autumn's climax that we saw a week ago. The leaves trodden path smell of gentle rot, casting that sweet autumn perfume in air, as many wear their bare-dare look and poke their woody nibs high into the murky skies.

By the time the first streak of sun rays hit our home, we are wide awake, our hair strewn, usually done with brushing and sipping a cup of hot ginger tea for the two. We are at a point when we begin nudging our daughter out of her sleep. That takes us a two-man effort to canoodle, our attempts to wake her up over several minutes - the husband and I, at times her dear grandma adds in too, to pull her off the bed and tow her to the bathroom to start her day with. By this moment there's enough light curtailing the darkness of dawn, and the two maple trees outside our home are well in our sight. We watch it every morning in exhilaration for its transformation, awaiting patiently as it takes its turn to move from greens to yellows, and then to browns. For all the autumn we have seen this season, these two are holding on to their cavernous greens. Did I not say they were strong?

Yesterday, this Saturday morning, voila! The magic unfolded. Leaves changed hues, turning themselves to beautiful golds and bronzes, some earthy greens and blazing reds splashed in random - autumn's treat to us. The curtains stayed open all day long, the doors left ajar despite the chill air, providing us with a better sight and coverage to the trees overall, as we stepped out excitedly to snap a few moments to be treasured. For the next couple of days, the magic shall prevail till they turn matte coppers, sway feebly into air, and pile up in heaps of burgundies and russets on the ground below, before the snow flakes engulf them in uniform of black and white.

IMG_3129 IMG_3130 IMG_3138 IMG_3136 IMG_3129 IMG_3130


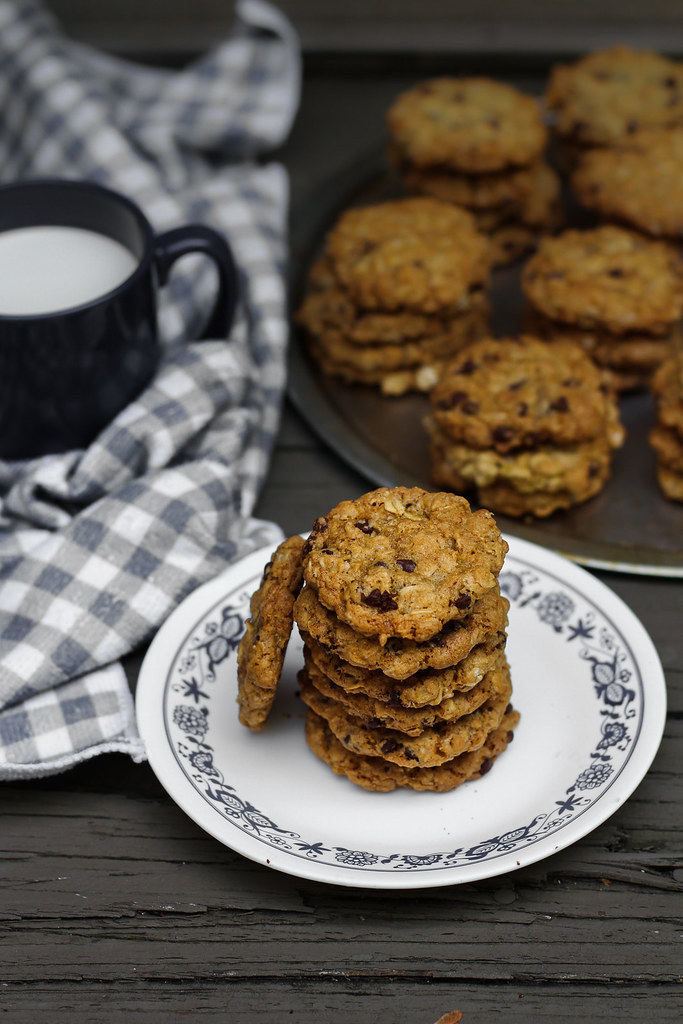
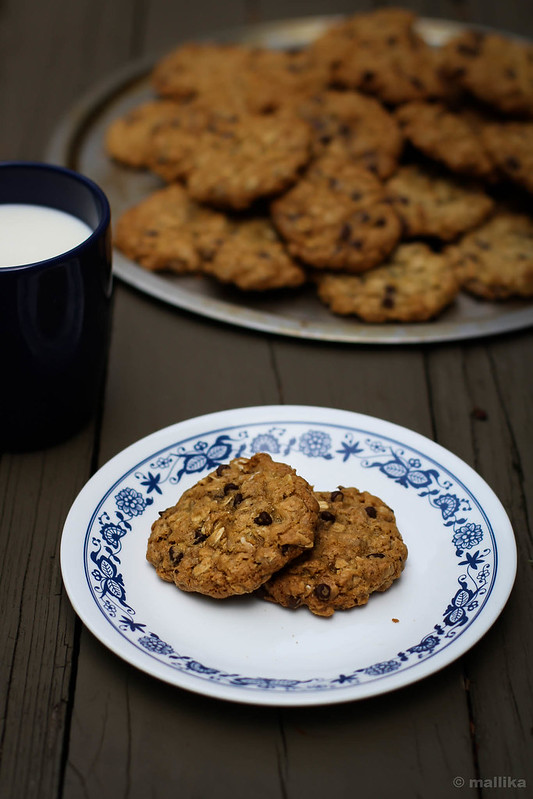
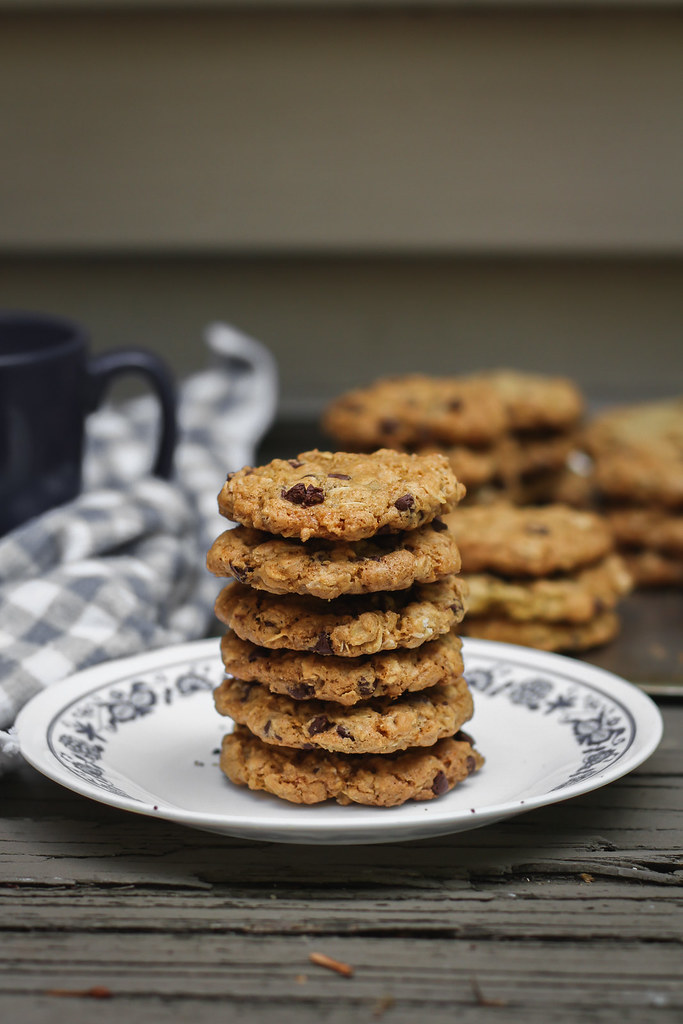
With fall around, there's an awesomeness in air that makes home baking more gratifying. With the year end coming closer, and the holiday spirit in air, desserts will make their prominence on family lunches and dinner gatherings. Oatmeal and Chocolate Chip Cookies are just the perfect things you could bake this season. They'll add more charm to your coffee trays that will roll in as guests visit you. If not, consider them gifting to your loved ones and bring joy to their celebrations.

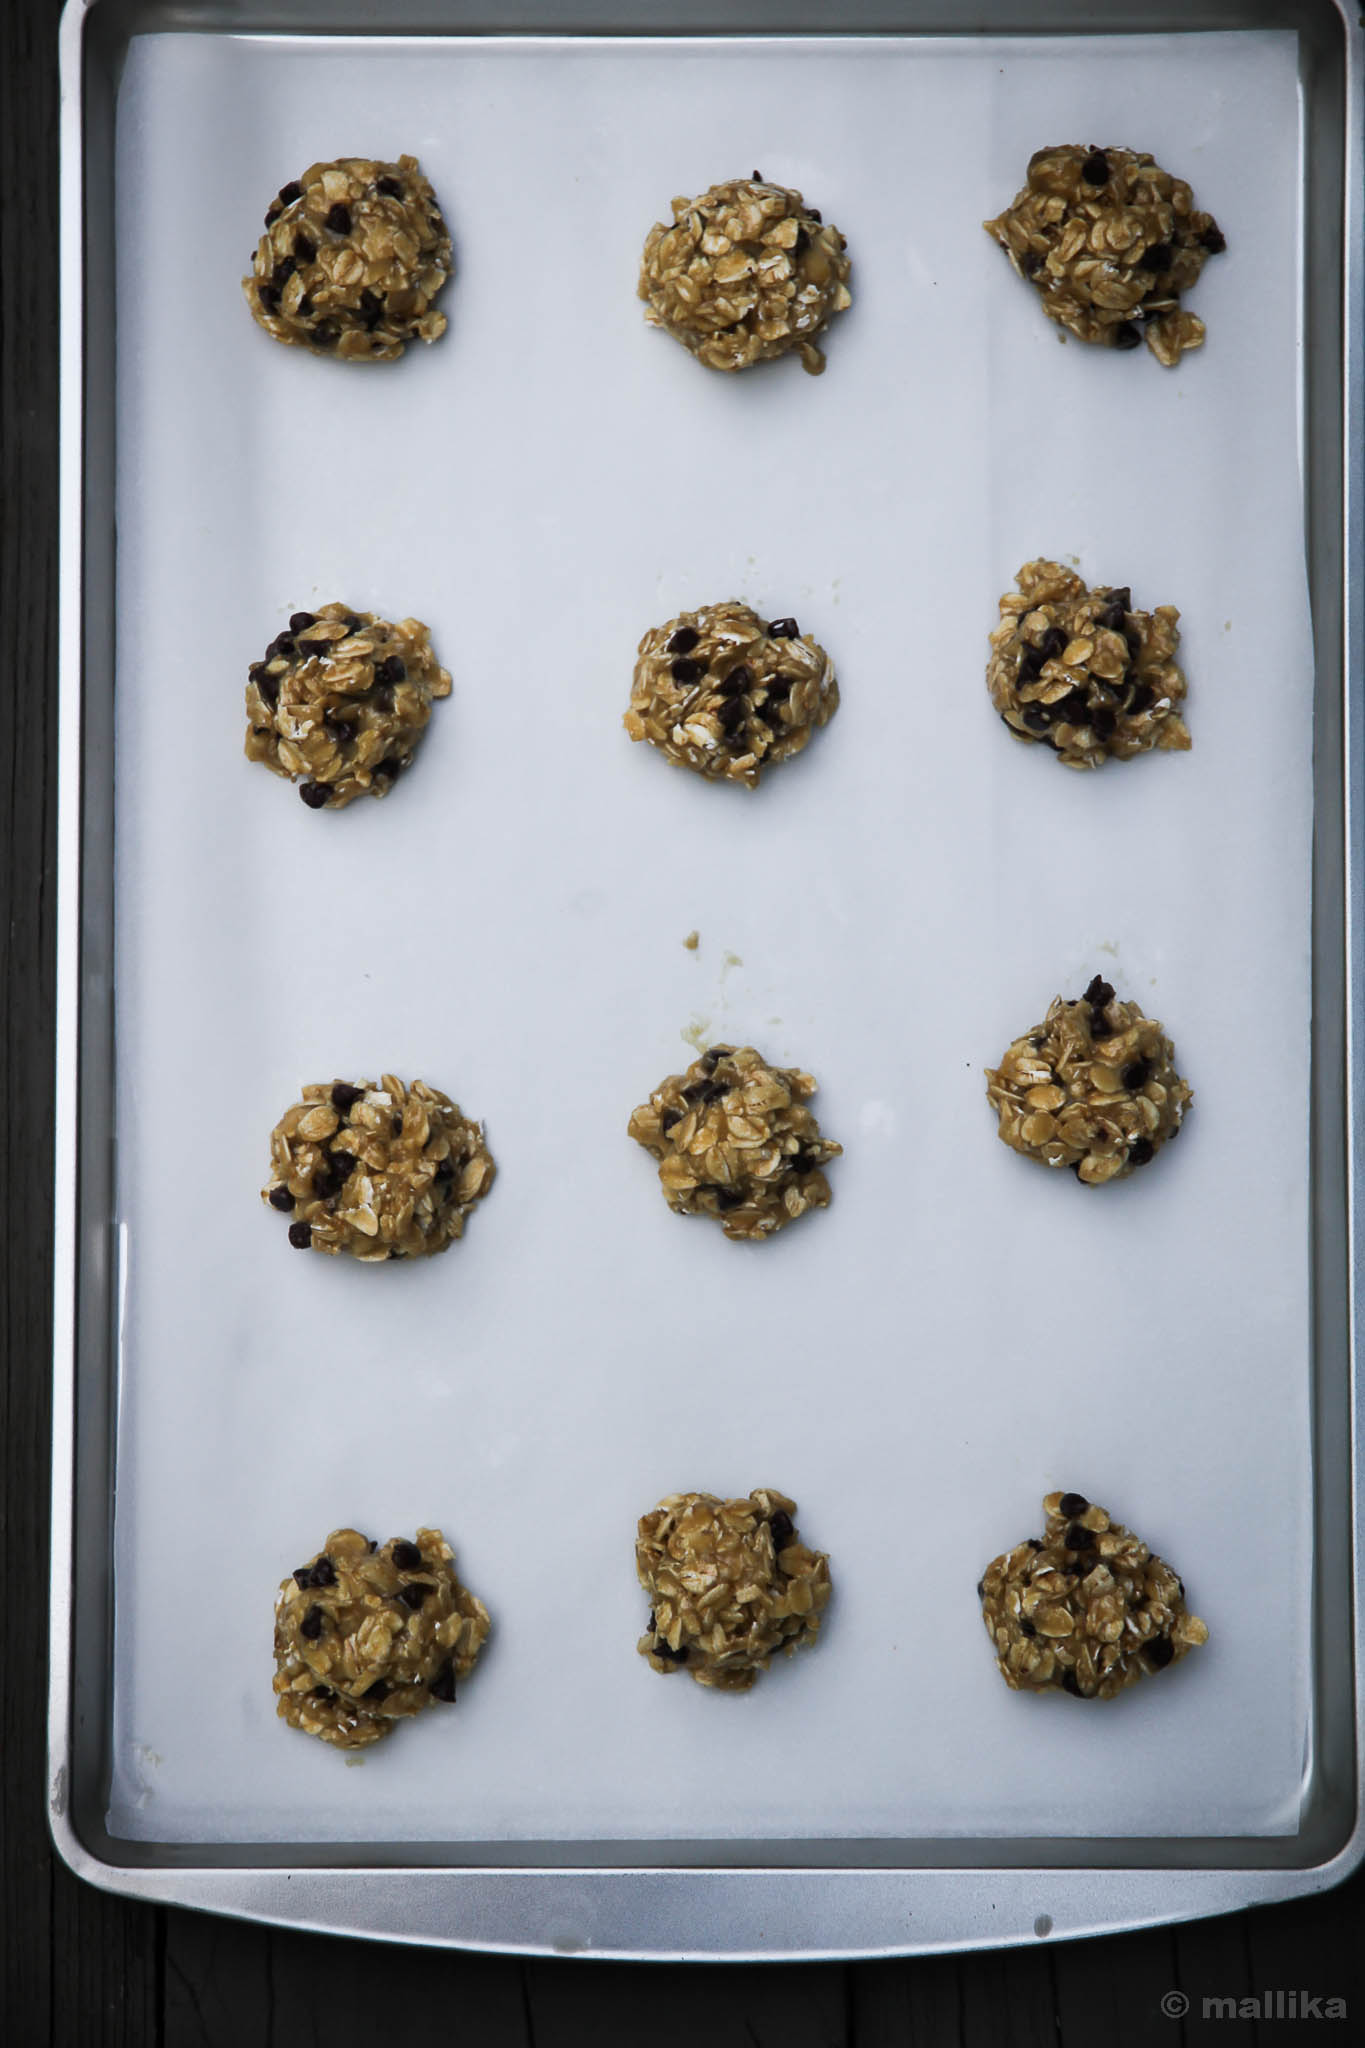
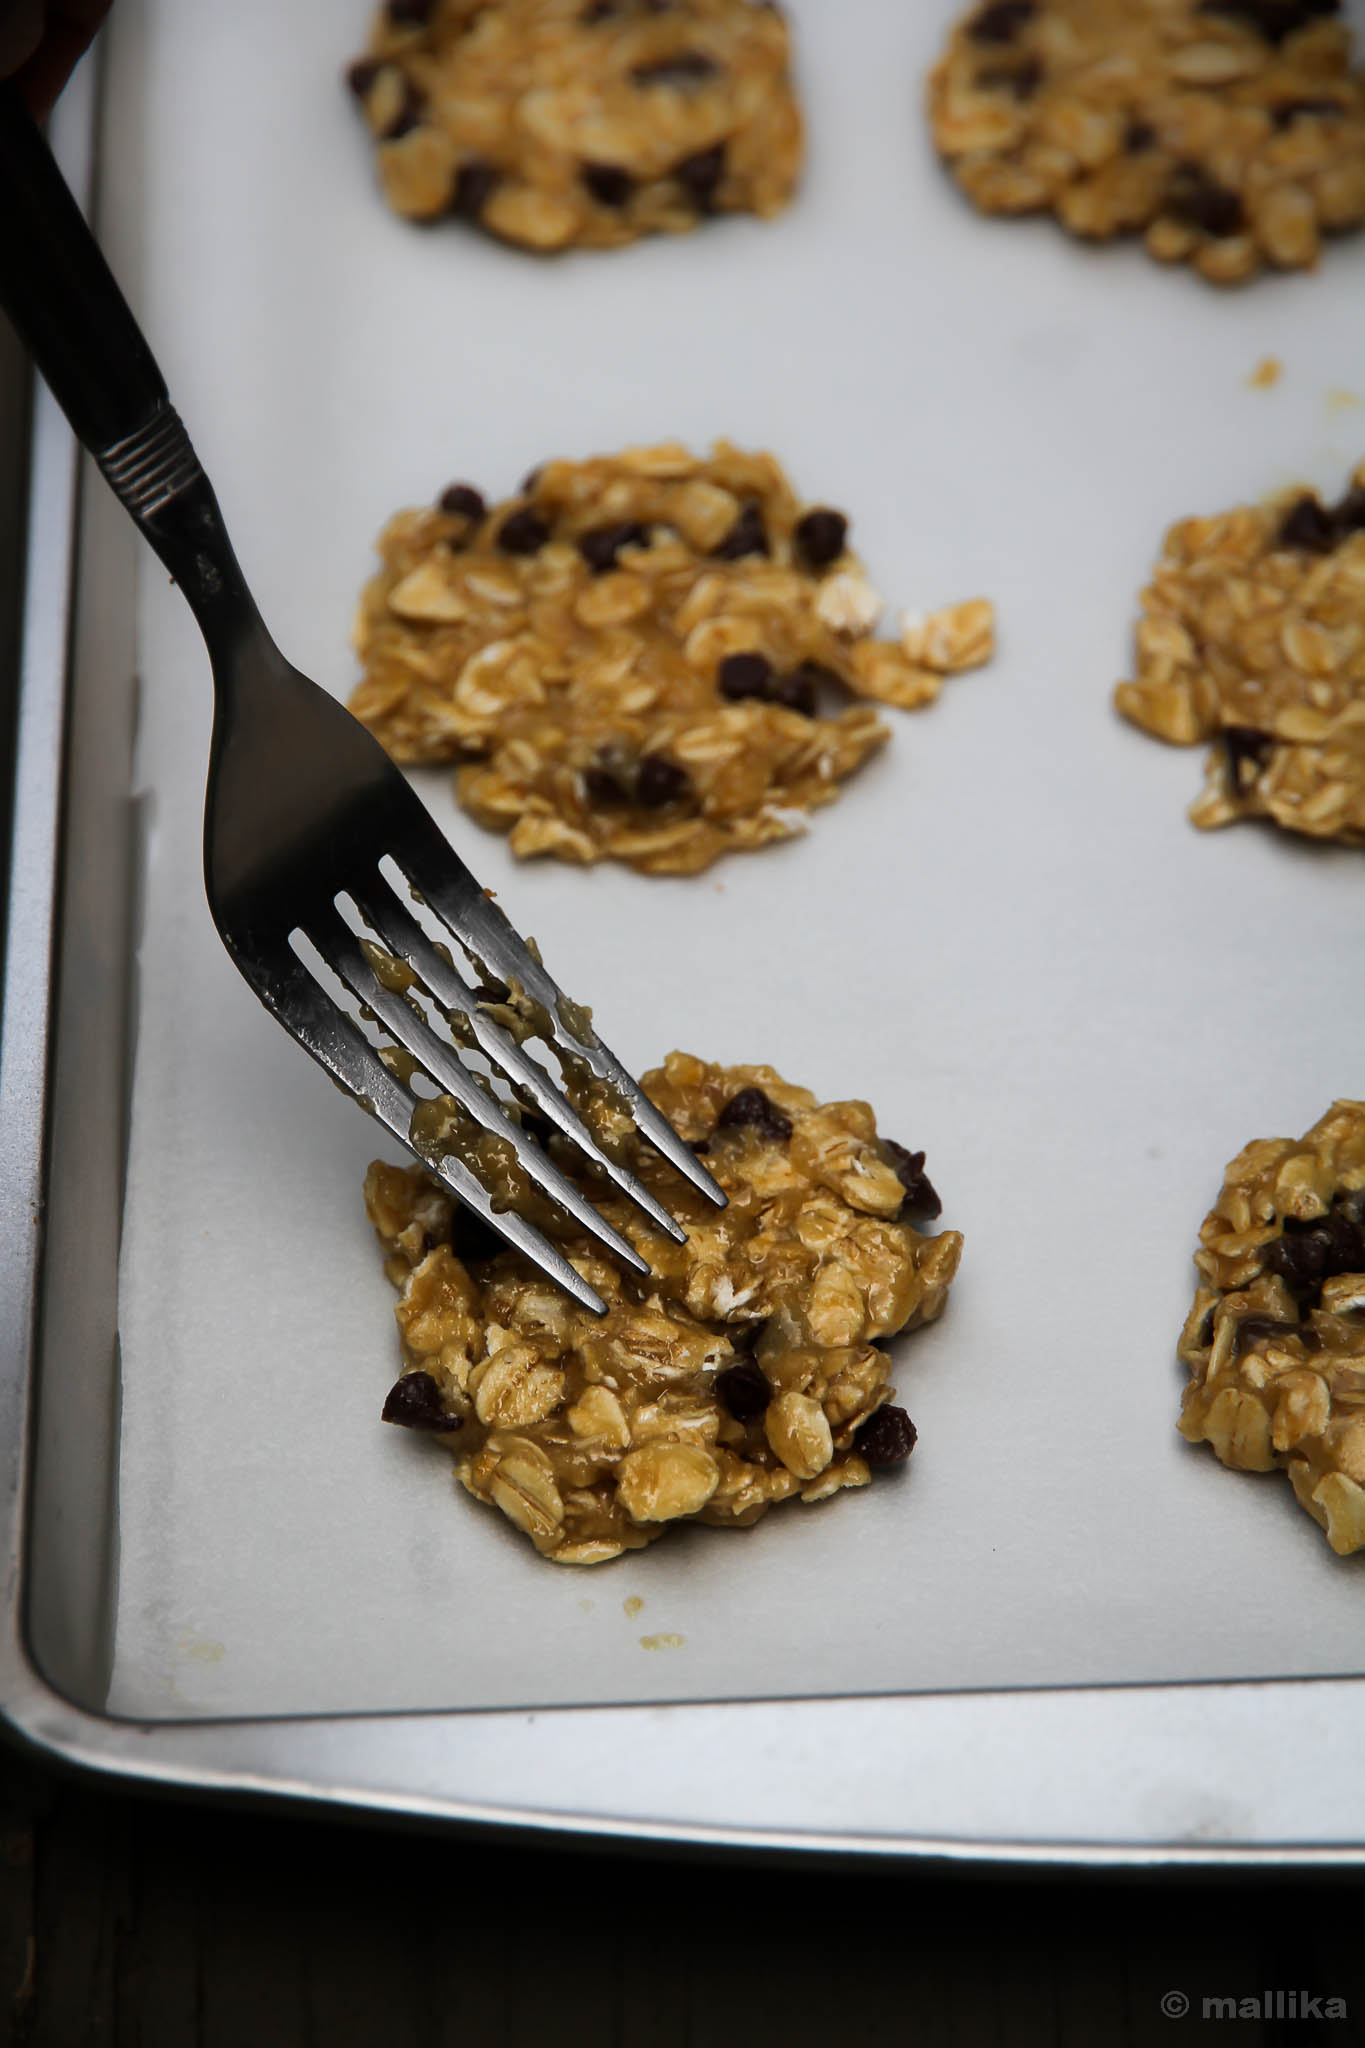
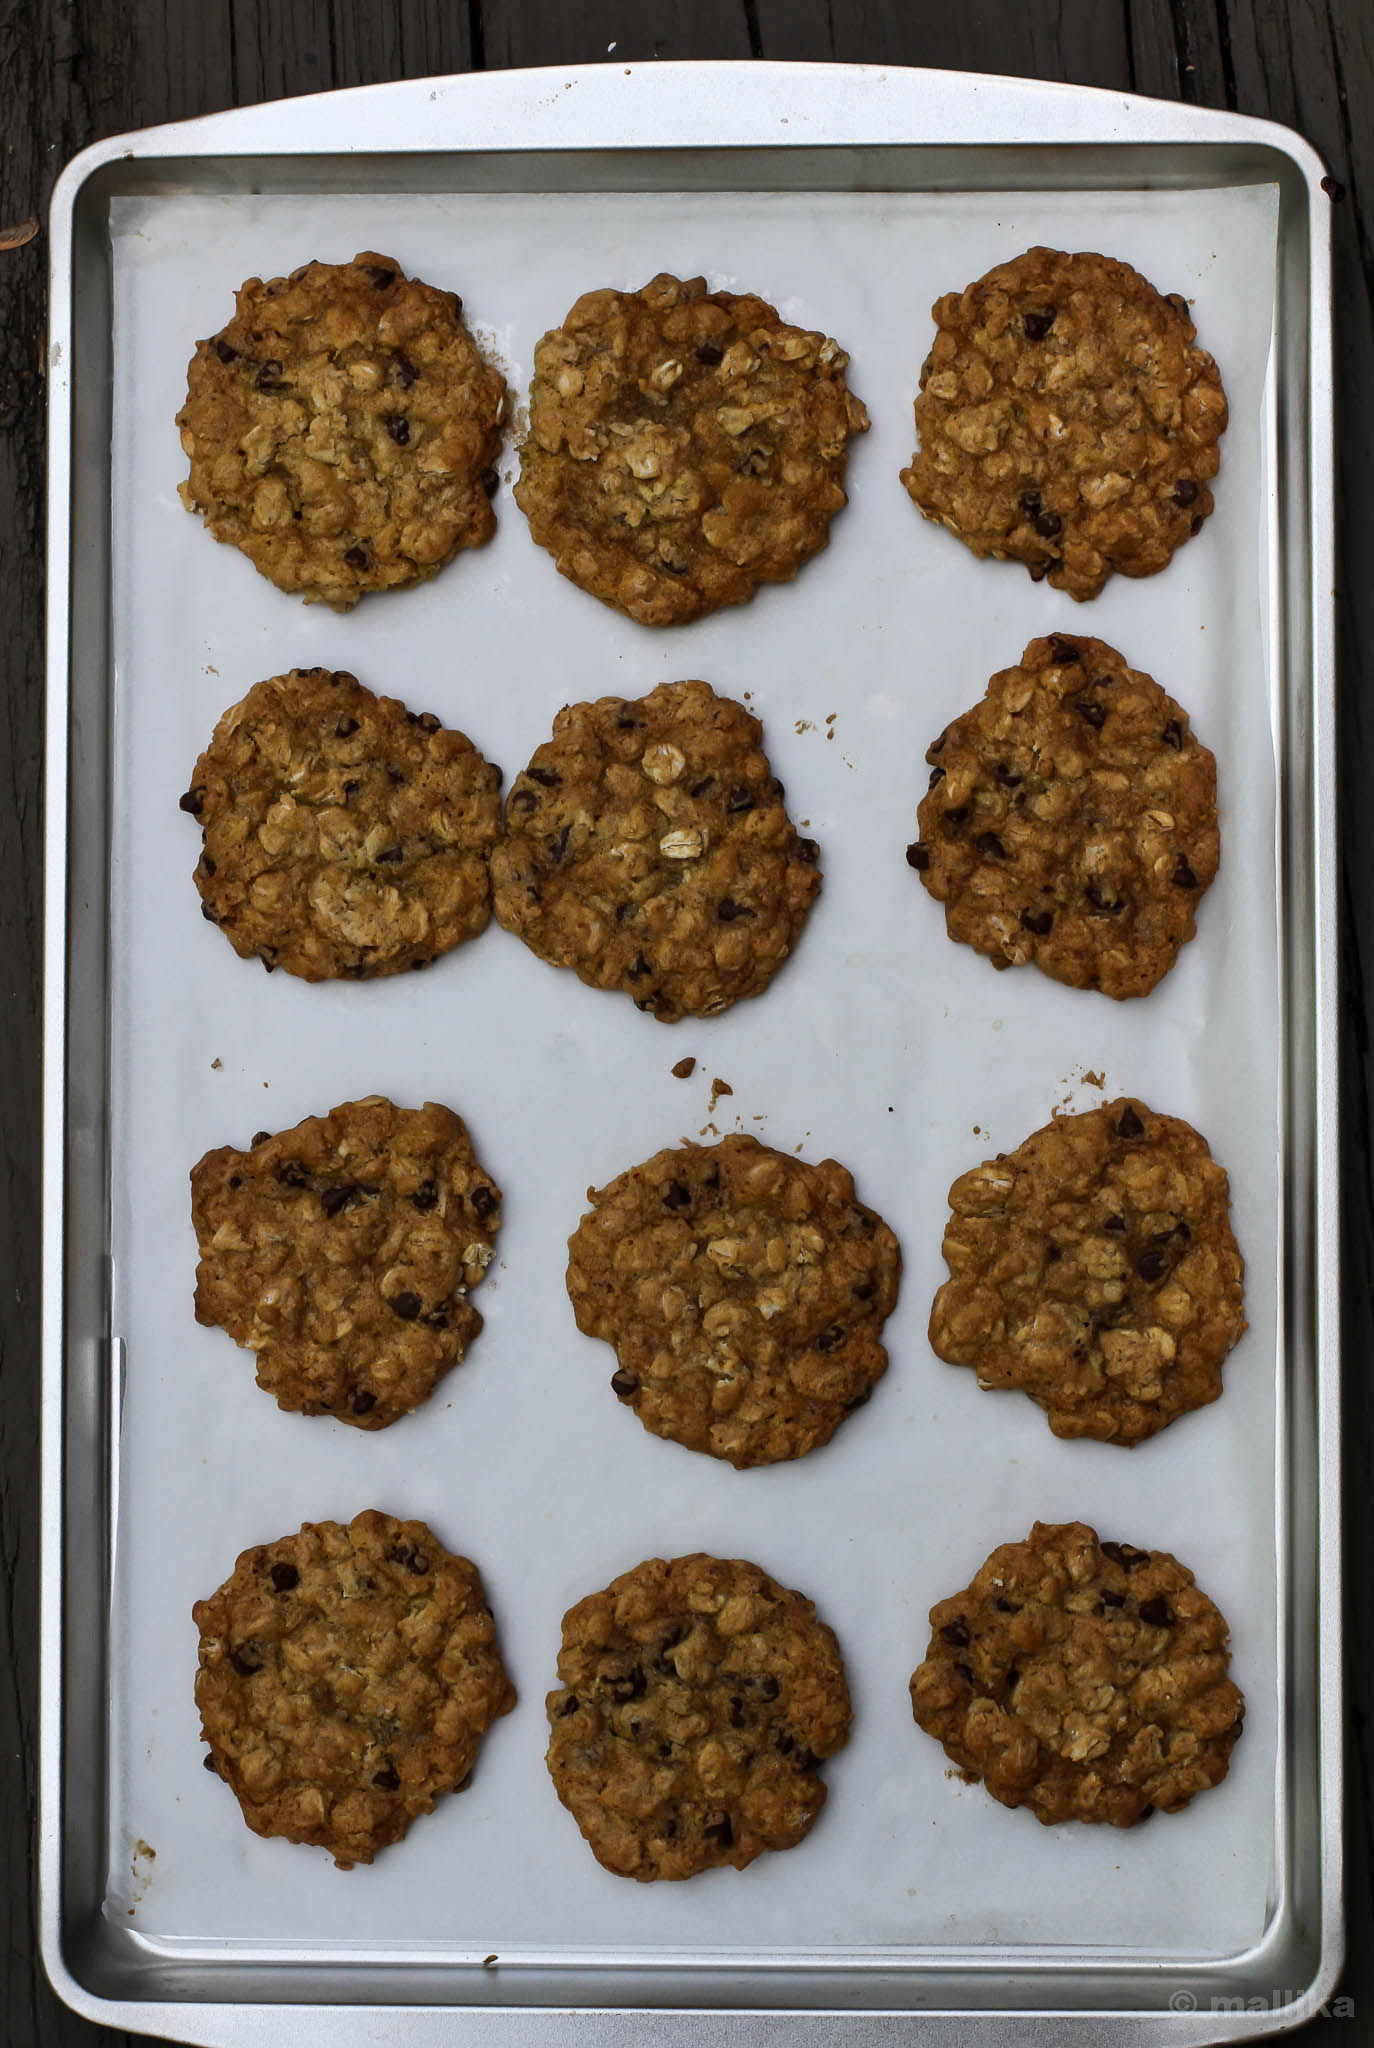
The recipe is adapted from All Recipes. In my quest to find a good recipe for eggless version of Oatmeal Chocolate Chip Cookies, I researched a bit and tried a couple of recipes with varying results. I highly suggest this recipe, albeit minor modifications. I advice you do not cut down on the fat content in this recipe, and balance the brown and white sugars to the below said, that is, if you care for crisp cookies. The cookies do spread a bit, so place them well. We are a family that loves crisp cookies, very Indian in that aspect, so I like to flatten these cookies with a fork before baking. The recipe here will make you a batch of about 16-18 medium sized cookies depending on how much you fill your tablespoon with. If you wish to bring fall to your cookies, add a nice helping of sweet cinnamon and heady nutmeg powder to this recipe. So pull your pans out, warm up your oven and let's bake a batch of these Oatmeal Chocolate Chip Cookies.

Oatmeal Chocolate Chip Cookies

Prep: 10 mins | Cook: 12 min | Makes: 16-18 cookies

INGREDIENTS

1 cup salted butter
1/4 cup packed brown sugar
3/4 cup white sugar
1 teaspoon vanilla extract
1 1/2 cups all-purpose flour
1 teaspoon baking soda
1/4 cup boiling water
2 cups rolled oats
1 1/2 cups semisweet chocolate chips (I used mini chocolate chips)

DIRECTIONS

Pre-heat the oven to 350 degrees F (175 degrees C). Line the cookie tray with baking / parchment paper and set aside.

Bring the butter to room temperature, and beat it with brown sugar and white sugar till its light and fluffy. Add in the vanilla extract and all-purpose flour to this and mix.

Next in a separate bowl, dissolve a teaspoon of baking soda in boiling water. Add this to the above mixture and stir gently.

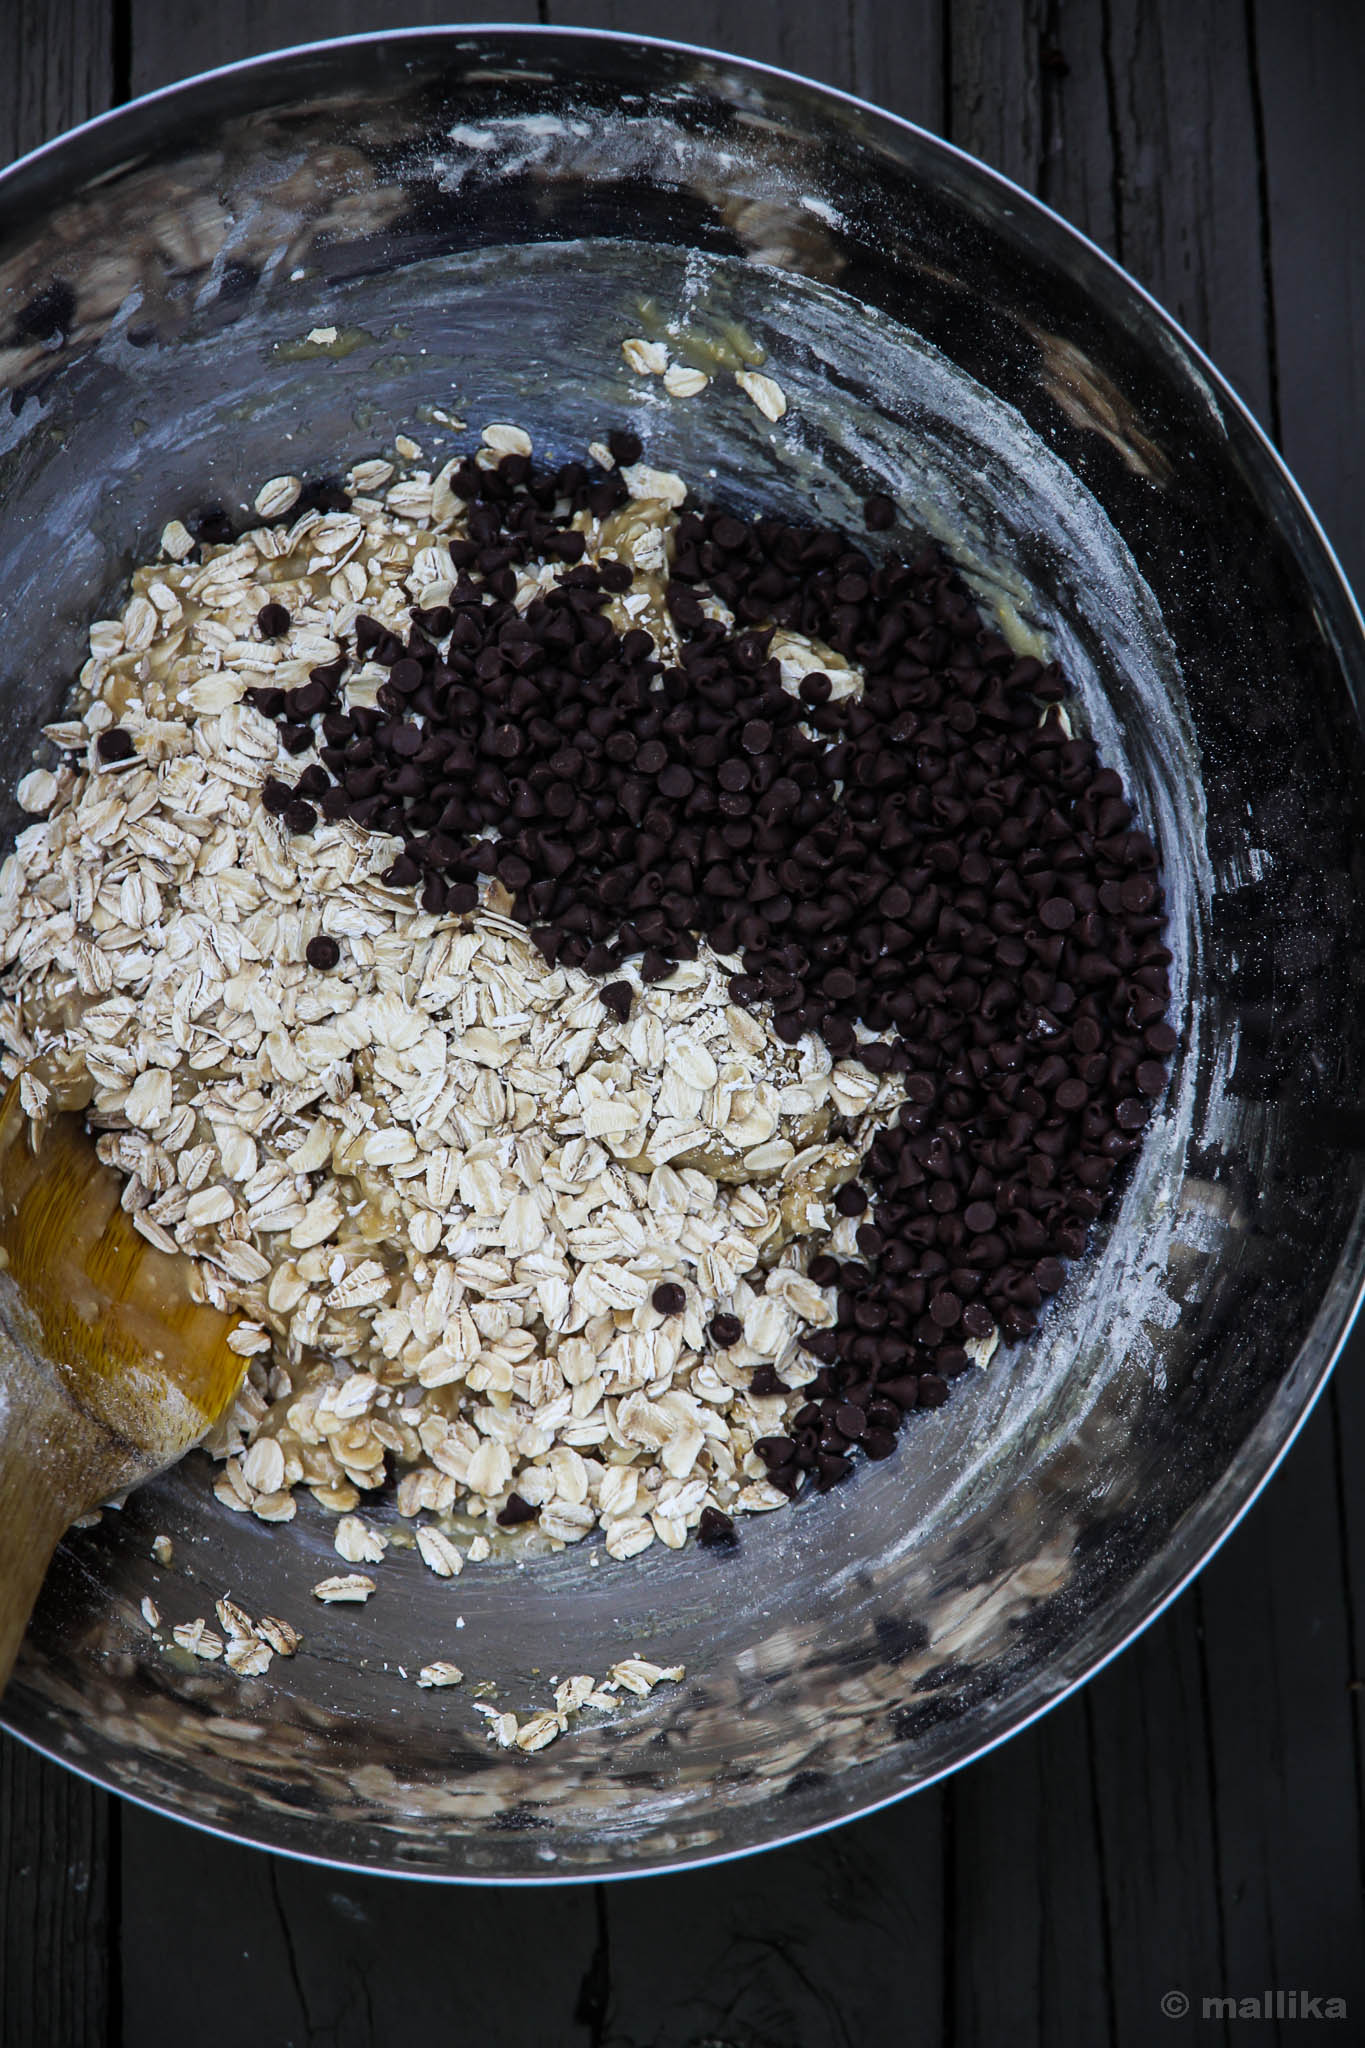
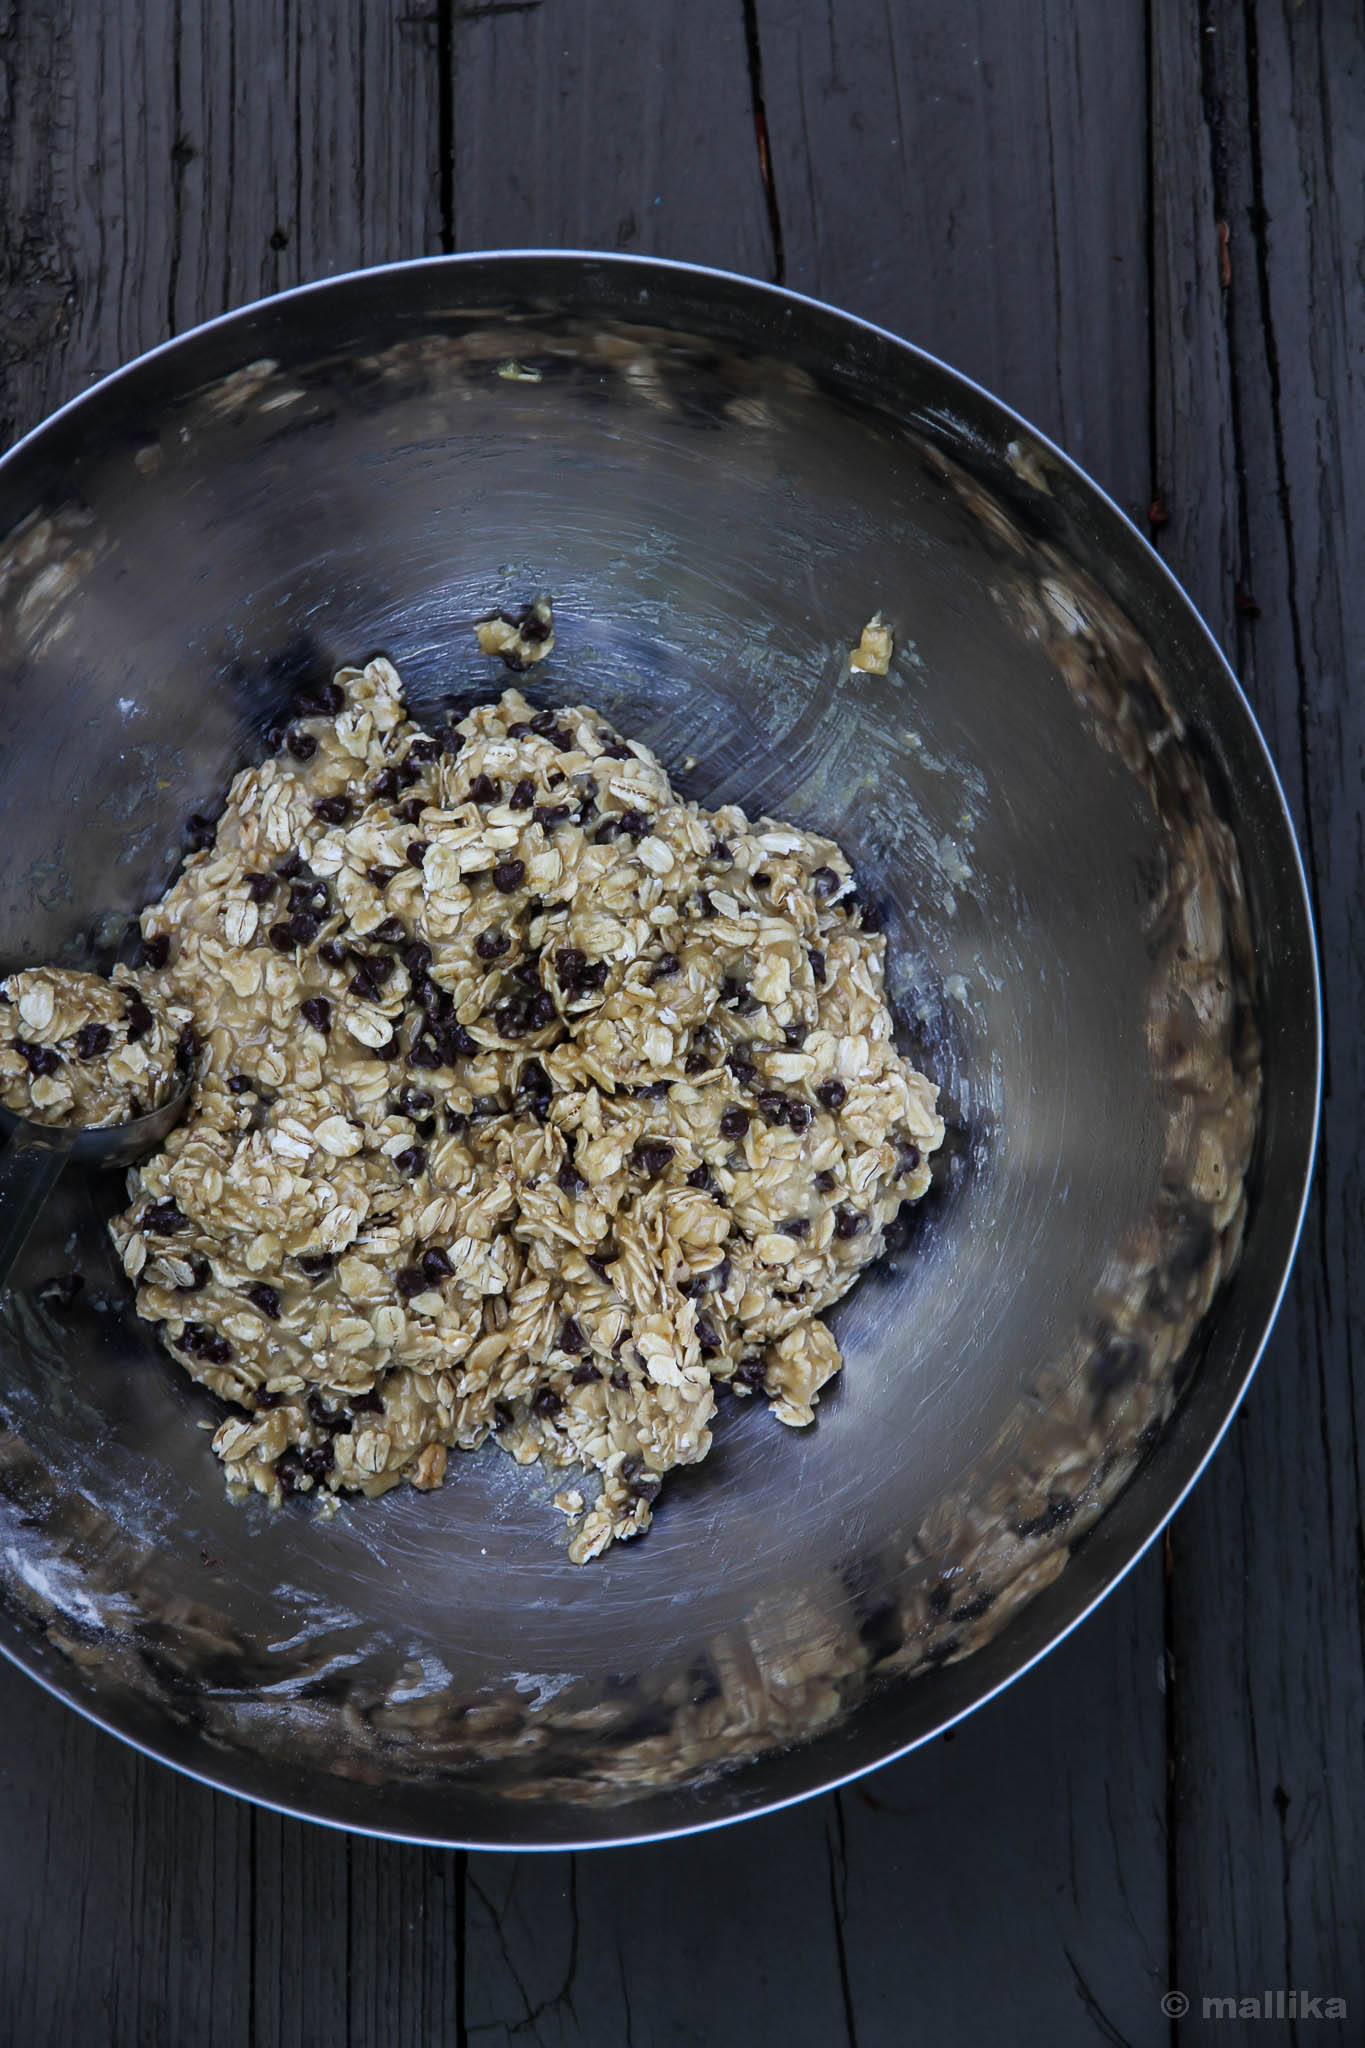
Stir in the rolled oats and raisins and mix them in. Drop by tablespoonful into a tray lined by baking / parchment paper. Bake at 350 degrees F (175 degrees C) for about 10-12 minutes. Don't over bake.

Remove from baking tray and allow them to cool completely on a wire rack. Store them in a air-tight container.

Oatmeal Chocolate Chip Cookies

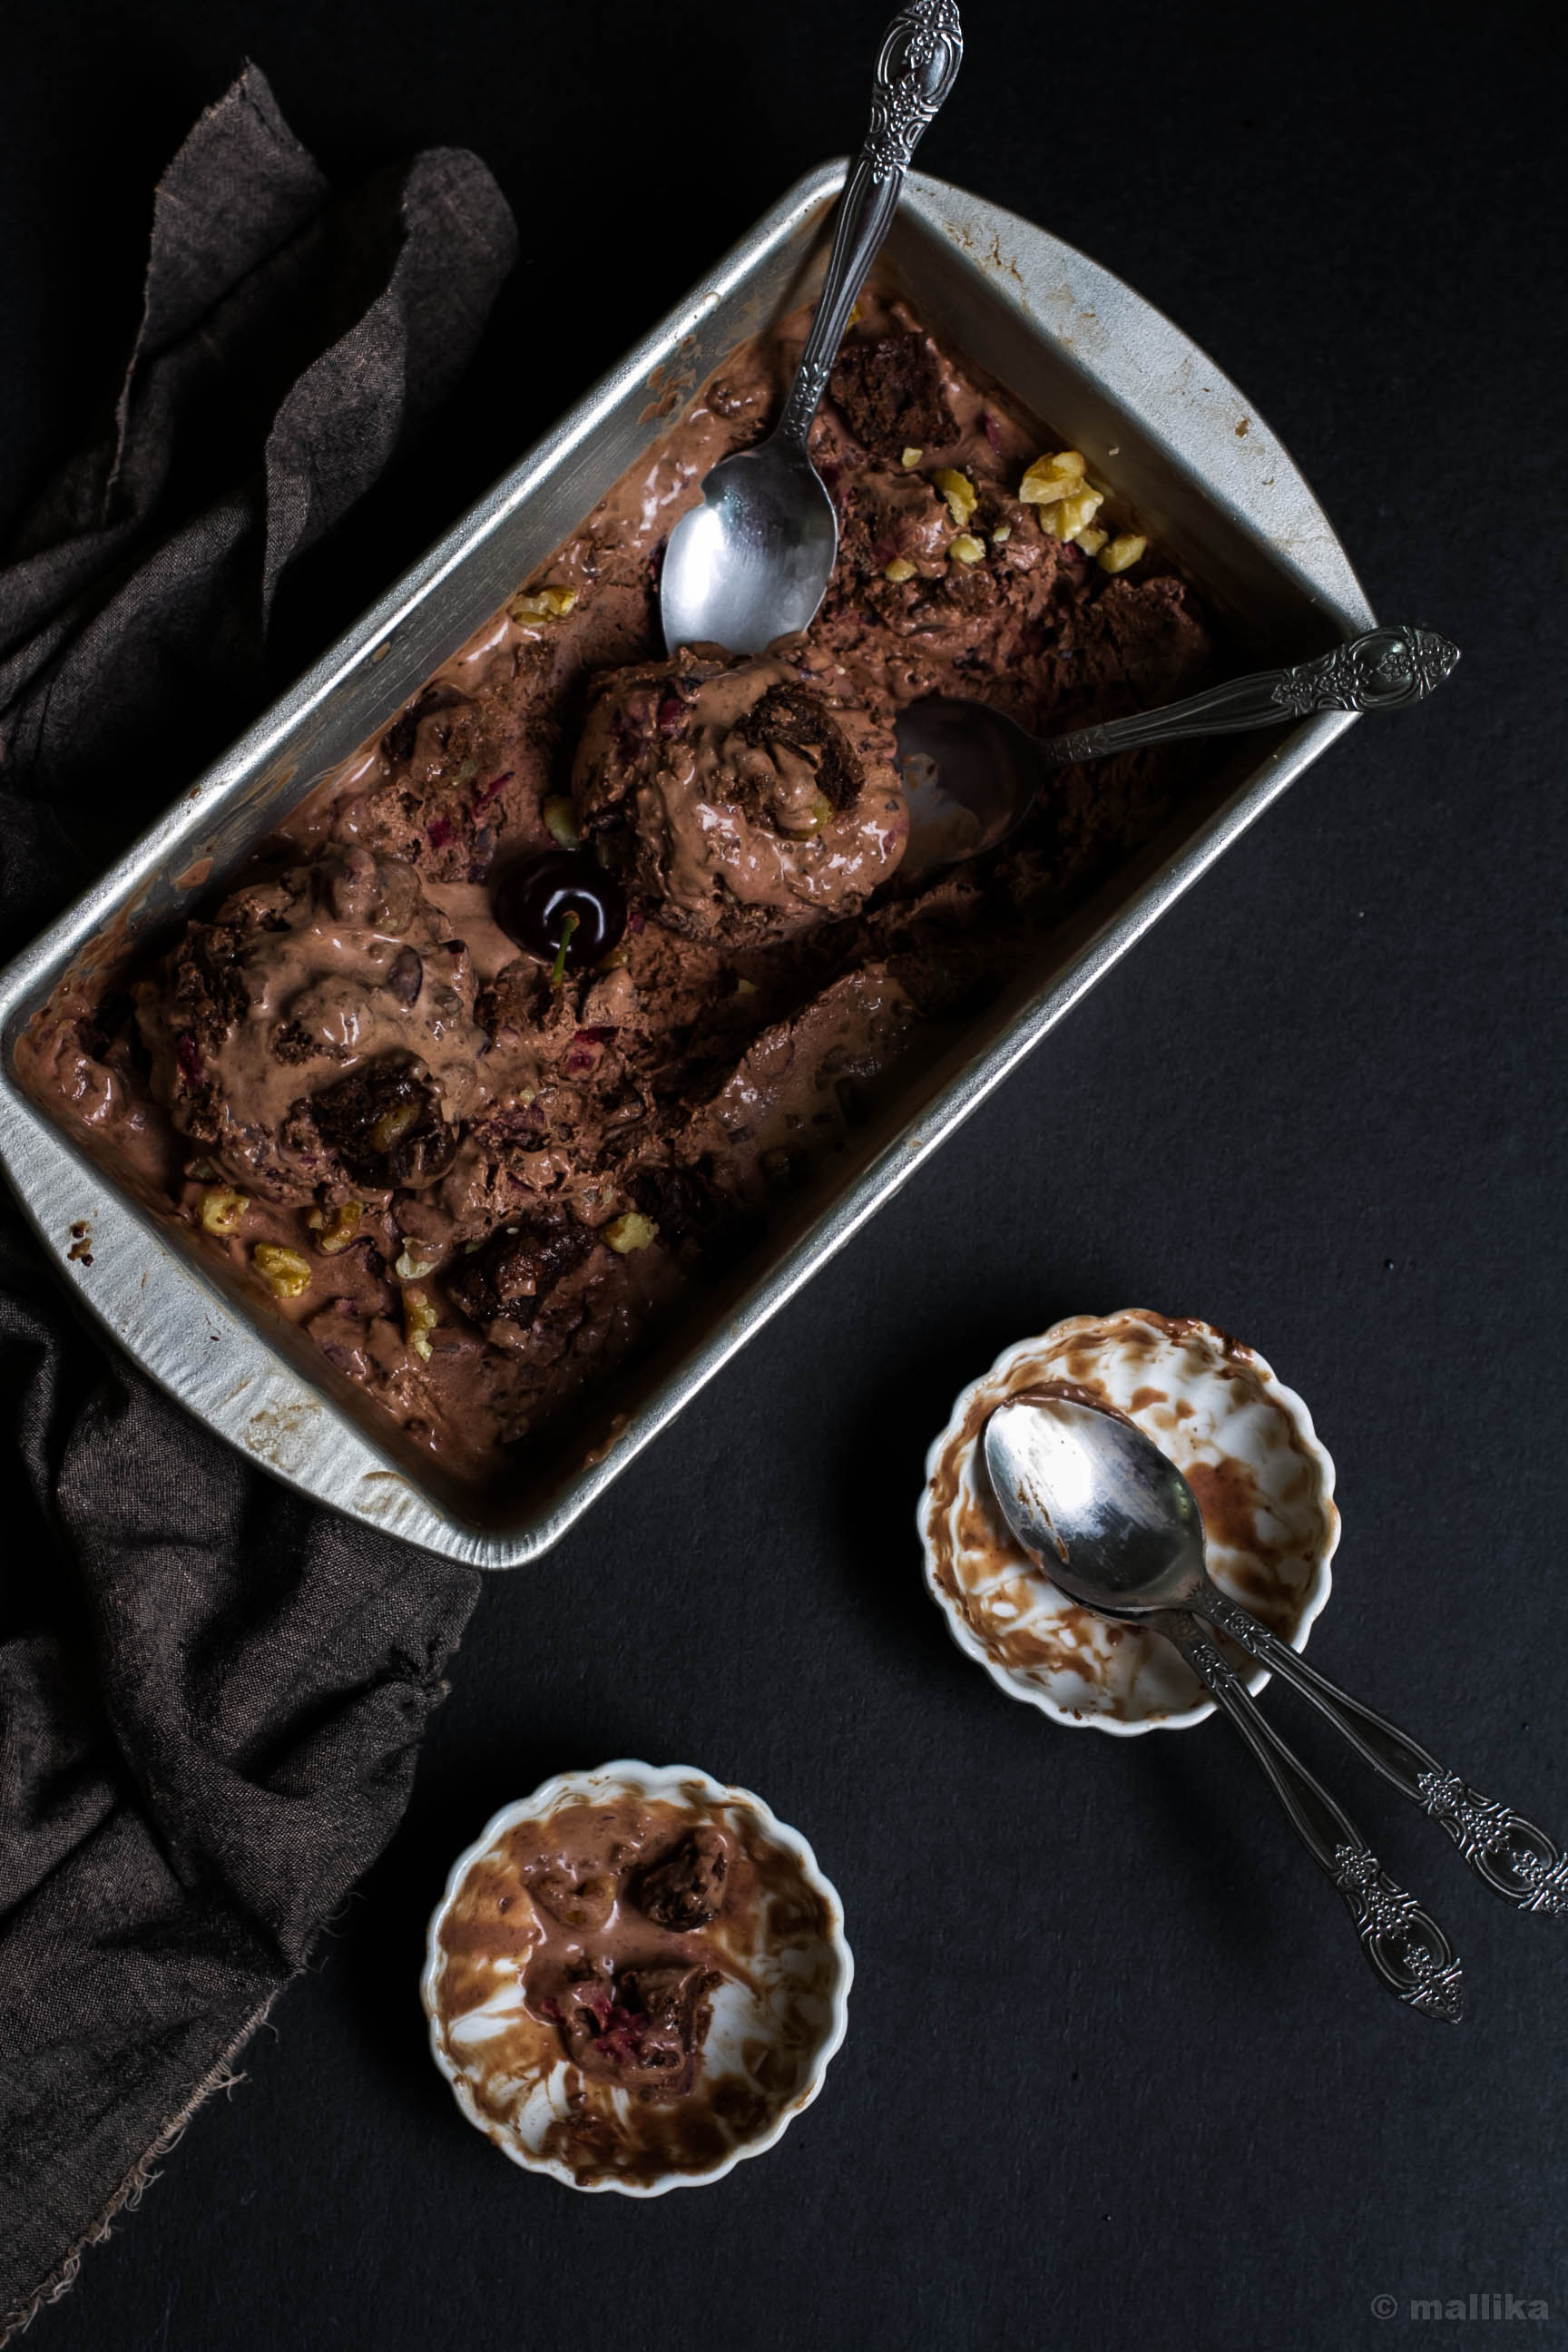
Chocolate Black Forest Ice Cream

How to make Black Forest Ice Cream | Easy Chocolate Black Forest Ice Cream Recipe
I am clueless how months have flown by since my last post here. Let me put excuses aside and so that you know, let's get started with first things first. While many guessed, for the ones who remained uninformed, I made a big move from India to the US about 6 months ago. That was way back in the mid of March when the snow caps here in Connecticut were on the verge of melting and the spring sat on its edges awaiting to set in. From the summer heat of Bangalore to the ceasing winters of New England, I moved in with 2 huge suitcases packing all that meant the world to me.


It took me a while to settle down to the demands of not-so-new-anymore place, work and routine. And believe me, while it wasn't hard at all, I did not have it all easy either. It was life at work that was most consuming. Caught up in a new place, with new folks, new skills to learn and new team to work with, I was jostling myself with an identity crisis. I worked on many weekends and put aside blogging for a while for the sheer busyness and lack of motivation. And when we had time off, we hit the road and traveled places to make most of the summer.

We also have my parents over here right now. That's a big joy and great support knowing that our little girl has just started school and will be back home in the noon to house full of folks she loves and is pampered by the most. They will be around till the mid of November to witness the glorious fall season. That tells you our kitchen has been the busiest place at home where most of the action is seen. You can hear whistles of pressure cooker go by at regular intervals. You can smell pots of steaming rice and sambhar bubbling away. We just got done with guLiappams and chutney for breakfast this morning. Right now, potatoes are being boiled for Aloo Parathas tonight, the husband's all time favorite. And there's this Chocolate Black Forest Ice Cream sitting in the freezer to be devoured for dessert at will.

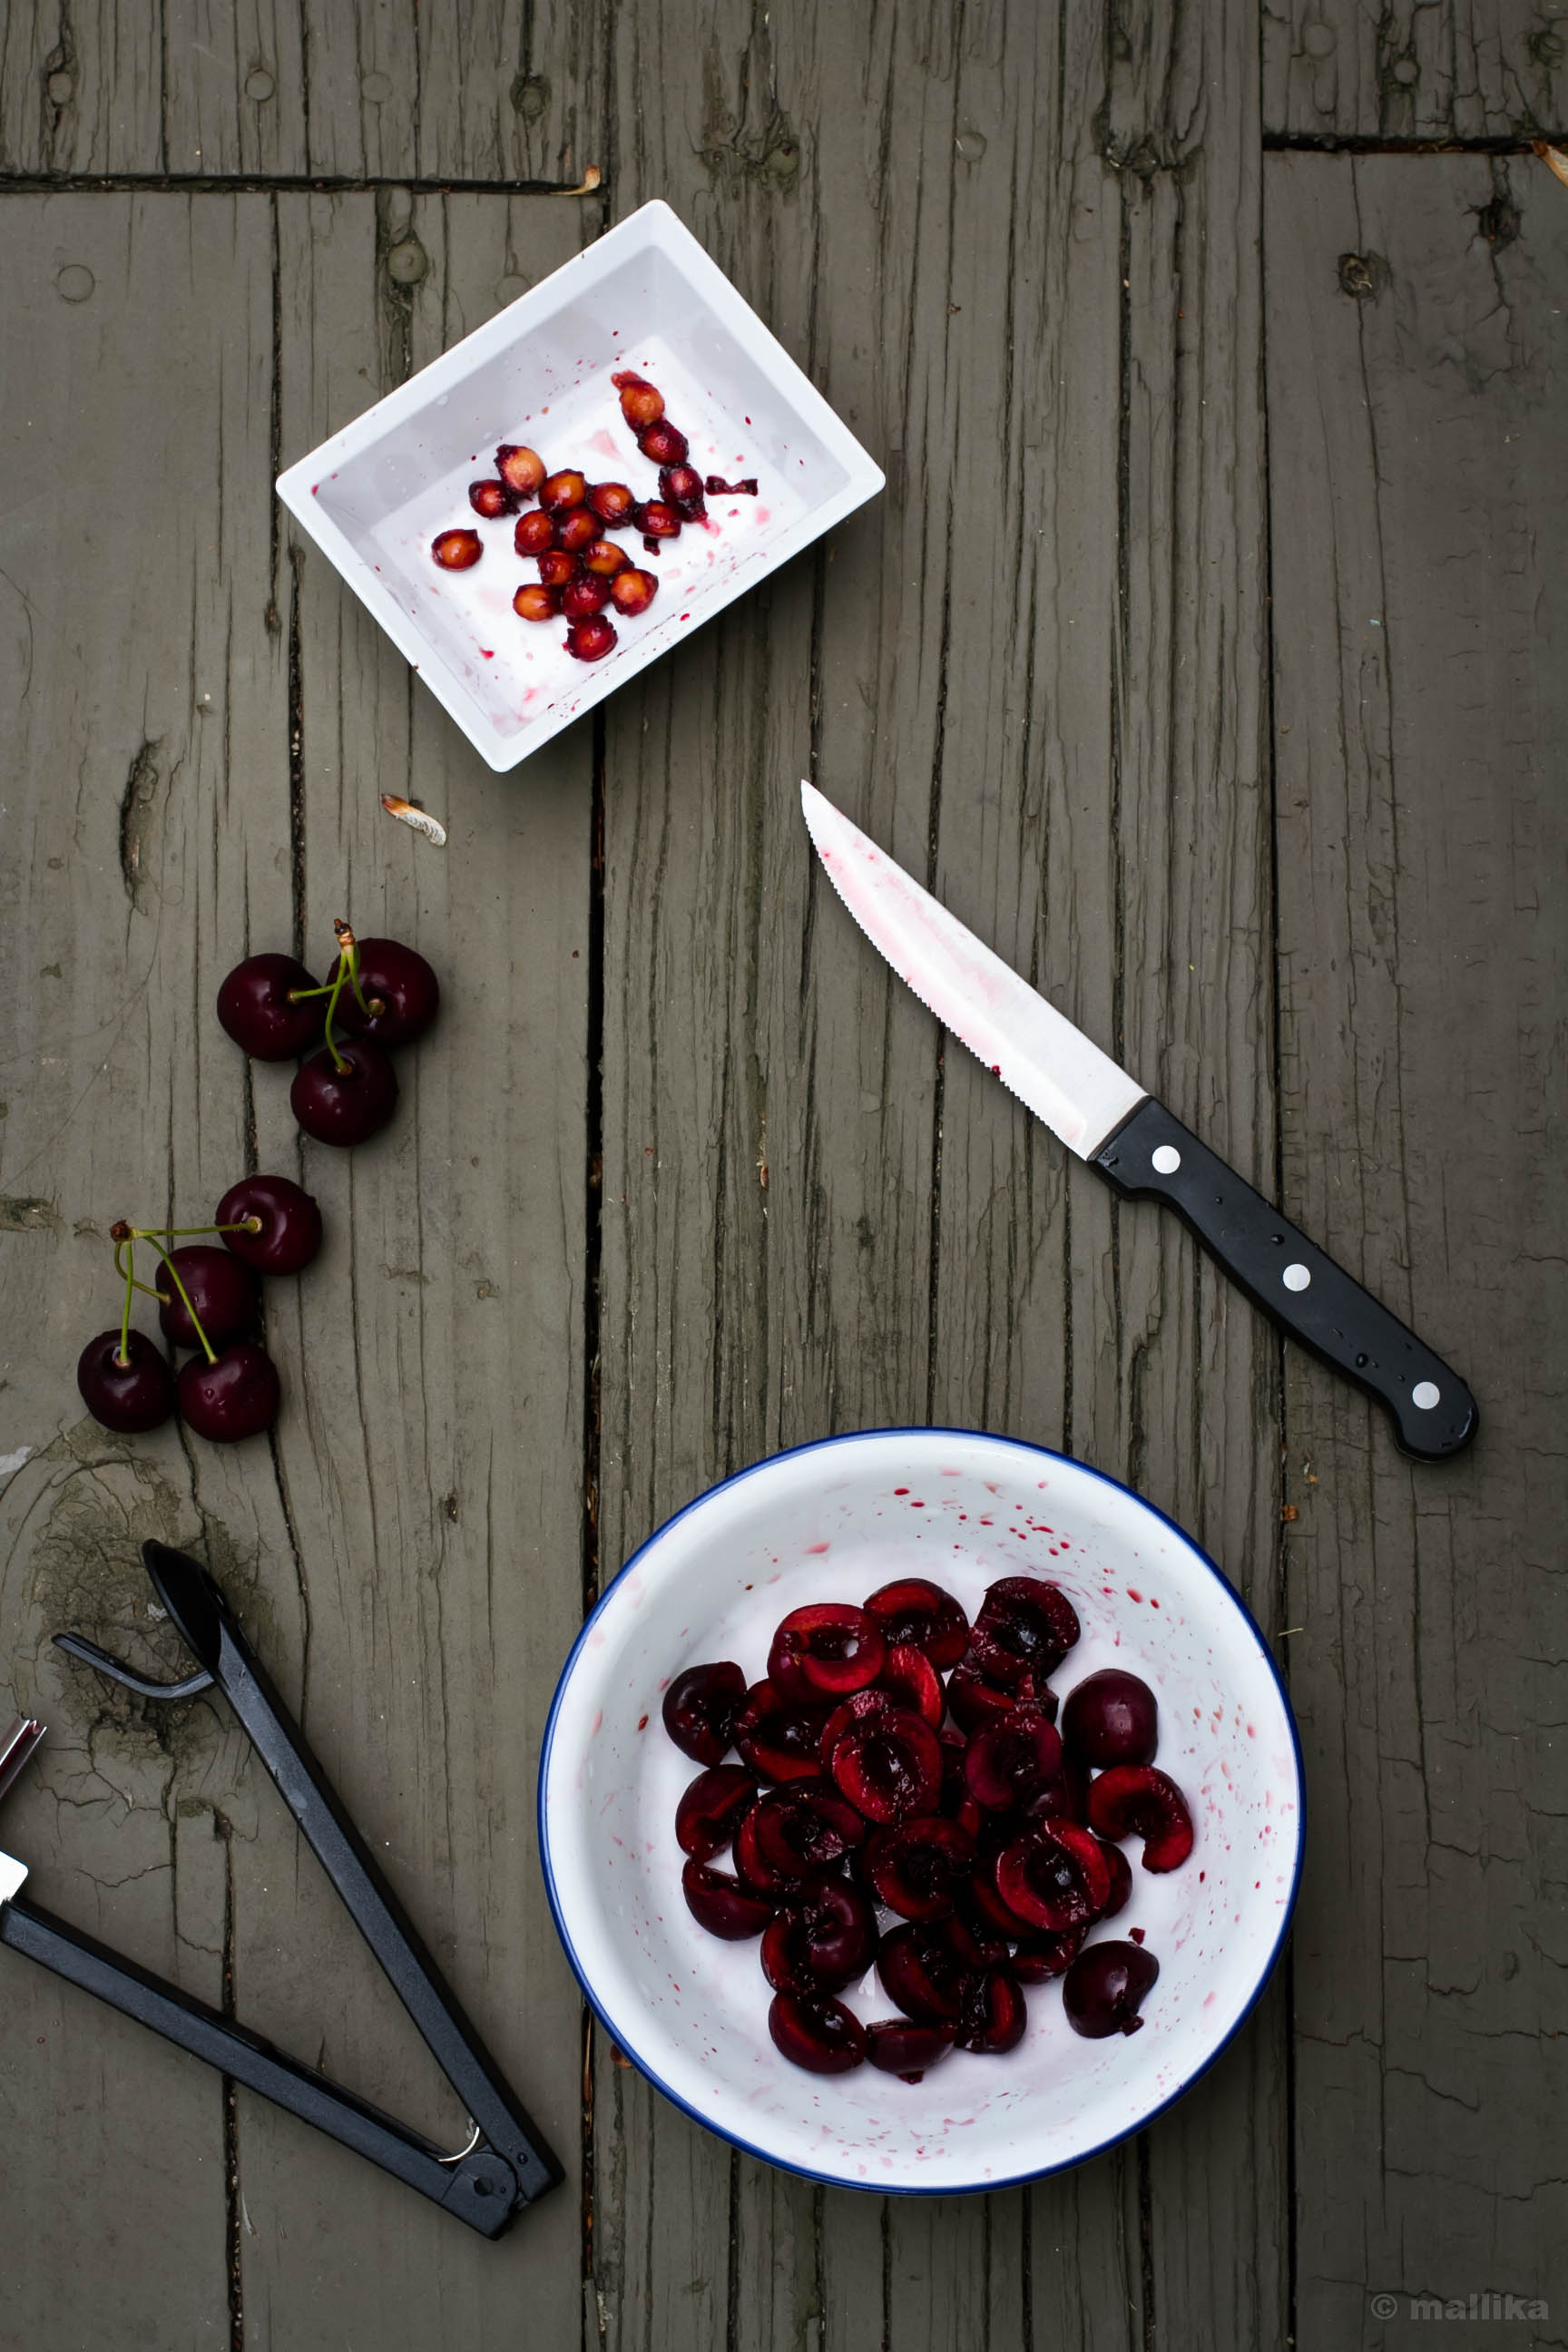
Pitted Cherries


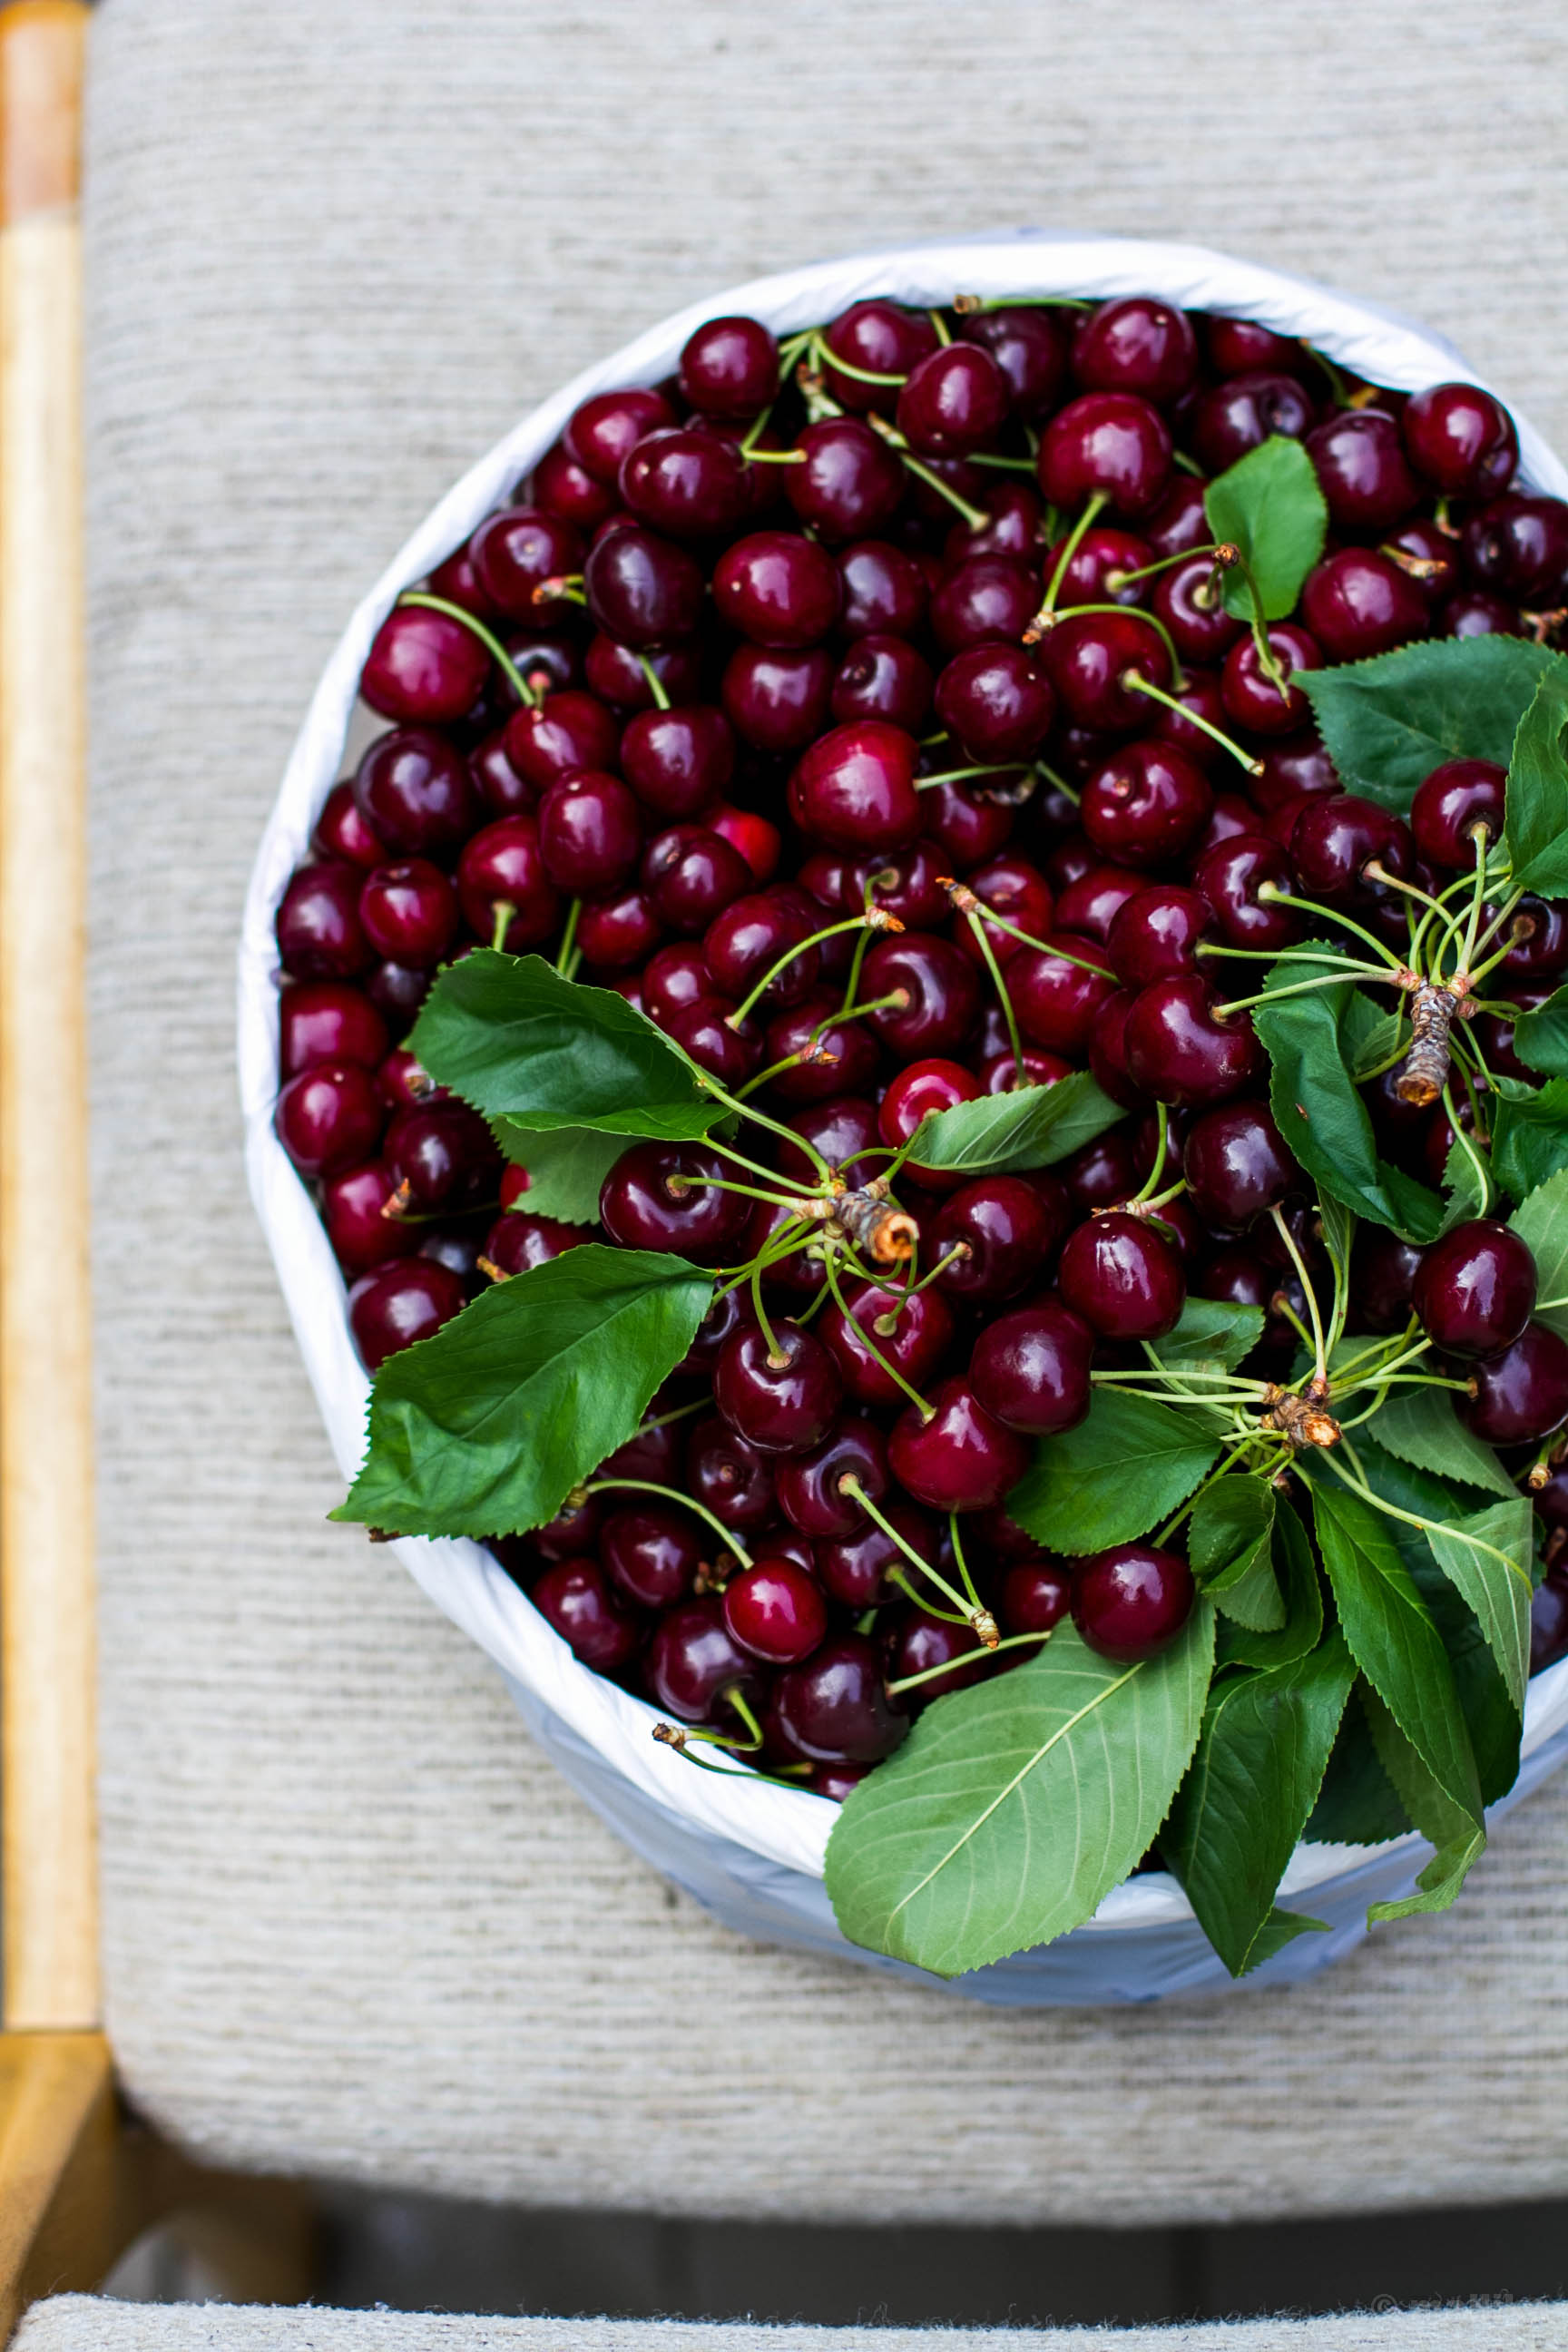
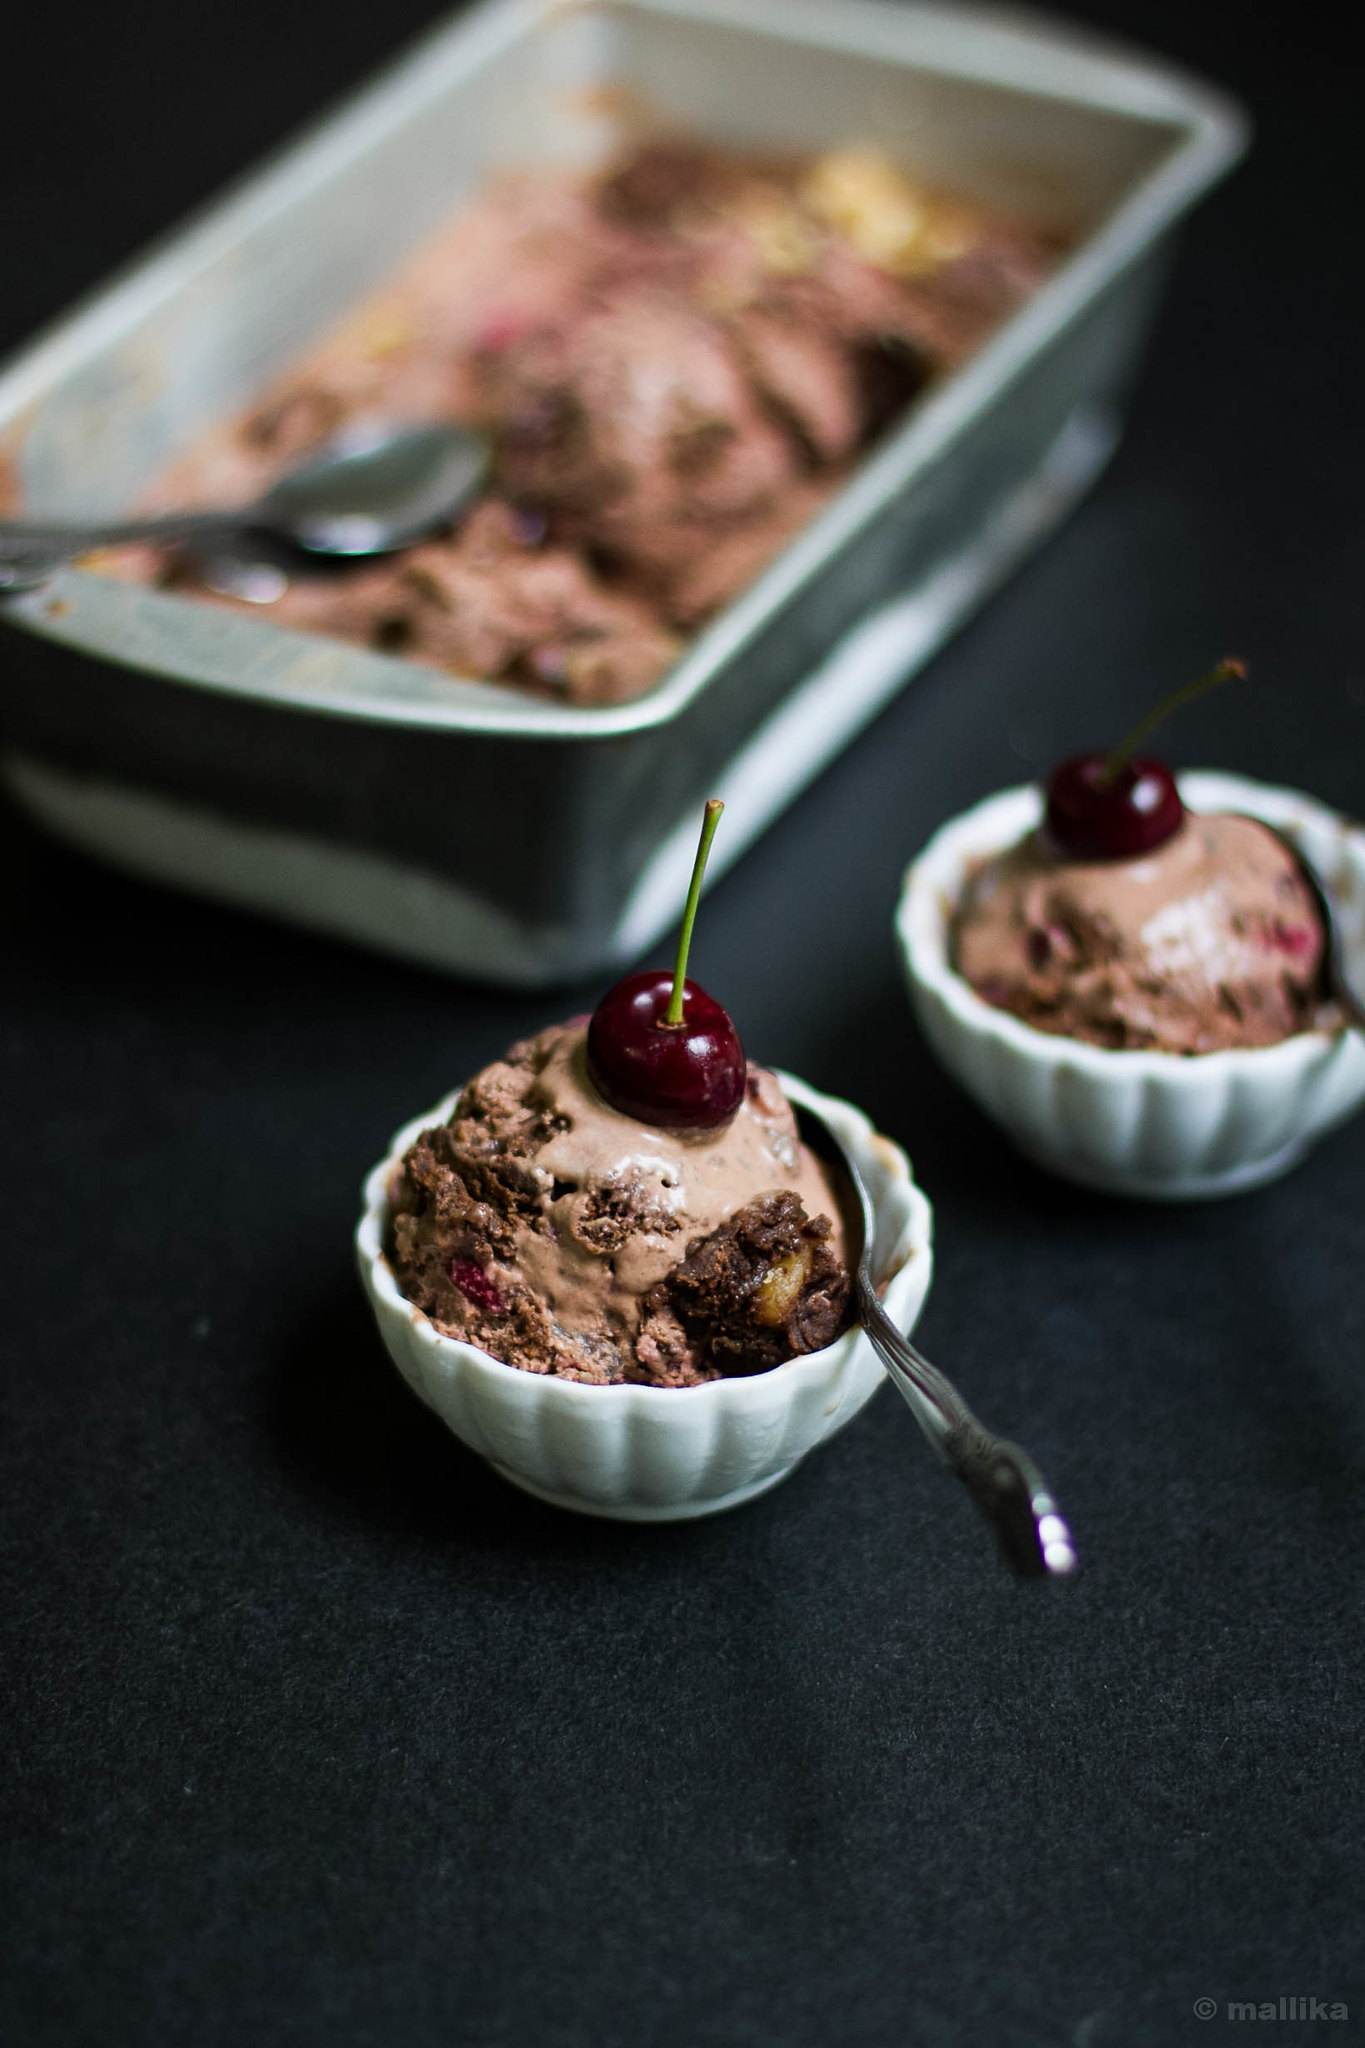
I made a repeat of these brownies last weekend. I also had a can of condensed milk, a box of fresh cherries and some leftover cocoa powder awaiting to be consumed. So it turned out that this Chocolate Black Forest Ice Cream was a well timed recipe to make use all that I had been wanting to consume. The cherries I used here were fresh sweet ones. You can make do with frozen ones too. Roasted walnuts are quite optional, but give a lovely crunch to this ice cream and pair really well with the brownies. If you aren't a fan of chocolate ice cream, but love brownies, try skipping the cocoa powder while making ice cream and leave it plain old vanilla. Don't forget to stir in the cherries and brownies, because that's what makes them Black Forest :). For a more decadent, richer, adult version, I highly recommend using rum soaked cherries in place of fresh cherries. Drizzle some hot chocolate sauce before you serve this to your chocolate loving guests and I would probably call that death by chocolate!


Chocolate Black Forest Ice Cream

INGREDIENTS

400 ml heavy cream, cold
200 grams condensed milk, preferably cold
2 tbsp. good cocoa powder
1 tbsp. vanilla essence
1/4 cup chopped roasted walnuts
1/2 cup chopped fresh cherries
1/2 cup crumbled / bite sized chocolate brownie chunks

DIRECTIONS

To prepare the chocolate ice cream, whip the heavy cream till it doubles and holds soft peaks. Then add the condensed milk, vanilla extract and cocoa powder. Continue to whip until the mixture is smooth and fluffy and holds soft peaks, about 1 minute.

Transfer half the prepared ice cream to a loaf tin or your ice cream container of your choice. Top it with half of the brownie chunks, cherries and walnut. Using a fork, gently swirl so that the nuts, brownies and cherries mix into the ice cream.

Top this with another layer of prepared ice cream, followed by topping of the remaining half of the brownie chunks, cherries and walnut. Swirl again gently.

Cover with a lid or plastic wrap and allow the ice cream to set in the freezer for at least 4-6 hours. To serve, remove from freezer and place the ice cream in fridge for 10 minutes to soften. Using a warm ice cream scooper, spoon out the ice cream and serve.

Chocolate Black Forest Ice cream Prep

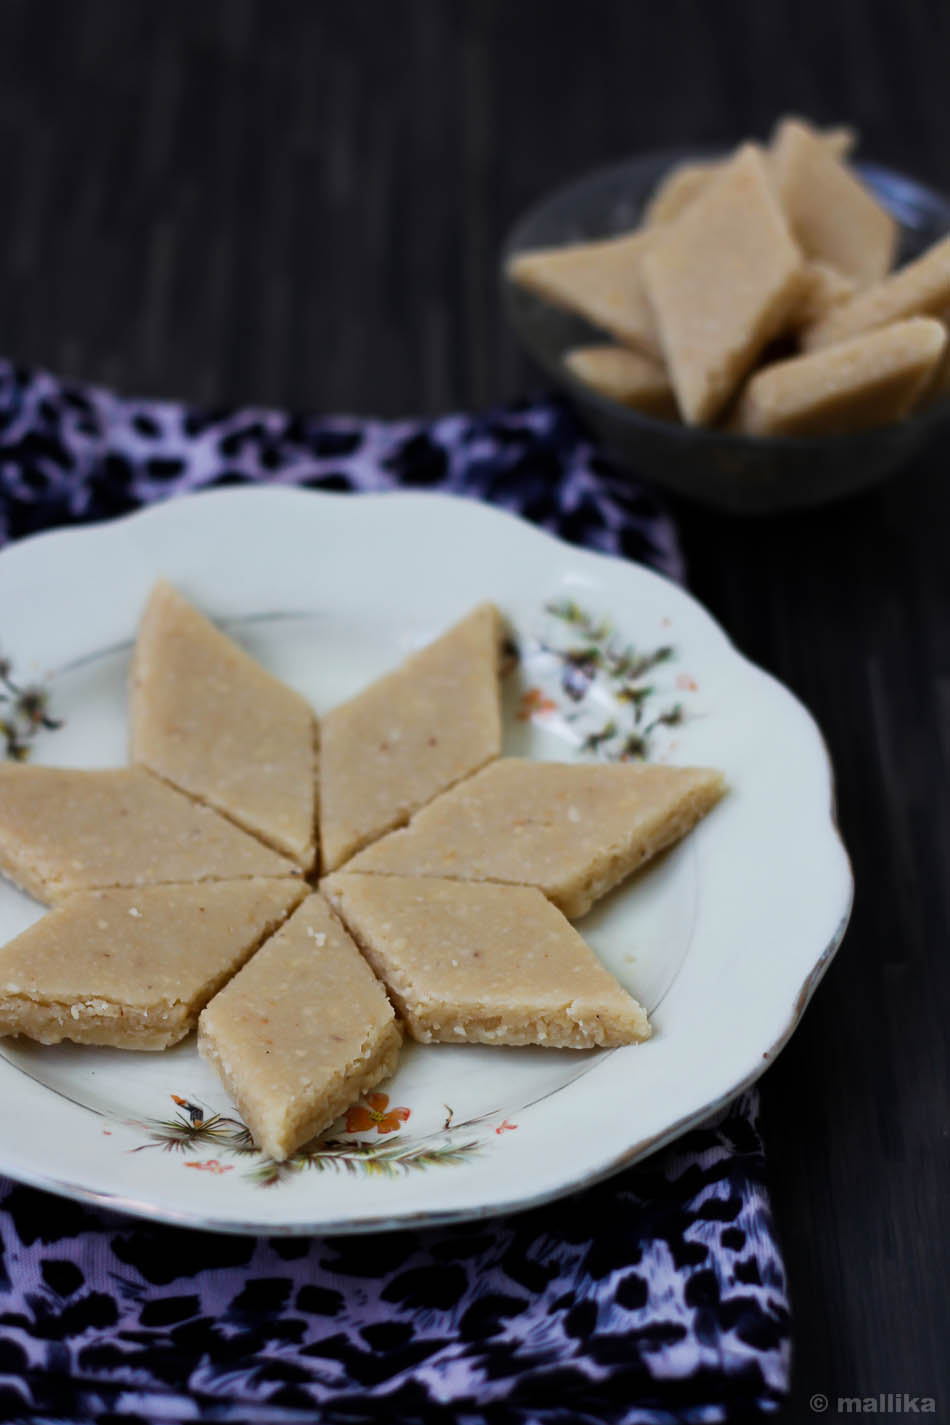
Kaju Katli

How to make Kaju Katli | Cashew Burfi | Cashew Fudge Recipe
Sometime in October last year, just ahead of Diwali, we bumped into my husband's close family friend at a mall one evening. After a brief chat, Mr. S and his wife headed to shop in the mall, while his mom and young daughter hung around us, continuing the talk. My mother and I spent nearly an hour chatting with aunty while the kids were engrossed playing in the ball pit. We spoke at length about the upcoming Diwali preparations, the new dress that aunty had sewn on occasion of Diwali for her grand-daughter, the small disparities in our cultures and the celebrations (they being Tamilans), sharing our favorite family recipes that made the festive celebrations more special.

One of the recipes that aunty shared with us that evening was the recipe for this Kaju Katli, a popular cashew based sweet that's a popular family favorite in many homes, especially in the North, where gifting boxes of sweets is customary to their traditions. Although we are past Diwali now, I don't think this requires any occasion for celebration. You can make them at home, at your convenience anytime and feel pleased with this indulgence. If you have a weakness for Kaju Katlis, then I am afraid you may not be able to resist eating just one.

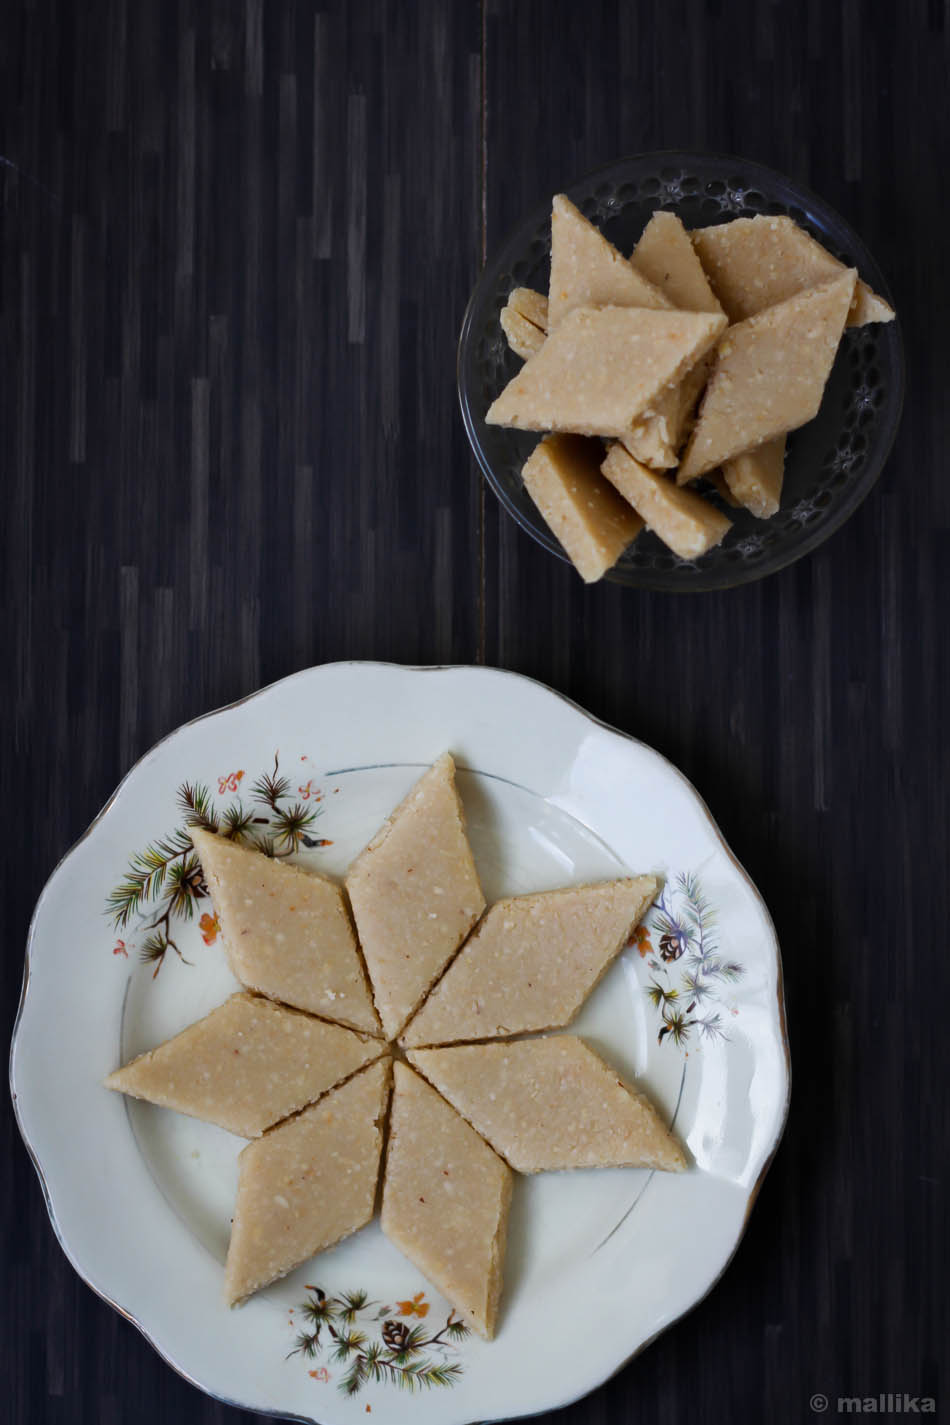
Kaju Katli_1


Making these burfis at home may sound intimidating, but it isn't. This was the first time I attempted making them at home and they came out delicious. I started off nervously even as I measured the amounts suggested by aunty, but she had assured that the recipe would work even for the most novice, immature cook, and that assurance itself wanted me to try this recipe in the first place. The end result ofcourse was smooth, melt-in-mouth goodness of cashew fudges.

There are many ways to prepare this dessert. A common one being where the cashew nuts are soaked in water overnight and ground the next day, then cooked in single-strand sugar syrup till it comes together to form a dough. As an alternate, easier method, you can grind the cashews to a fine powder and mix with sugar syrup, cooking it on a low flame to form a soft dough. The dough is then spread and flattened on a plate and cut into thin diamonds. Commercially sold katlis have a layer to silver wark on them, however, for a home version you can skip them totally. This version of kaju katli is an easier where you do not have to worry about sugar syrup or its accurate consistency. Hence, time saving and easier which gives you the burfis of same quality as bought at a store.

Kaju Katli_2


Kaju Katli | Cashew Fudge

INGREDIENTS

2 cups cashewnuts, heaped
1 cup sugar
1/2 cup water
1 tbsp. ghee (approx. 3 tsp.)

DIRECTIONS

Grind the cashews to a fine powder in a mixie. I used the chutney jar as the whiz option on my mixie helps me control how fine I want the cashews to be powdered. Ensure that the cashews are not powdered to an extent that they begin to leave oils.

Heat the sugar and water in a thick bottomed pan and stir well till all of the sugar is dissolved in the water. Just as it comes to a rolling boil, add the cashew powder and stir well on a low flame.

The cashew mixture will soon come together and begin to thicken. Once it thickens enough to form a mass / sticky dough / lump, add a teaspoon of ghee. Remove the whole of the mixture from the pan.

Transfer the prepared mixture on to an upturned greased plate or a butter paper. I used a marble chakla. Allow it cool a little. When its cool enough to be handled, knead it gently to form a smooth dough. If the dough is too stiff and find it hard to knead, add another teaspoon of ghee. This is optional though.

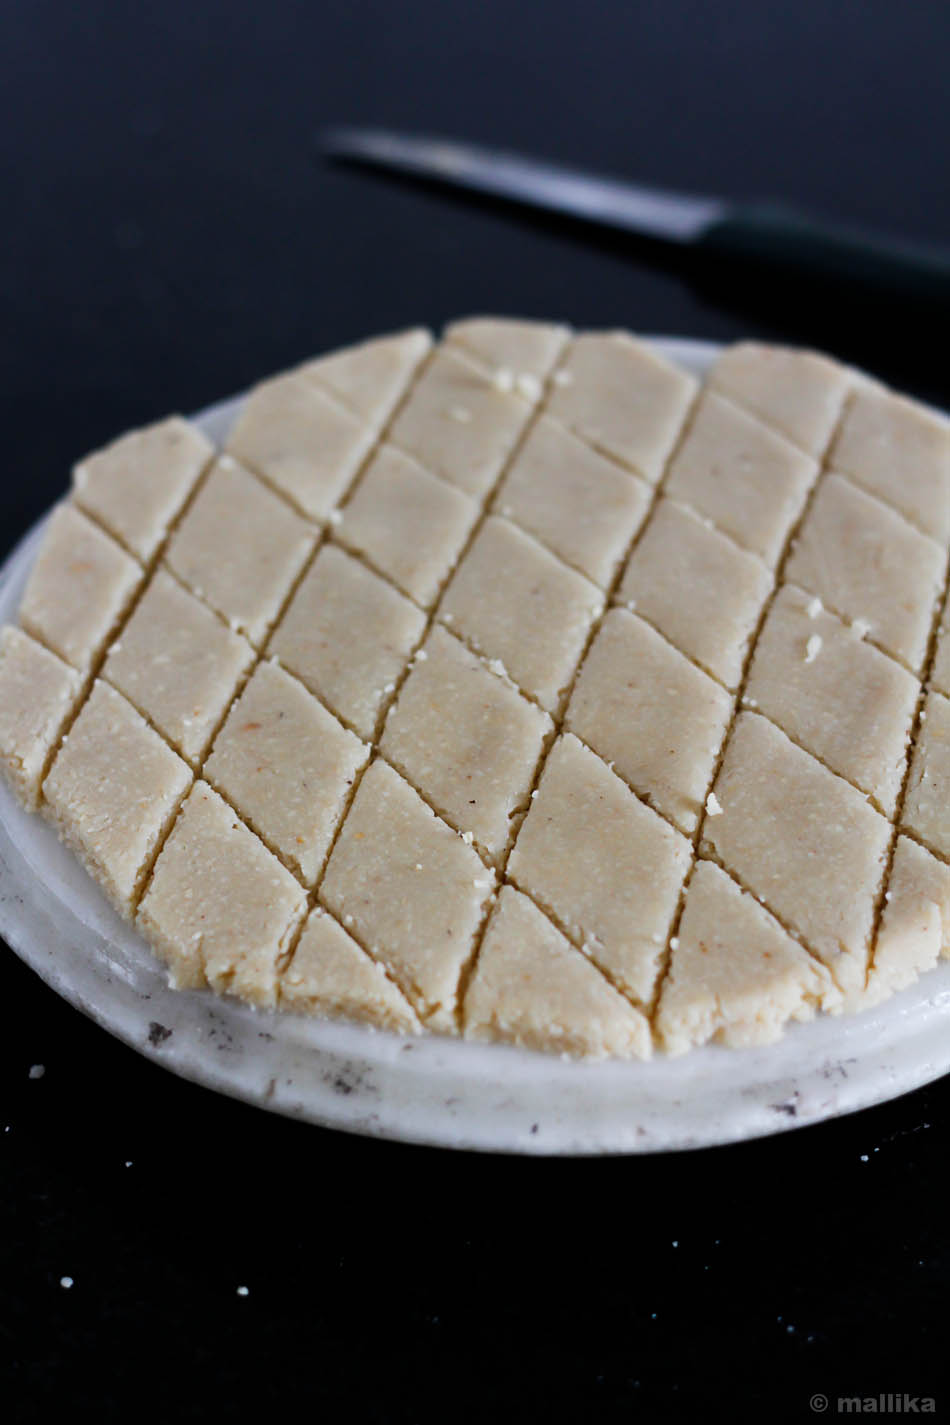
Using a greased rolling pin, roll the dough gently and evenly till its about 4-5 mm thick in height. Allow to cool. When cooled completely, use a sharp knife to cut the cashew fudge into diamond shapes. Gently transfer the kaju katli to serving plate or store in an air tight container.

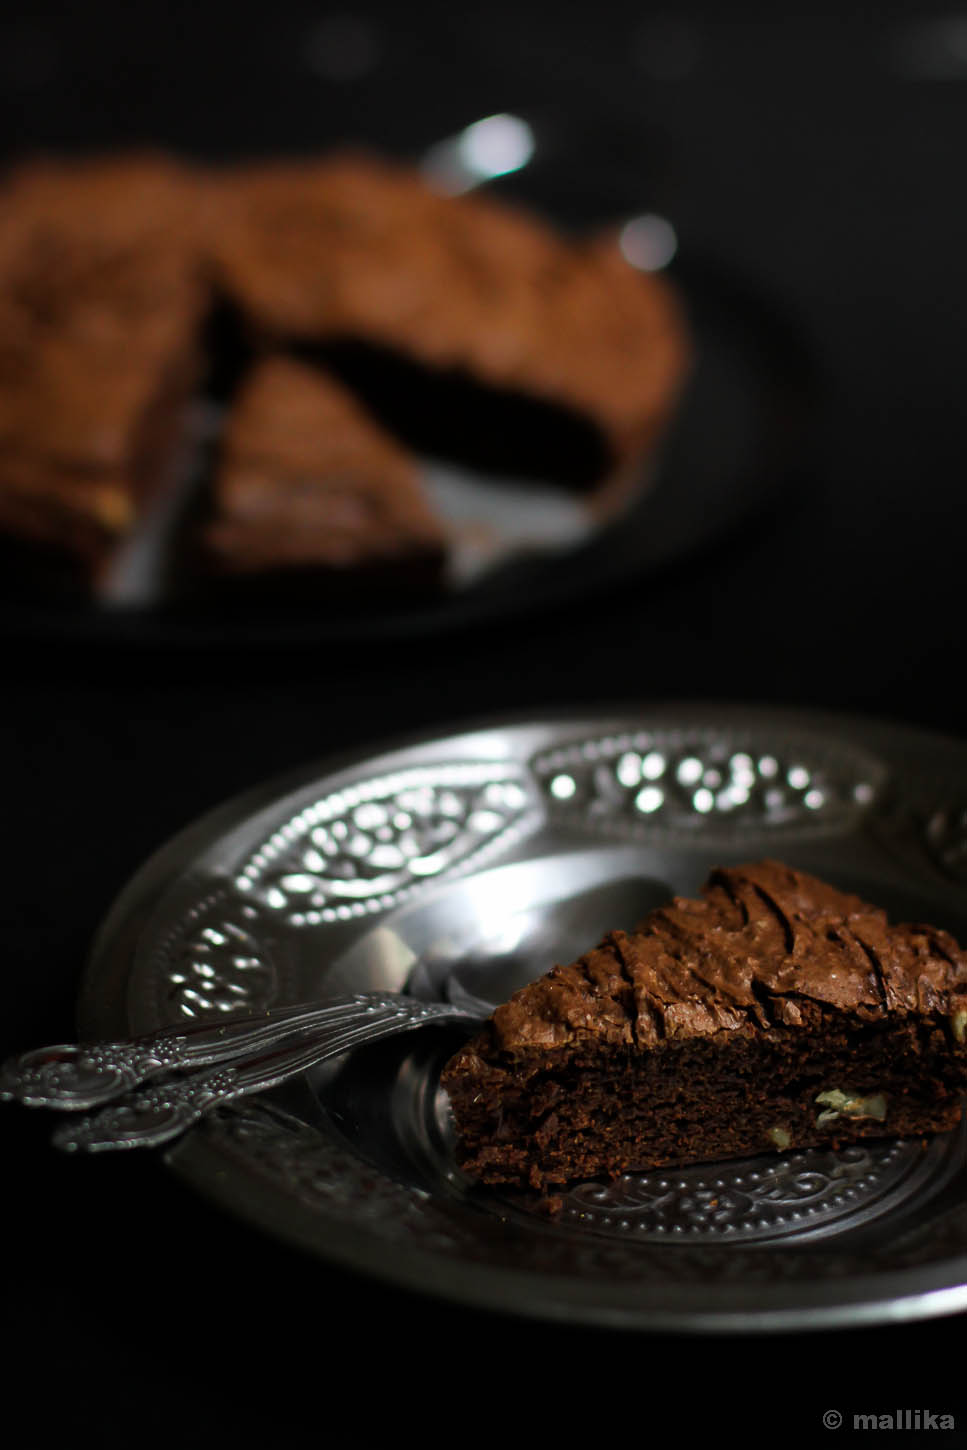
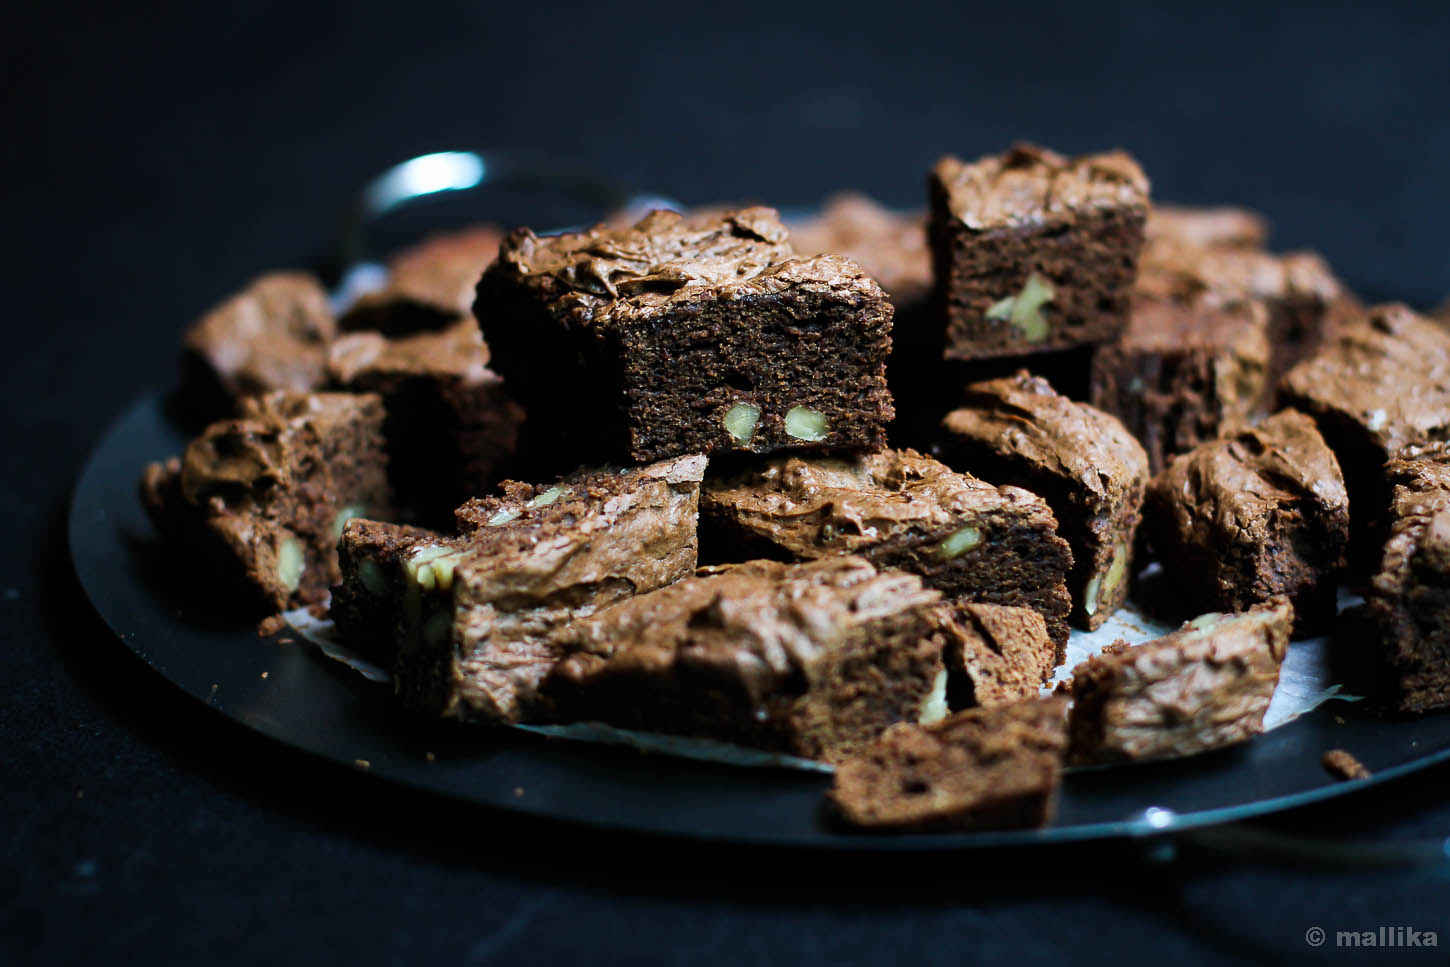
Avocado Brownie

How to make Avocado Brownies | Recipe for Healthy Brownies | No Butter Brownies
My weakness for brownies is not quite known to many. I love this sense of being discreet, like an affair that's quite so sincere. It first began years ago, when I joined the corporate industry to begin my career and I lived by myself for those couple of years. During those days, many weekends were spent hanging out at Corner House ice cream parlors in the heart of South Bangalore. Among the wide variety of ice creams in all permutations and combinations they had on menu or the life sized colorful posters of sugar-cherry topped neat ice cream scoops that adorned their walls, Brownie Fudge Sundaes it mostly was. It won my heart like none other could. I would go there nearly every weekend till I had had enough of it to overcome my cravings. At times I got them packed in disposable containers and took them back home. On most occasions, I would sit by the glass window and let the world pass by unnoticed as I indulged slowly scooping out the layers of nuts, chocolate fudge and vanilla ice cream that sat over the fudge soaked warm brownies. As the cold ice cream melted over the warm brownies and hot chocolate sauce, it created a pool of molten sweet puddle, soaking the brownie in it and making every bite of it gratifying and soothing to the fourth sense. It's what I call chocolate nirvana, bringing joy that makes life worth every bit.

I revive those days, much in reverence of being ignorant about what it meant to count calories or care for the waistline. More so because I cooked and ate mostly at home, so this was a sweet deal I sought comfort in for the week long slog at work and to beat the boredom of cooking and eating at home.

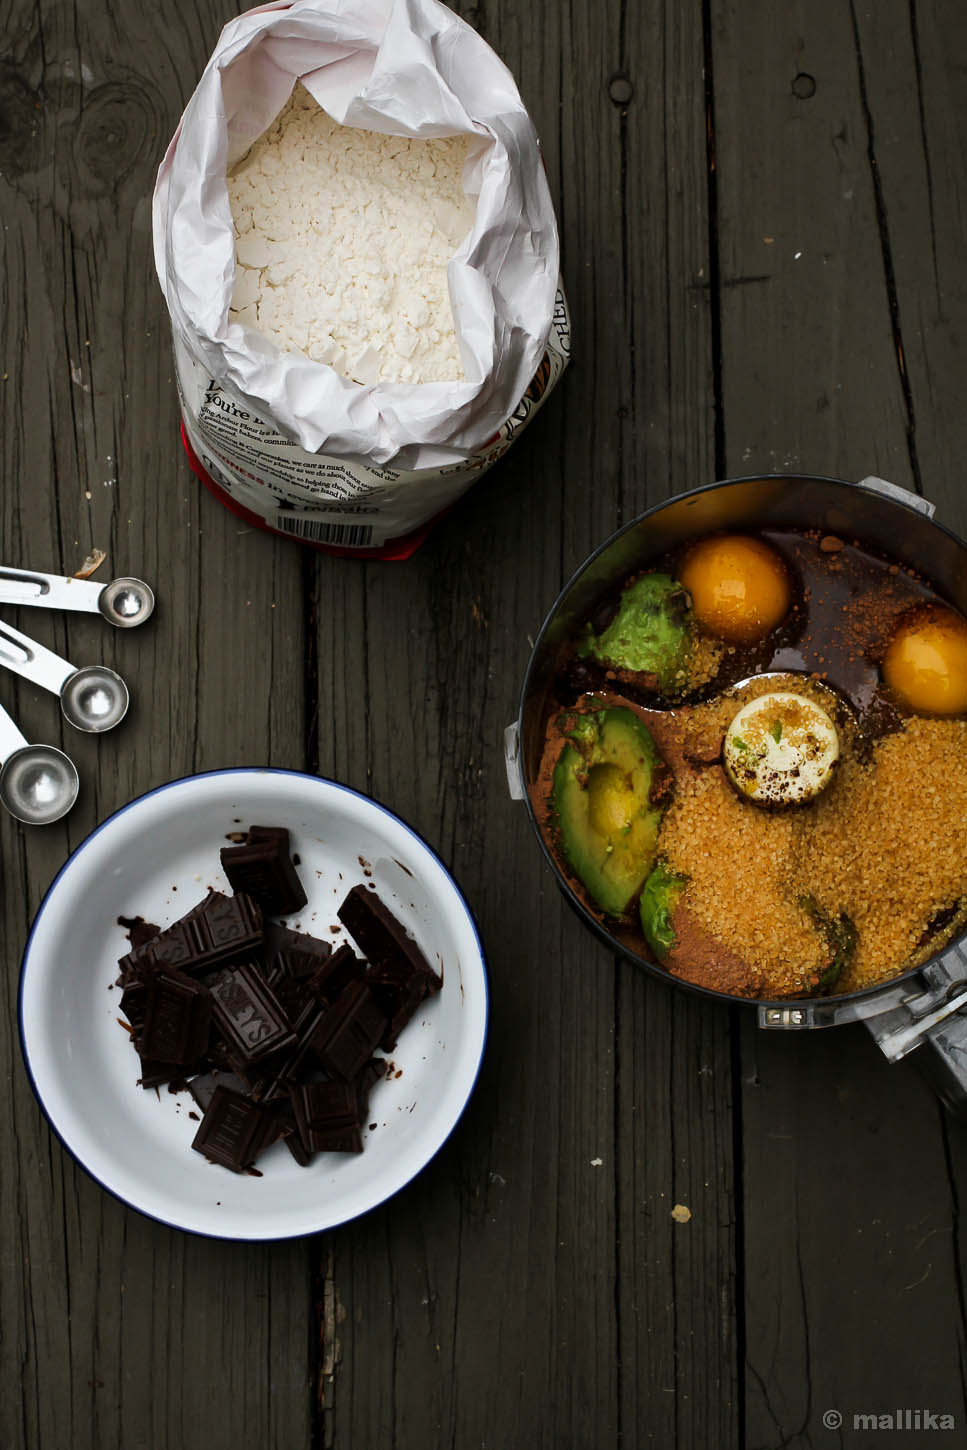
Avocado Brownie Prep

Avocado Brownies


The harsher side is that brownies have never known to be healthy. You and I know that a good brownie needs a great deal of butter, ton of delicious sweet dark chocolate and a couple of eggs in varying degrees, depending upon how fudgy or cake-like you love your brownie to be. In sum, its pretty calorie laden that makes it so sinfully decadent.
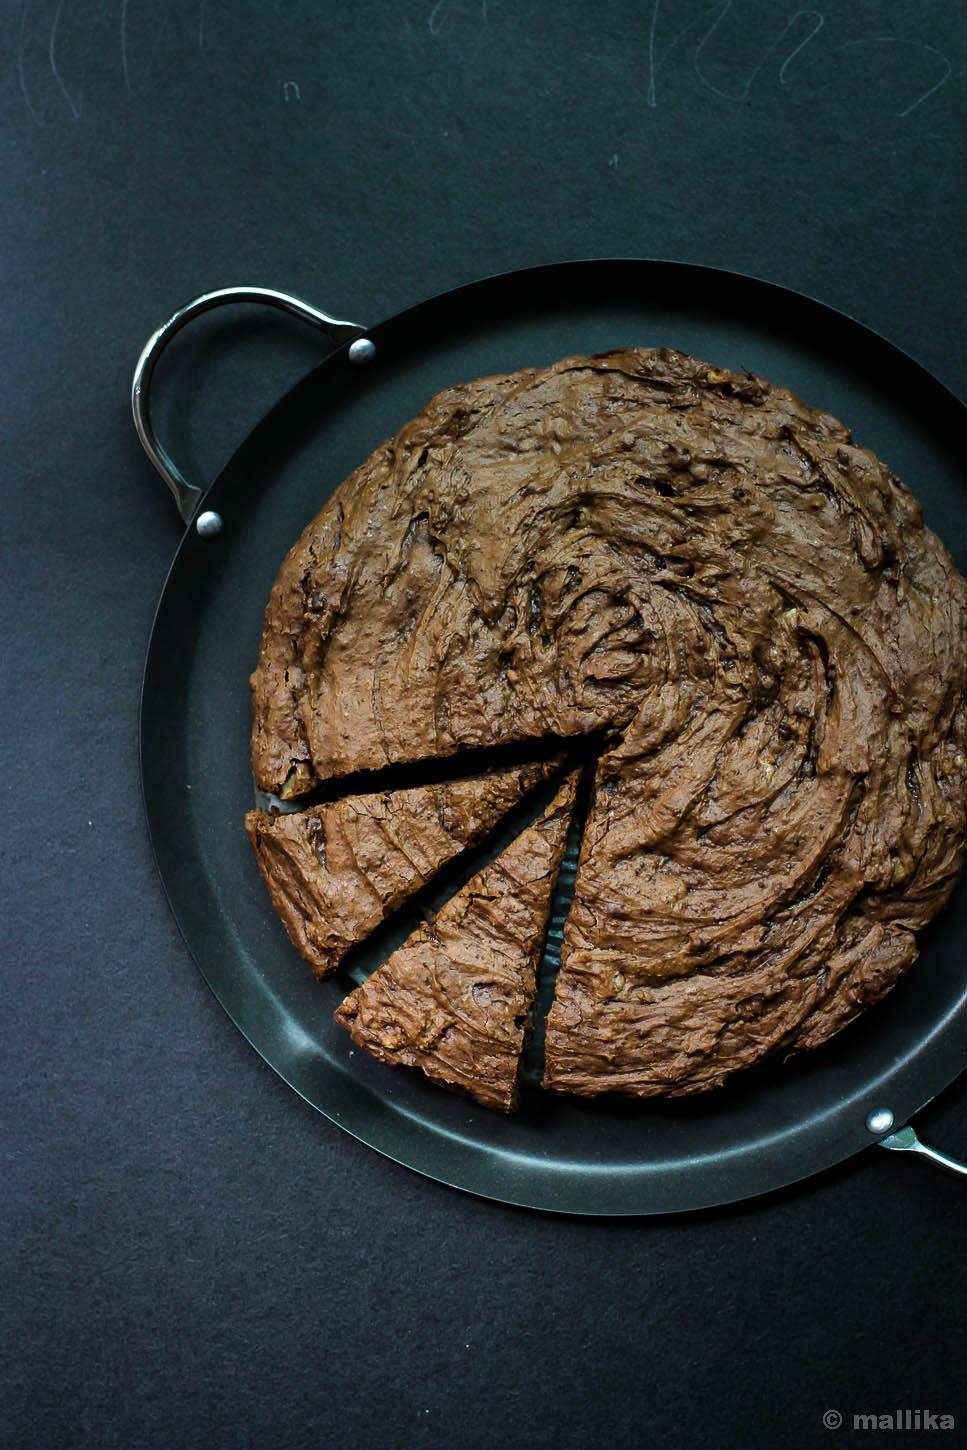
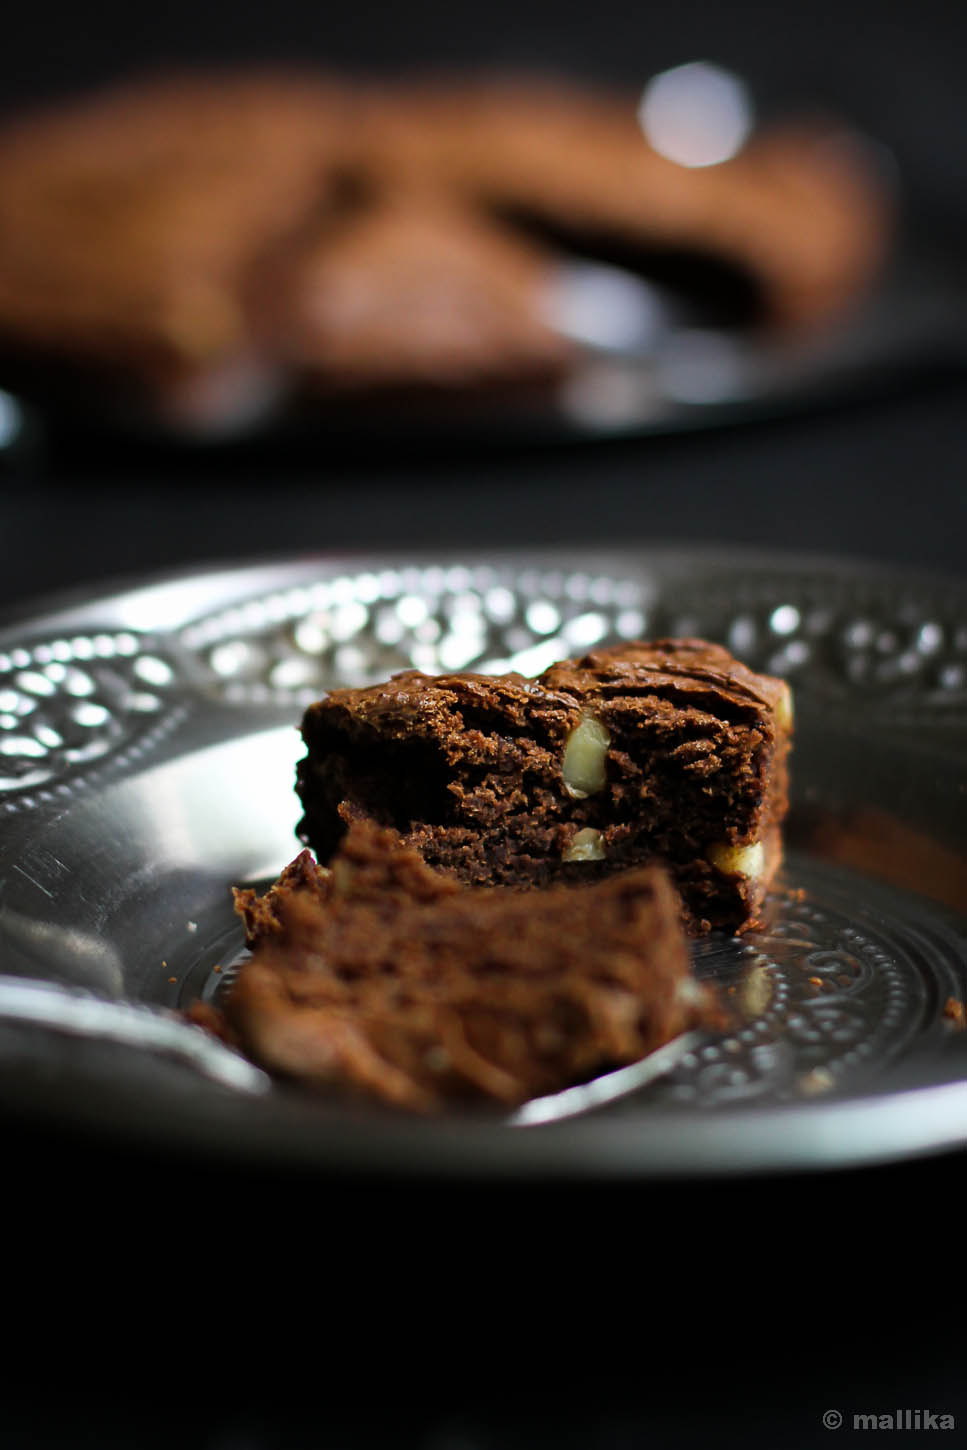
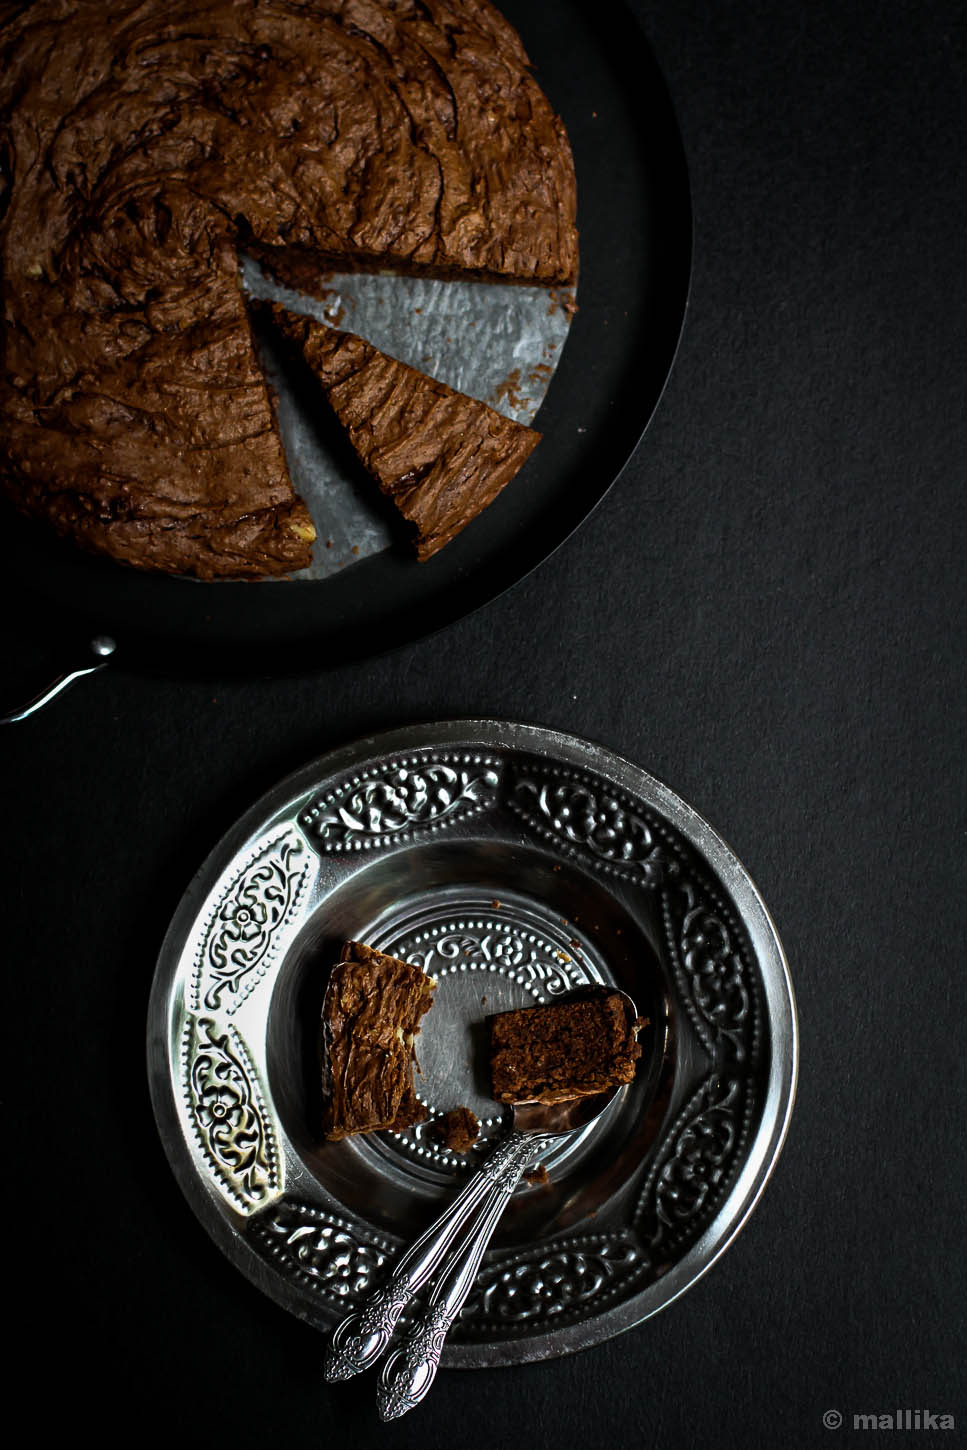
It may sound like I am deceiving you a bit here, trying to sell you my brownies by calling them waistline-conscious, healthy and diet-friendly; yet with all the same decadence as what the classic brownies are. Believe me they are incredibly good!

Avocado Brownie Sliced Avocado Brownie


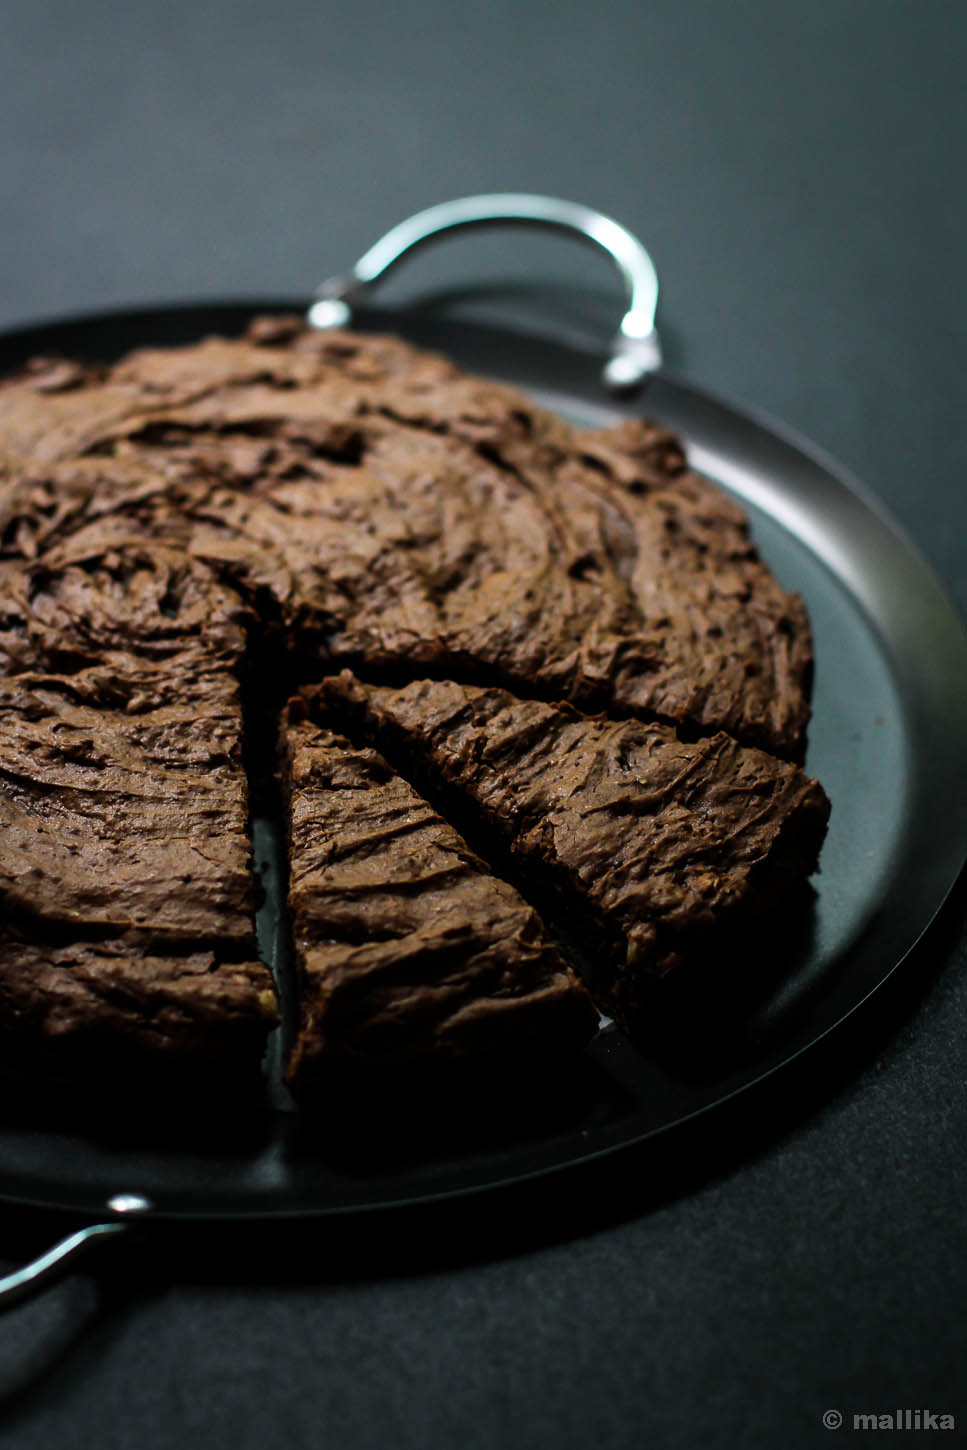
If you have excess avocados lying around like I had in plenty, you've got to make these. Let loose your fears and whip together all good ingredients to make these brownies. What makes them different is that there is absolutely no butter used in them. They are nearly fat free with the avocados lending all buttery sheen and fat. And I promise, you don't entirely taste the avocados, unless you have a strong nose and taste buds that poke through it sensitively.

Although I chose to go with all purpose flour in this recipe, quite so in fear of not turning this into an inedible disastrous recipe, I feel certain that wheat flour or a combination of wheat and all purpose flour should easily substitute with no compromise to taste.

This recipe comes as a blessing for not just being healthy, but they make a great base in recipes that call for chocolate cakes and brownies. I made some brownie ice cream with these and that brushed off some guilt of being calorie conscious. They are great crumbled in trifles too, pairing beautifully in a good amount of fruity elixir. And ofcourse, if you've made these, then do not certainly forget to make some delicious Brownie Fudge Sundaes to share with your friends over a dinner party.

Avocado Brownie


"Healthy" Avocado Brownies

Inspired from here

INGREDIENTS

1/2 cup mashed avocado (about 1 medium avocado)
4 oz chocolate, chopped & melted (I used 1 bar of Hershey's dark chocolate)
3/4 cup organic raw cane sugar
2 large eggs
1 tbsp. pure maple syrup
1/2 cup unbleached all purpose flour
2 tbsp. cacao powder
1/2 tsp. sea salt
1/4 tsp. baking soda
1/4 cup chopped walnuts

DIRECTIONS

Preheat oven to 350 degrees Fahrenheit. Grease and line an 8x8 baking dish (either square or round) with parchment paper. Chop and melt the dark chocolate in a microwave for 30 seconds or on a double boiler till its just melted. In a food processor, whip up all the ingredients except the flour, baking soda and walnuts till they are homogeneous. Sift the flour and baking soda into a food processor bowl and pulse until well combined. The resulting batter will be very thick. Pour this batter into the prepared baking dish and level it with the back of a knife. Bake for 30-40 minutes, or till a skewer inserted in the center comes out nearly clean. Let it rest in baking dish for 5 minutes and cool further on a cooling rack.

Avocado Brownie Cubed

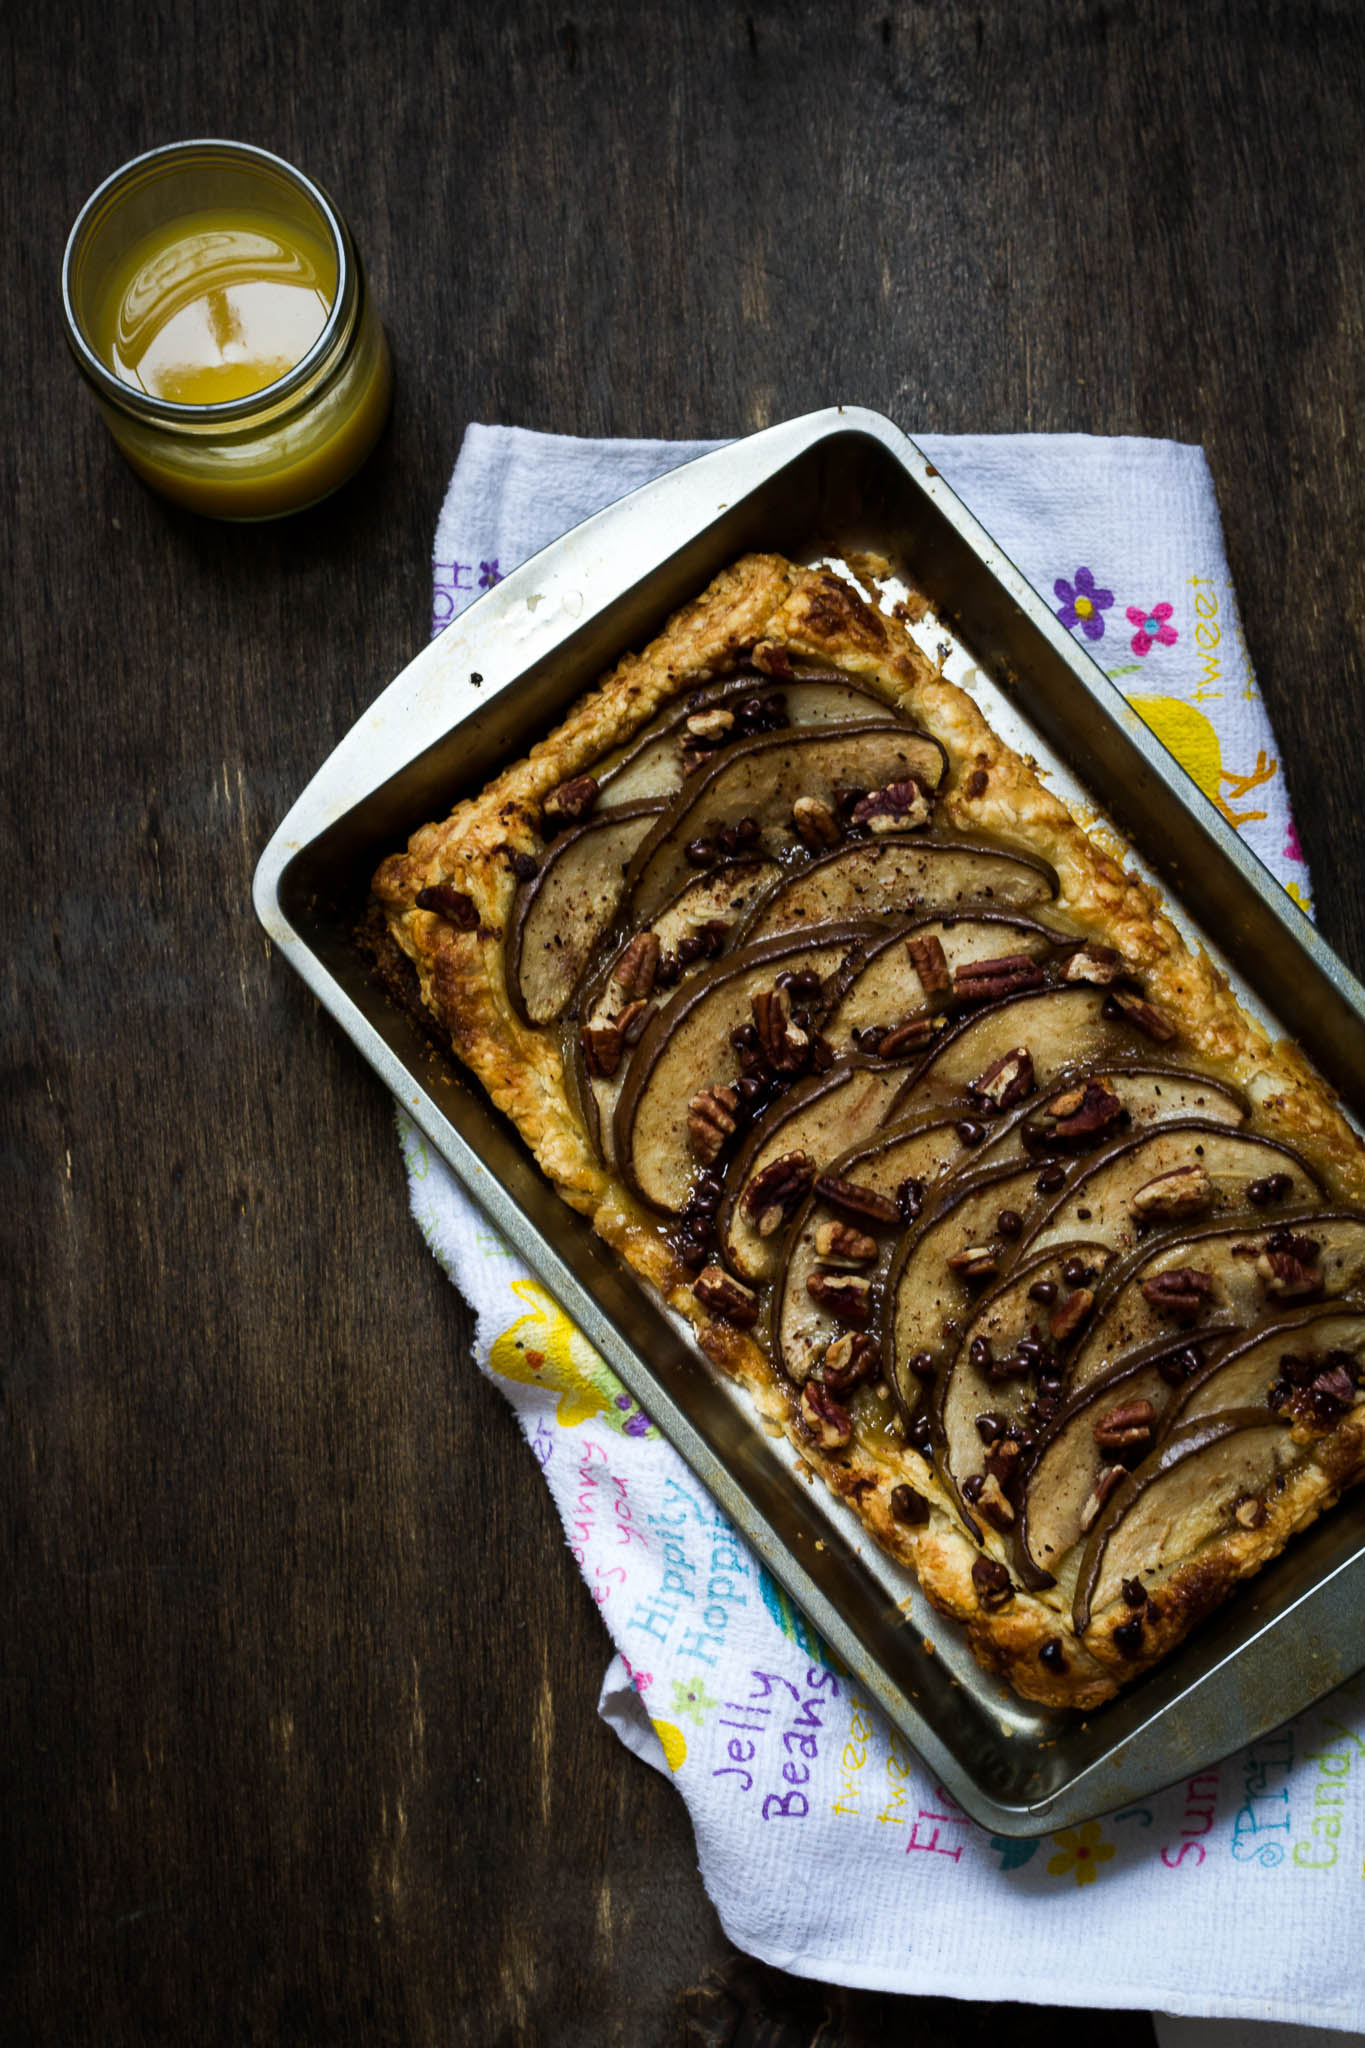
Peach_Puff_Pastry_Tart_1

How to make Peach Puff Pastry Tart | Easy Peach Puff Pastry Tart Recipe
July has been a wonderful month bringing bounty produce and tons of inspiration to my kitchen. Its a month when all things living bud and bloom to glory. Foliage brim to lush greenness, healthy and flourishing. Weeds crawl themselves on to every inch of wilderness. Flowers burst into frenetic bloom. Markets bustle with vegetable produce in vividness and abundance. Fruits and berries make their way into our lives beyond what we could ask for. There's burst of color and splash of summer everywhere. July pampers you. It makes you feel luxuriant.

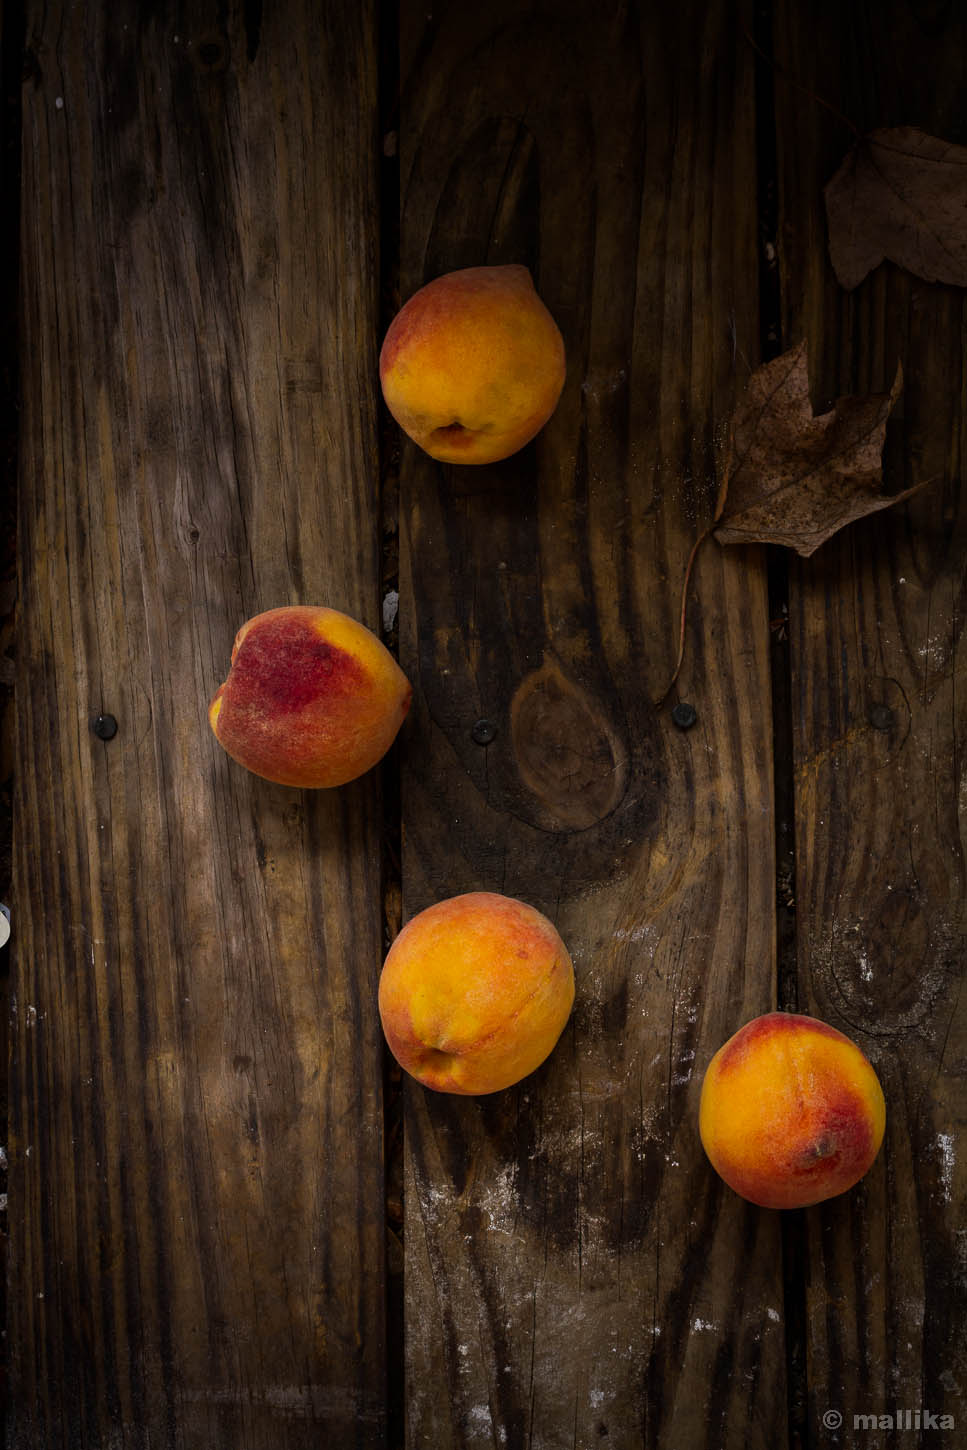
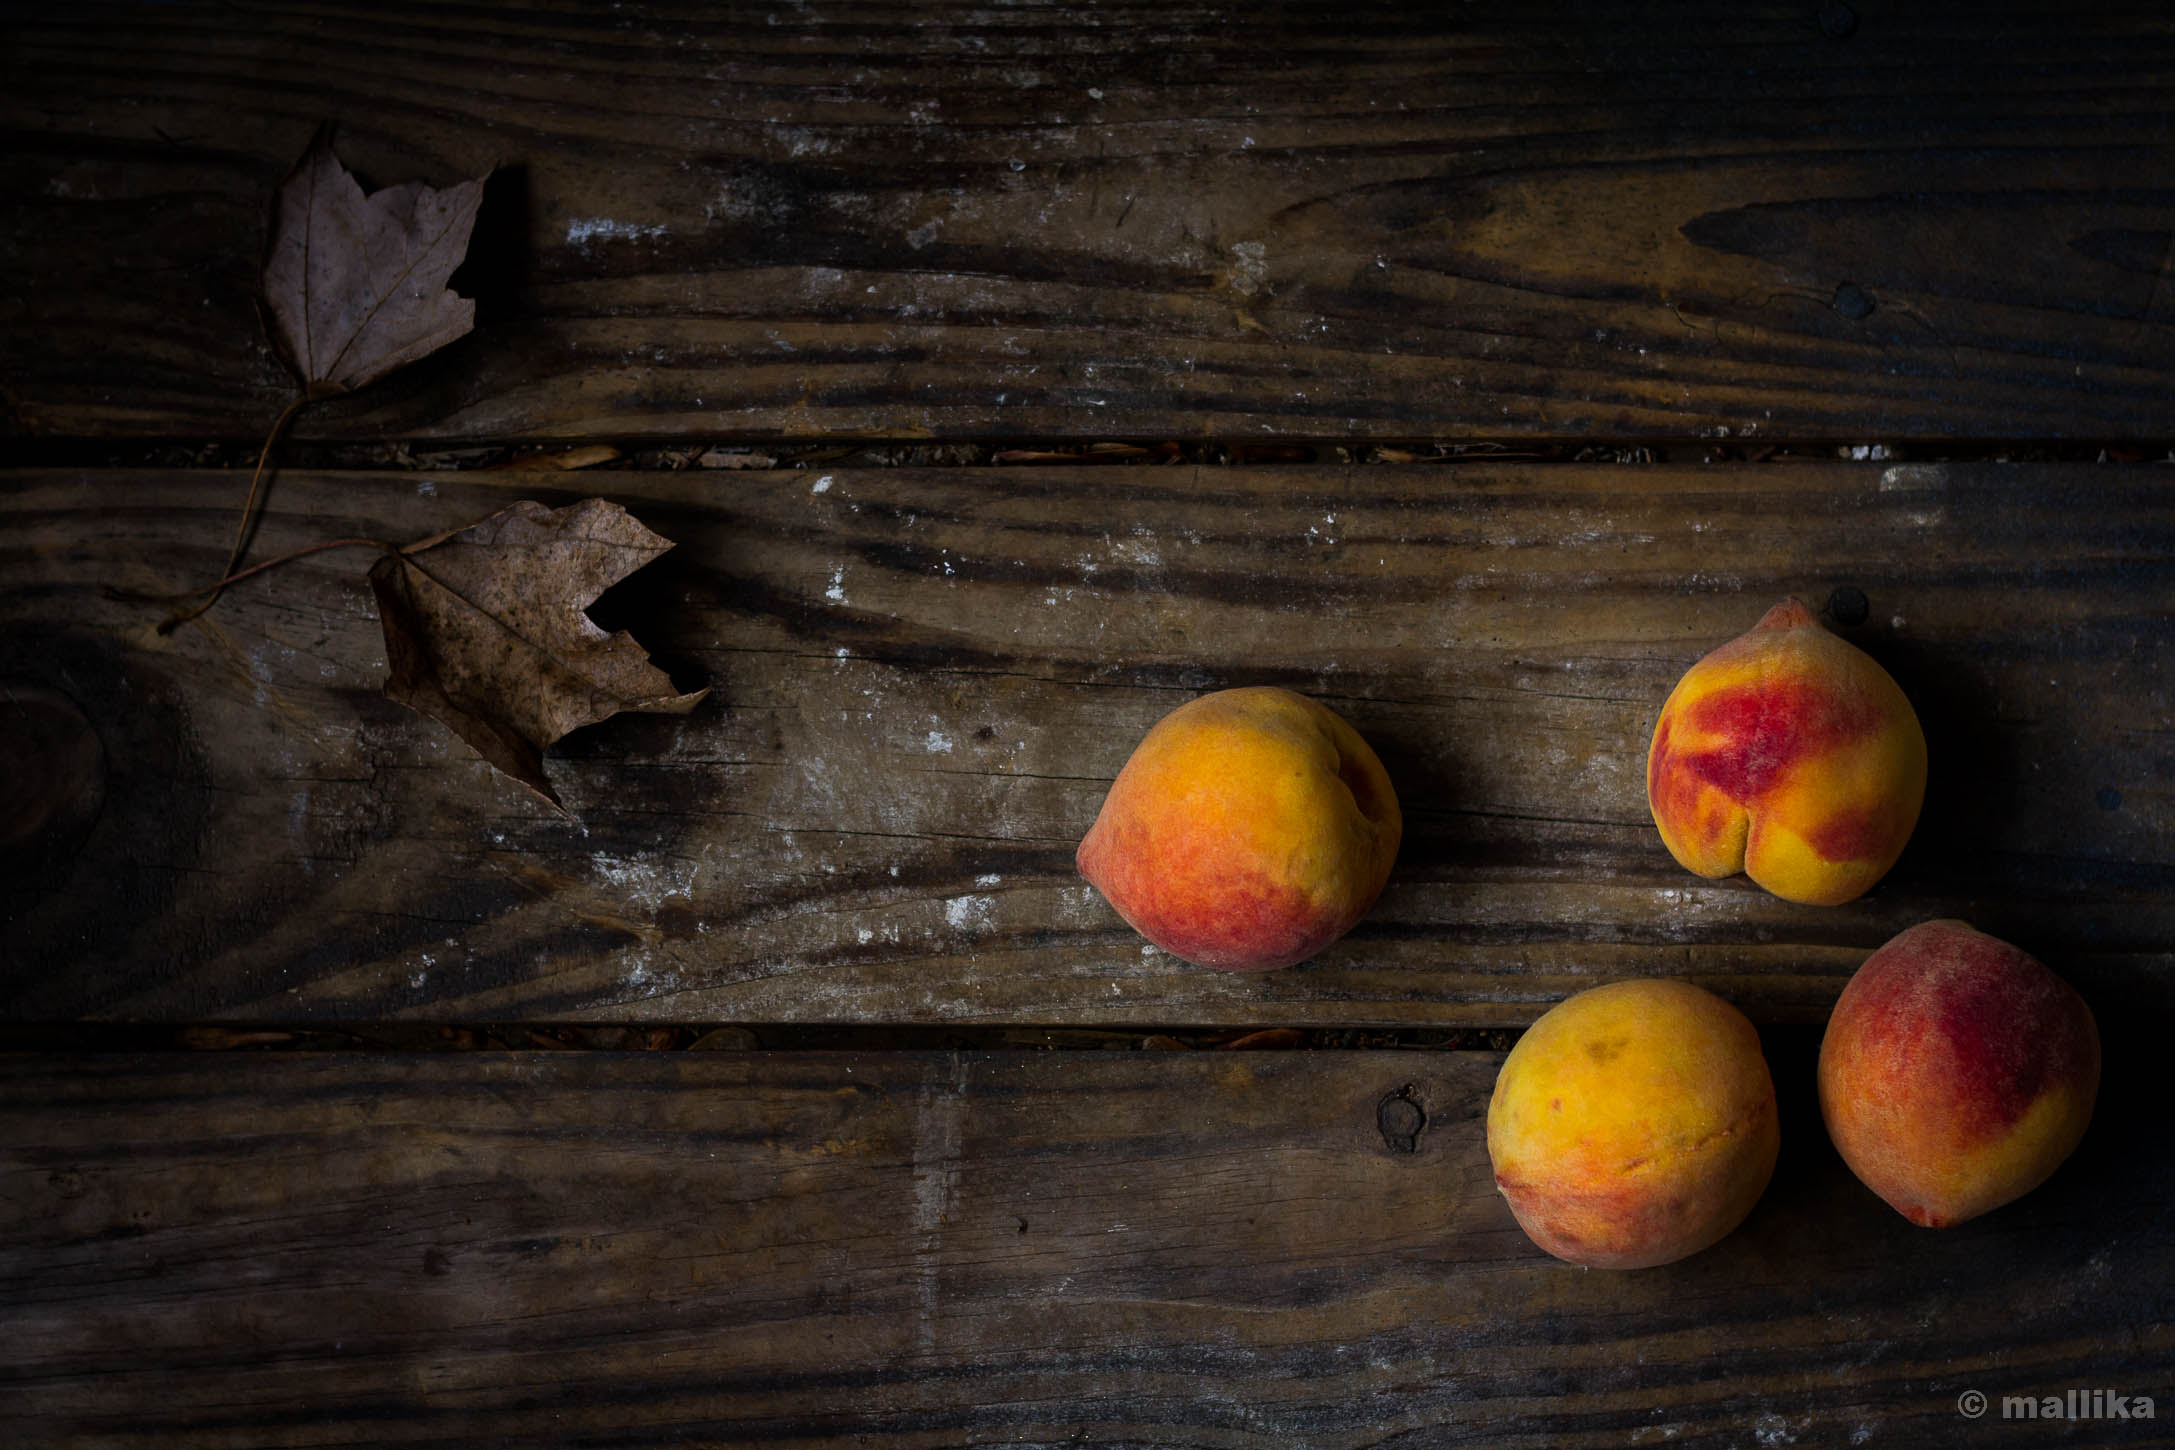
Summers here have been all high and at times 94 deg F (34 deg C) feels like 105 F (40 deg C). Yet, I am so much a tropical girl that I make best friends with summer and its givings. There is no moment left to slip away in rambling about heat. Instead we go farm-foraging for fruits with bags and baskets. At nearly the end of berry season, peaches and melons are here to replace them on stands.

Peach_Puff_Pastry_Tart_2


In less than a week, the daughter and I are heading back home, to India. Over two weeks ago, our little girl stopped her school here to resume the one she goes back home. She gets a small break before she gets back to track on another routine in India. As we've just begun bag packing, I shudder to think how quickly these three months have flown by, insanely quick, like a flash of lightening. While I'm thankfully lucky to be on a break from work and make a trip here the second time, it feels so unreal that its time to leave D's nest and fly back to another nest far away in another continent. Again, we leave in hopes and prayers for sooner family union.
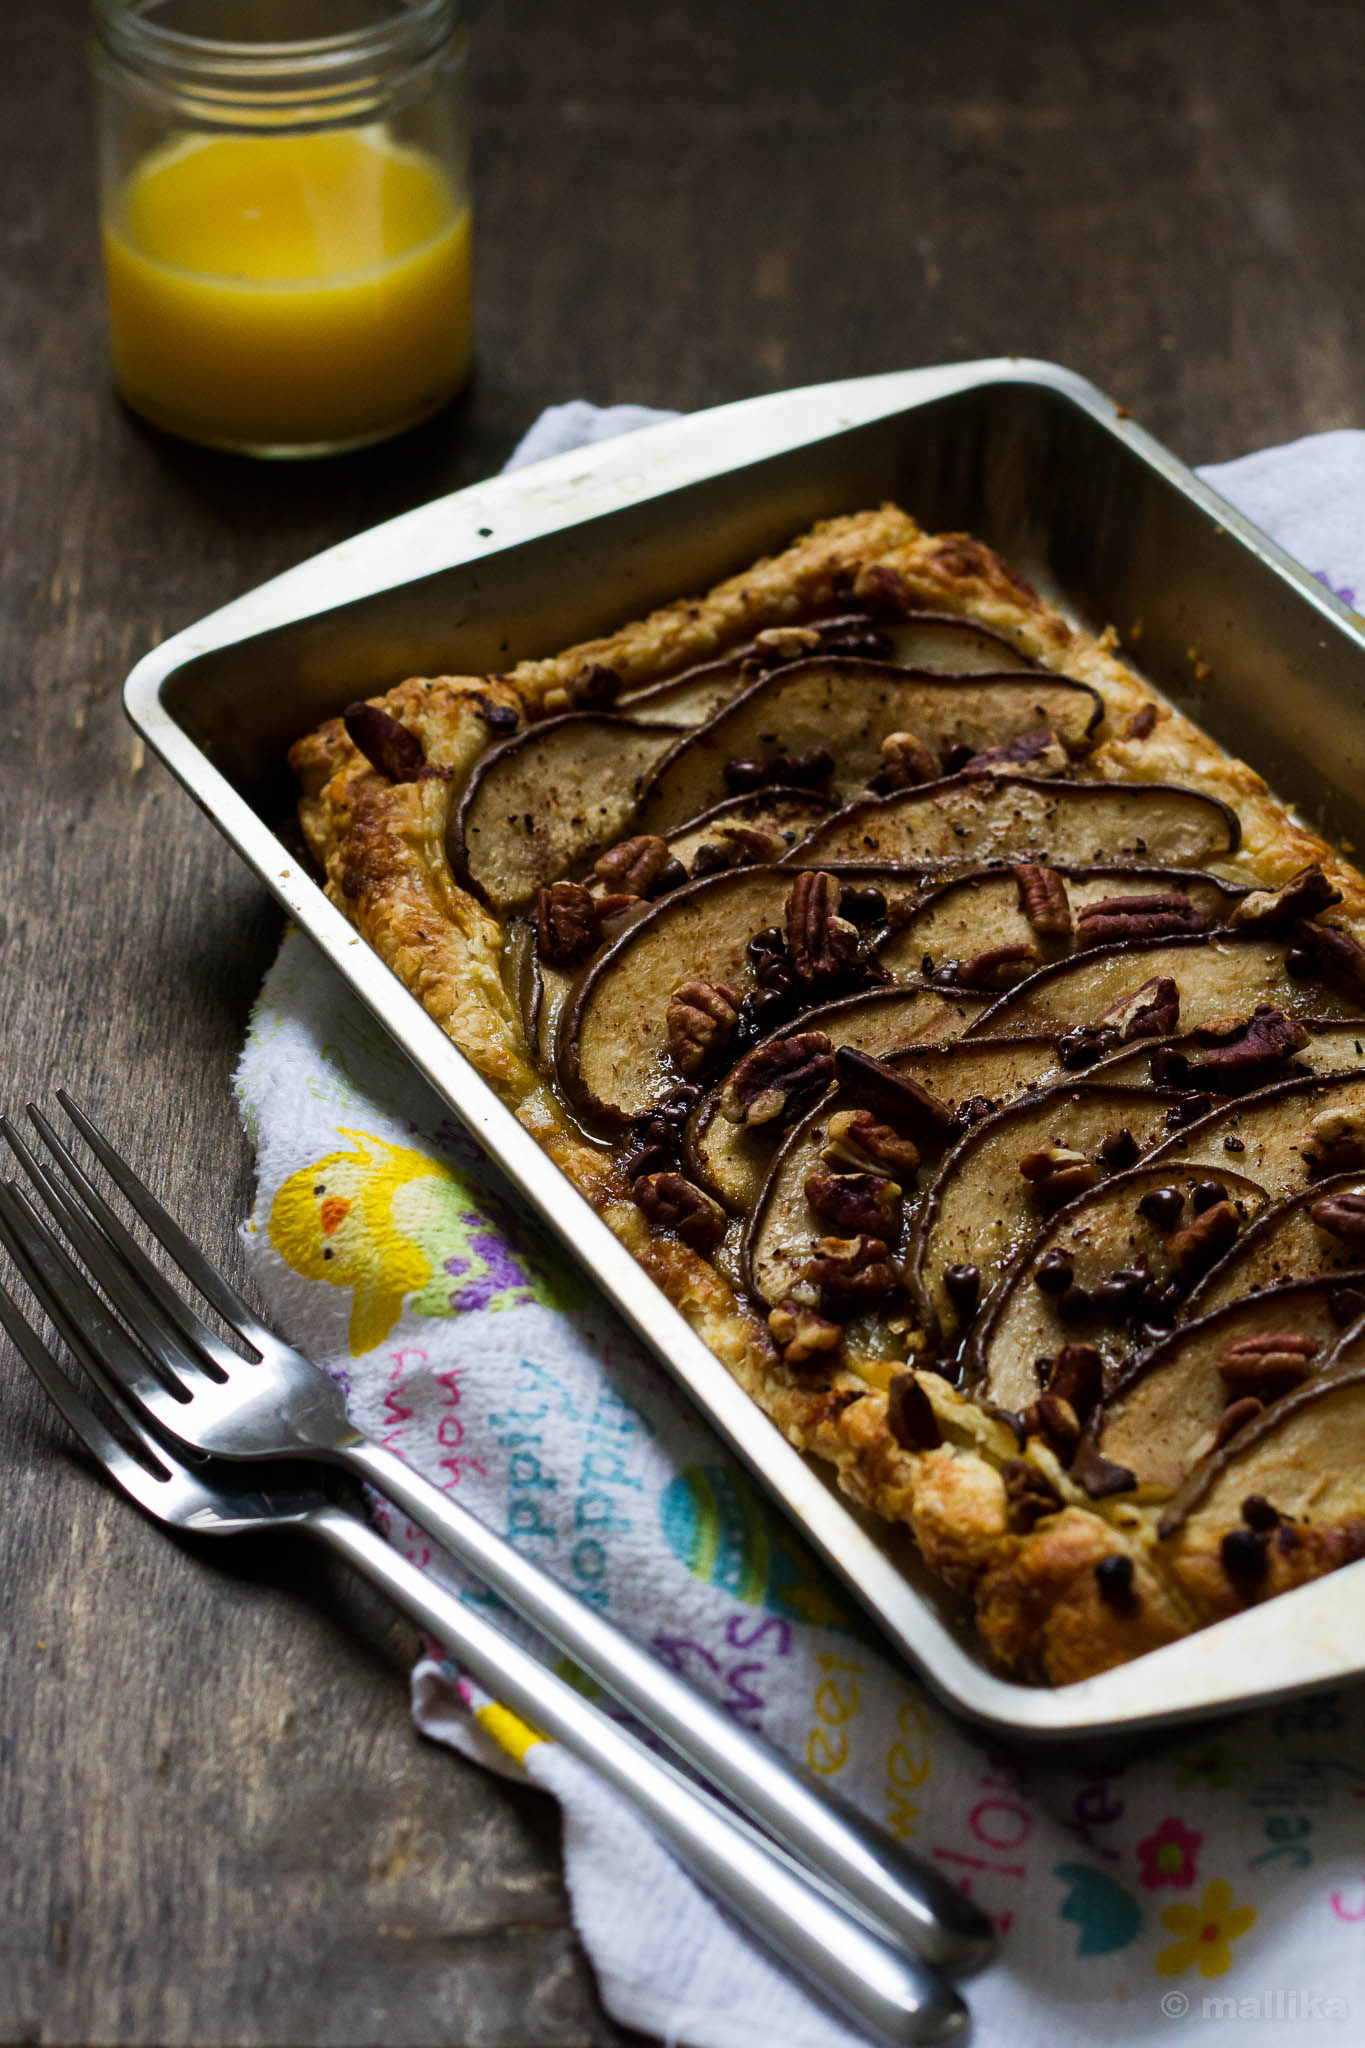
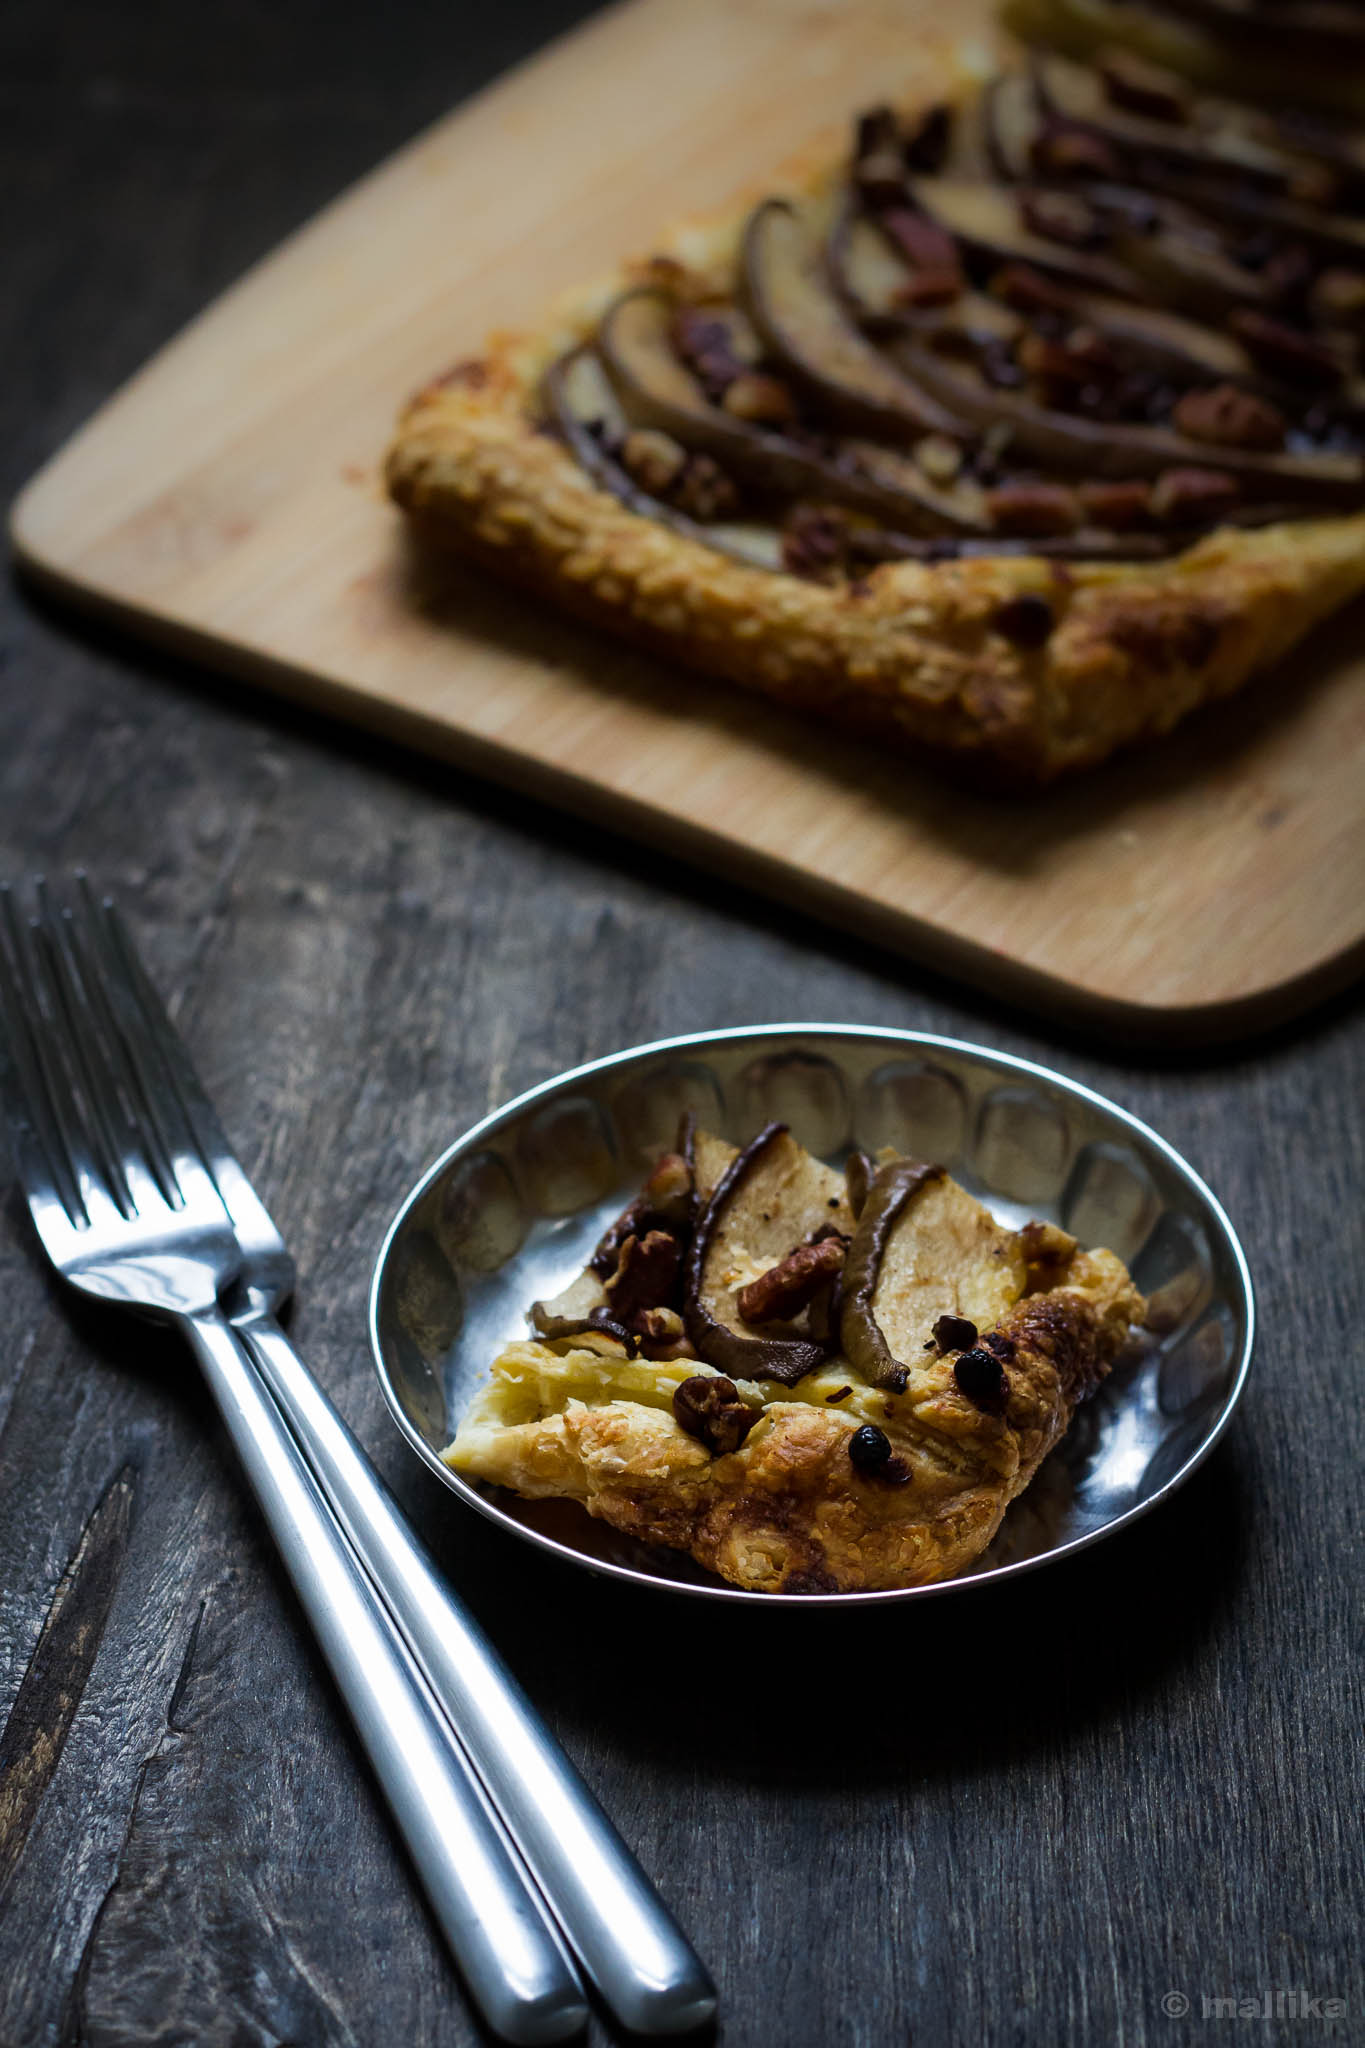
These three months of vacation time have been wonderful. We witnessed the onset of spring and the way they silently slipped into summers, bringing with them the best of everything we love - the sunshine, the beaches, the road trips, the camping, the late evening partying, the farm foraging, berry picking, the evening walks at parks, the book hunting at the library, the lazying by the porch, the summer cooking, and lots more we did together. Instead of rumbling how much we will miss D and the moments we spent here with him, I leave you with this simple peach puff pastry tart that speaks bounty of summer - golden summery ochre with velvety skin and a delicate sweet aroma. Its so easy that you would be ashamed as put them together and shove them to the oven. Ofcourse that doesn't account for making puff pasty at home. But if you have them handy, you get away with assembling this in under 10 mins and another 20 min to bake, which is the oven's job!

Peach_Puff_Pastry_Tart_3


Simple Peach Puff Pastry Tart

INGREDIENTS

1 sheet homemade / frozen puff pastry
2 medium peaches
1 tbsp. of brown sugar (adjust according to the sweetness of your peaches)
2-3 tbsp. milk, to brush
1 tablespoon granulated sugar
Few pecans and mini chocolate chips to scatter

DIRECTIONS

Preheat the oven to 420 degrees F. Carefully roll / cut the puff pastry into strip of 4" x 8" inch. Cut the peaches in half and remove the pit. Slice peaches carefully into 1/4 inch. Arrange the peaches on the puff pastry overlapping each other. Sprinkle the peaches with brown sugar, pecans and mini chocolate chips. Brush the edges of the puff pastry with milk (alternative to egg) and sprinkle with sugar. Bake for 18-20 minutes or until the edges are a deep golden brown. Serve warm, preferably with a dollop of whipped cream or ice cream.
Peach_Puff_Pastry_Tart_4