Its cliché that I call myself a diehard foodie, because there are many encounters I make from time to time when I tell myself “oh! I dislike that” or “it tastes gross…. this is yuck!”. I hated papaya always but ate them with no favour because my parents reminded me how much good they would do. I could never stand the sight of jalebis and jahangiris from the time I can remember. I dislike the smell of flax and eggs in my bakes. The smell of strong coffee nauseates me even today. Breads, doughnuts and croissants were never my favourites. Several years now, I still despise samosas. My tummy aches each time I relish the street-side Indian chat. Bread Puddings at restaurants always taste gross. I could go on with this list.
Those exceptions apart, I still assert that I am a foodie at heart. As a kid, my parents did not face problems feeding me with whatever was made in our kitchen. My mom quotes often that even as a toddler I relished bitter gourd juice with as much penchant I did with any other fruit juice. I loved vegetables and fruits with far little exceptions. I was known to sneak peek into the kitchen in mom’s absence at odd hours and do furtive tasting of what was cooked for lunch and dinners. Frivolous memories of digging spoons into the prepared palya, skimming off the spiced watery part that floated on top of the huli saaru, sipping tumbler full of tamblis much ahead of lunch time, and flicking the roasted cashews and raisins that dotted the prepared halwas, till mom worried where they had disappeared still stay fresh and warm.
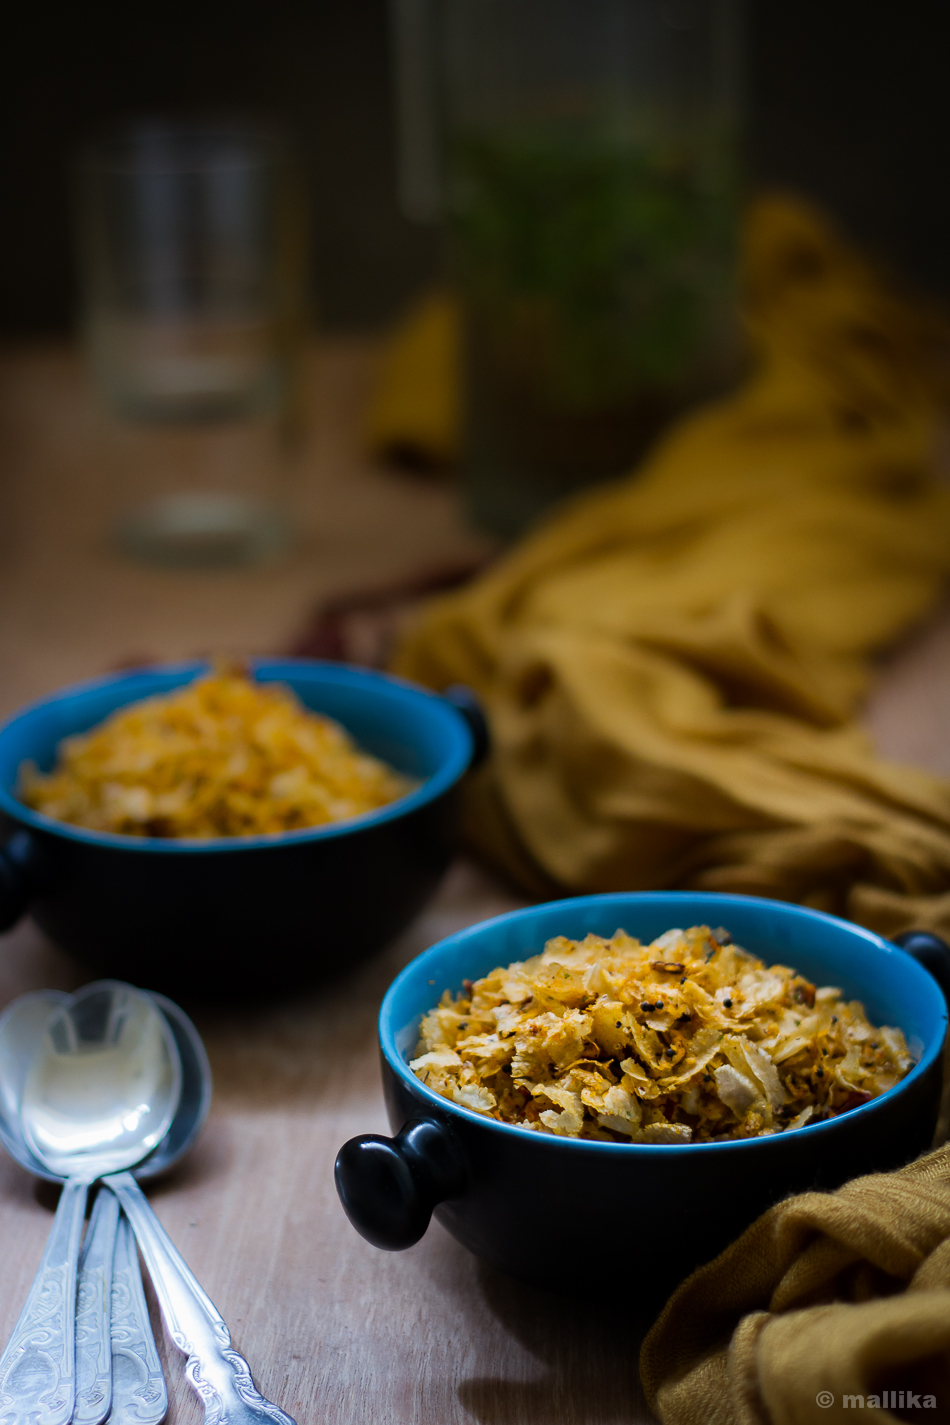
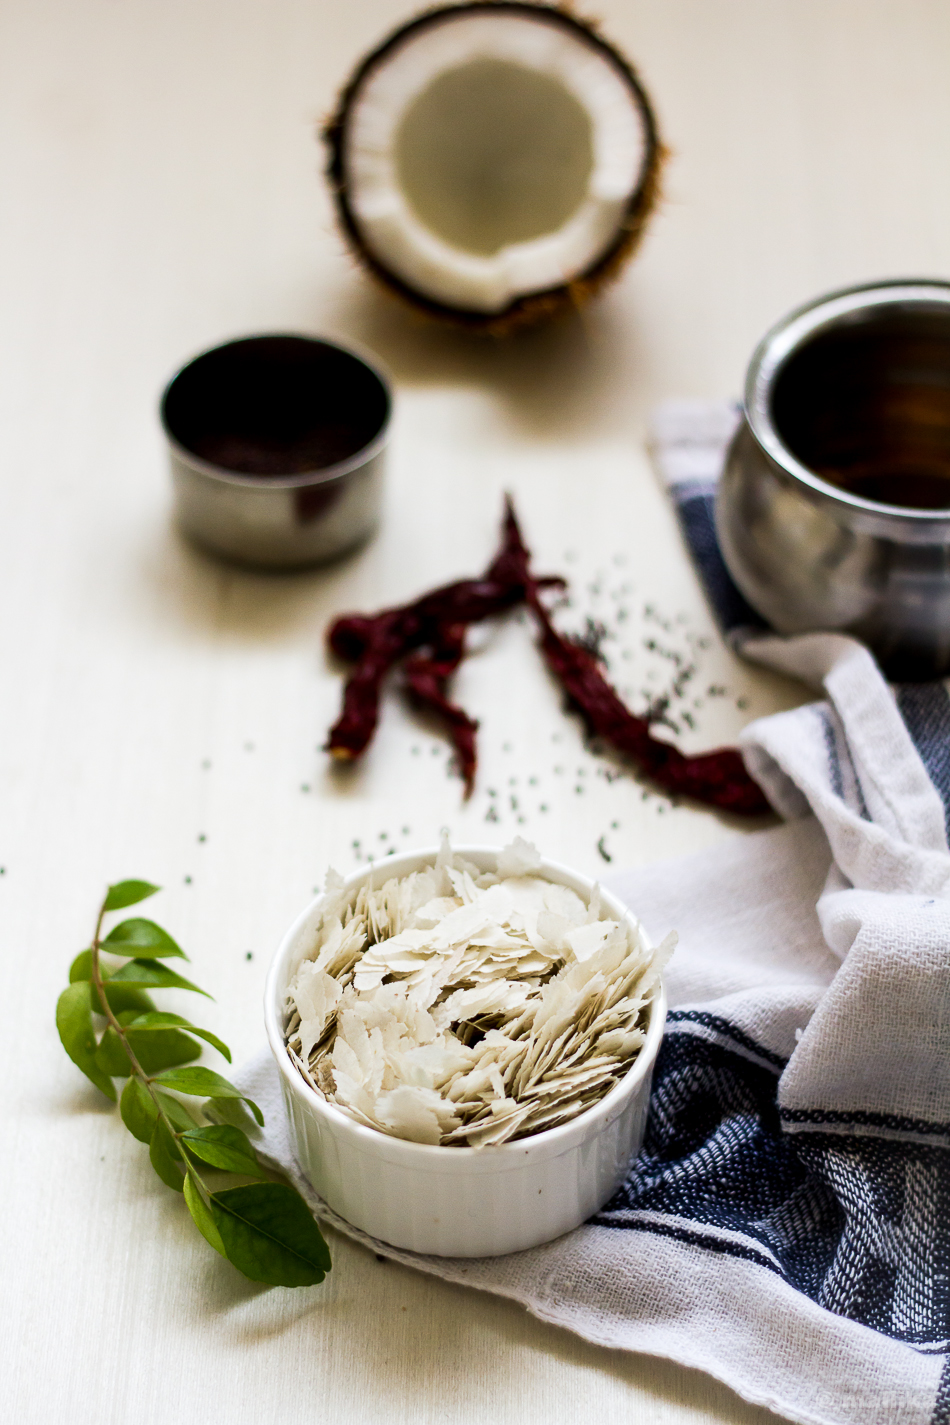
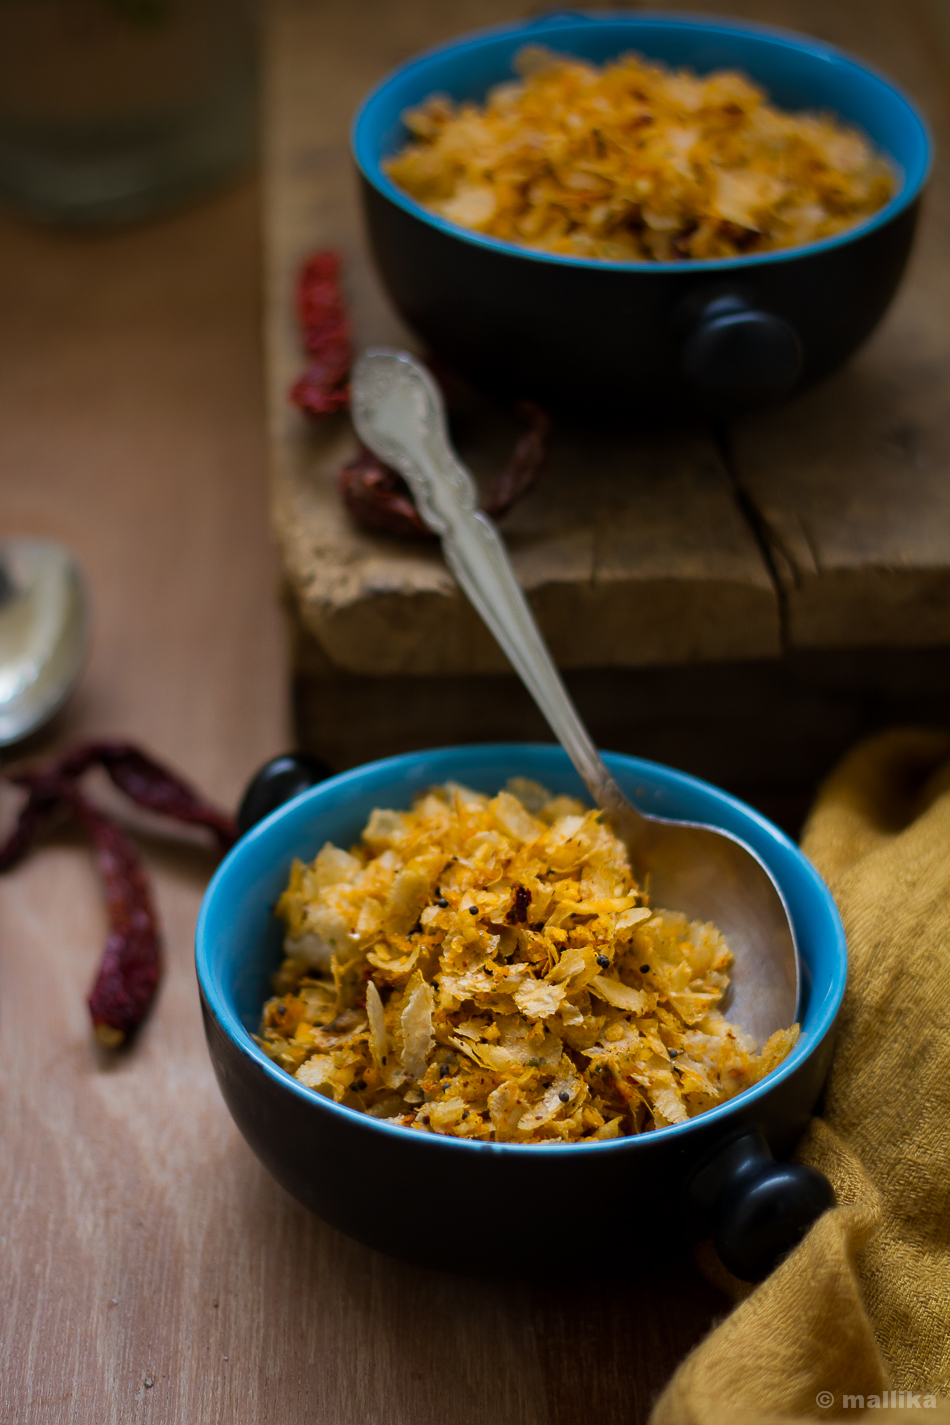
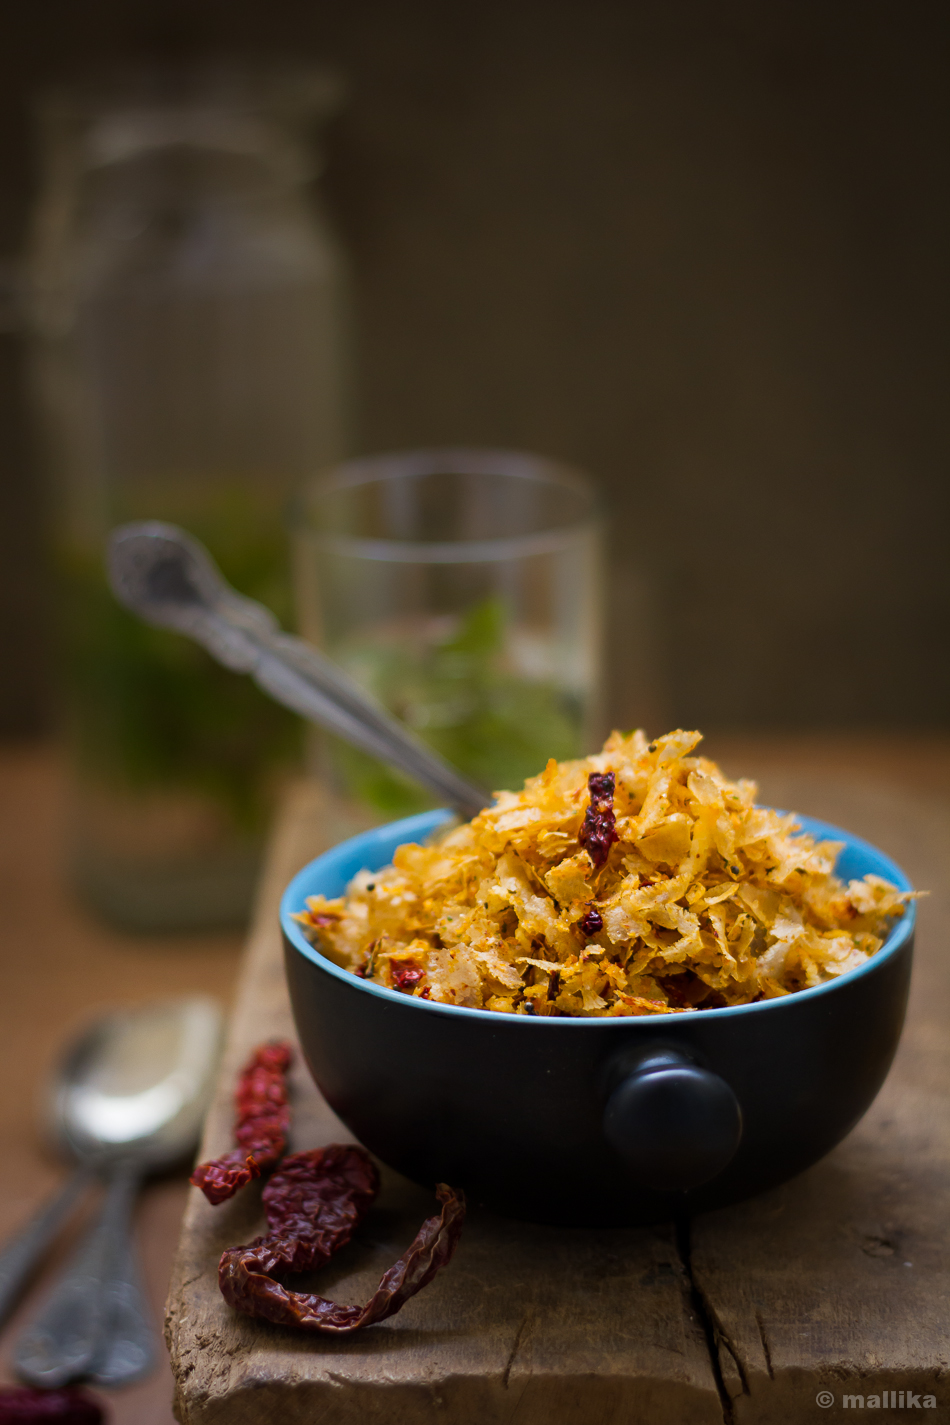
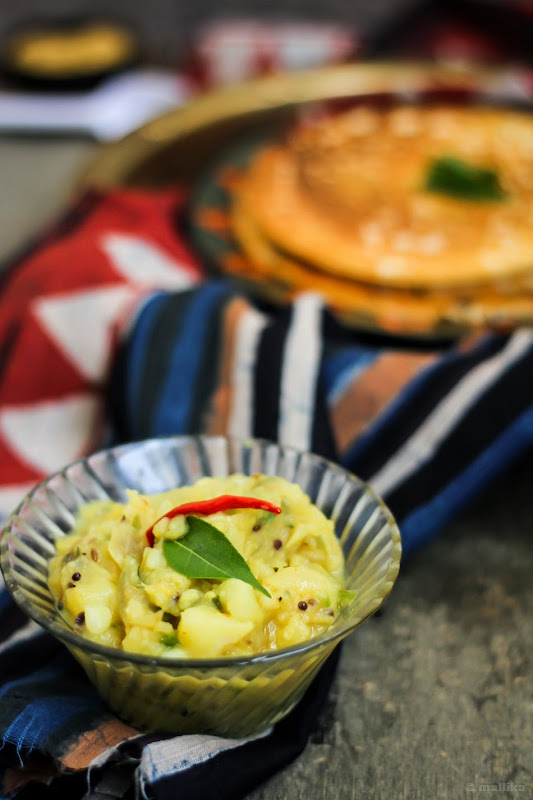
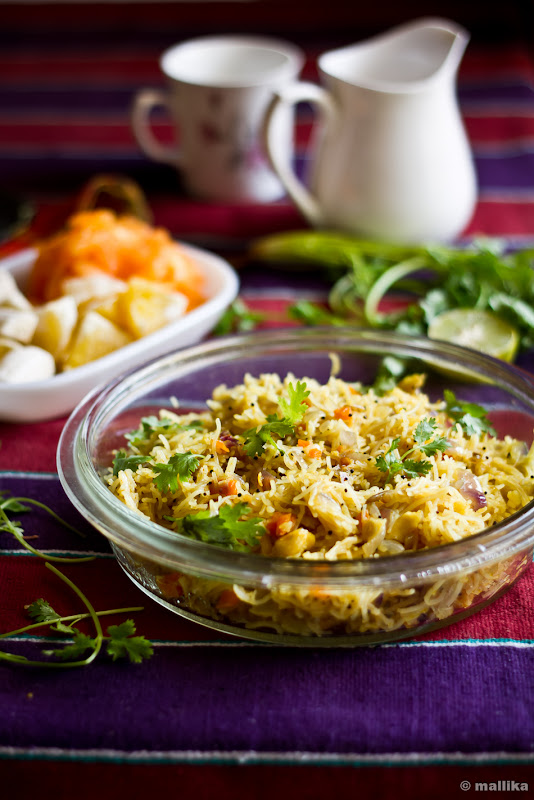
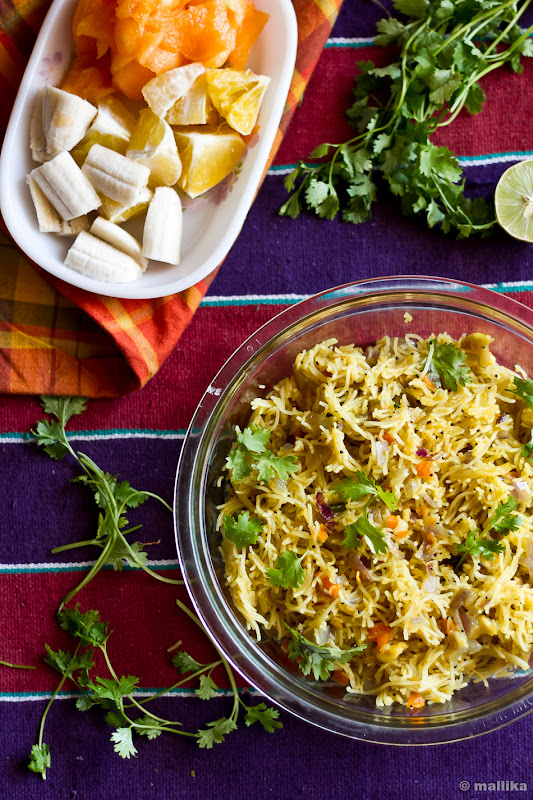
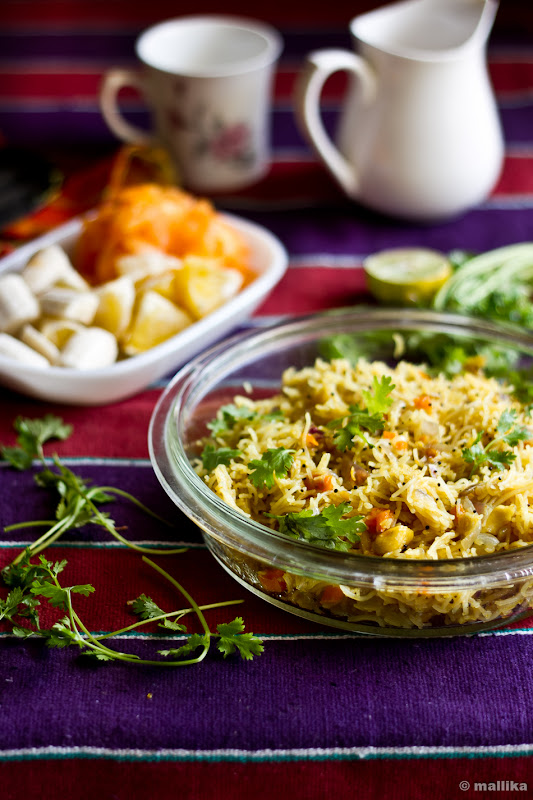
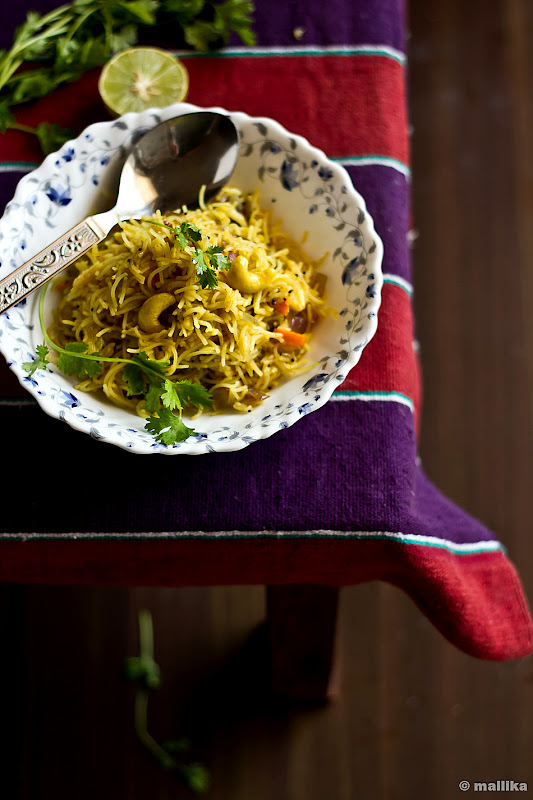
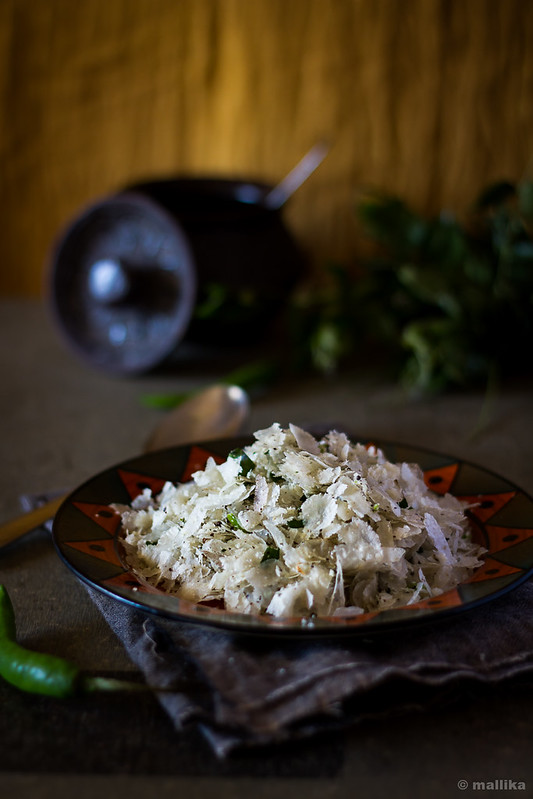
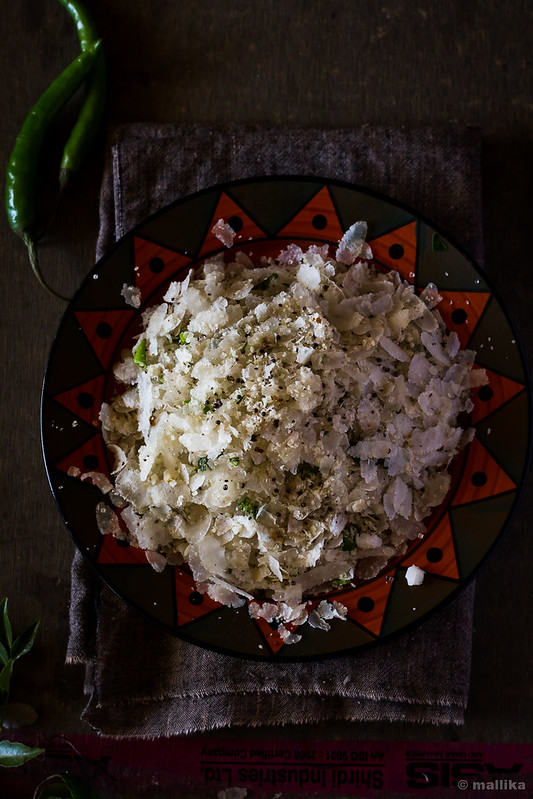
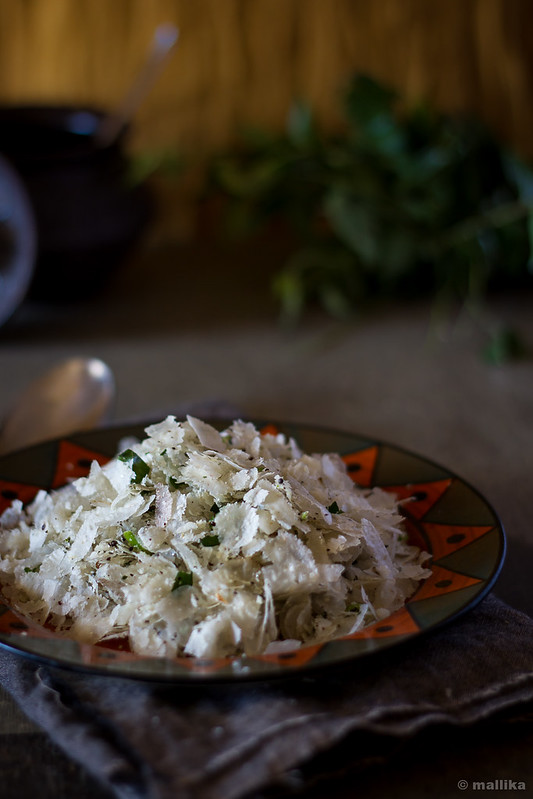
There were some dishes that could not be made ahead of time. They were meant to be made instantly and served immediately. One that attests my love for our cuisine is this paper-thin beaten rice spiced with green chillies and coconut. It’s really simplicity at its best and revokes fond memories of my school days when mom would whip this up in minutes to forage our hunger with such easy evening snacks. So dead simple and tastes great!
Those exceptions apart, I still assert that I am a foodie at heart. As a kid, my parents did not face problems feeding me with whatever was made in our kitchen. My mom quotes often that even as a toddler I relished bitter gourd juice with as much penchant I did with any other fruit juice. I loved vegetables and fruits with far little exceptions. I was known to sneak peek into the kitchen in mom’s absence at odd hours and do furtive tasting of what was cooked for lunch and dinners. Frivolous memories of digging spoons into the prepared palya, skimming off the spiced watery part that floated on top of the huli saaru, sipping tumbler full of tamblis much ahead of lunch time, and flicking the roasted cashews and raisins that dotted the prepared halwas, till mom worried where they had disappeared still stay fresh and warm.
There were some dishes that could not be made ahead of time. They were meant to be made instantly and served immediately. One that attests my love for our cuisine is this paper-thin beaten rice spiced with green chillies and coconut. It’s really simplicity at its best and revokes fond memories of my school days when mom would whip this up in minutes to forage our hunger with such easy evening snacks. So dead simple and tastes great!
Hasi MeNasina Kayi Avalakki
INGREDIENTS
1 cup beaten rice (paper-thin variety)
1 tsp. coconut oil
1 tsp. mustard seeds
4-5 green chillies, finely crushed
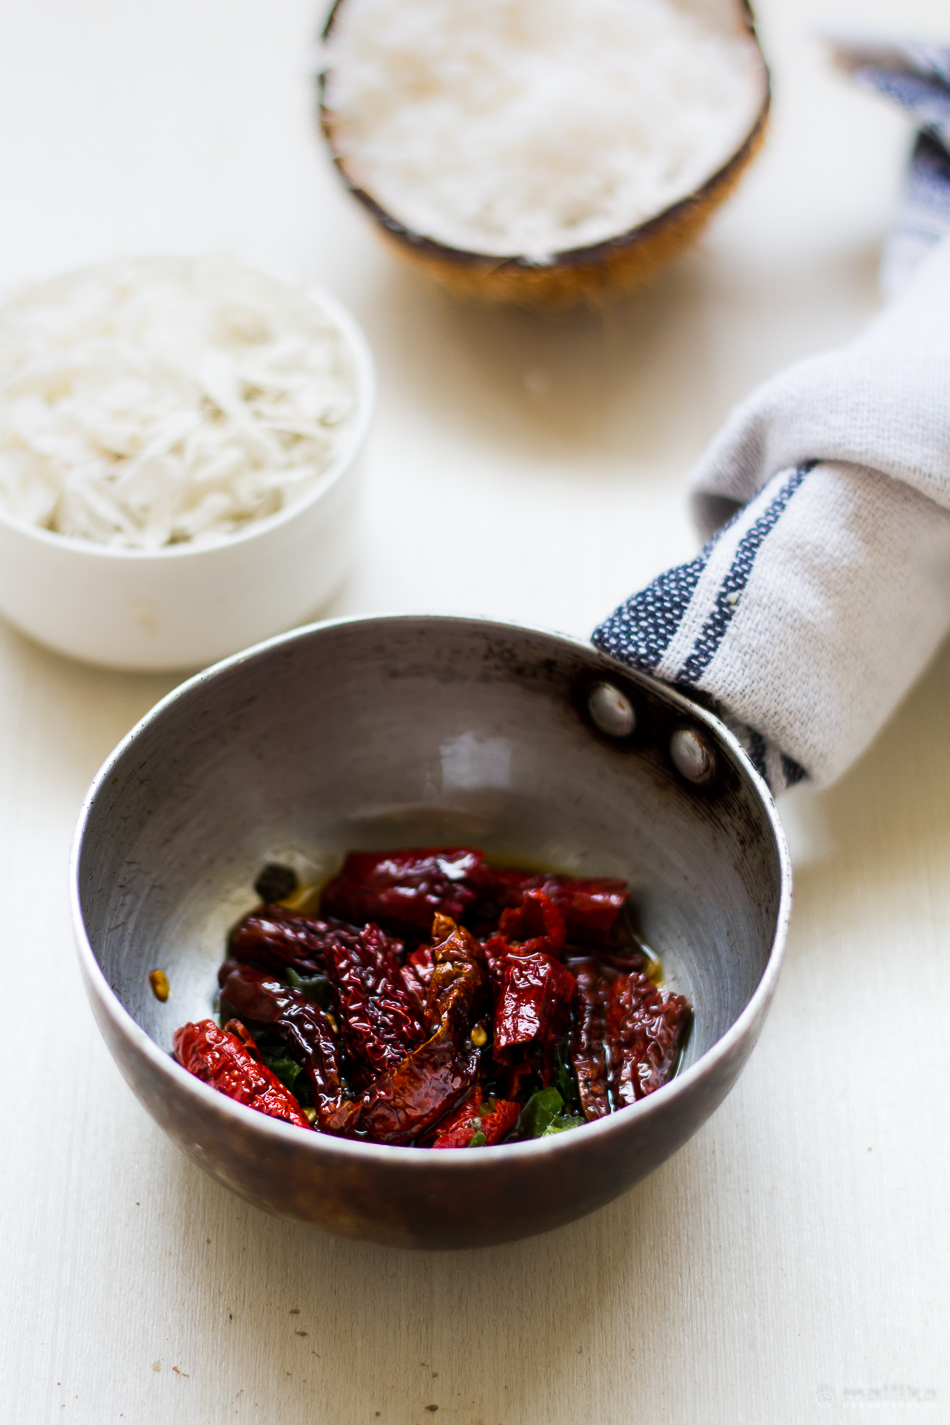
1/4 cup fresh grated coconut
1 sprig curry leaves (optional)
1 tbsp. sugar
Salt to taste
DIRECTIONS
Crush the green chillies in a mortar and pestle or by hand. It's a common tradition to crush the chillies by hand, however to avoid the heat getting to your fingers, you may use mortar and pestle for the same. Crush these chillies into the fresh grated coconut so that they release all their flavors.
In a small kadai / wok, heat the coconut oil. Add mustard seeds and allow it to splutter. Add the curry leaves if using. Switch off the gas and allow it to cool. Add the crushed chillies and coconut along with the tempered oil into the beaten rice, followed by salt and sugar to taste. Toss everything well so that the beaten rice takes in the flavour and spices. Serve immediately. Accompanies well with upma for breakfast or evening snack with tea.