My mom celebrated her birthday last month and I had every reason to bake a cake, especially when it's for her. I made plans, that too elaborate and I was determined it had to work well, secretly. Wanted to bake an Eggless Blueberry Gateau and chalked out timetable such that things would fall in place.
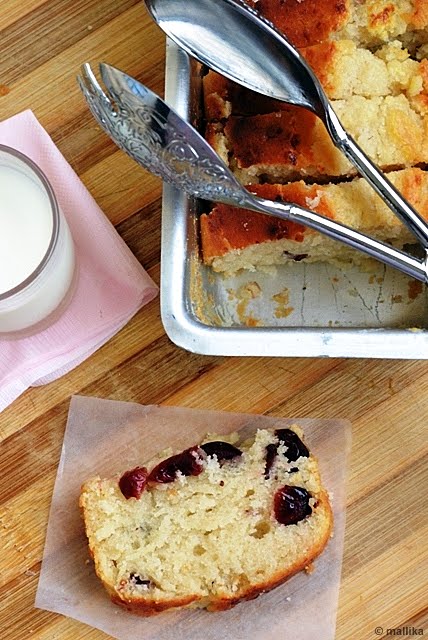
It wasn't probably the best day for me. Somethings just don't work right, that too when you are super excited to the pinnacle about it. Two days in advance to the D-day, I took time off in the evening to bake the cake. I chased my husband to buy some fresh cream and he was out on the hunt for what would sound a meaningless, clueless ingredient to him. Meanwhile, I baked an eggless sponge using the recipe for condensed milk. My baby sat in the pram silently looking at me as I shoved the cake to oven, let it bake there and skipped around setting up things for the frosting. The cake baked to perfection and it rose beautifully. I flattened the tops, sliced the center, moistened them with the syrup and let them sit on the stand to work artistically later. Things seemed positive till then.
I put myself back to relaxed mode, turned on the music, sipping tea and waiting patiently for my husband to be back with my dedicated ingredient. Clock ticked away and three hours later, he was back. I eagerly looked into the bag, hoping a liter pack would pop out. 'No fresh cream anywhere in town' he announced! The impulsive me almost blurted out the cry. "Yeah! I hunted the entire town. It's nowhere. There's a vendor issue they say." he confronted. I was broken. To him, it was more simpler to order an eggless cake from our dedicated Chef Bakers outlet. He comforted wondering why I should go through all this trouble of making a cake when we get the same fancy stuff outside. It may have sounded the simplest solution to anyone then :) The cake I baked was pretty massive. I had sliced it across, moistened it well, even spread the blueberry compote. I felt a sudden gush through my spine as my plans went topsy-turvy. I felt totally at loss.
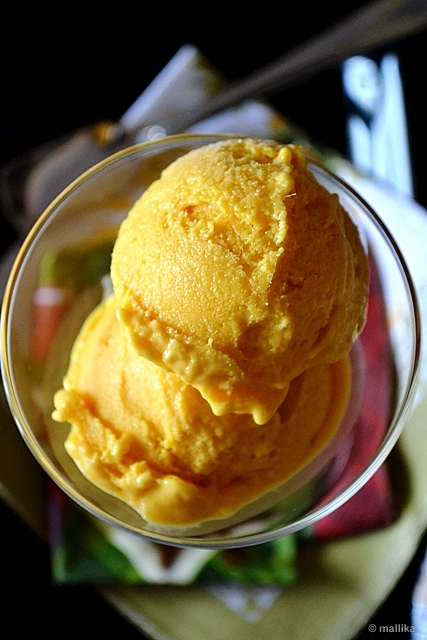
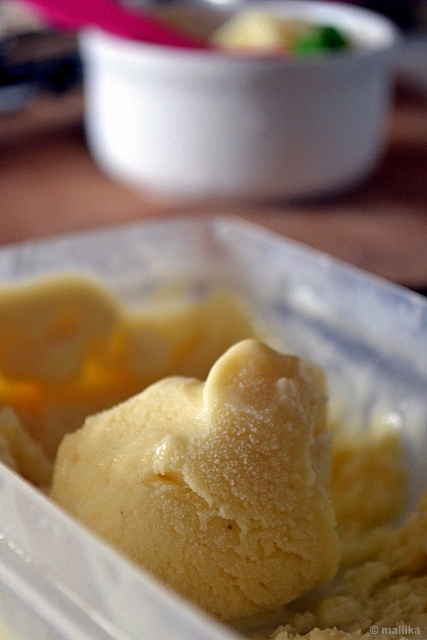
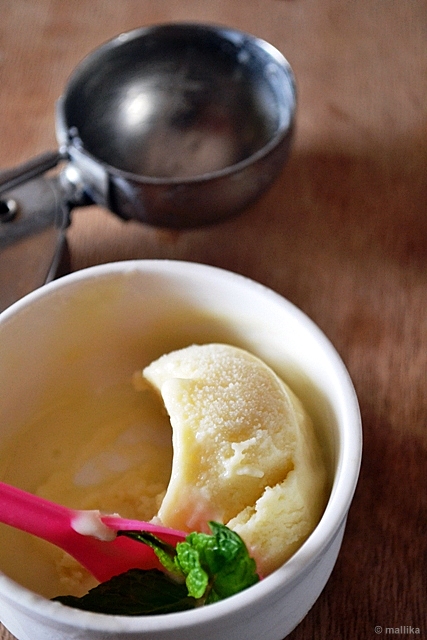
The recipe I bring today is nowhere related to the cake I wished to prepare. But it's surprising how things do not work at times despite planning. A well prepared me had least thought that it was just not my day that evening, while this honey ice cream made out of no fore thought turned out to be one of the best flavors, something I least expected considering I was making it only to wipe off the last few spoons from the bottle!
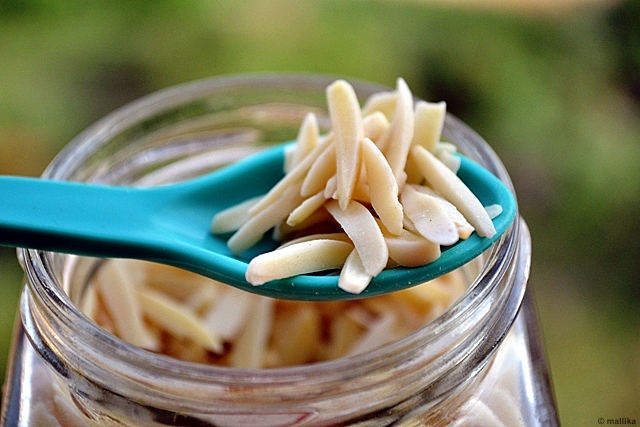
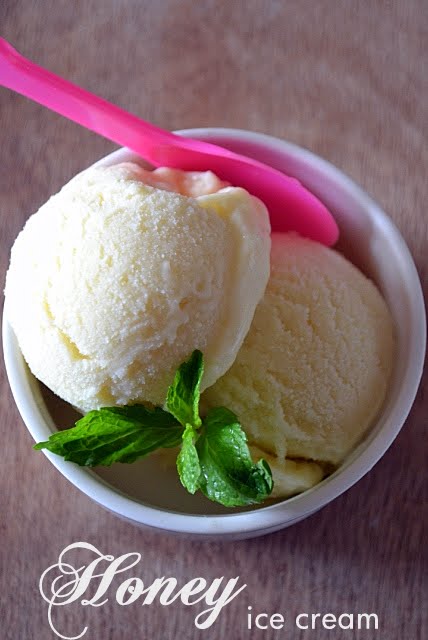
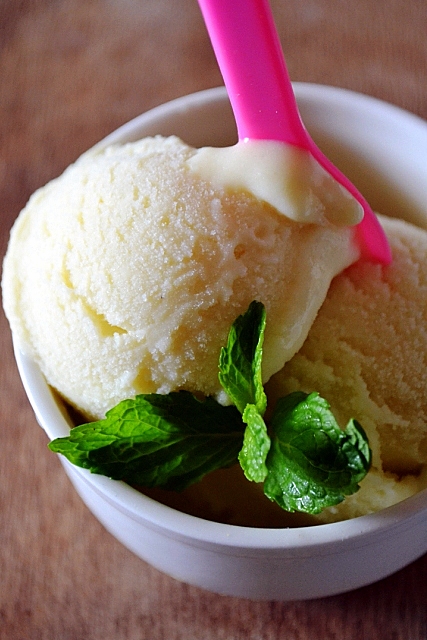
The ice-cream is simple to make and uses everyday ingredients available in every home. You can skip the cream and make a gelato too. My husband is not a honey lover, but the moment he tasted a spoon of this ice-cream, all he said was "Wow!". And it's the flavor from honey that makes it rich and delicious. Top it with nuts and they will only make it more decadent. Roasted almonds make the best pair for these and that reminds me of my favorite Baskin Robin's Honey and Roasted Almond ice-cream. Probably my next project, yeah?
It wasn't probably the best day for me. Somethings just don't work right, that too when you are super excited to the pinnacle about it. Two days in advance to the D-day, I took time off in the evening to bake the cake. I chased my husband to buy some fresh cream and he was out on the hunt for what would sound a meaningless, clueless ingredient to him. Meanwhile, I baked an eggless sponge using the recipe for condensed milk. My baby sat in the pram silently looking at me as I shoved the cake to oven, let it bake there and skipped around setting up things for the frosting. The cake baked to perfection and it rose beautifully. I flattened the tops, sliced the center, moistened them with the syrup and let them sit on the stand to work artistically later. Things seemed positive till then.
I put myself back to relaxed mode, turned on the music, sipping tea and waiting patiently for my husband to be back with my dedicated ingredient. Clock ticked away and three hours later, he was back. I eagerly looked into the bag, hoping a liter pack would pop out. 'No fresh cream anywhere in town' he announced! The impulsive me almost blurted out the cry. "Yeah! I hunted the entire town. It's nowhere. There's a vendor issue they say." he confronted. I was broken. To him, it was more simpler to order an eggless cake from our dedicated Chef Bakers outlet. He comforted wondering why I should go through all this trouble of making a cake when we get the same fancy stuff outside. It may have sounded the simplest solution to anyone then :) The cake I baked was pretty massive. I had sliced it across, moistened it well, even spread the blueberry compote. I felt a sudden gush through my spine as my plans went topsy-turvy. I felt totally at loss.
The recipe I bring today is nowhere related to the cake I wished to prepare. But it's surprising how things do not work at times despite planning. A well prepared me had least thought that it was just not my day that evening, while this honey ice cream made out of no fore thought turned out to be one of the best flavors, something I least expected considering I was making it only to wipe off the last few spoons from the bottle!
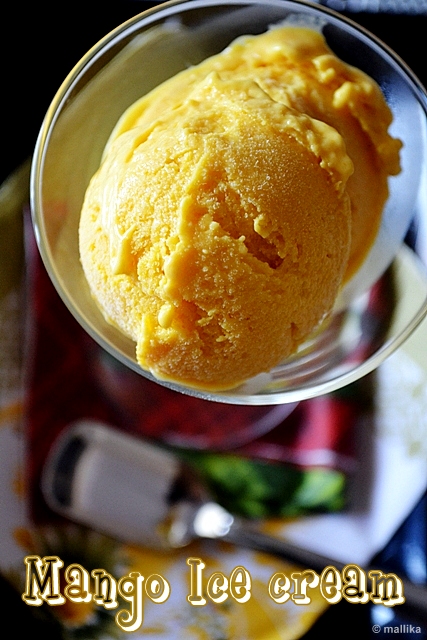
Honey Ice-cream
INGREDIENTS
5 tbsp honey
200 ml low fat milk cream
100 ml milk
1 tbsp cornflour
DIRECTIONS
Prepare a thick custard by heating a mixture of 100 ml milk and a tablespoon of cornflour. Heat it till the mix thickens and coats well on the back of a spoon. Refrigerate till needed.
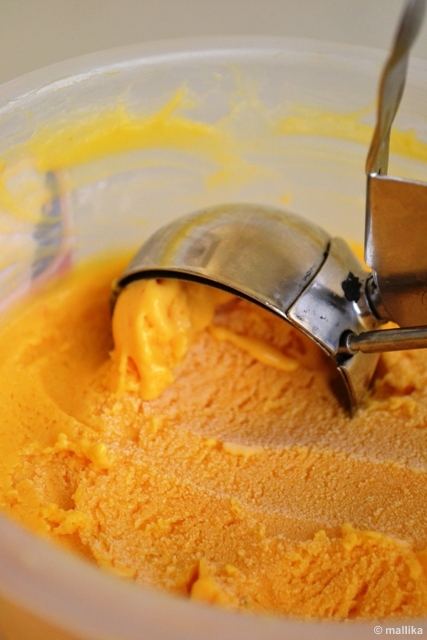
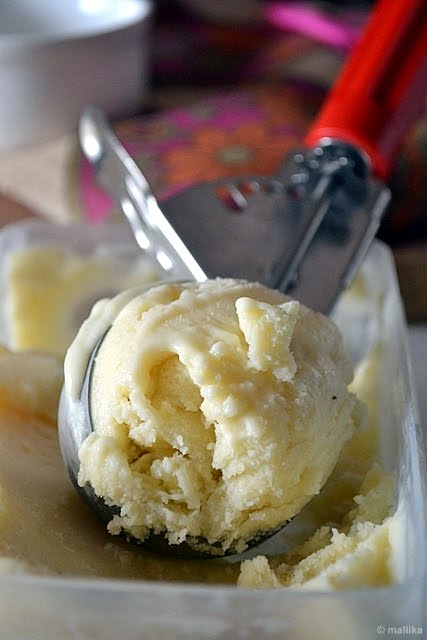
Whip cold cream along with honey and the prepared custard till it's all well combined. Taste your ice-cream at this stage. Add more honey if preferred. Transfer to a freezer proof bowl and freeze it for an hour till it just begins to set. Once it's almost set on the edges, remove and churn it briefly. Repeat a couple of times. This helps ice-cream to be creamy. After the final churn, freeze till it's completely set.
The ice-cream is simple to make and uses everyday ingredients available in every home. You can skip the cream and make a gelato too. My husband is not a honey lover, but the moment he tasted a spoon of this ice-cream, all he said was "Wow!". And it's the flavor from honey that makes it rich and delicious. Top it with nuts and they will only make it more decadent. Roasted almonds make the best pair for these and that reminds me of my favorite Baskin Robin's Honey and Roasted Almond ice-cream. Probably my next project, yeah?