I love October for being a fantastic season in all aspects. Its that time of the year when weather is pleasantly nice and the festivities add an alluring charm to wrap the year in good spirits. The rains have washed down all the dust away and the trees allay us with their new blanket in all shades of soothing green. Nip in the air may have to wait a little longer as misty mornings and chill evenings aren't here yet, yet the changing season reminds me that December is nearing and winter is close to beckoning, something we so much look forward to. Between these changing seasons, October beautifully envelops itself with festivities that makes it the best time for bonding with our family and friends. Indian festivals like Chaturthi, Dusshera, Diwali remind you that it's time you push aside all your worries, bury down your pressures, wrap up your tensions and move ahead to celebrate life with your loved ones, the time when festivals bring in joy and celebration and contentment to our lives.
And with all those festivals gone by and the ones we look forward to, I've have been on my toes all this month. I've been living out of my suitcase with lots of travel packed over weekends, spilling over festivals and the celebrations that have kept me busy through and through. A weekend getaway to Mysore, then to Hyderabad for work related meet, then to Mangalore for Dusshera, it's been one hell of a calender blocked month with me cruising places.
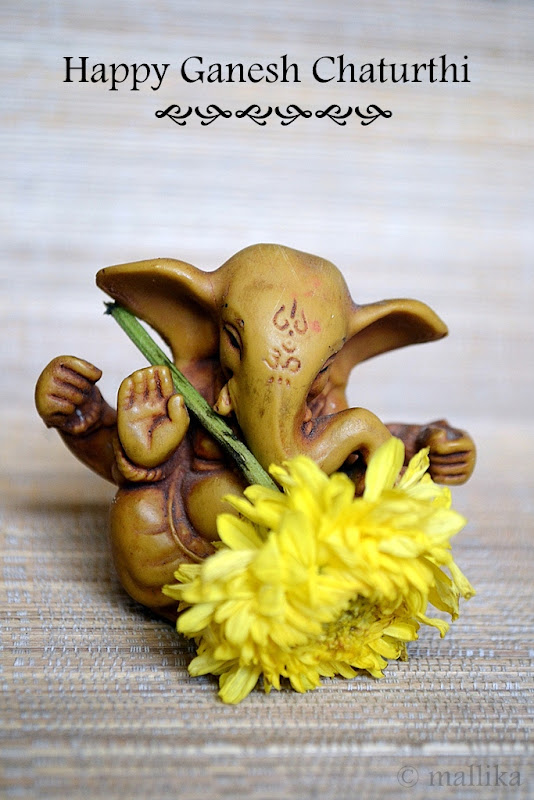
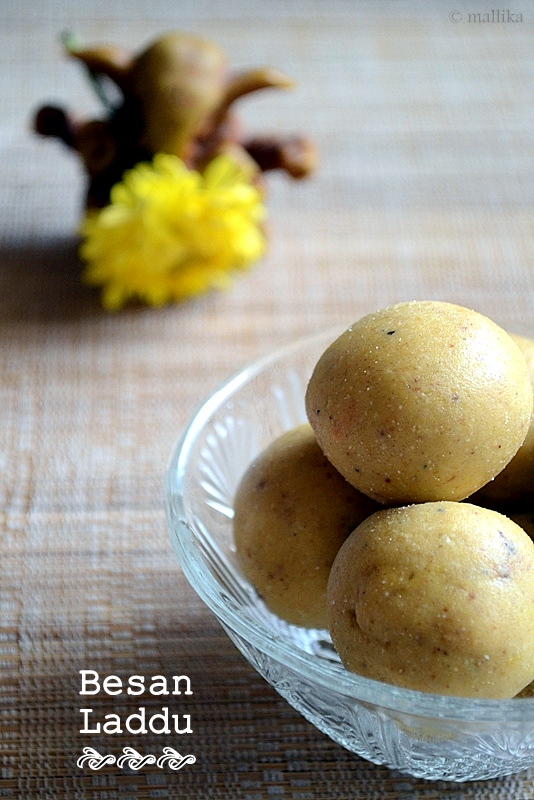
With all this up, my kitchen hasn't been the busiest place for me, unlike most of my weekends. I do hope I can throw my hands at cooking some sweet and savouries for this Diwali, while I have been fairly depending on my mom for her delectable festive goodies. With no elaborate cooking done by me this Dusshera , some Besan Laddu and the quick snacks I made for our Ganesha this Chaturthi, I hope I'll be get some time out to meddle in my kitchen this Diwali.
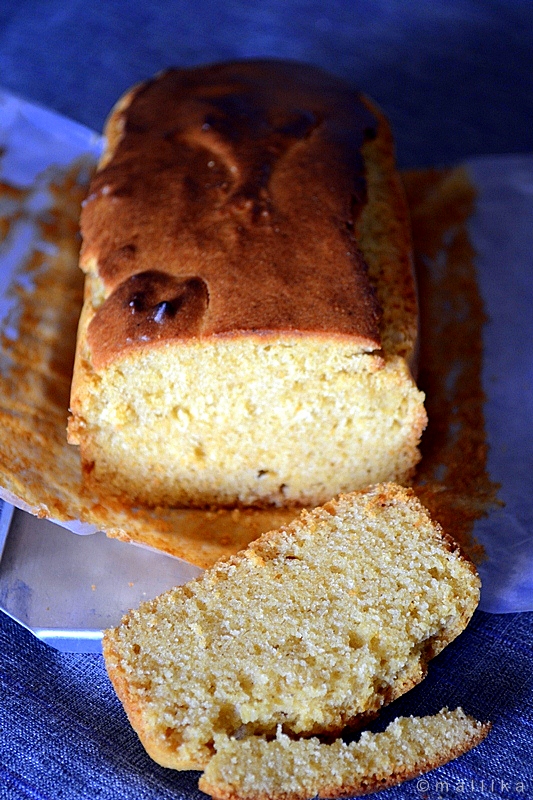
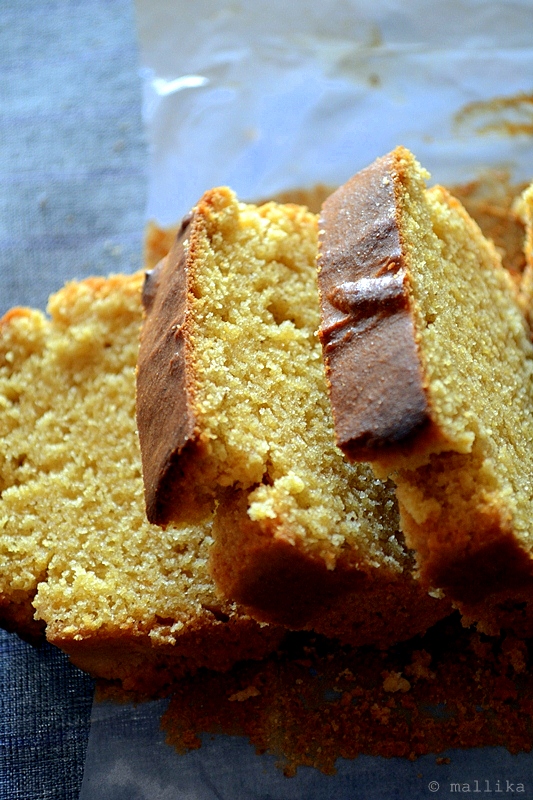
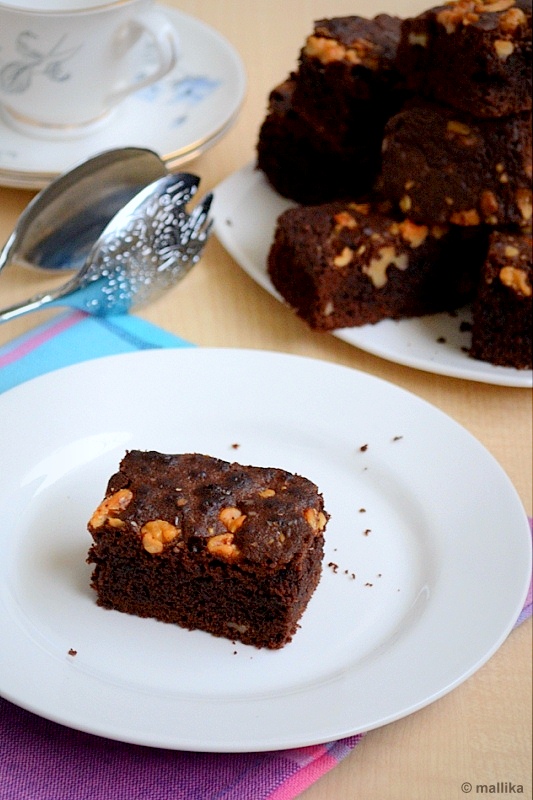
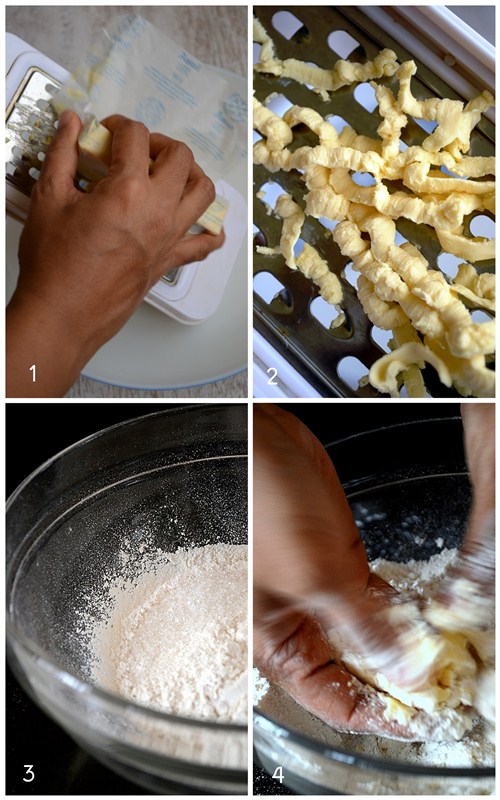
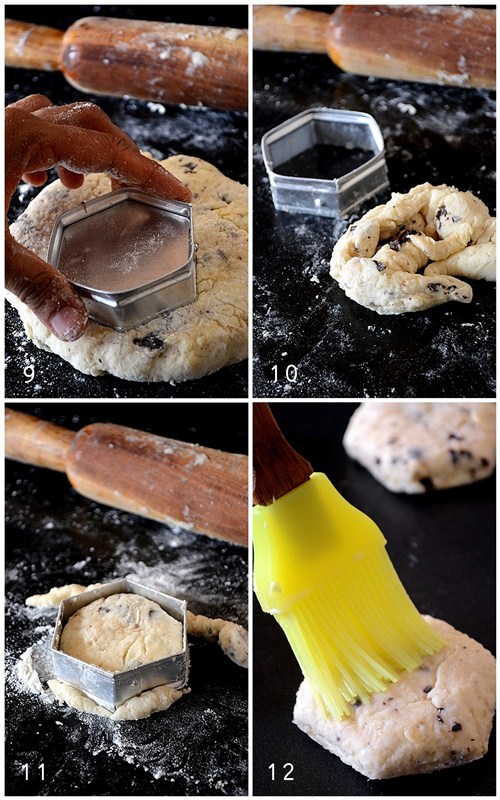
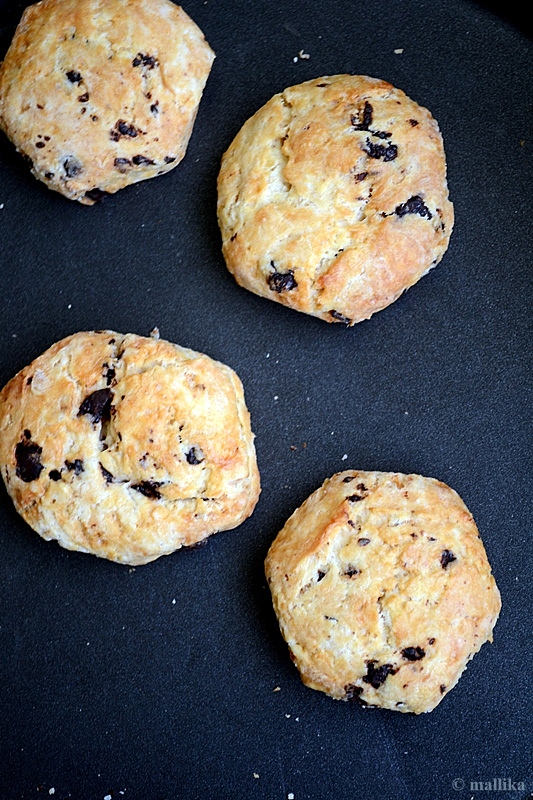
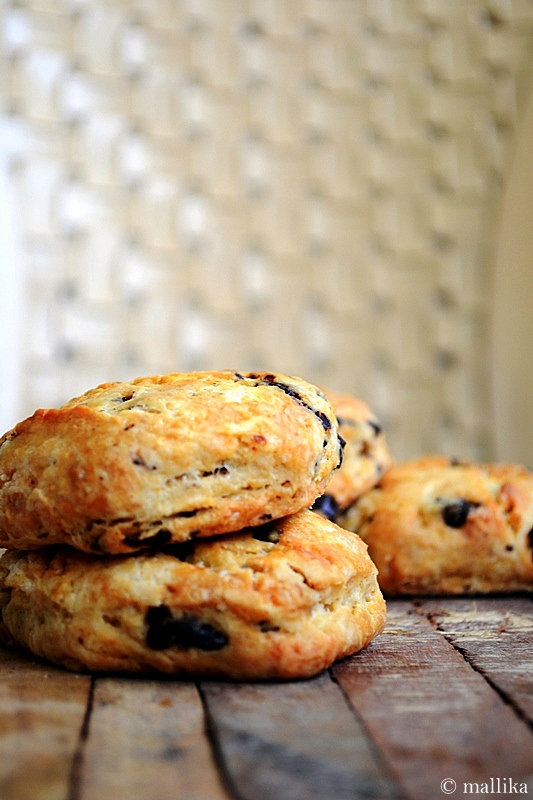
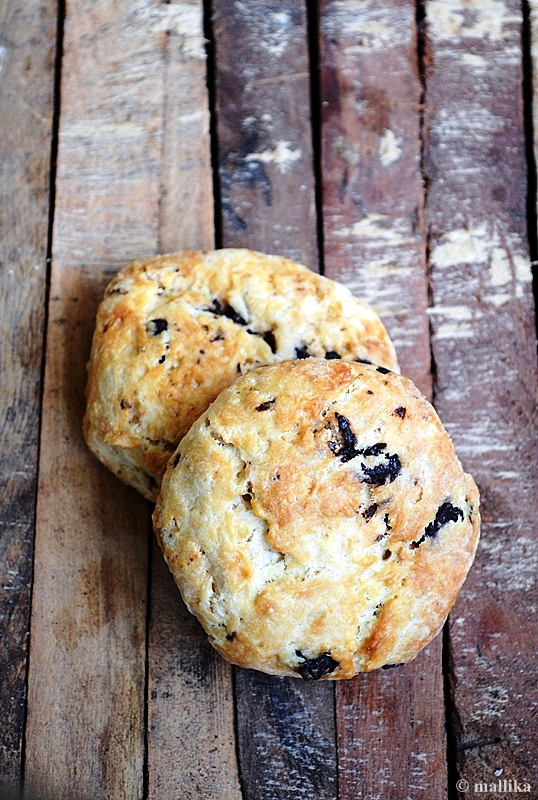
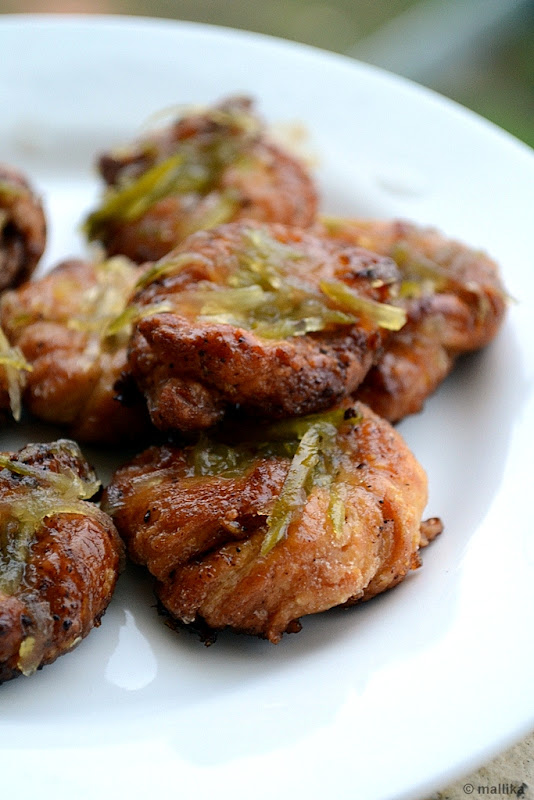
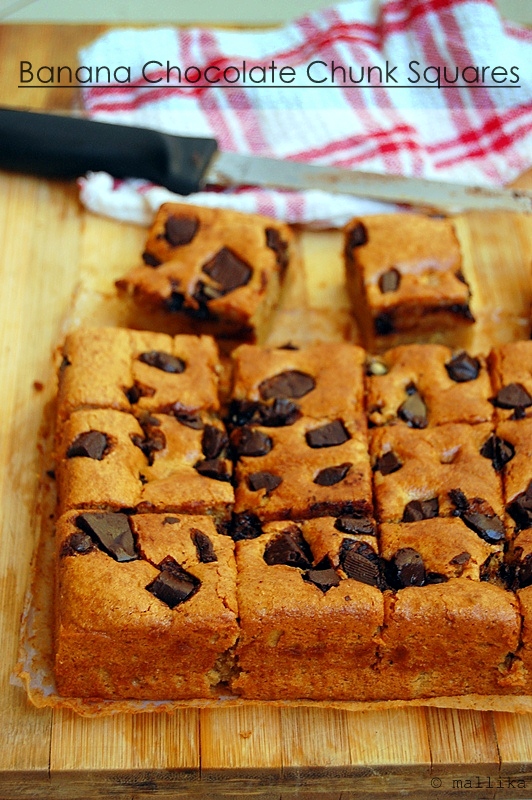
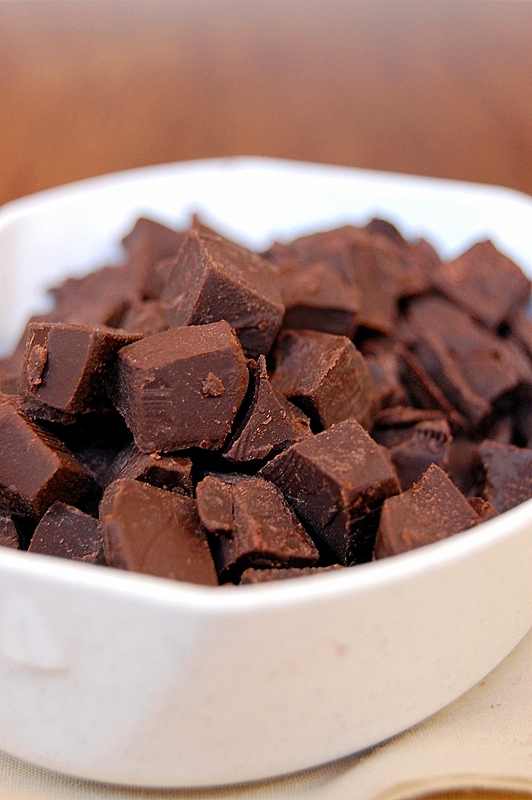
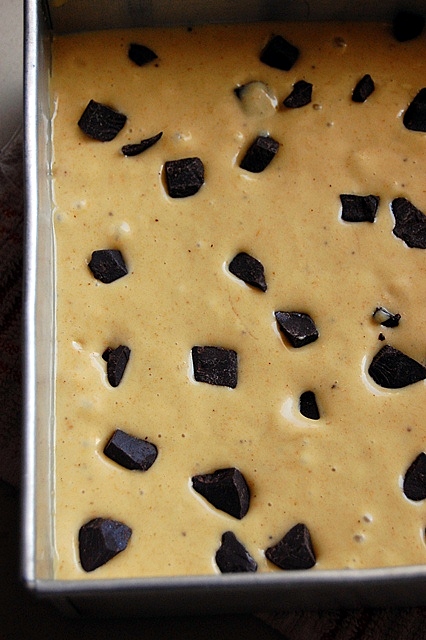
Yet, I can't seem to stay long away from my beloved oven. So I hopped over to bake another banana cake in quick desperation to baking, something which I did not intend posting here. If you take a peep into my drafts you'll be a little amazed to see the number of banana breads/cakes I have lined up, that I've had to forgo some. Infact, I've been planning to do a step-by-step for sometime now, yet haven't been able make time for that. The increasing number of requests for step-by-step have been pouring in. Keeping in mind it's eggless I am sure many would love to re-create them at home. Hope you like this one with big bites into nice chunks of chocolate chips. Delicious!
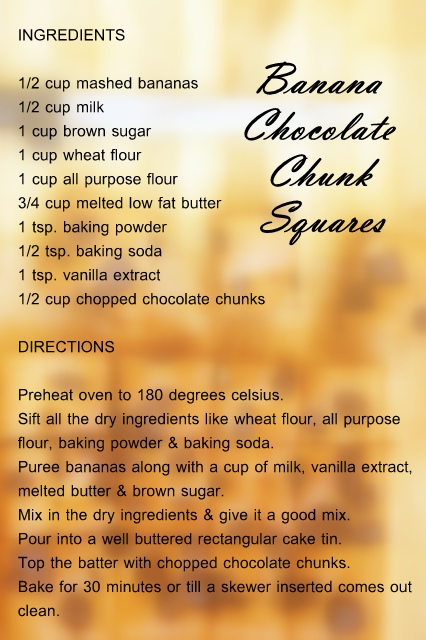
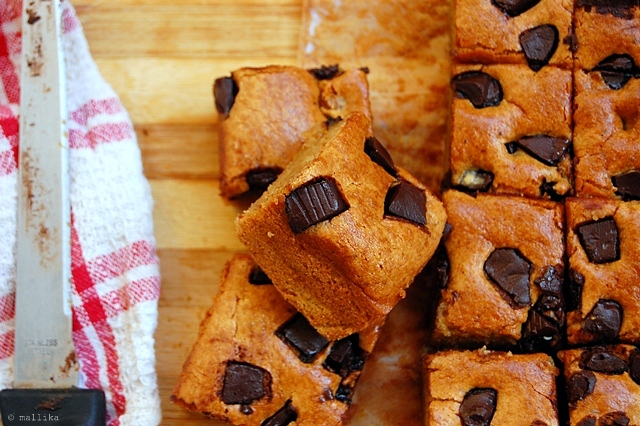
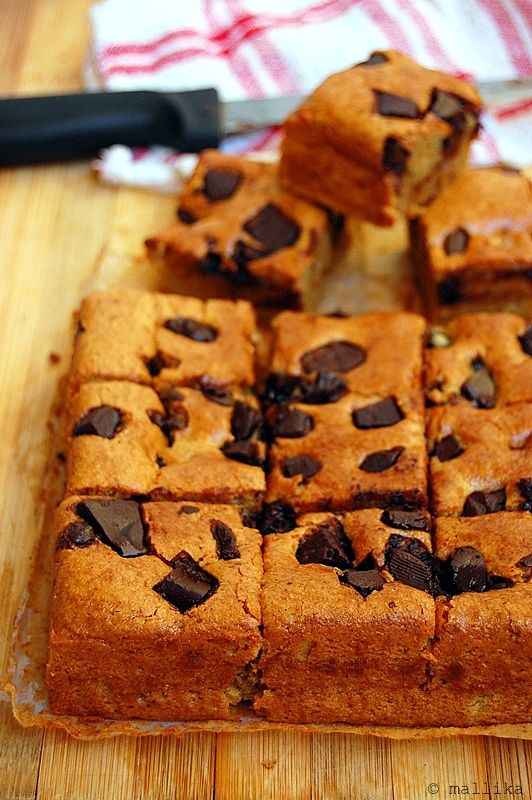
Banana Chocolate Chunk Squares
And with all those festivals gone by and the ones we look forward to, I've have been on my toes all this month. I've been living out of my suitcase with lots of travel packed over weekends, spilling over festivals and the celebrations that have kept me busy through and through. A weekend getaway to Mysore, then to Hyderabad for work related meet, then to Mangalore for Dusshera, it's been one hell of a calender blocked month with me cruising places.
With all this up, my kitchen hasn't been the busiest place for me, unlike most of my weekends. I do hope I can throw my hands at cooking some sweet and savouries for this Diwali, while I have been fairly depending on my mom for her delectable festive goodies. With no elaborate cooking done by me this Dusshera , some Besan Laddu and the quick snacks I made for our Ganesha this Chaturthi, I hope I'll be get some time out to meddle in my kitchen this Diwali.
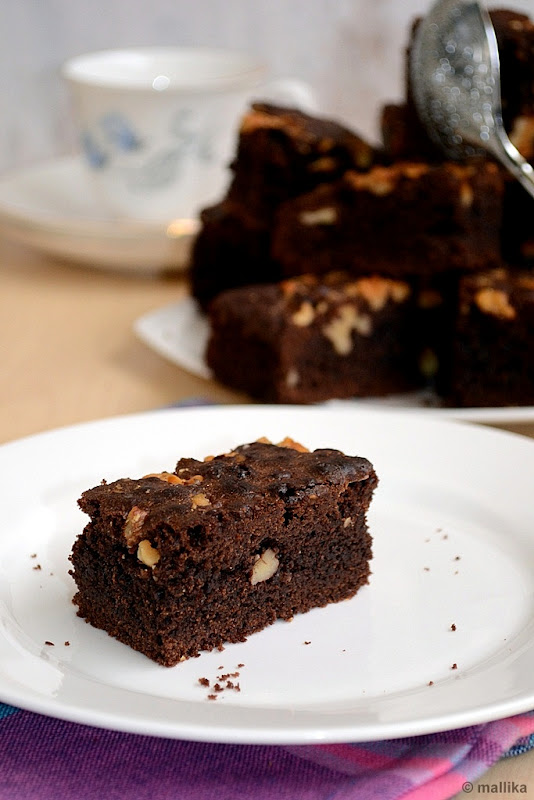
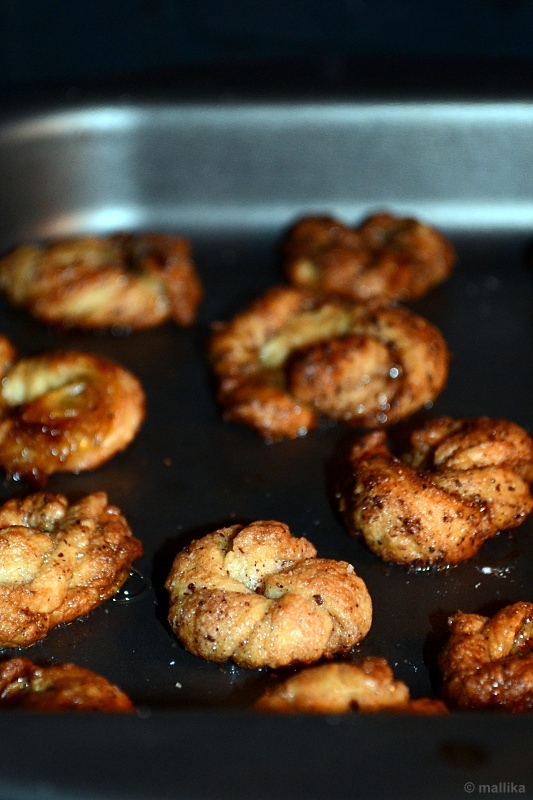
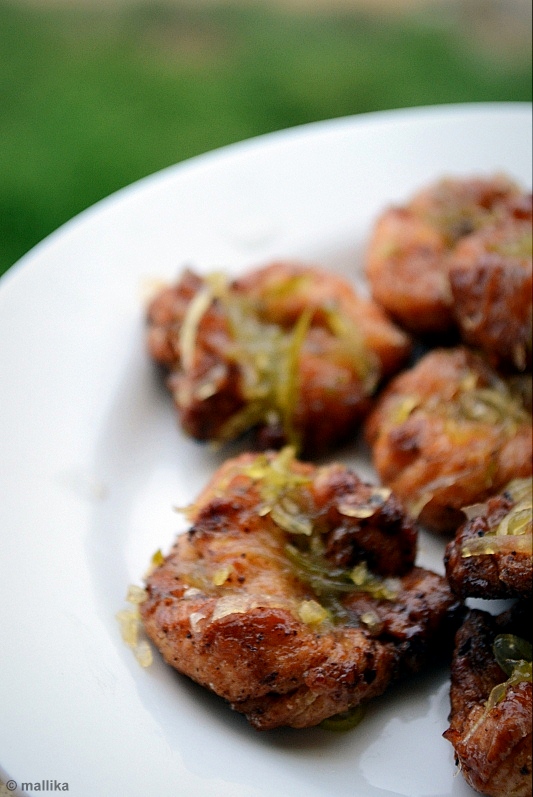
Yet, I can't seem to stay long away from my beloved oven. So I hopped over to bake another banana cake in quick desperation to baking, something which I did not intend posting here. If you take a peep into my drafts you'll be a little amazed to see the number of banana breads/cakes I have lined up, that I've had to forgo some. Infact, I've been planning to do a step-by-step for sometime now, yet haven't been able make time for that. The increasing number of requests for step-by-step have been pouring in. Keeping in mind it's eggless I am sure many would love to re-create them at home. Hope you like this one with big bites into nice chunks of chocolate chips. Delicious!
Banana Chocolate Chunk Squares