Thandai

How to make Thandai | Easy Thandai Recipe
Holi is just around the corner and I have been dreaming of all the lovely Indian sweets and treats I can make and bring over here to refresh this space. Holi, the Indian festival of colors, marks the end of winter and commencement of spring. No Holi is complete without bright and vibrant colors, balloons bursting with colored water, the lavish thandais, mouthful of gujiyas and some good lyrical Hindi Bollywood numbers to tap your feet to as you get soaked in a concoction of colours.

I stayed away from partaking in this festival for most part of my life. My earliest memories of Holi dates back to the early years spent in Mumbai where the morning of the festival saw friends and neighbors from the colony flocking in the common areas of the building, smeared in psychedelic colors, throwing water baloons and smudging gulal at everyone in sight. Spirits high, air misty and hued, voices high pitched in celebration, it was a frightening sight for an eight year old. As a kid I stayed holed up under my mom's old sewing machine for most part of the day, quite terrified at the sight and sounds of those faces smeared in boisterous colors. It wasn't my kind of celebration.

Years have passed since the little girl who was once petrified of Holi now enjoys the sight of colors. Over years, I've let go my inhibitions and participated in it's celebrations during to my stay here in the US. Miles away from home, the need to connect and bond with Indian community is strong and comforting. Indian festivals give that opportunity. People, food and celebrations bring joy and positivity.

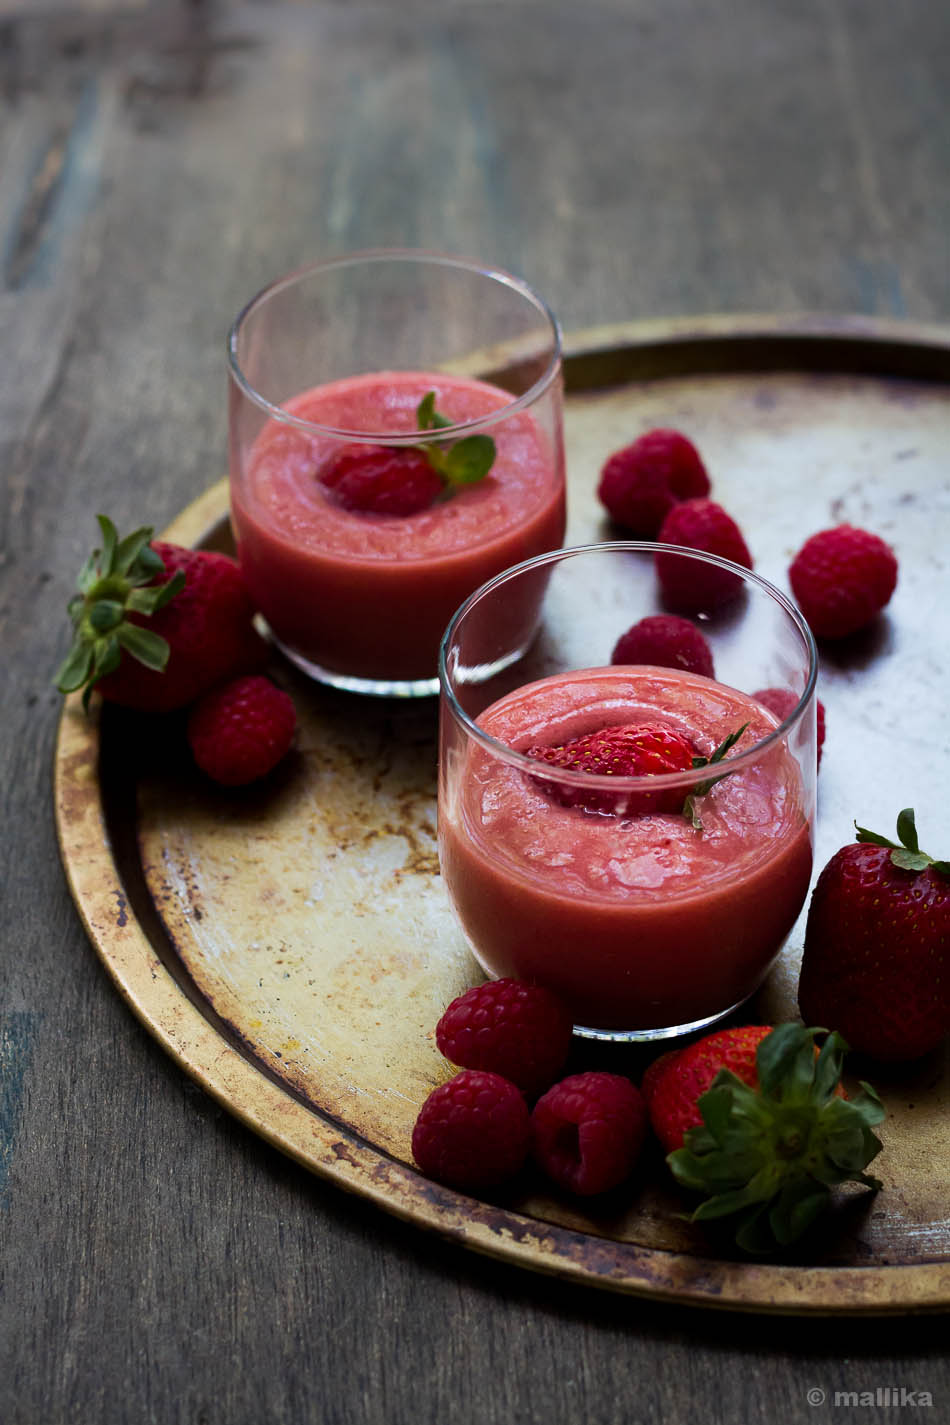
Sumptuous food and drinks is an integral part of Holi celebrations. No Holi is complete without a tall glass of Thandai, the fragrant spiced milk drink, made with amalgamation of ingredients like milk, saffron, nuts and spices. Come on over and let's make some soul-satiating drink that is delicious, cooling and an excellent thirst-quencher.

Thandai


Thandai

INGREDIENTS

1 tablespoon fennel seeds
1 tablespoon poppy seeds
1 tablespoon melon seeds (optional)
1 teaspoon peppercorns
Pods from 6 green cardamoms
10 almonds
10 cashews
1/2 teaspoon rose water
1 cup warm water
1 litre milk (replace by soy milk / oat milk / almond milk for vegan version)
Sugar (as per taste)

DIRECTIONS

Soak the fennel seeds, poppy seeds, melon seeds, peppercorns, cardamom pods, almonds and cashewnuts in a cup of warm water for 30 minutes. Then grind the soaked ingredients into a fine paste and keep aside.

In another small bowl, soak the saffron strands in warm milk and set it aside for 30 mins.

Next, in a pan bring milk to boil. Add sugar to your preference, stir well and simmer till the sugar melts in the milk. Add the ground thandai paste to the milk. Mix well and simmer for 2 to 3 minutes. Turn off the heat, add the rose water and let it sit covered till it comes to room temperature. Then refrigerate it to chill for atleast 2 to 3 hours or preferably overnight. Garnish with some crushed rose petals, saffron strands and chopped almonds and pistachios. Serve chilled!

Note: I mention melon seeds as optional since they are not easily available where I stay. However traditionally Thandai uses melon seeds. Though it doesn't affect the flavor much incase you skip it.
Sous Vide Strawberry Cheesecake Jars

How to make Sous Vide Strawberry Cheesecake Jars | Easy Cheesecake Pots Recipe
For long, I have stayed away from baking desserts or breads that require me to take that additional step of caution, such as wrapping cake tins with foil, or placing ramekins in a water bath or creating steam to bake crisp crusted breads. For this reason, I haven't made cheesecakes in a while. I love them and seeing the small bites of the silky sweet cheesy treats, especially during the Christmas Eve holiday parties always brings joy and smile to my face.

KitchenBoss Sous Vide Cooker


Making cheesecakes at home aren't tricky anymore, especially after discovering a new alternative to cook them to perfection. Making these Strawberry Cheesecake Pots in my new KitchenBoss Sous Vide Cooker to celebrate the daughter's birthday earlier this week on Monday was such an absolute delight! The cheesecake was cooked to perfection and most of the job was done unattended. I love desserts in jars, and making sous vide way has got to be my new favorite. It cooks unattended, there's no overcooking, results are perfect because the temperature is regulated, I love serving individual portions and the longer life because of the sealed mason containers - these are good enough reasons for me to love sous vide. I've been experimenting with quite a few recipes the sous vide way and I've been able to ferment a big jar of yogurt and dosa batter successfully! Loving the ease of using my new KitchenBoss Sous Vide Cooker, hence will be using it more often.

For the uninitiated, Sous vide means “under vacuum” in French. This technique has been long used by restaurant chefs to slow cook the food in a water bath for longer time at a precisely regulated temperature, which makes food more succulent and retains the flavors. And now KitchenBoss has made access to this gadget so much easier by bringing this to our homes.

Strawberry Cheesecake Jars


I have a giveaway going on my Instagram handle so I can introduce to the world of Sous Vide cooking too! Yes, it's a KitchenBoss Sous Vide Cooker Newest Model (G320) Giveaway!

KitchenBoss has generously agreed to select one of you to receive their newest Sous Vide Cooker (G320) for free and learn about their feedback! If you’re interested, you could participate now by following these steps:

1. Like the post and leave a comment.
2. Follow @kitchenboss_official and @vegbowl on IG On March 26, 5:00 pm (PST)

KitchenBoss will randomly select and tag the lucky audience in a comment underneath this post and he/she is going to receive a direct message from @Kitchenboss_official on IG on how to proceed. This giveaway is open to USA only. But if you know of your relatives and friends who reside in the US or have a US shipping address, you are free to participate too.

Sous Vide Strawberry Cheesecake Pots


Sous Vide Strawberry Cheesecake Pots

INGREDIENTS

For the base
8 Lotus cookies
1 ½ tbsp melted butter

For the filling

226 gm cream cheese (I used 1 pack of Philadelphia Cream Cheese)
1/3 cup condensed Milk (I used Nestle Milkmaid)
1/4 cup thick Greek yogurt
1 tsp vanilla extract

DIRECTIONS

For the cookie base, pulse the Lotus cookies and butter in a food processor until it forms a coarse mixture. Take 2 tbsp of this mixture and press them to the bottom of 4 mini mason jars. Keep the jars in the refrigerator for 15 minutes. Meanwhile proceed to make the cheesecake filling.

In a bowl whisk the cream cheese until smooth. Next add condensed milk, yogurt and vanilla extract. Whisk till well blended. Divide the prepared cheese batter into the 4 mason jars that was layered with biscuit butter. Leave about 1 1/2 inches of room at the top of each jar for the cheesecake to expand slightly during the cooking process. Tap the jar against the counter top gently to remove any air bubbles and smooth out the top with a spatula. Cover the jars with lids and seal it just enough to close, but do not tighten them.

Cook the cheesecakes:

Place the sous vide cooker in a pot of water and set it to temperature of 194 deg F at 1 hour. Once the water has come to the set temperature, place the jars in the water and cook for an hour. Once coked, remove the jars carefully and allow them to cool. For the best tasting cheesecake, refrigerate the jars for atleast 4 hours or overnight to allow them to set well before serving.

Make the strawberry topping: Finely blend 6 strawberries with 1 cup water and 1/2 tsp agar agar powder. Pour it into a pan and cook on medium heat till it comes to a rolling boil stirring well continuously. Turn off the heat and allow to cool slightly. Pour over the prepared cheesecakes till it fill up to 1/2 inch in height. Place the pots in the refrigerator for the topping to set well.

Recipe Notes

Use only thick Greek style yogurt or hung yogurt for this recipe. Homemade yogurt will have to be strained through cheesecloth overnight till it's water is drained out and it's thick for use.
You can top the Cheesecake with any fruit compote of your choice. It goes well with fresh fruits, berries and a dollop of whipped cream too.
You can also make these cheesecake pots the traditional way in a preheated oven, placing the mason jars / ramekins in a water bath and baking them for an hour. The lack of eggs here really helps and is not missed, yet the cheesecake is moist and decadent.

Batata Poha

How to make Aloo Poha | Batata Poha Recipe
Batata Poha is a very popular breakfast dish from Maharashtra made with onions, potatoes (batata) and beaten rice (poha). Poha is a common breakfast dish made across India, with each state having its own subtle variation and names. There are numerous recipes for making poha, the recipes varying from one family to another, each with their own way of preparing it.

Kanda Poha and Batata Poha were made regularly at home. Karnataka has it's own variation called Avalakkibath which is quite similar to Kanda Poha, but has the addition of urad dal and channa dal in it, with garnishes of fresh grated coconut. Batata Poha though was always called as Batata Poha, and never Avalakki. Mornings with plate full of Poha, tall glass of warm milk and off we went to school full and nourished till noon.

This was also a breakfast made when we had guests over, or on days when mom was running out of time to prepare breakfast. Potato, in general is a loved ingredient by many, so that meant less fuss. I now make this Maharashtrian-styled Aloo Poha / Batata Poha regularly at my home and my family enjoys it well as much as I do.

Batata Poha


Batata Poha | Aloo Poha

INGREDIENTS

2 medium sized potatoes, peeled, chopped and diced
2 cups poha/beaten rice (thick variety)
2 tbsp oil
1 tsp turmeric powder
1 tsp mustard seeds
1 sprig curry leaves
2 green chillies, finely chopped
1/2 cup chopped onion
1 tbsp roasted peanuts
Salt to taste
1 tsp sugar
Juice squeezed from 1 lime
Fresh coriander leaves to garnish

DIRECTIONS

Wash the beaten rice thoroughly and drain the water. Add turmeric powder and salt, mix well and keep aside. While the poha blooms, proceed to prep the rest of the ingredients such a chopping potatoes and onions.

Heat oil in a fry pan, add in the mustard seed and let it splutter. Add the chopped onions and stir fry for 30 seconds till they are transclucent in color. Next add the diced potatoes, torn curry leaves and green chillies. Stir fry for a couple of minutes till the potatoes are cooked, yet have a bite. Add in the soaked poha/beaten rice. Turn heat to medium low and gently mix all the ingredients. Cover and cook for atleast 5 mins. Once cooked, remove from heat, add sugar and squeeze juice from 1 lime. Garnish with roasted peanuts and chopped coriander leaves.

You can cut down the cooking time by using boiled potatoes before hand. You can add the potatoes into the tempering oil, stir-fry well and allow it to cook. That way the potatoes get a slight crunch. This however takes a longer time and consumes more oil, hence I avoid this version. The one that I make is a quick, healthy and less time consuming since the potatoes are pre-boiled and need no further cooking. Addition of a teaspoon of sugar and lime is optional, but this really adds an edgy flavor, which is typical to Maharastrian cuisine.

An alternate version of this called Kanda Poha, where onions are used instead of potatoes is quite a common breakfast. This breakfast is not just simple and healthy, but also filling to keep you going for long.

Kanda Batata Poha


*This post was updated and republished recently.*

Vegan Crepes with Strawberry Coconut Cream

Vegan Crepe Recipe with Strawberry Coconut Cream.
Vegan Crepes 👆🏼 for your Valentine's Day. Are you looking out for an inspiration to make your Valentine's Day morning better? Or may be a dessert if you don't wish to bake? I have just the right recipe for you. A quick and easy Breakfast Crepe that's eggless and vegan and you can make and serve them under few minutes to please your Valentine 🥰. Crepes are versatile. They can be served as breakfast, main course or even desserts! This recipe I have for you is very adaptable to a savory version and you can serve it with any accompaniment of your choice. Stir fried mushrooms with spinach is my favorite! Think of it as an instant dosa. Slather some Mango Jam or stuff it with Indian styled Stir-Fried Potatoes.

Vegan Crepes with Strawberry Coconut Cream


Vegan Crepes

INGREDIENTS

1 cup all-purpose flour (can be replaced with whole wheat flour for healthier version, but the taste will differ)
1 1/2 cups unsweetened milk of your choice
2 tbsp neutral flavored oil
1/4 tsp salt

DIRECTIONS

Blend all the ingredients in a high speed blender until smooth. Allow it to rest for 20 mins. Heat a griddle pan and drop a small laddle of batter on it. Swirl it gently from the center to the edges to form thin crepes (similar to dosa). Cook for a minute on medium low heat. The sides will lift off easily when cooked. Carefully remove and serve it on a plate. Top with Strawberry Coconut Cream (recipe below), sliced strawberries, bananas and drizzle of maple syrup.

Strawberry Coconut Cream

INGREDIENTS

1/2 can full-fat coconut milk, refrigerated for 24 hours
2 tbsp. strawberry jam (homemade or store-bought)
1 tsp. vanilla extract

DIRECTIONS

Beat the cold coconut cream on medium speed for 4-5 minutes. The cream should become light and fluffy. Add in the strawberry jam and vanilla extract, and beat until incorporated. Adjust the jam to your taste and sweetness. Serve immediately along with the crepes.

Mini Sweet Bell Pepper Rice Bath

How to make Karnataka Style Rice Bath | Easy Capsicum Rice Bath Recipe
'Rice Bath' is a common term used in Karnataka for dishes made with cooked leftover rice. It's a spiced rice where vegetables are added to make a nutritious and wholesome meal. The recipes differ from one family to another with many swearing by vaangi bath powder, and others using the readily available stash of sambhar or rasam powder. I keep it simple by using homeground sambhar powder that comes from my mom's kitchen. I've seen my mom do it that way and I've been following it ever since.

Rice Bath is made in a kadai or a large wok, unlike pulao or biryani where rice is cooked raw along with spices. It's a great way to revamp leftover rice and turn it into something more wholesome and scrumptious. This is also my go-to base recipe for Tomato Bath. I've used mini sweet bell peppers here, but it works equally good with capsicum, greens or vegetables of your choice.

Mini sweet bell peppers are tossed in a garlicky, onion and tomato base and stir fried with rice. Some frozen sweet peas are added too. Sambhar masala goes in for the heat. Sometimes I pep it up with red chilli powder when in a mood for spice. And finally I round it off with lemon juice for acidity and top it with roasted cashews for the crunch.

Mini Sweet Bell Pepper Rice Bath

INGREDIENTS

2 tbsp oil
1 tsp mustard seeds
2 garlic, finely chopped
1 small onion, finely chopped
1 sprig curry leaves
2 green chillies
2 tomatoes, finely chopped
8-10 slit mini sweet bell peppers
2 cups of cooked basmati rice
2 tsp sambhar powder
Salt to taste
Juice from 1 lemon
Roasted cashews and coriander leaves to garnish

DIRECTIONS

Heat 2 tbsp oil in a cast iron wok, add 1 tsp mustard seeds and let it splutter. Then add 2 chopped garlic cloves and 1 finely chopped onion and fry for few seconds. Next add torn curry leaves and chopped green chillies and fry for few seconds. Add about 2 tomatoes, finely chopped and fry till they soften and reduce in volume. Add 1/2 cup frozen peas and cook for a minute. Then add about 10 slit mini sweet bell peppers and stir fry for a minute. Add 2.5 cups of cooked basmati rice, 2 tsp sambhar powder and salt to taste. Stir the rice and masalas well so that the flavors are well incorporated. Cook uncovered for another 2 minutes on medium low heat. Remove from heat and add juice from one lemon. Garnish with roasted cashews and coriander leaves. Serve with a side of chilled yogurt or raita of choice.

Tiramisu

Make Tiramisu without raw eggs| Easy Tiramisu Recipe
I love baking cakes. Simple, quick and easy frost-less cakes are my kinds. The bare minimum, one bowl kinds. Also, by that I mean, they should come together with least effort, have less frills, are presumably uncomplicated to make, like a simple chocolate cake, or a tea cake without having to fuss over any frosting; the one that you can nibble plain as a snack. A fresh baked fruit bread that goes into the oven and is out on the plate in under an hour, enjoyed with a slather of butter alongside a cup of hot beverage, or for that matter, a pound cake or coffee cake with strudel topping fits my list well too. They are the kinds you sink your teeth into when a sudden craving to savor dessert hits yours sweet spot at ungodly hours. That's my kind-a-cake.

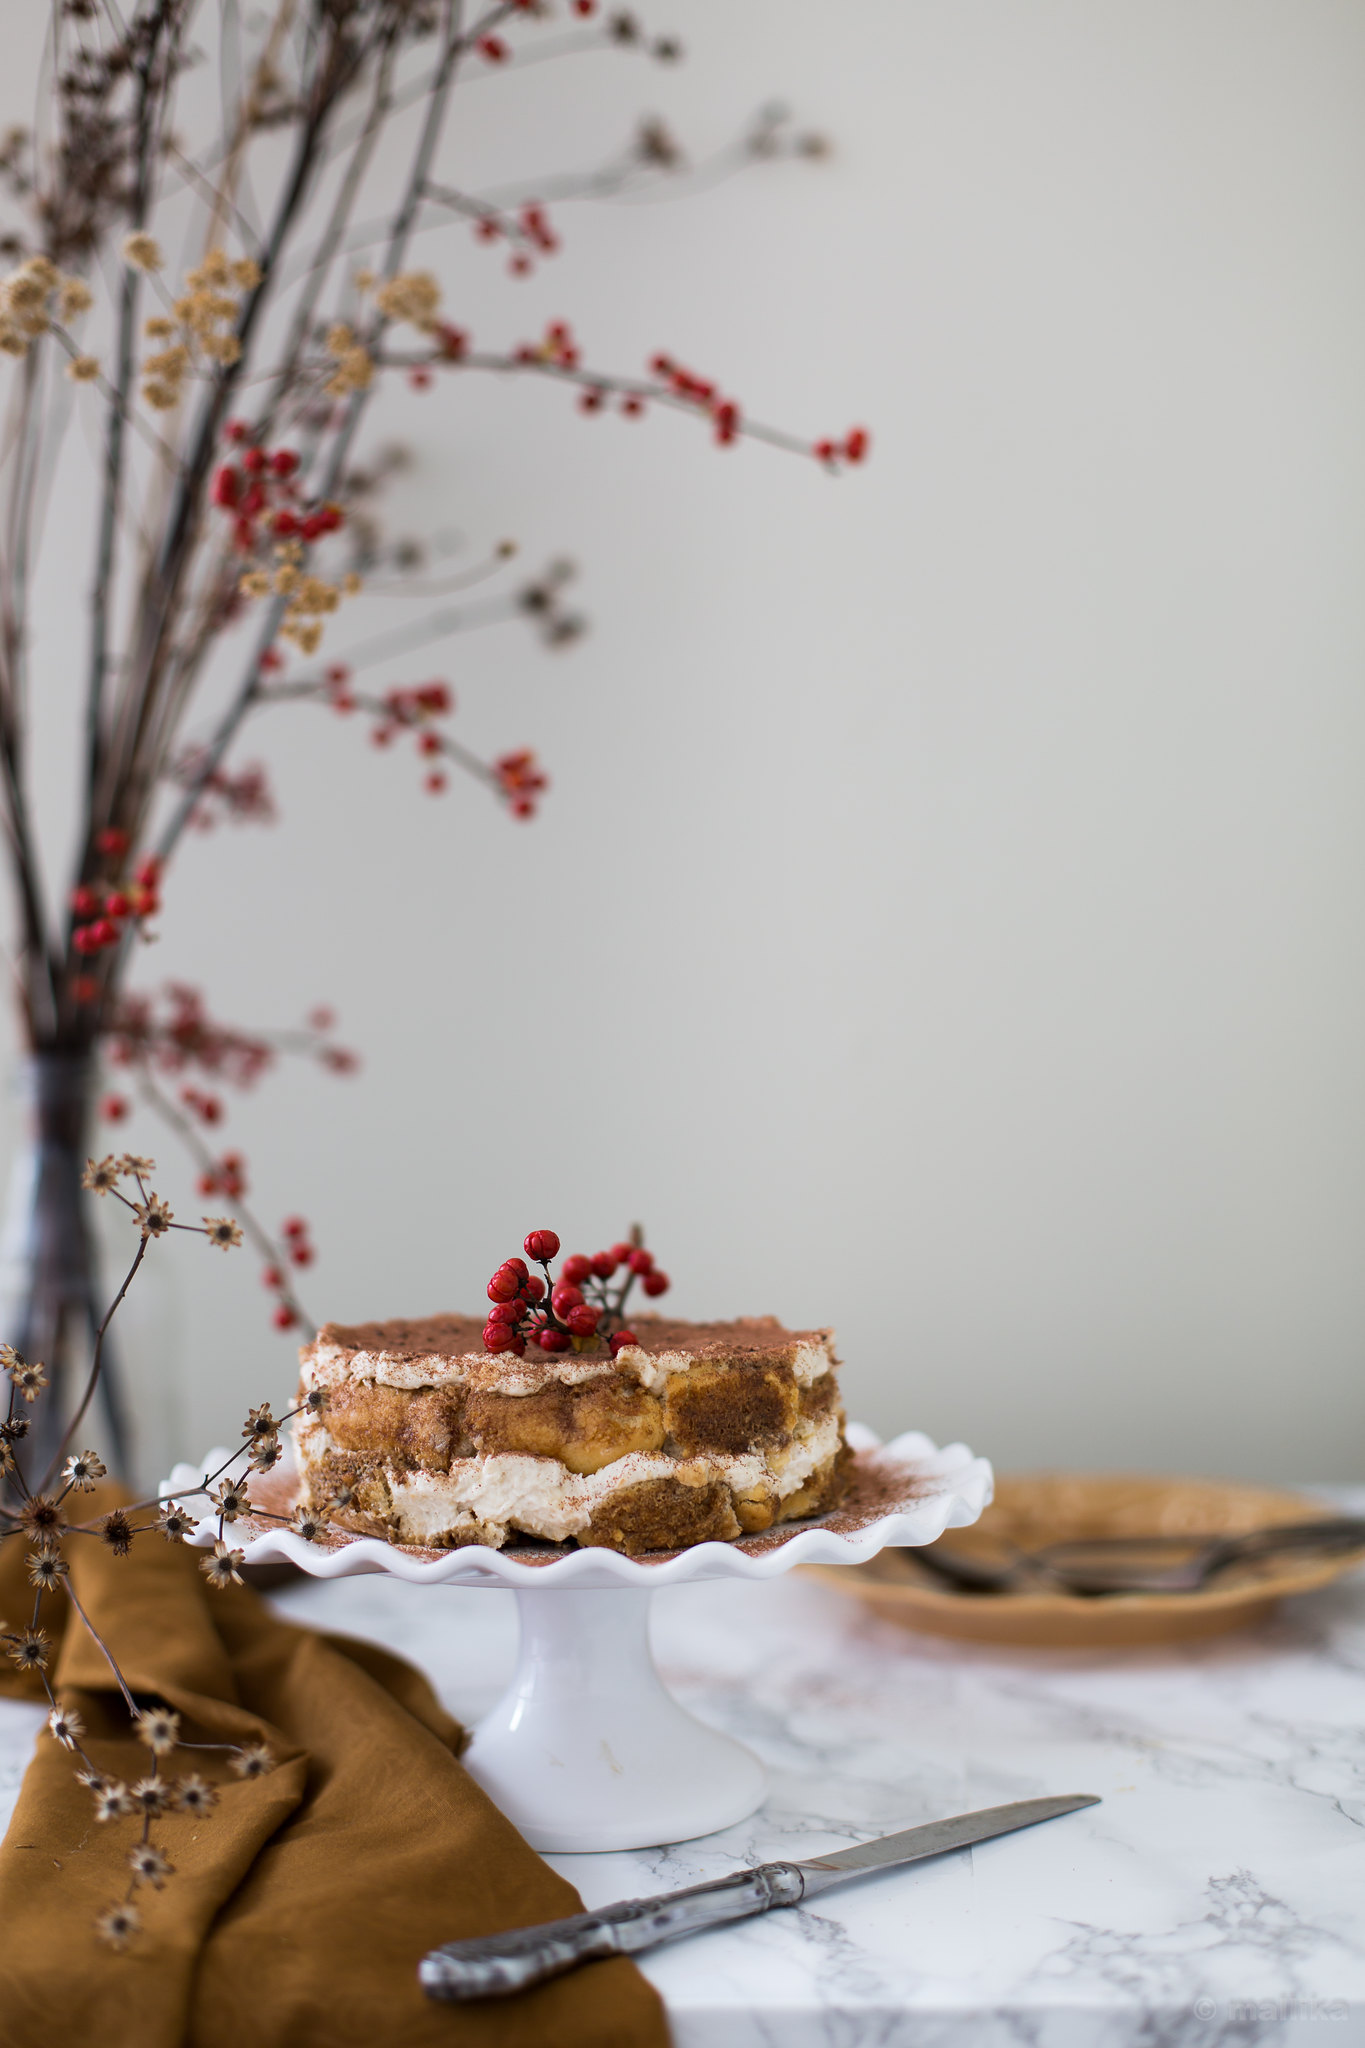
No Egg Tiramisu


Now, here's some word of truth. You see, I'm wary of baking tall towering cakes that have layers upon layers of sponge soaked in sweet juices and sandwiched with cream and fruits. Their surface embellished with delicate frosting of either whipped cream or fancy buttercream, topped with garnishes of fruits, chocolates and other fares make them elements of beauty, and treat to the eyes. Their delicateness is seen from the knee deep effort going into making them, hours sacrificed into adorning, an exercise of thought, patience and dedication. They demand attention and honor as they gleam tall on pedestal, deserving an applause. They mark a perfect score for being the right celebratory desserts to raise a toast to honor an occasion.

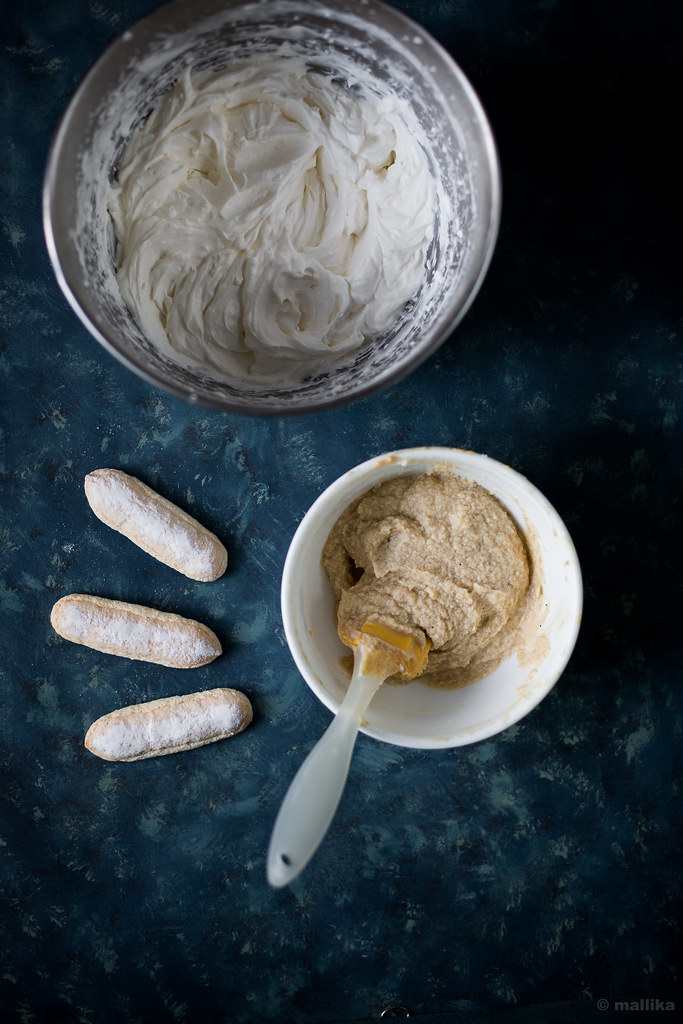
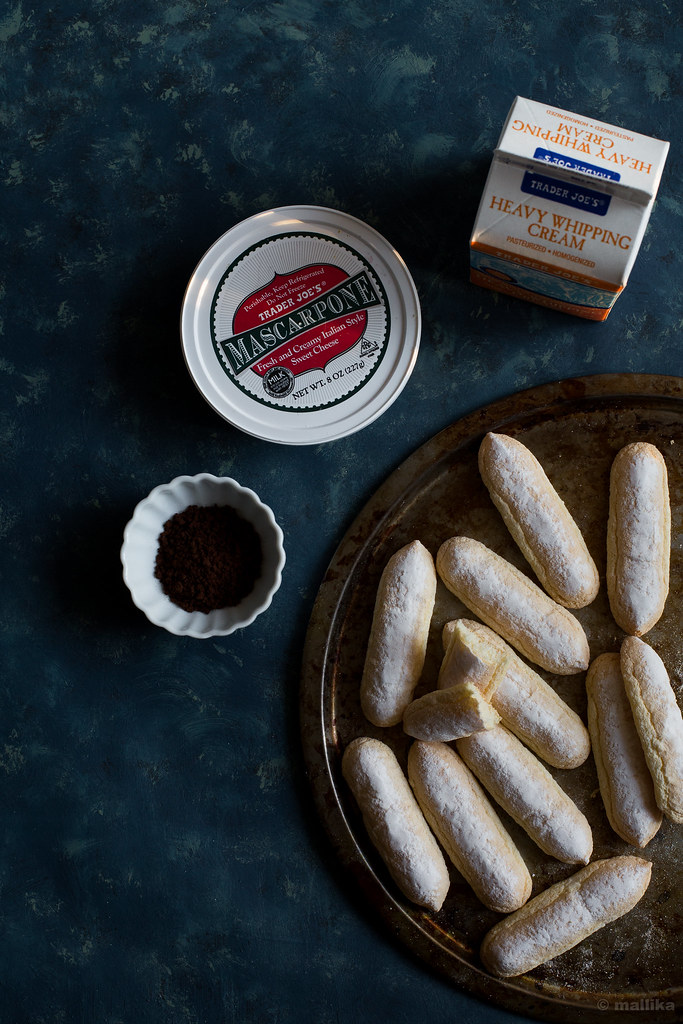
Tiramisu Prep
Tiramisu_Prep


Such cakes are fantastic, but not the everyday kinds. Neither do I have such occasions to celebrate that often, nor do I have the immense amount of patience (read motivation) needed to dole out multi tiered cakes that can be my pride and my pal's envy. Even when few odd urges to bake such cakes trigger, I have flopped miserably, often ending up with torn crumbs, messy fingers and merely half the cream in my mouth, not to forget the mounting annoyance caused by the cake failing to abide by my whims and fancies. I end up in exasperation, it's vexation so palpable that I resolve not to bake a tiered cake in months to come. Patience is truly a virtue, for all those who have it.

But then there are cakes like this Tiramisu that go-betweens. They don't take much of an effort to put together, but are celebratory enough to grace an occasion and make it rave-worthy. They have all of charms of layered cake but with minimal labor. You can make them in wine glasses and serve individual helpings or have a free standing cake that beams layers of cake and cream. They are so simple to make and taste so darn luscious that it can put a elaborate cake into shame!

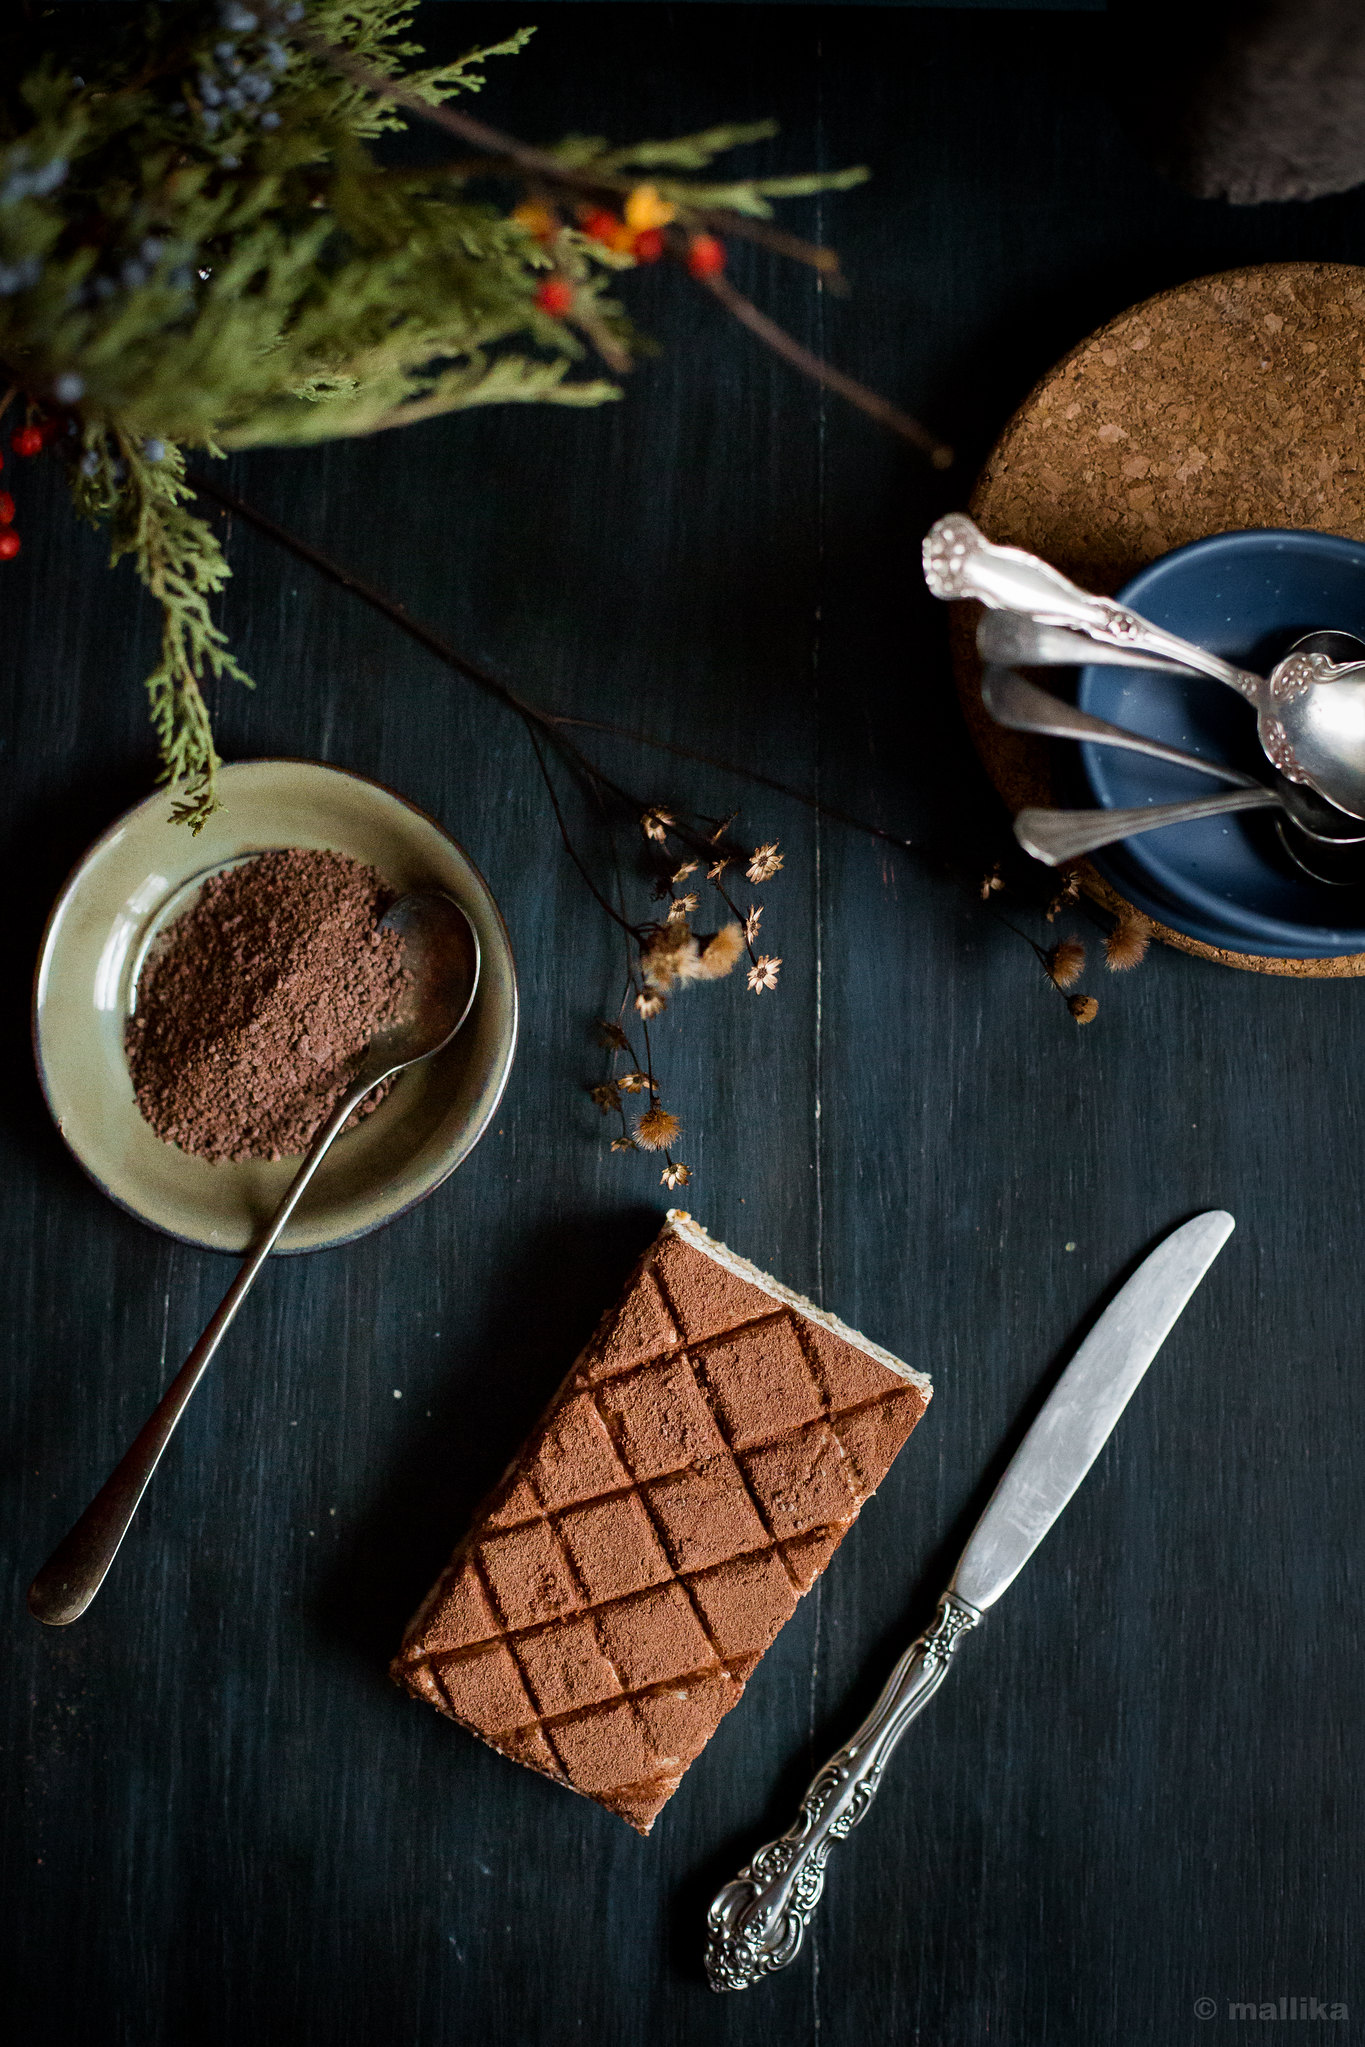
Tiramisu


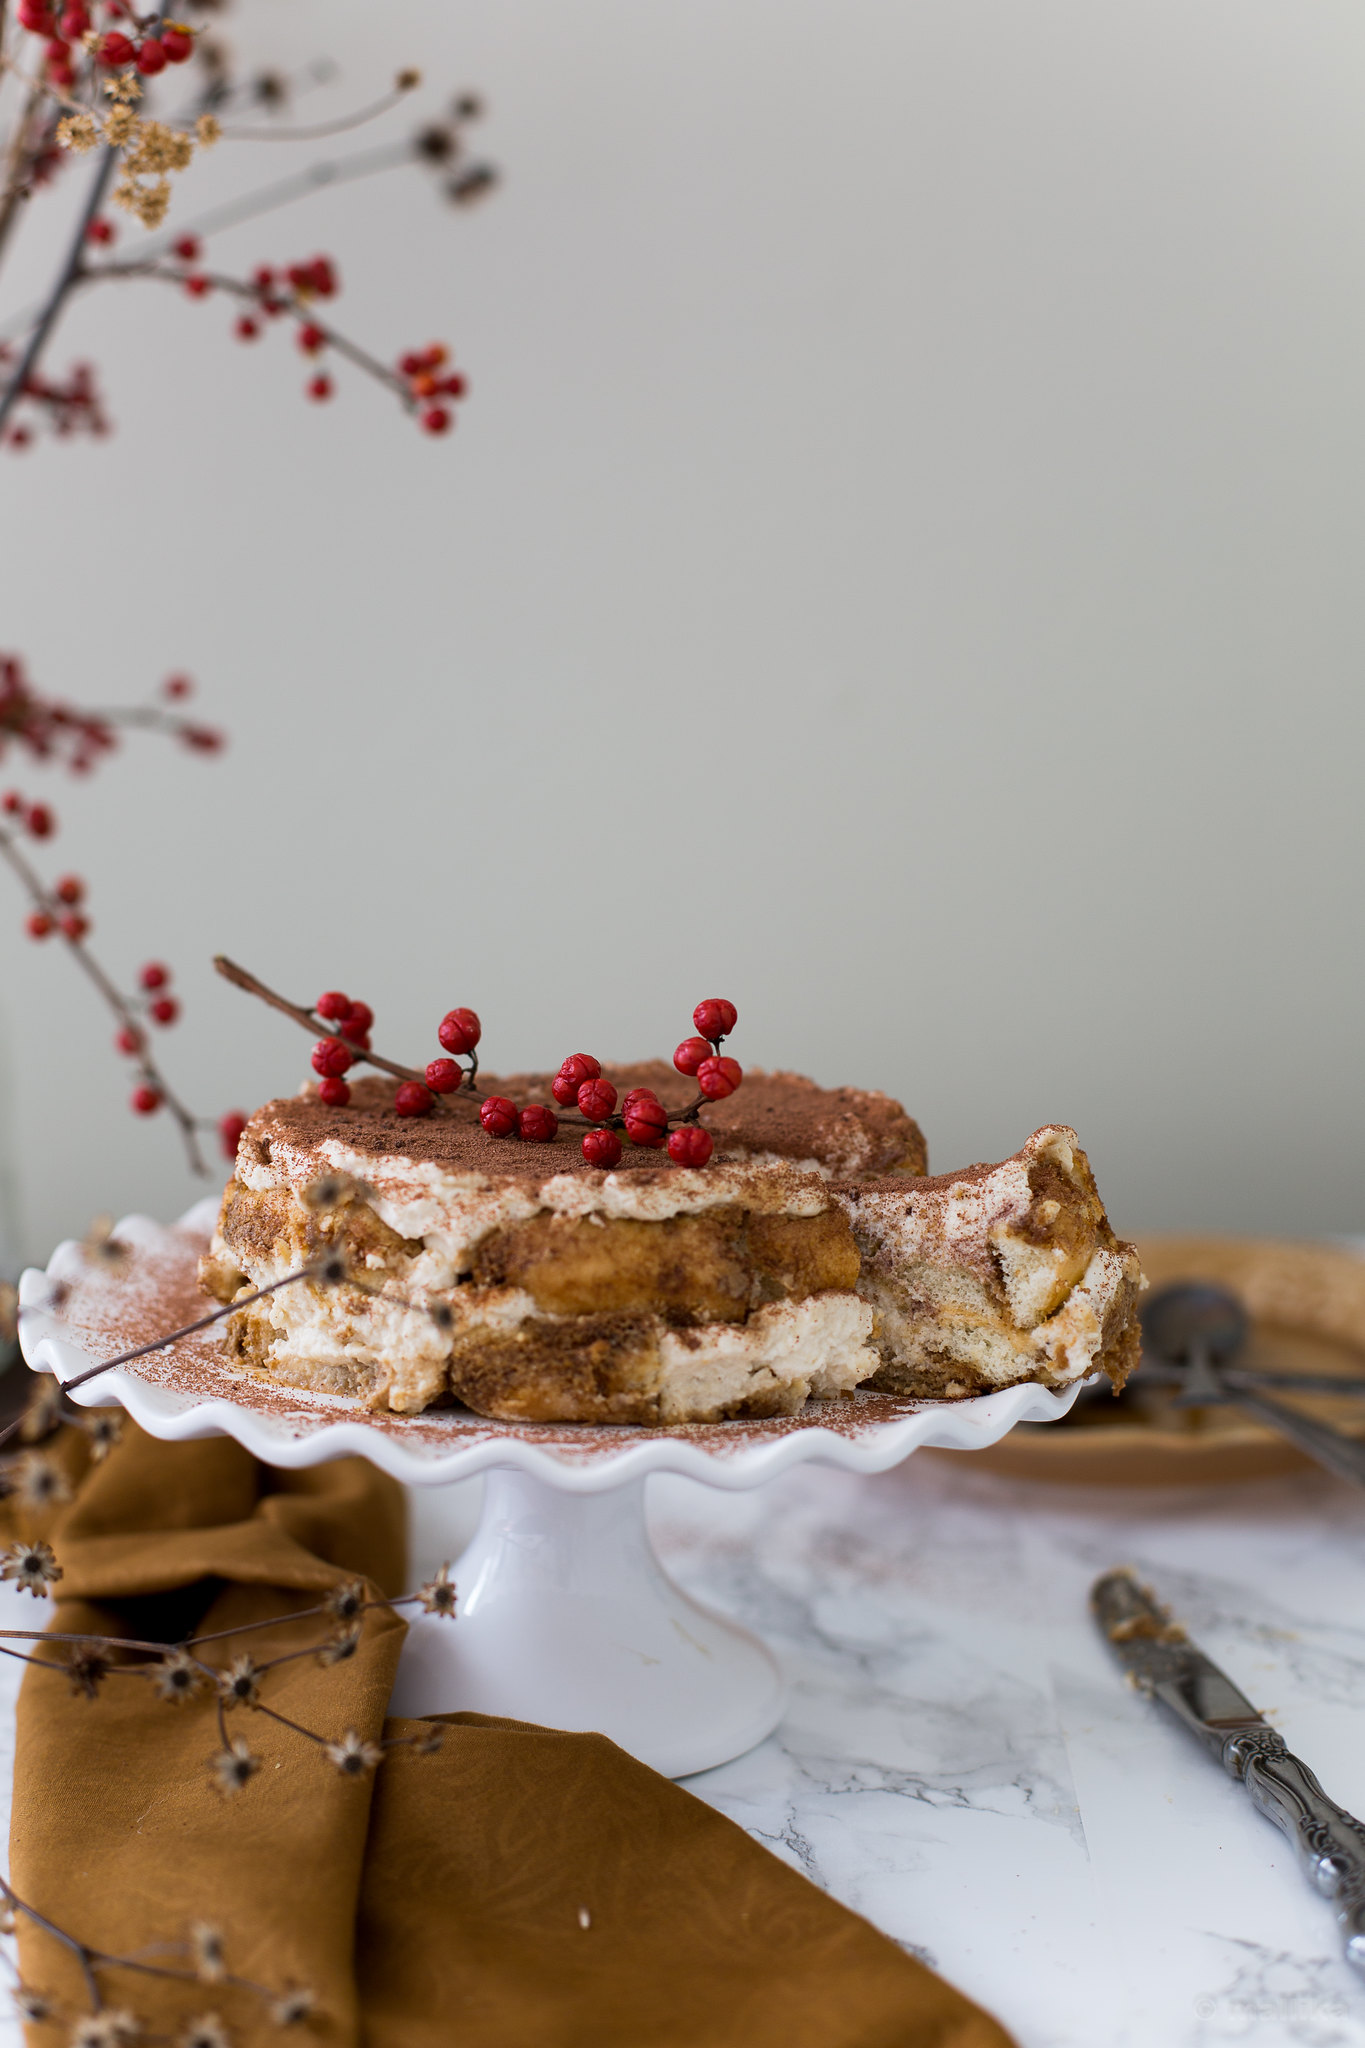
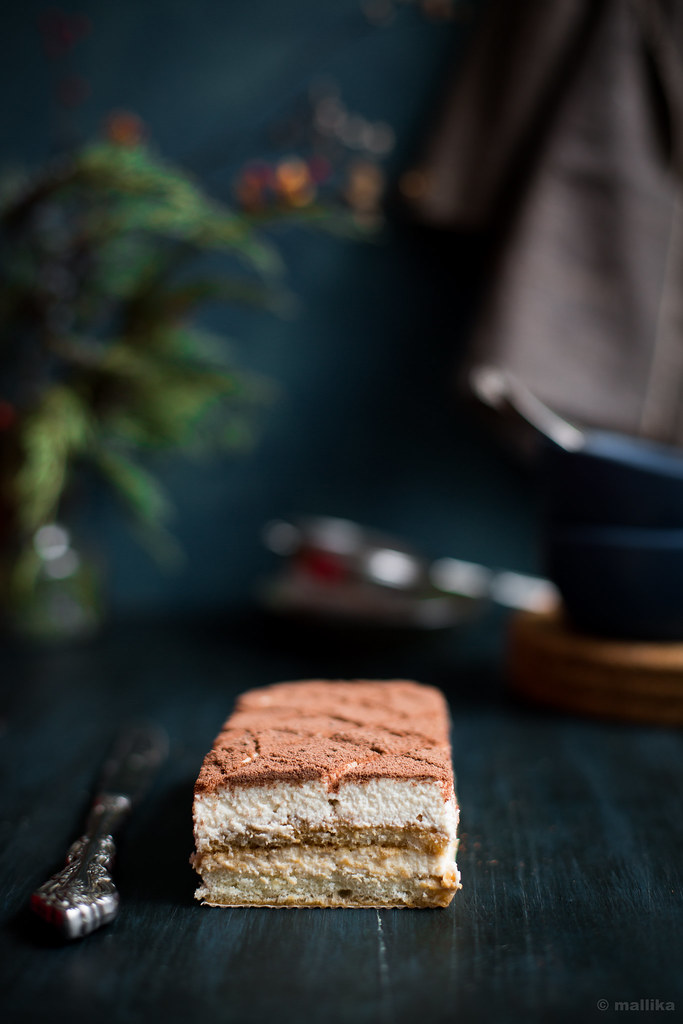
It was for Christmas eve party that I first made this Tiramisu cake and ever since then it has gone on repeat at home. You'll see them from the different photographs I took on two different occasions. Any why not! It's possibly one of the most easiest exotic looking dessert that tastes luxuriously rich, and indulgent and looks hours worth of effort, while it really isn't. This Italian celebratory dessert made by layering coffee spiked cookies, and sweet mascarpone cream, with a dusting of chocolate is a perfect dessert for any occasion or a celebration. Its simple, yet sophisticated. Put it on a cake stand, make it your centerpiece and it's sure to bring applause.

Traditionally, the cream for Tiramisu is made using mascarpone and zabaione (which is a custard made from egg yolks and sugar). This is a far simpler version where no raw eggs or alcohol is used, hence an ideal dessert for young kids too. Try this recipe at home and I bet you will love the ease of making it!

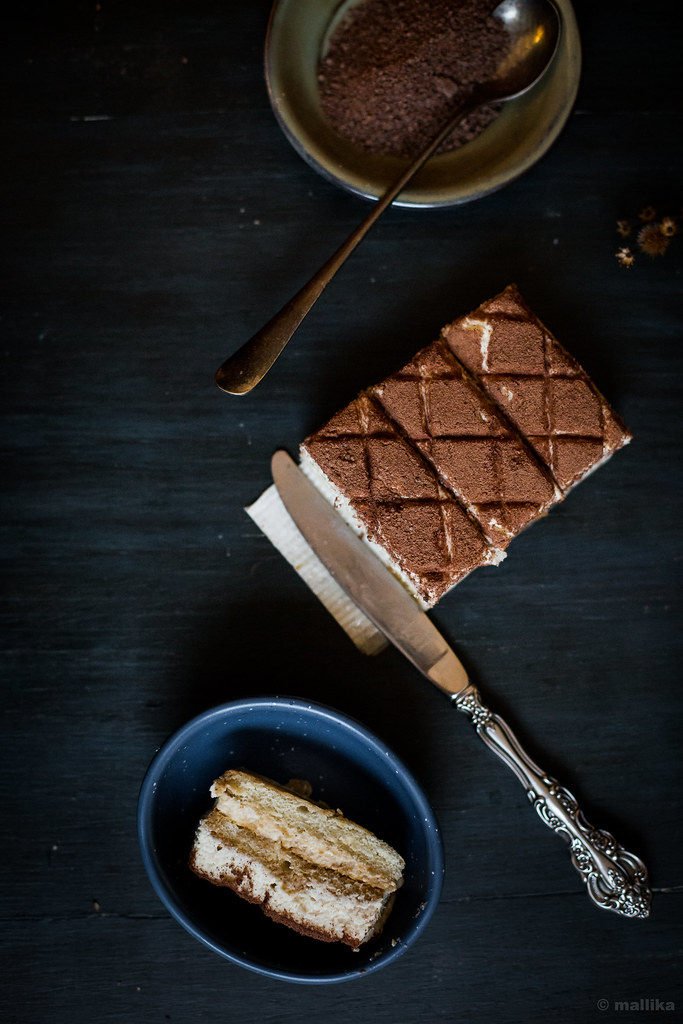
Tiramisu_Sliced


Easy Tiramisu (No Raw Eggs, No Alcohol)

INGREDIENTS

1 cup mascarpone cheese at room temperature (227 gm)
1 cup heavy whipping cream, chilled (236 ml)
1/2 cup sugar + 2 tbsp. for the coffee brew
28 Italian ladyfingers or Savoiardi cookies
1 cup very strong brewed coffee
1 tbsp. cocoa powder or grated chocolate for dusting

DIRECTIONS

1. Prepare a strong brew of coffee by mixing 2 tbsp. of instant coffee granules into 1 cup of hot water. Stir in 2 tbsp. of sugar and mix well till the sugar dissolves. Set aside.

2. Next, in a medium bowl, whip the chilled heavy cream and sugar with an electric whisk till near stiff peaks are formed. Carefully add in the mascarpone cheese into the whipped cream and fold gently till its uniform. Note - I added a tsp. of instant coffee granules into mascarpone cheese to intensify the coffee flavor. You can add a few tbsp. of coffee flavored alcohol instead.

3. Line the pan (either a cake pan or a loaf tin) with a plastic wrap so that it overlaps and hangs on the sides. This will help in easier and cleaner removal of the cake.

4. Pour the warm coffee decoction into a wide bowl. Dip each ladyfinger cookie one at a time, until soaked but not soggy and place them side by side on the bottom of the lined pan. Don't soak the cookies too long, else it will cause them to fall apart. I do this by dipping only the upper half of the ladyfinger (the sugar crusted side of the cookie) into the coffee decoction, placing the dipped side facing up. Consume half of the cookies in case you want 2 layers, and one-third of cookies in case you plan 3 layers. I do not suggest going above that as it can make the cake cutting quite flimsy and prone to dismantle. You can also layer the cake in a round film-lined tin, breaking the ladyfinger to fit the rounded sides as you go.

5. Spread one-third of the sweet mascarpone cream over the ladyfingers. Repeat with a second layer of espresso-dipped ladyfingers, this time arranging them in the opposite direction. Top again with another one-third of the sweet mascaporne cream. Repeat again if you want to go another layer, spreading the remaining mascarpone cream on top. Finally dust with the grated chocolate.

6. Cover with Tiramisu cake with plastic wrap. Refrigerate it for at least 4-5 hours or preferably over night.

7. To serve, remove from the refrigerator, undo the plastic wrap and dust with grated chocolate powder.

Tiramisu

Mushroom Makhani

How to make Mushroom Makhani | Easy Mushroom Makhani Recipe
It was in brief period of time, sometime in June last year when spring was fading out unhurriedly, giving itself into the summer warmth, and the temperatures were just about steadily poised in their pleasant 60s, that I felt a sudden urge, an unfounded obsession over mushrooms. I had no idea what triggered it. I must have been under the weather, or must be the sight of damp mulch springing off paunchy shoots while the mist shroud in, or may be the birthday party I attended late spring where stuffed baked mushroom caps was all I ate because it was beyond delicious and I could barely take it off my mind for several days after the party. I'd go out for walks and randomly sight odd pairs of mushrooms sprung on peat soil and tree trunks, watch them in awe, and strike a sudden temptation to cuddle my hands around a bowl of warm mushroom soup. In my strong desire to savor them, I toyed the idea of cooking them for all three meals a day, crooning over mushrooms on toast for breakfast, mushroom biryani for lunch and this mushroom makhani for dinner. I had the fortune of sparing my family to bear this marathon brunt of mine as they were summer vacationing back in India, visiting relatives and friends and enjoying the glorious ripe seasonal mangoes in kilos, while I boggled silly over these fungi. Insane you may have called me, had you sneaked into my lunch box, or my dinner plate that week, that, my meals were inadvertently smeared with mushrooms in their ensemble. I would visualize them in my shopping for groceries - the buttons, shiitakes, oysters, portobellos everywhere. Umbrella caps in supple tones of milk and tans - some pumped up, some stout, others squat, and shaggy, unkempt in their mannerisms, their piggy stems ballooned underneath, their tender skins crust with dirt and mire that needed gentle strokes in water bath to glisten their starkness, leaving their glamorous gills unhurt on the underside of their caps. None the less glorious in all forms.

Mushrooms


After marking a day on calendar and striking it off with meals rigged with mushrooms, I was out and about that obsession for a while, staying away from aisles at grocery stores, thinking beyond its capacity. I relieved this obsession, so glad at it; its yearning so deep and willingly conspiring, much like echoing phrases from Paulo Coelho's The Alchemist, "When you want something, all the universe conspires in helping you to achieve it." I conspired it. I achieved it.

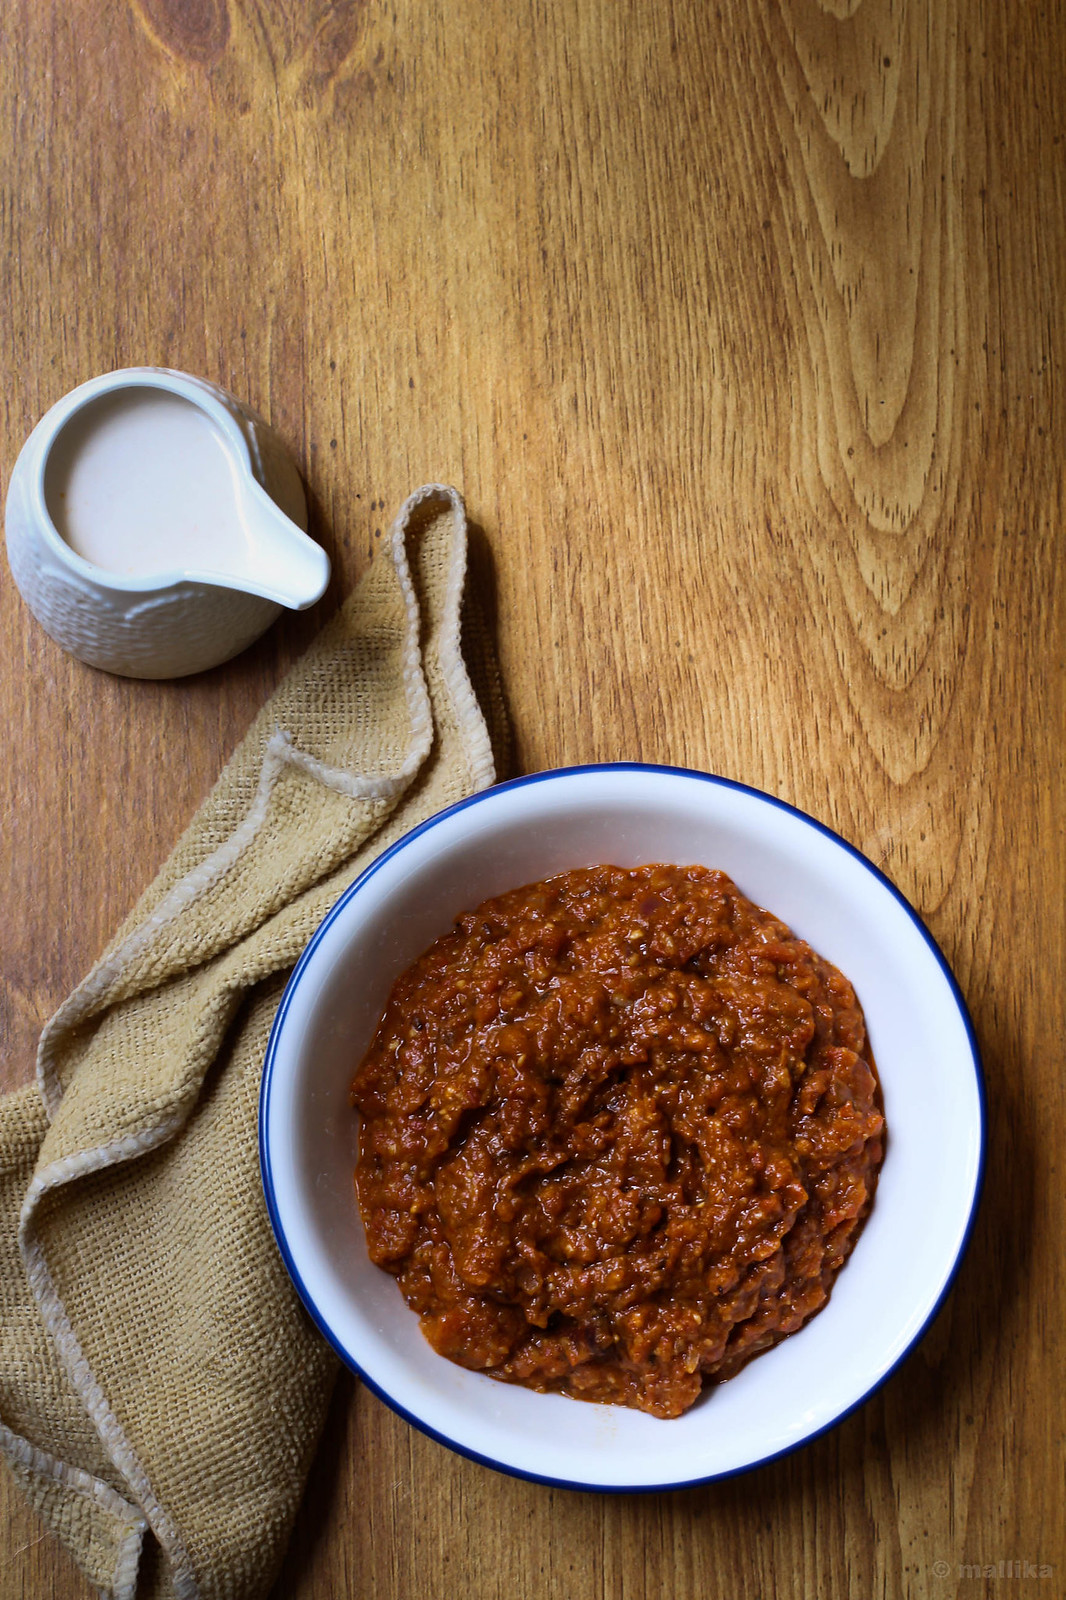
Makhani Masala


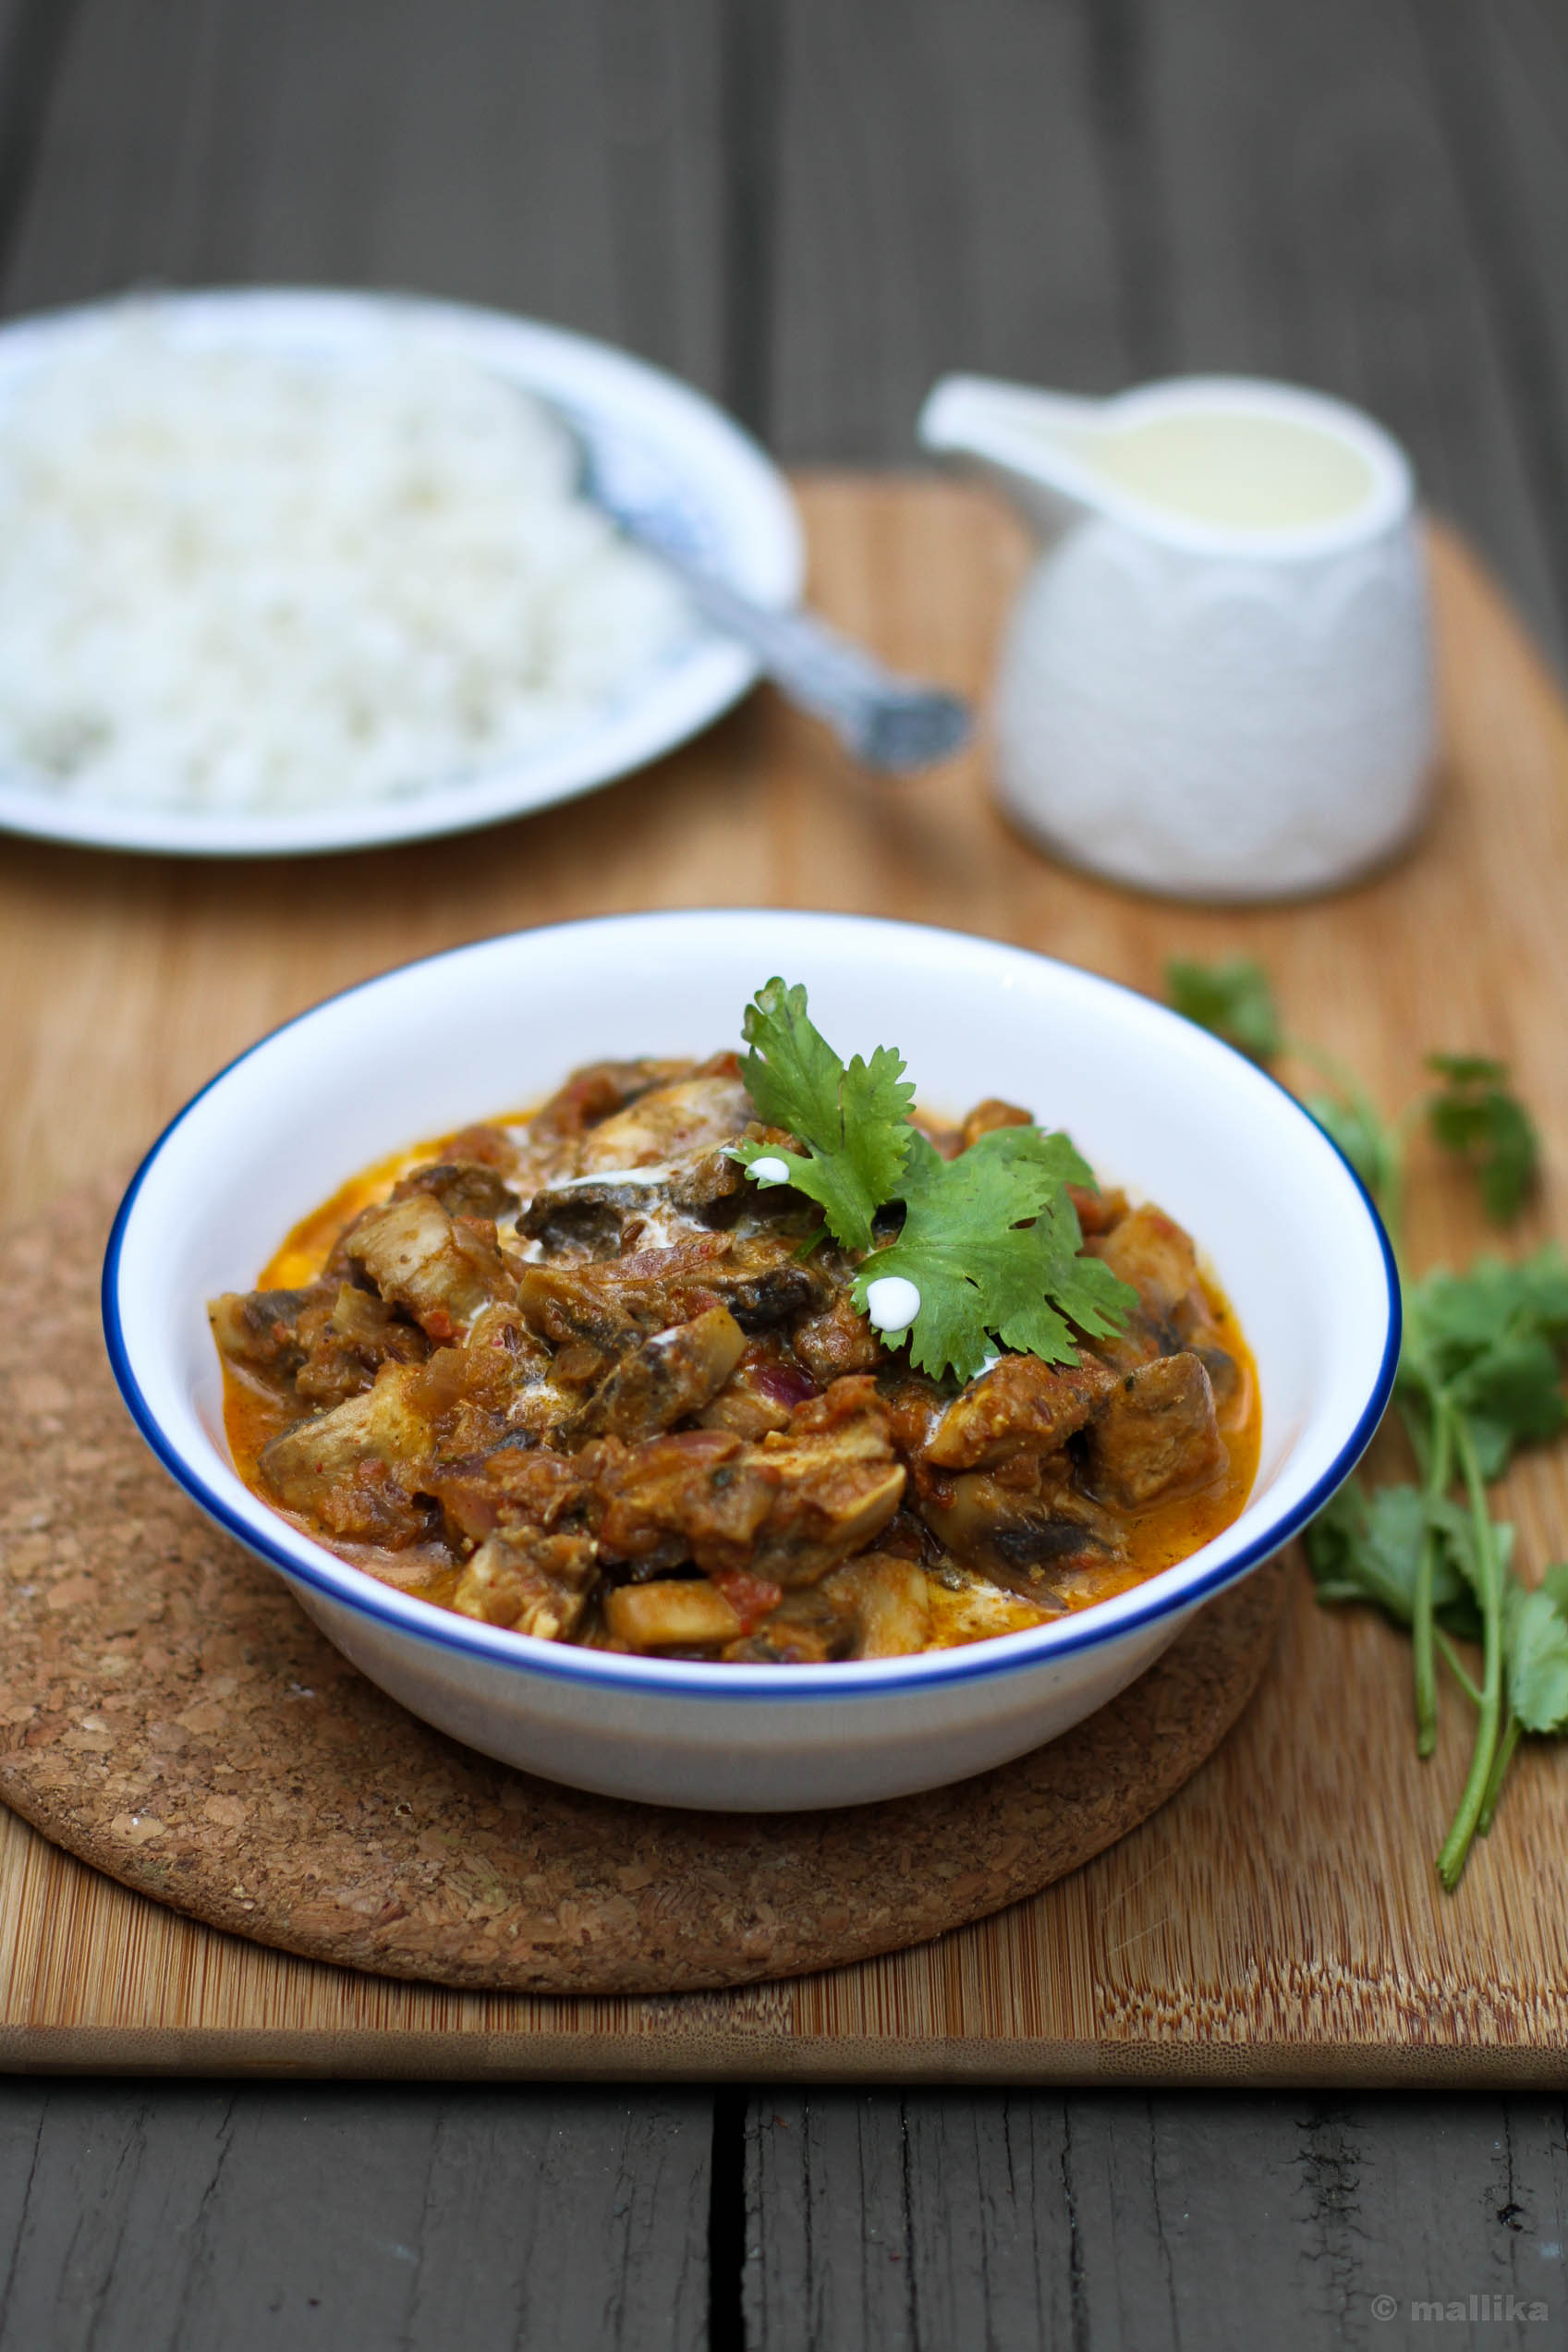
Much of this recipe I share today is a remake of my recipe for Paneer Makhani, so you make the makhani gravy ahead of time and prepare the actual curry just before serving. The makhani gravy is sinfully delicious on it own, but when you throw in mushrooms, they take on a new level of deliciousness. The meaty texture of mushrooms complement the creamy gravy, giving it depth of flavors. This rich dish is fit for parties and celebratory occasions, but if you want to give yourself a break from mundane home cooking and serve up some exoticism on weekends for your family, then this be it.

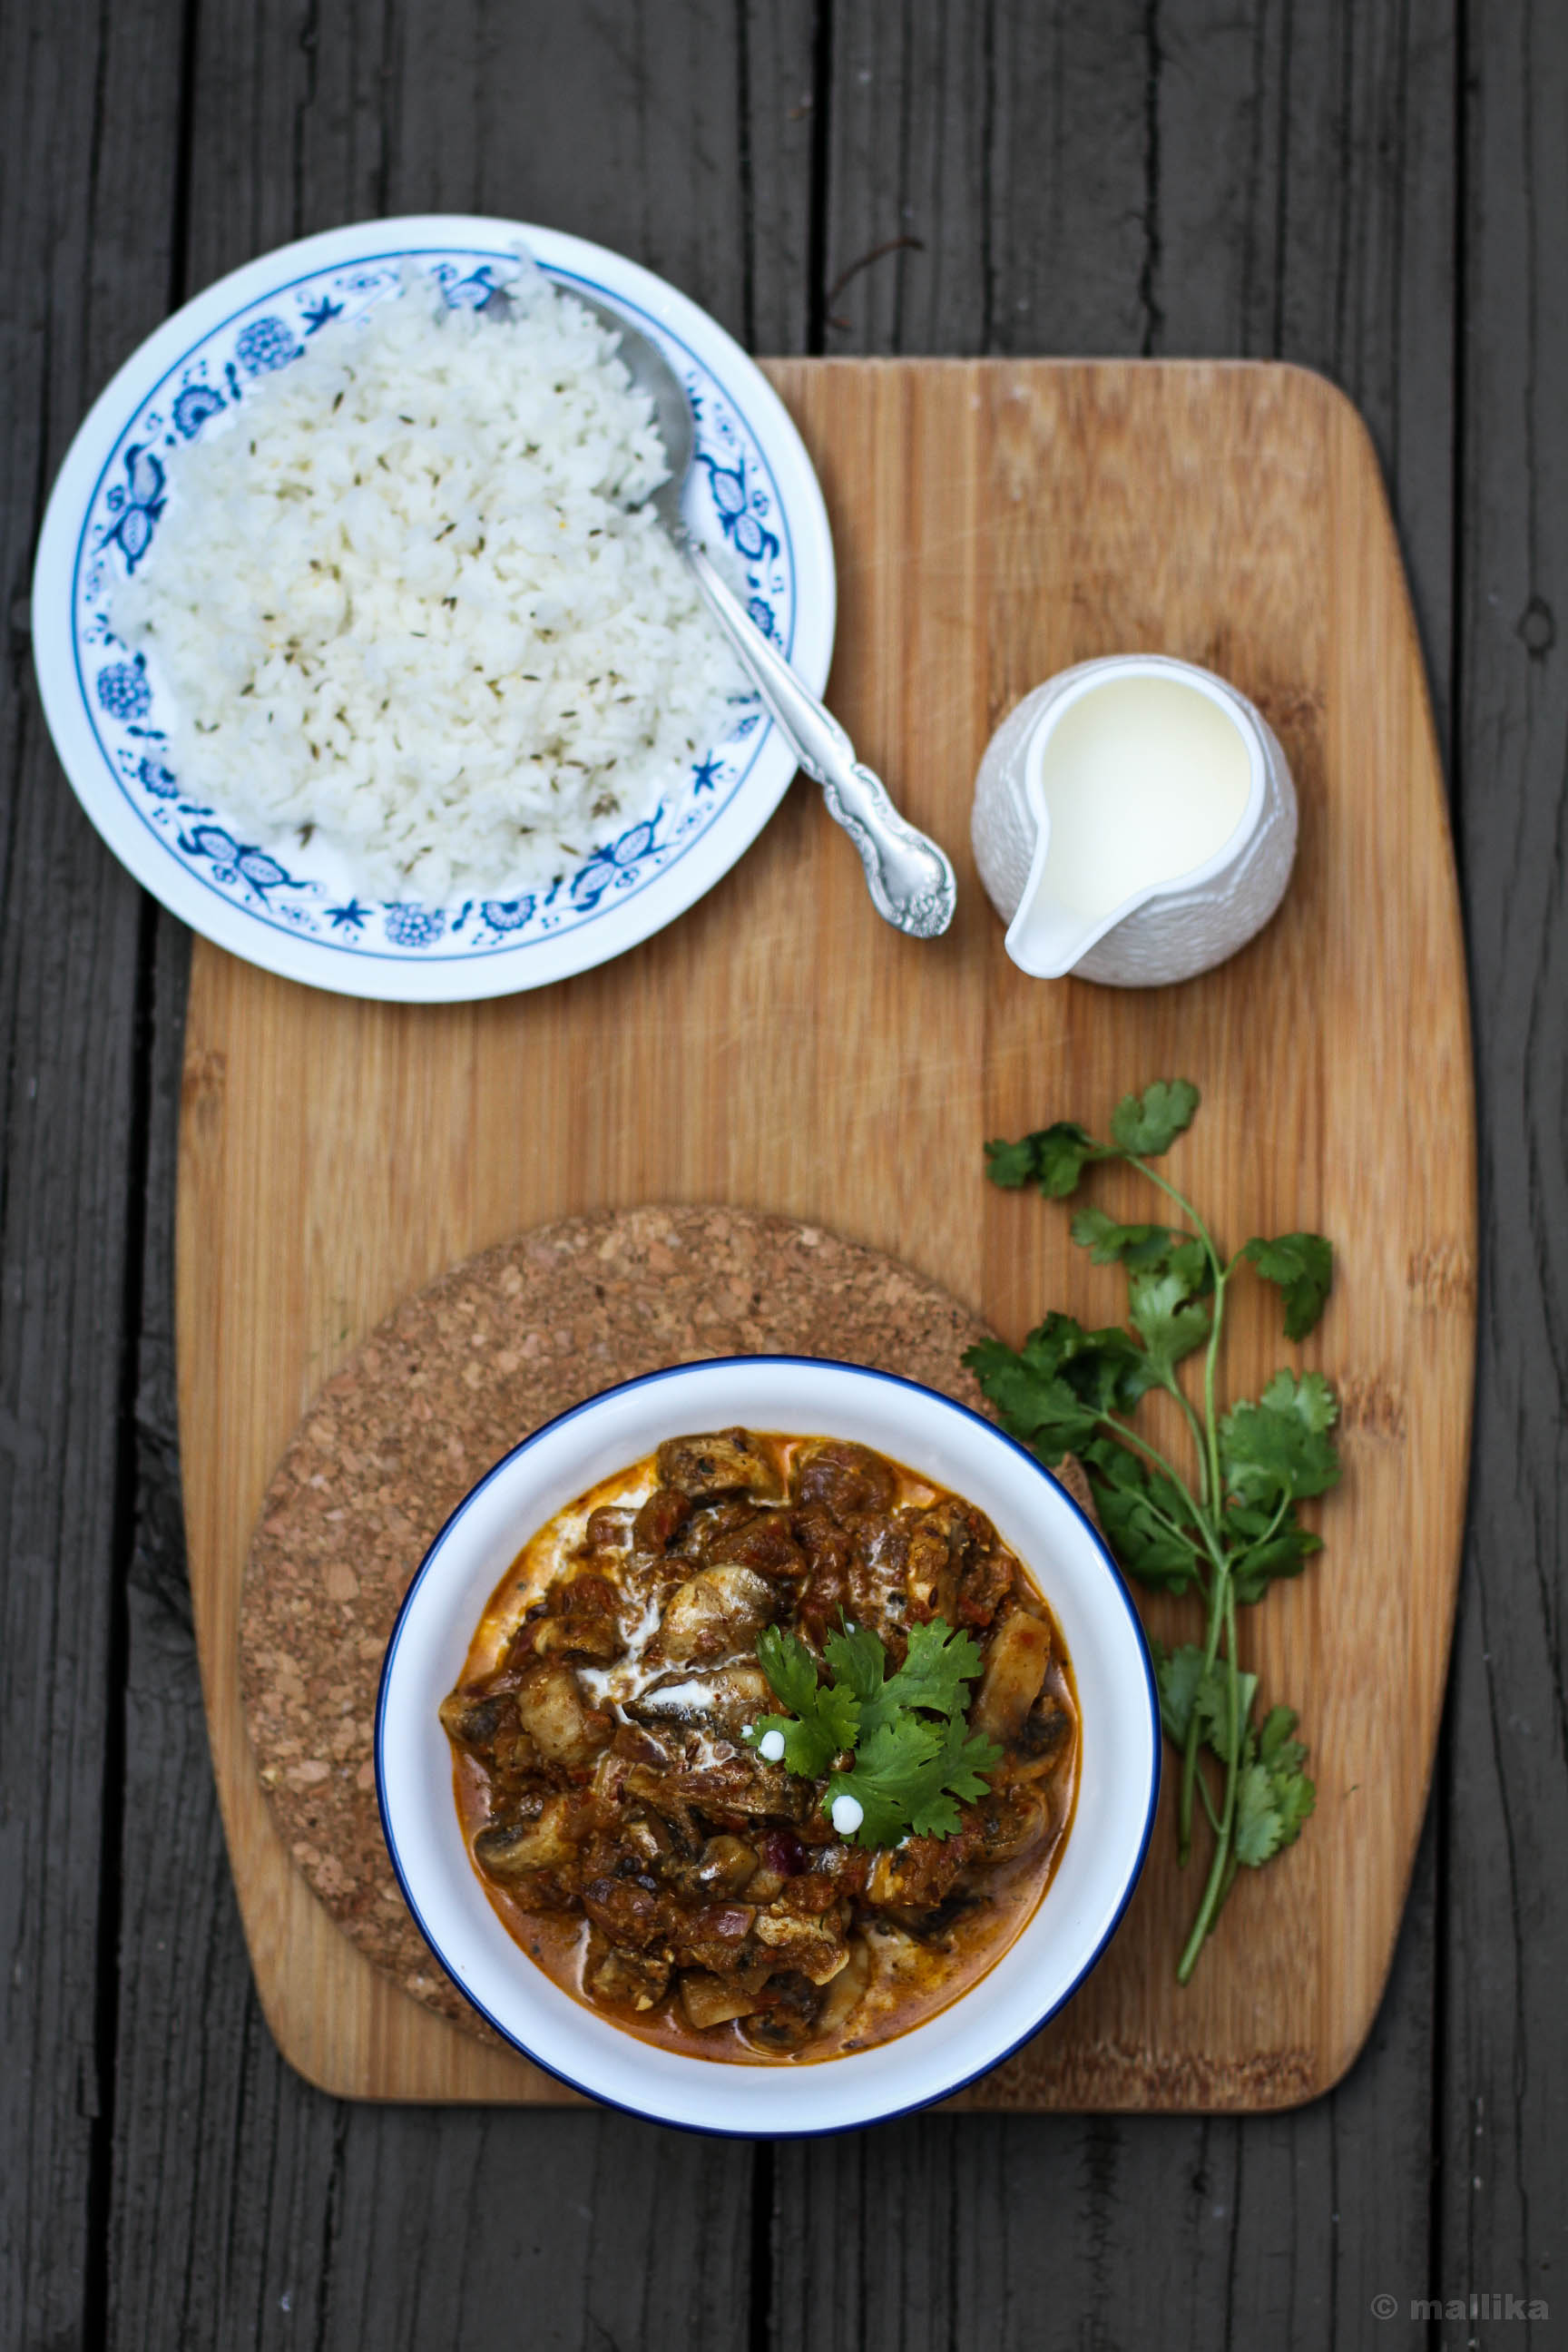
Mushroom Makhani


Mushroom Makhani

INGREDIENTS

1 cup of prepared Makhani Masala (refer here)
200 grams button mushrooms
1/4 cup cream (adjust to your taste)
1/2 tsp. of kasuri methi or dried fenugreek leaves
Fresh coriander, cream for garnish

DIRECTIONS

Prepare the Makhani masala as in recipe mentioned here. It should yield approximately about a cup of thick gravy.

In case you are using refrigerated or frozen gravy, remove from the fridge and allow it to come to room temperature. Add 1/2 cup water and bring it to a simmer.

If you have prepared the gravy masala fresh, then to the simmering gravy, add 1/2 cup of water and diced mushrooms and bring it to a boil. Stir and cook covered for 10 minutes. Once the mushrooms are cooked, add the cream and simmer for 2 minutes. Transfer the Mushroom Makhani to a serving bowl and garnish with more fresh cream, ginger juliannes and coriander leaves. Serve hot with rotis, naans or kulchas.

Mushroom Makhani

Carrot Soup

How to make Easy Carrot Saaru, Easy Carrot Soup
All through the fall, I stocked pumpkins at home in sheer keenness to make a good pumpkin soup that I could share with you all. I was amused, delighted beyond words to watch pumpkins everywhere, on market stands and home fronts, in malls and on window sills, on blog feeds and in ad mailers. Our favorite grocery stores smelled warm from pumpkin spices and its produce. Our office had spice infused fresheners in the lobby to welcome guests. The coffee was not spared either, flavored with pumpkin spice in it too! Tell me, who wouldn't be lured? So each time we stepped out grocery shopping, along came a pumpkin or its sibling in form a squash, that made its way into our shopping cart, judiciously sized to suit two meals for us as a family.

On a seasonal high note, I did make soups and stews, and plenty at that, laboriously skinning the peels, slicing and dicing them, and boiling them to pulp over pot of stock. I choose not to bake, rather simmer over a pot on stove, as that's a task I like to leave for days far less busier than weekdays, when I don't have the time to worry about our over-sensitive fire alarm screeching off at the slightest variation of warm air emanating from the oven. That's another story to say. The soups though did turn out creamy, and deliciously vegan, not necessarily warranting any fat or cream in regard to heighten the flavors or their sumptuousness. But they got gulped down faster than I expected, hot and steaming, ladles after ladles, cold fingers wrapped around the warm bowl for comfort, either dunked by toasted garlic bread or tossed along with piping hot rice, savored snugly in our warm dining area while the leaves were busy shedding under the seasonal transition.

Carrot Saaru


It happened so, that each time I planned a soup, I was swooned by the dire beauty of the squash and pumpkins, that I shot several preps of them much ahead of sunset in the noon. By the time the squash was sliced and diced, cooked, pureed and boiled to perfection, finally seasoned to be served, it was time sun called his day and the darkness overcast the late noons in its thick black bile. I finally gave up on presenting my super-creamy-vegan-butternut-squash-soup here, instead, the year end holiday baking mania took over the house bringing more cheer to otherwise gloomy noons.

We've step foot into the new year, and I've welcomed it with my arms wide open. I have no resolutions that pound my mind hard, so there's none really to make. But I realize this blog is devoid of soups and I want to fill that space. I need to make a beginning, and here's one that fills the bill so well. Apt in time, a recipe for a good Indian soup in the beginning of a new year. It can't get better than this.

I pray this year croons high hopes, brings truck loads of good luck, fab health and immense happiness, and heaps of enthusiasm to live the year ahead positively. I should have been rolling in trays of sweets or brought a dessert along here, commemorating the new year and reminiscing 'oh whatta year 2016 was for me!', because it was gratifying in good sense, and worthily etched into our memory with a fair balance of highs and lows, but instead, I have come along with bowls of warm and comforting homemade carrot soup that clamors itself so South Indian. This is what makes me the happiest - simplicity in a bowl. It defines what I would love my year to look like - simple, clean, uncluttered and subtle in my living and approach.

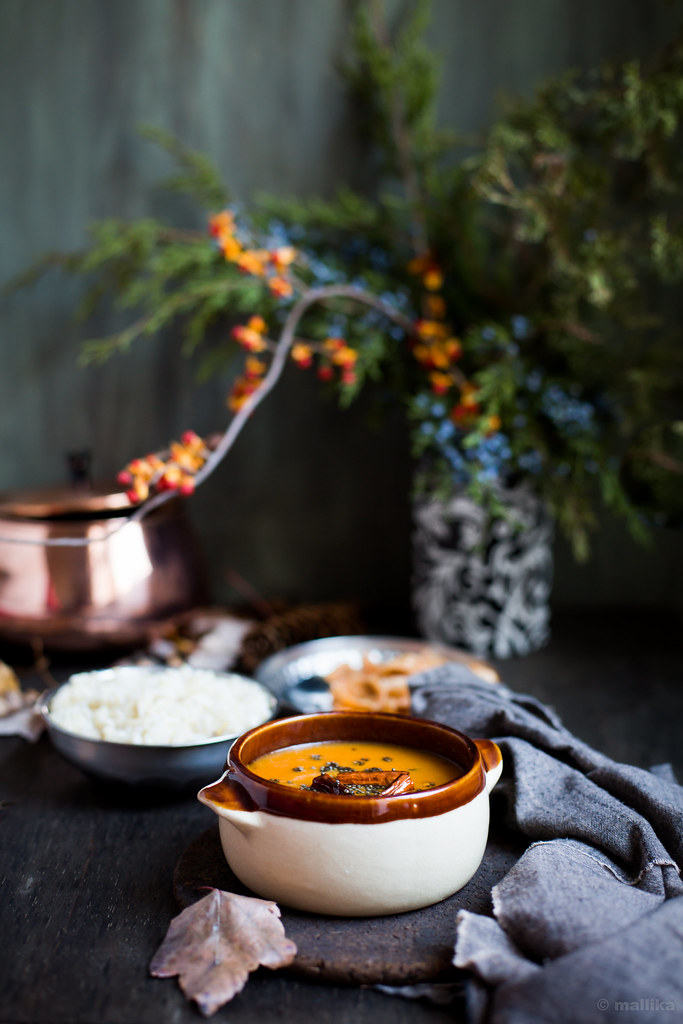
Carrot Rasam


Carrot Saaru | Carrot Rasam | Indian Carrot Soup

Prep Time: 15 mins | Cooking Time: 15 mins | Serves 4

INGREDIENTS

2 carrots, chopped
2 cups water
1 tbsp. tamarind paste
1 tsp. sambhar powder
1/2 tsp. turmeric powder
Salt to taste

For Tempering:

2 tsp. oil
1 tsp. mustard seeds
1/2 tsp. asafoetida powder
1 sprig of curry leaf
1-2 whole red chillies torn

DIRECTIONS

Boil the chopped carrots along with 2 cups of water and turmeric powder until they are fork tender. I pressure cook them on 2 whistles as its quicker to do so. You can pan boil it if you do not have a pressure cooker. Once done, allow it to cool and blend it to a puree in a mixer.

Transfer the carrot puree into a thick bottom pan. Stir in the tamarind paste, salt and sambhar powder. Add additional water to adjust the consistency of the saaru / soup. I like to have this saaru slightly thicker than our traditional rasams as it brings out the texture and flavor of carrots well. Bring the saaru to a rolling boil and then simmer for about 2-3 minutes. Turn off the flame and set aside to temper.

To temper, heat oil in a small pan. Add mustard seeds and allow it to splutter. Add the asafoetida powder, torn red chillies and curry leaves and fry briefly for few seconds. Turn off the flame and add this to the prepared saaru. Serve hot with steamed rice or drink them steaming hot right out of soup bowls.

Carrot Soup


Christmas Fruit Cake

How to make Christmas Fruit Cake | Easy Christmas Fruit Cake Recipe
There's something extremely gratifying about making your own cake and gifting your loved ones with yours. Usually, its days ahead of Christmas that I begin with the process of soaking fruits in booze and later bake them into a fruit cake that sits for a couple of days before being brought out to share. Each year, we have our family, parents, sister, brother-in-law and few close friends to whom the cake goes out to. Beyond celebrations, we seek joy in togetherness, sharing and the art of giving.

My dear friend Lubna is hosting a virtual Christmas party at Yummy Food this year. Ever since her invite, I was left to ponder what I could take along to the potluck, that, it should not only be apt for this celebration, but can also be enjoyed by the young and old without reservations. I scuffled through many options I had on mind - cookies, breads, gateau cakes, or petite fours? None gripped my mind stronger than one. Soon it was sorted. My heart was set on this Fruit cake, and nothing seemed more gratifying than sinking my teeth into a good Christmas Fruit Cake that's speckled with fruits and nuts, bursting with flavor from spices, and left plain without frosting. Simple, yet rich, its gloriously satisfying even with a small piece. Its a tradition to solemnly indulge in Kuswar, (the assortments served during Christmas) for someone like me who grew up in Mangalore. I'm away from home, oceans away from my family whom I miss dearly, so this fruit cake had to be it. Its a thing I delve into every single year, because, it brings back many fuzzy memories of home, family and friends in Mangalore.

I've made many fruit cakes in the past, like this, this and this, each with subtle variation in the recipe and fruits used, all decadent and boozy in nature. I was armed with a kitchen scale, measuring out by grams to the tee, in my initial years, but now a measuring cup does the job well as I can tell well if the cake will bake to perfection or not by the look of its batter. A good Fruit Cake holds a special space in my heart, it doesn't matter if the fruits are soaked over months or made in an instant like the one I have at Yummy Food's party today. Its a simple cake, but packed with flavors from spices and fruits that makes it so luxurious and indulgent. I stick by using a non-alcoholic mulled fruit drink in my recipe, so you don't have to worry if you have a young kid to cater to, but feel free to substitute with a booze or fruit juice of your choice.

So join me over on Yummy Food as we celebrate this season of reflection and celebration. We'll soon leap into the new year that brings along more hopes, positivity and strength. Come let’s bake this cake to celebrate the last leg of 2016 and welcome 2017 with arms wide open. Before you hop over, here's me wishing you all a Merry Christmas and a Happy New Year!

Christmas Fruit Cake Plated

Easy Cinnamon Rolls

How to make Cinnamon Rolls with Cooked Frosting | Easy Cinnamon Rolls Recipe
With Christmas around the corner and less than 4 days to go before you can sing Hallelujah, the Lord has come, I thought I'll peep in to help you with a lovely classic breakfast for your family to wake up to this Christmas morning. Its typically Western, hearty and sweet to call your morning off to a good start, supple enough that you may want to lay your head on it and snooze again, gives you the comfort of your bestie's company, and is the festive sorts that you can set up on table for your guests to dessert on.

Rising Bread DoughCinnamon Rolls (1)


For the longest time, I've had aversion to cinnamon in all things sweet. Let me not even get to the whys of it, for all I know, cinnamon in my arena existed best in the legion of savories, given the exception for a good Christmas fruit cake where it favorably unites with clove, cardamom and other spices, veiled in a way that it does not hit your senses directly and ruin the flavor. But, here it comes finally, the world coveted Cinnamon rolls looming right out of my kitchen to yours. I’m close to being a convert, convincingly not a cinnamon-dessert-hater anymore. These don’t look a lot like the traditional rolls. I mean they are not enormous in size to consume your palm, certainly not the perfect looking rolls that stand flawlessly edged shoulder to shoulder giving them a clean rip, nor do they bask in the sugary coated frosting that sinks into every groove merrily.

I would probably rechristen these as cinnamon pull apart rolls; owing to the pans I had and the amount of dough I made, they ended up this way. But they are cinnamon rolls essentially, so let's stick to that. They don’t snatch away the authenticity from the traditional ones. They smell great in and out of the oven, are near identical in their recipe, forgiving the eggs in the dough. They sat squishing in an eight inch round baking pan, my ideal dish to bake a nice chocolate cake in, but this time around they doubled up as my bread pan too, saving me gracefully from sunken cockeyed bread had I baked them in my ten inch dish instead. They nudged for space as they puffed up on their second sitting, and, by the time they were out they looked glorious in their golden crevices and sugar burnt hunches, flattering into characteristic pull apart rolls that need to be forked by the thumb and forefinger to tear them apart from their siblings. There’s a fun thing to it, to tear it apart in submission in an imperfect way and dunk it in milk over giggles and laughters with our little girl while tapping our feet to the melodies of Christmas jingles. That’s when you know you are up for a good start to a holiday season.

Cinnamon Rolls (2)


The frosting is purely optional. As for a daily bread, I would stay away from frosting these. They are sweet on their own and make a wonderfully perfect Sunday breakfast with a slather of some salted butter, or cream cheese and coffee by the side. But we are in a holiday season, and that calls for some adornment on the table to give it a festive ring. I have a clean, less sweeter old fashioned cooked vanilla frosting recipe that works really well for me. Since the bread is sweet by nature, a lighter frosting like this one is pleasing to our tastes. Unlike the traditional frosting where you mix milk to confectioners’ sugar till you get a desired consistency, this one is far better version that gives me a similar thick pour-able consistency, albeit far less sweeter than the original version. Give it a try, may be you'll fall for these too.

Cinnamon Rolls Plated


Cinnamon Rolls with Cooked Vanilla Frosting

INGREDIENTS

For Cinnamon Rolls:

2 1/4 cups all purpose flour
3/4 cup milk (I used full fat milk)
1/4 cup butter
1/2 tsp salt
1/4 cup coconut sugar
1 tsp. active dry yeast (or rapid rise)

For the Cinnamon Sugar Filling:

1/4 cup light brown sugar
1 tbsp. cinnamon powder
2 tbsp. melted butter

For the Cooked Vanilla Frosting:

1 cup full fat milk
3 tablespoons all-purpose flour
1/3 cup coconut sugar
1/4 teaspoon vanilla

DIRECTIONS

Heat the milk and butter in a large sauce pan till the butter has melted into the milk. Remove from heat and add in the sugar. Stir well and allow it cool down to lukewarm. The milk should be tepid enough to activate the yeast, but not too hot, else will kill the yeast.

Transfer the warm milk to a large mixing bowl and sprinkle yeast into it. Let it sit for 10 minutes, so that the yeast can feed on the sugar and froth.

Next, add flour starting with 1/2 cup at a time and stirring well as you go. Once it forms a loose batter, add the next half cup of flour and stir well. This will help activate the gluten in the dough and yield soft supple dough, resulting in a good, fluffy bread. Continue using all of the flour and stir well with each addition till it comes together to form a sticky dough. Knead it for a minute or two till its soft and supple.

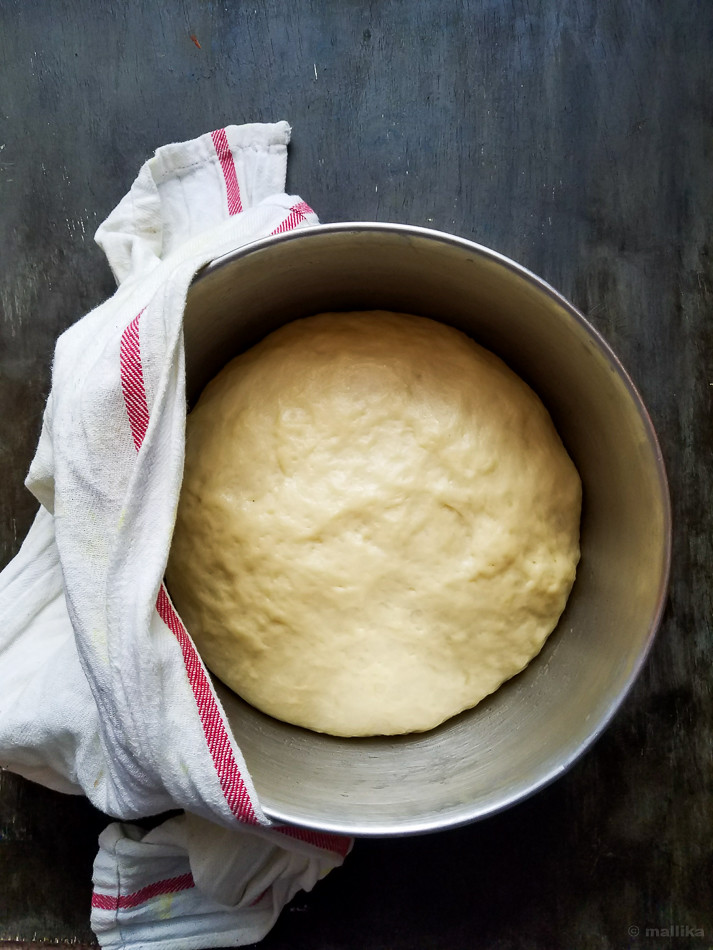
Place the dough in an oiled deep dish and cover it with a dish cloth. Let it rise in a warm place for about 2 hours. By this time the dough should double in size.

Transfer the dough to a lightly floured surface. I use the clean kitchen counter top that provides me ample space to work my dough on. Using a flour dusted rolling pin, roll the dough into a thin long rectangle. Brush it generously with melted butter. Prepare a mix of sugar and cinnamon powder and sprinkle it generously all over the dough.

Starting at the longer edge side, roll up the dough as tight as you can till forms a long log. To avoid opening up, place the seam side down. Using a cleaned knife dipped in flour, cut the log into slices of 1.5 inch each. Butter a 8x8-inch round baking tin. Place the rolls into the buttered tin, next to each other. Brush the rolls with some melted butter. Set aside to rise again for 45 minutes.

Preheat the oven to 350 degrees F. Bake the rolls for 25-30 minutes or until the bread is golden brown in color. If the top of the bread seems to change color sooner, while the underside still seems uncooked, cover the top with an aluminium foil and continue to bake till done.

Remove from oven and allow it to cool completely. Frost as desired.

For the frosting, combine milk and flour in a saucepan. Cook over medium low heat, stirring constantly, for about 3-5 minutes. The mixture should thicken and come to a boil. Add in sugar and stir well. Boil till the mixture coats the back of a wooden spatula, i.e. of custard consistency. Turn off the heat. Stir in vanilla essence. Cool completely. Before serving, whisk the frosting really well and swirl using a spoon on the cinnamon rolls.

Eggless Cinnamon Buns