Banana Oatmeal Cookies Snack

How to make Healthy 3 Ingredient Banana Oatmeal Cookies Recipe
The calendar on the bottom of my screen reminds me each day how fast we are getting close to the end of December. That means, we are just 2 weeks away from waving goodbye to this year (stop twitching your eyes, will you!) and, we are only 7 nights away from Christmas! 7 nights, that's just about a week. Yes, yes, just about a week I said! Sooner we bat our eyelids, that will be snapped away too. Now hope you are not smirking at me or raising your eyebrows in an oddly muddled way! If you did, then I assume you have sprung up on your toes and are heading right to your desk to grab that paper and pen to sort your Christmas shindig. So by this time around next week, I imagine the table will be laid out, and cutleries matched up, stockings set up high on the window sill where the fairy lights are twinkling in a chord, rushing through last minute gift wrapping and cookie plating, and in the reclusive spot of your home there may be a party planned with folks boisterously chiming in Merry Christmas while sipping away some eggnog.

I don't mean to scare you by any means. While we are nearly there in the last lap of the year with another 15 days to go, we are still left with the best few days of 2016 to live with. I wanted to knock your door and remind you on that. By that I mean, I wouldn't want you to burn out and hyperventilate planning the whole carte du jour for the D-day celebrations, rather take it slow and easy, plan with a breather, living the last few days of this year insanely happy, making it a memorable one.

Banana Oatmeal Cookies Ingredients 1

Banana Oatmeal Cookies Ingredients 2

Banana Oatmeal Cookies Prepped


We got the taste of our real winter snowfall yesterday that lasted a couple of hours. By end of the day, all the white snow flaked icing was one into a slushy mess. Predictions are it will continue to snow over the week, slipping into weekend. This morning we woke up to see our world swallowed by mesmerizing white everywhere. I dumped myself in layers and layers of warmers, mufflers and whatnot, yet, chill air was strong enough to render my eyes watery, feet numbed and nose tips frosted. By the time I was home, my coconut massaged hair had frozen to thick dreadlocks and my toes had lost their sense of belonging. Today was the coldest winter I've ever witnessed in my life, and this is just the beginning, an experience worth a memory, a teaser to what lies in the months ahead. Now I'm seriously thinking of a balaclava, no matter how comical I may seem.

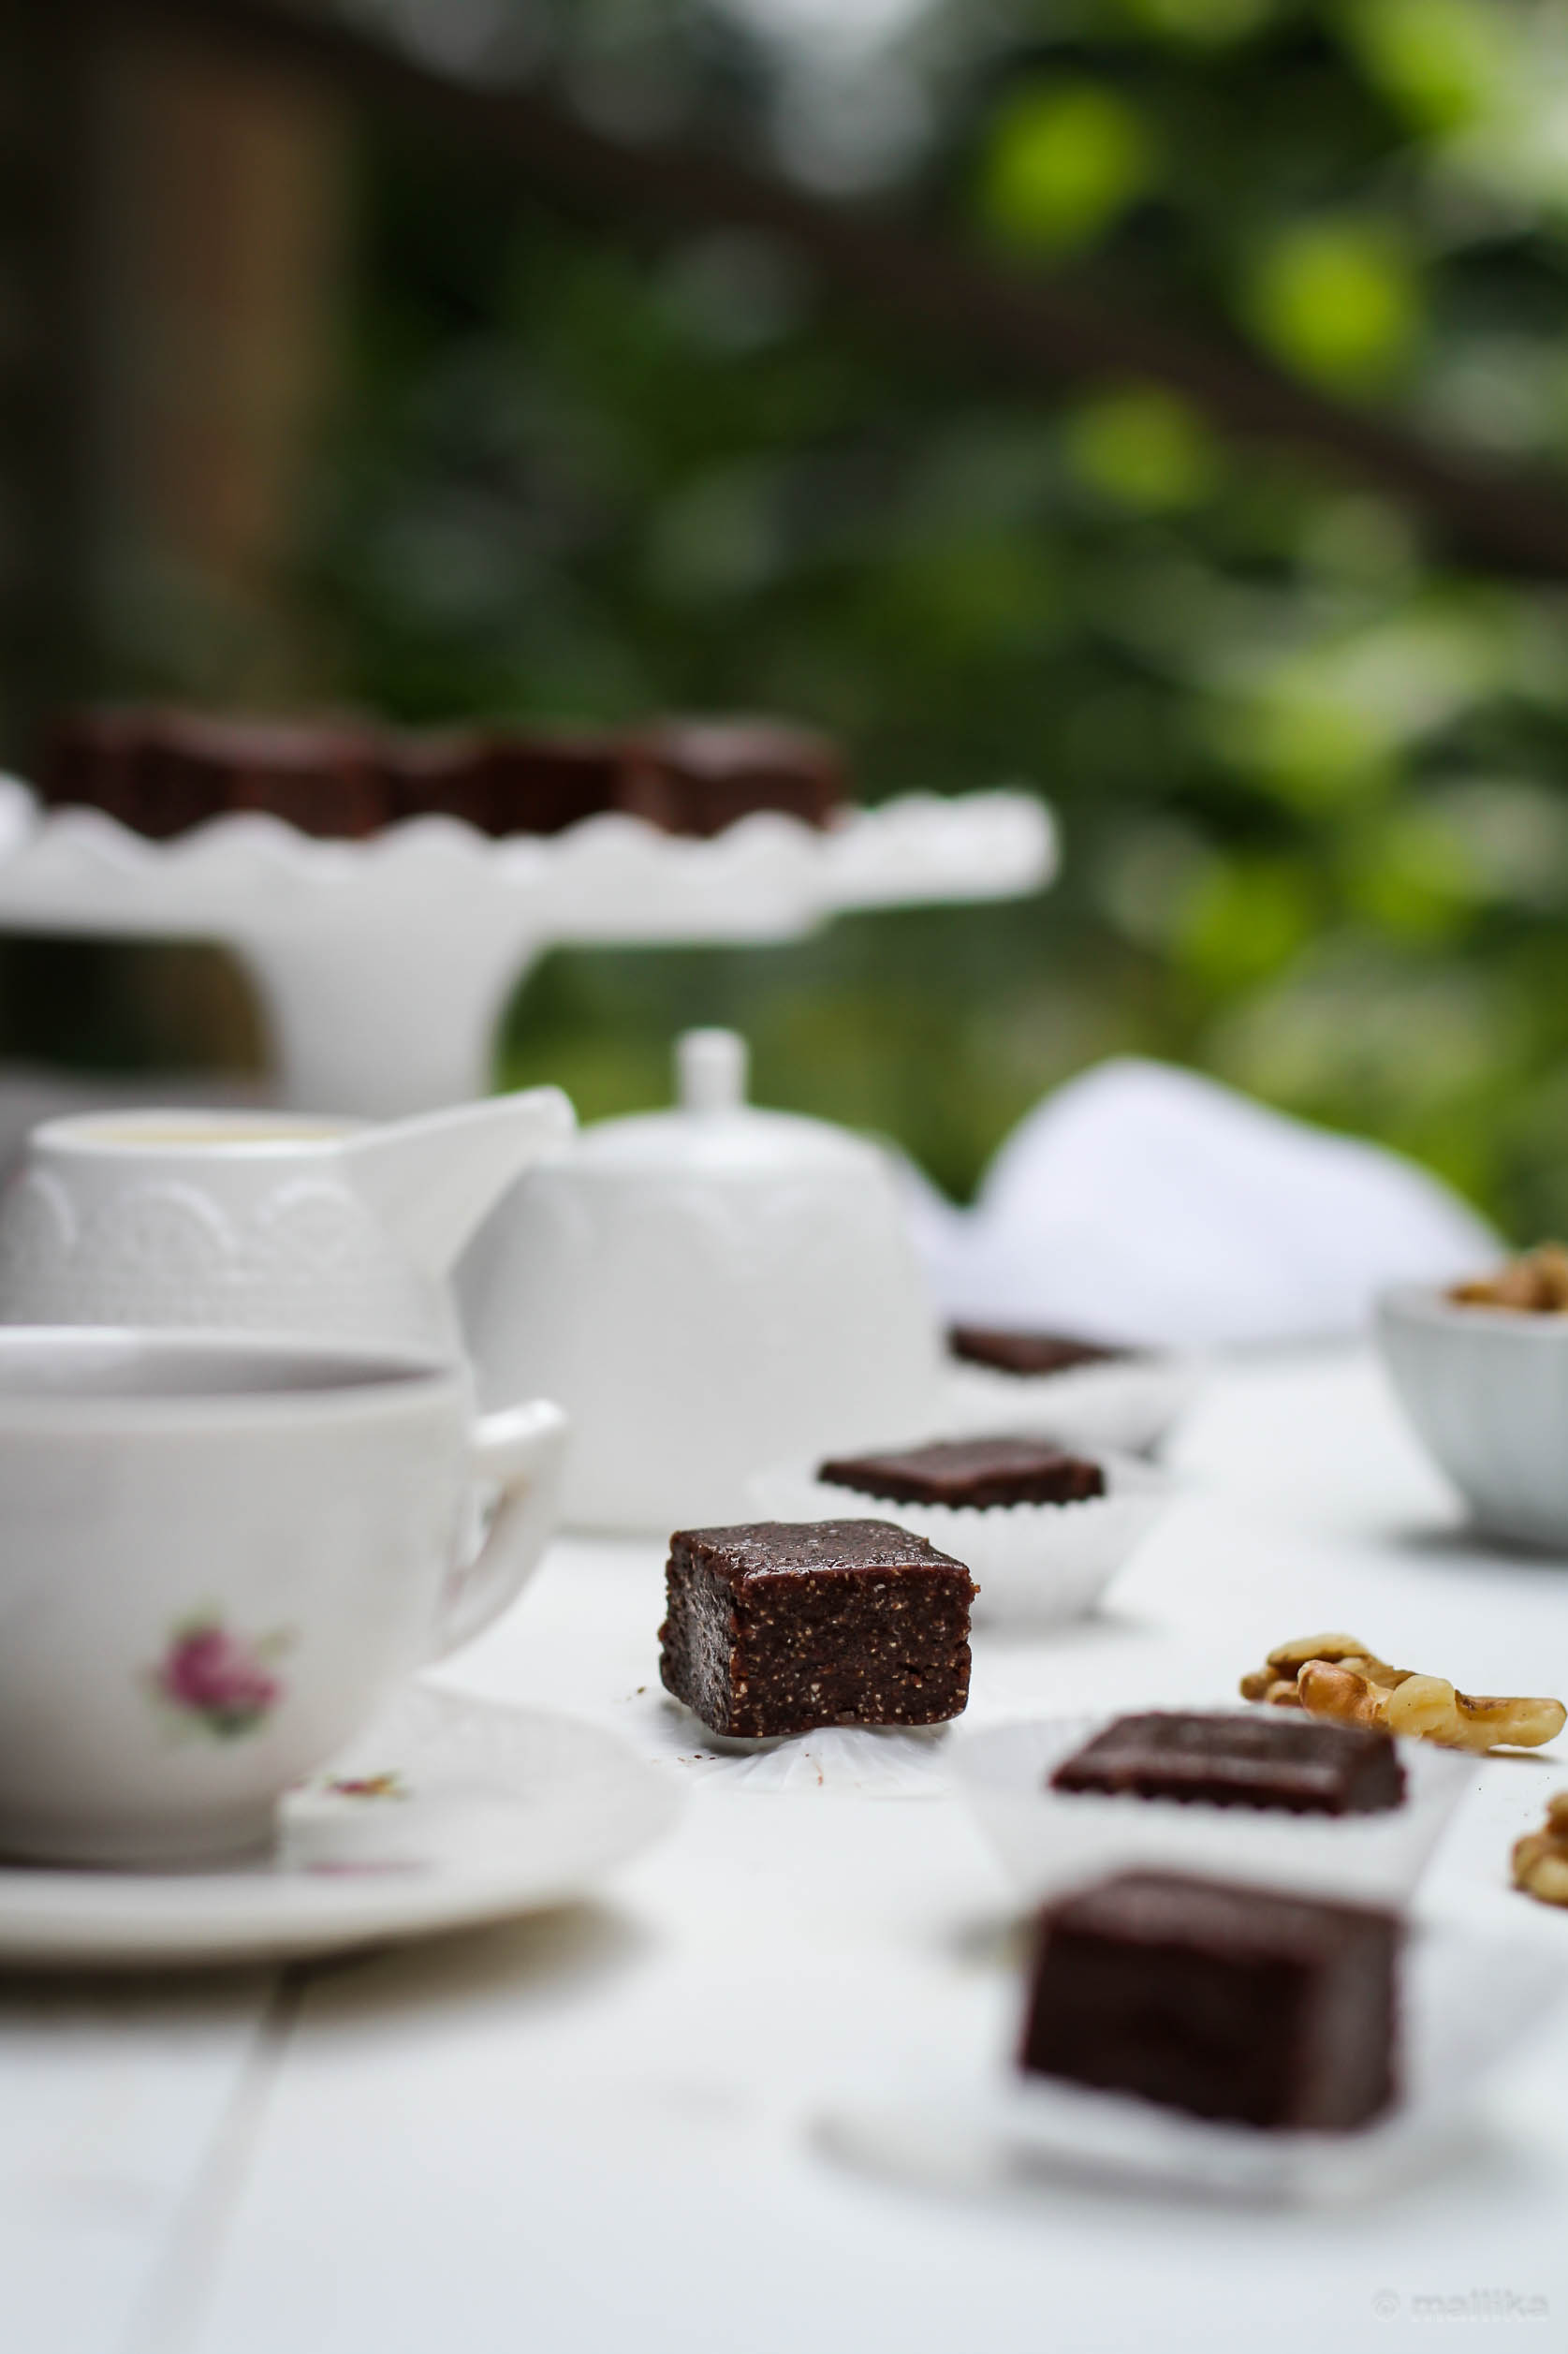
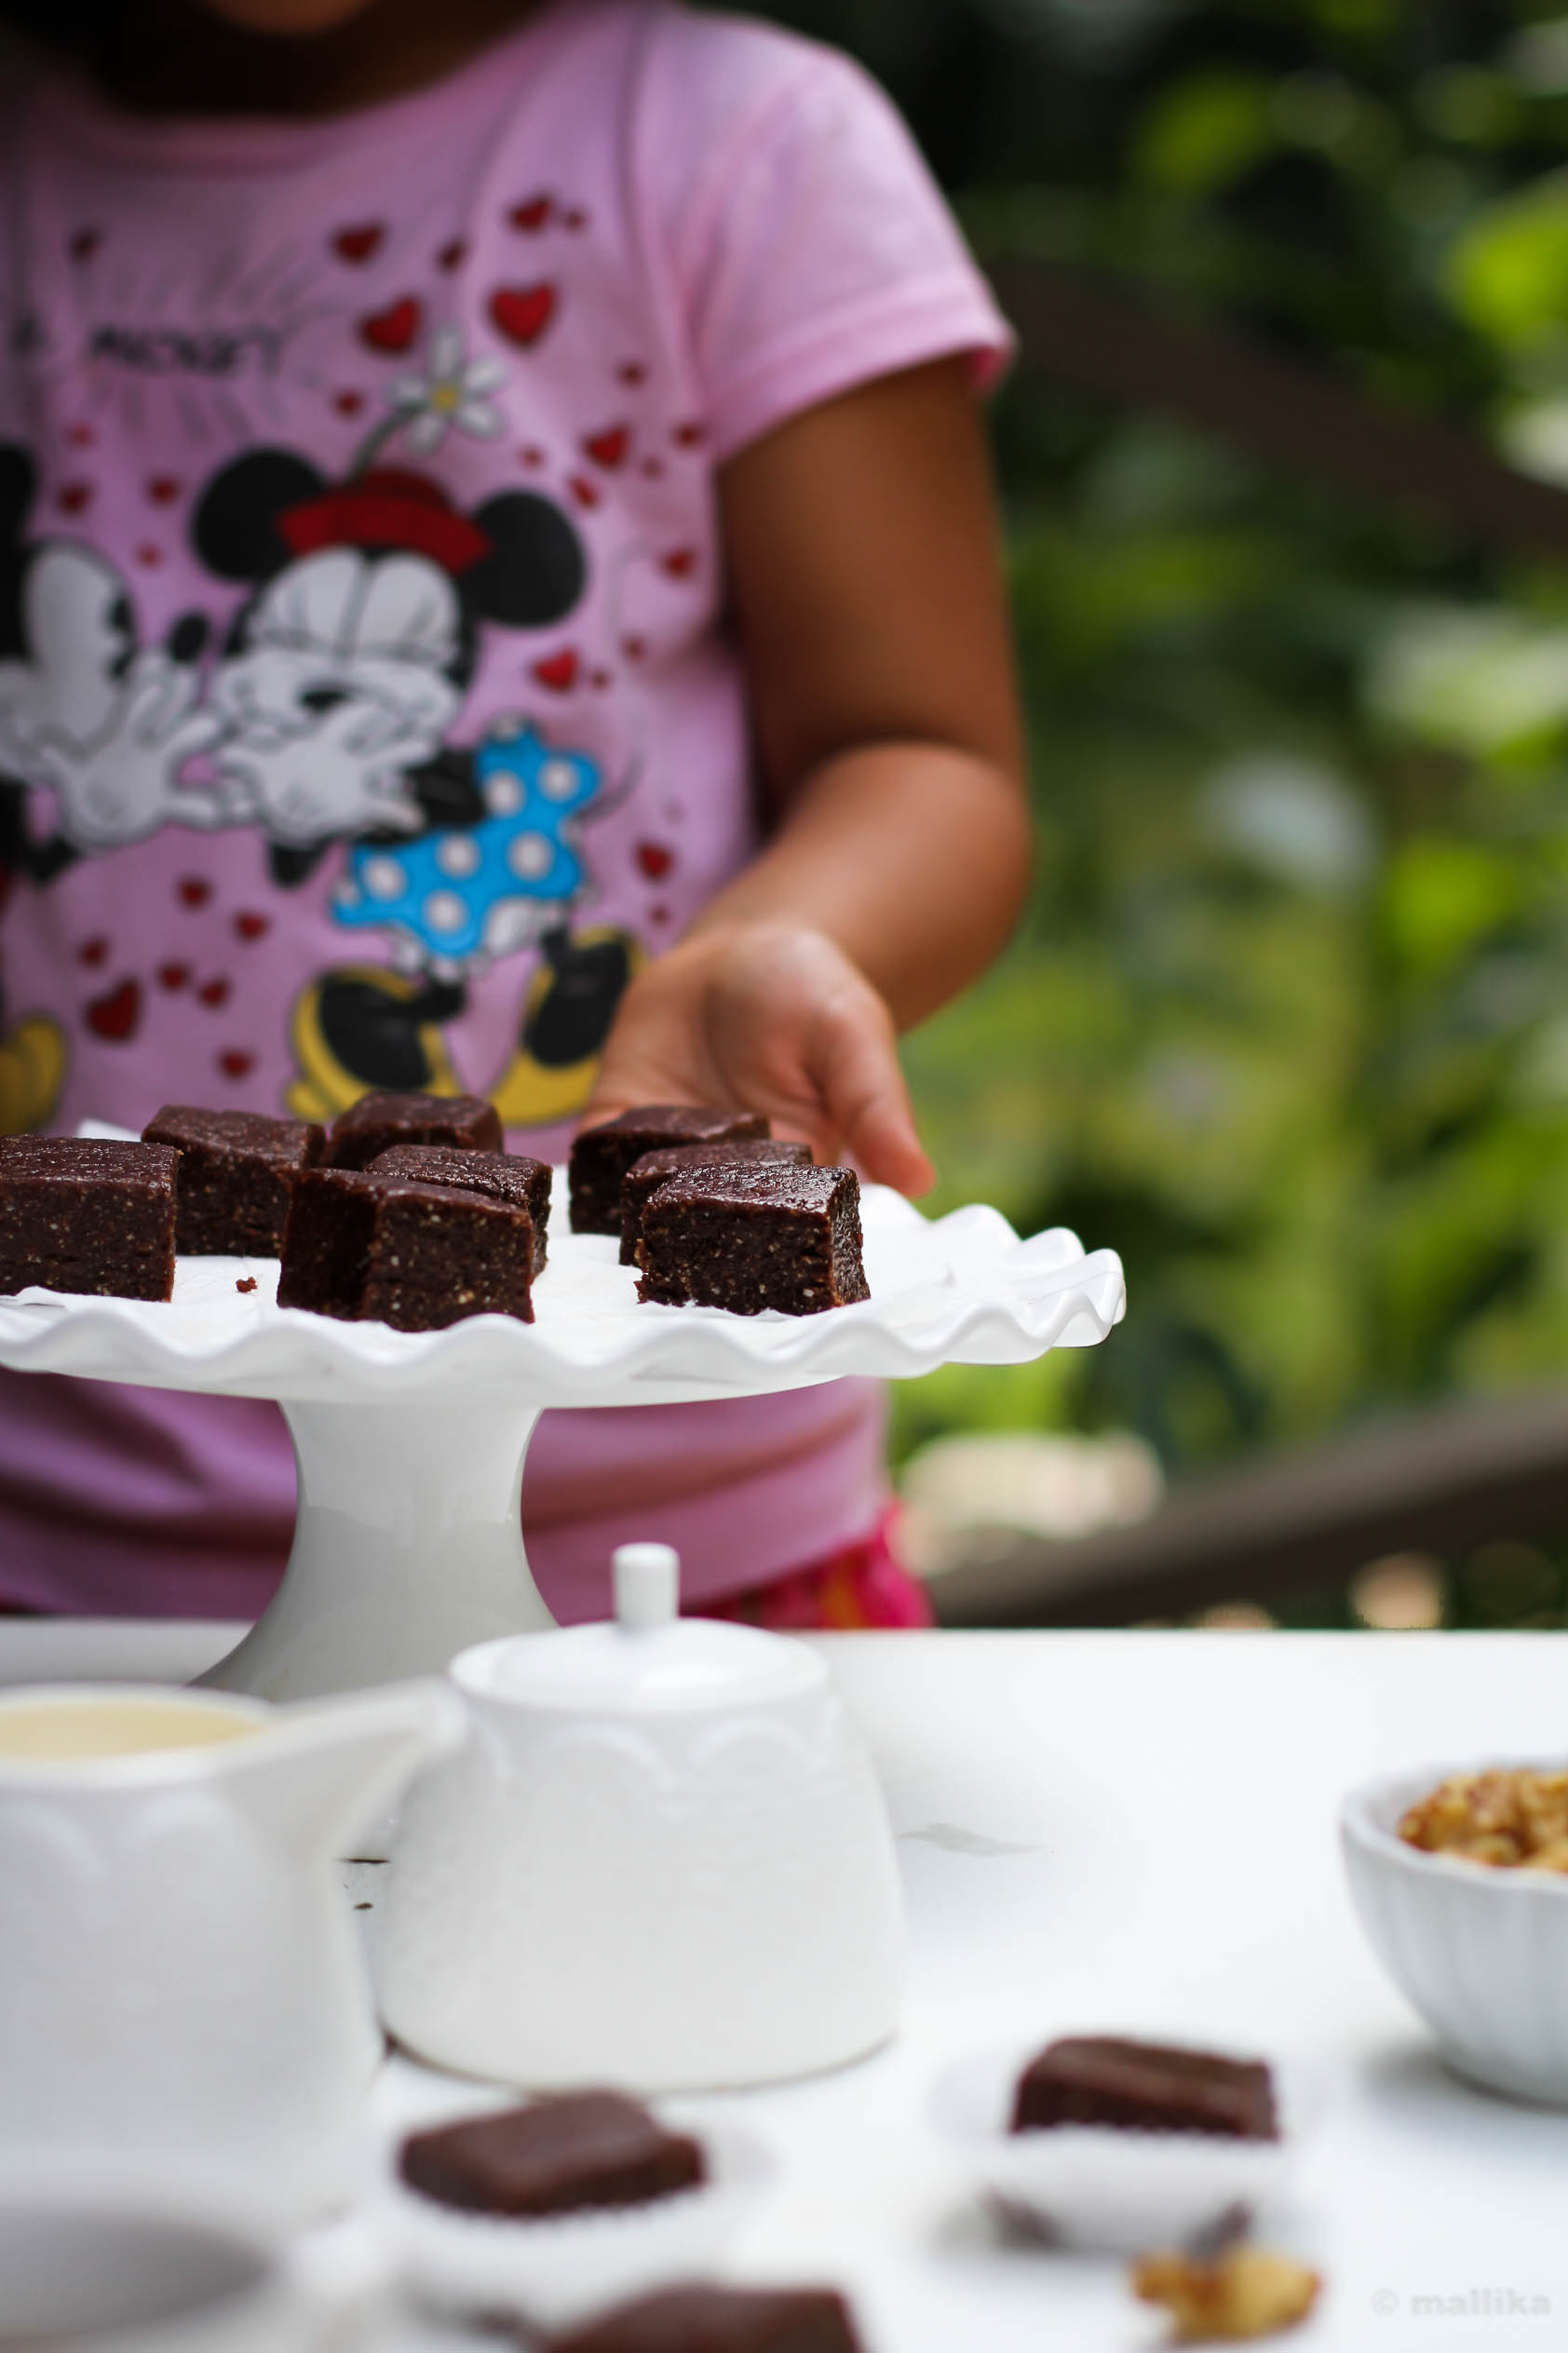
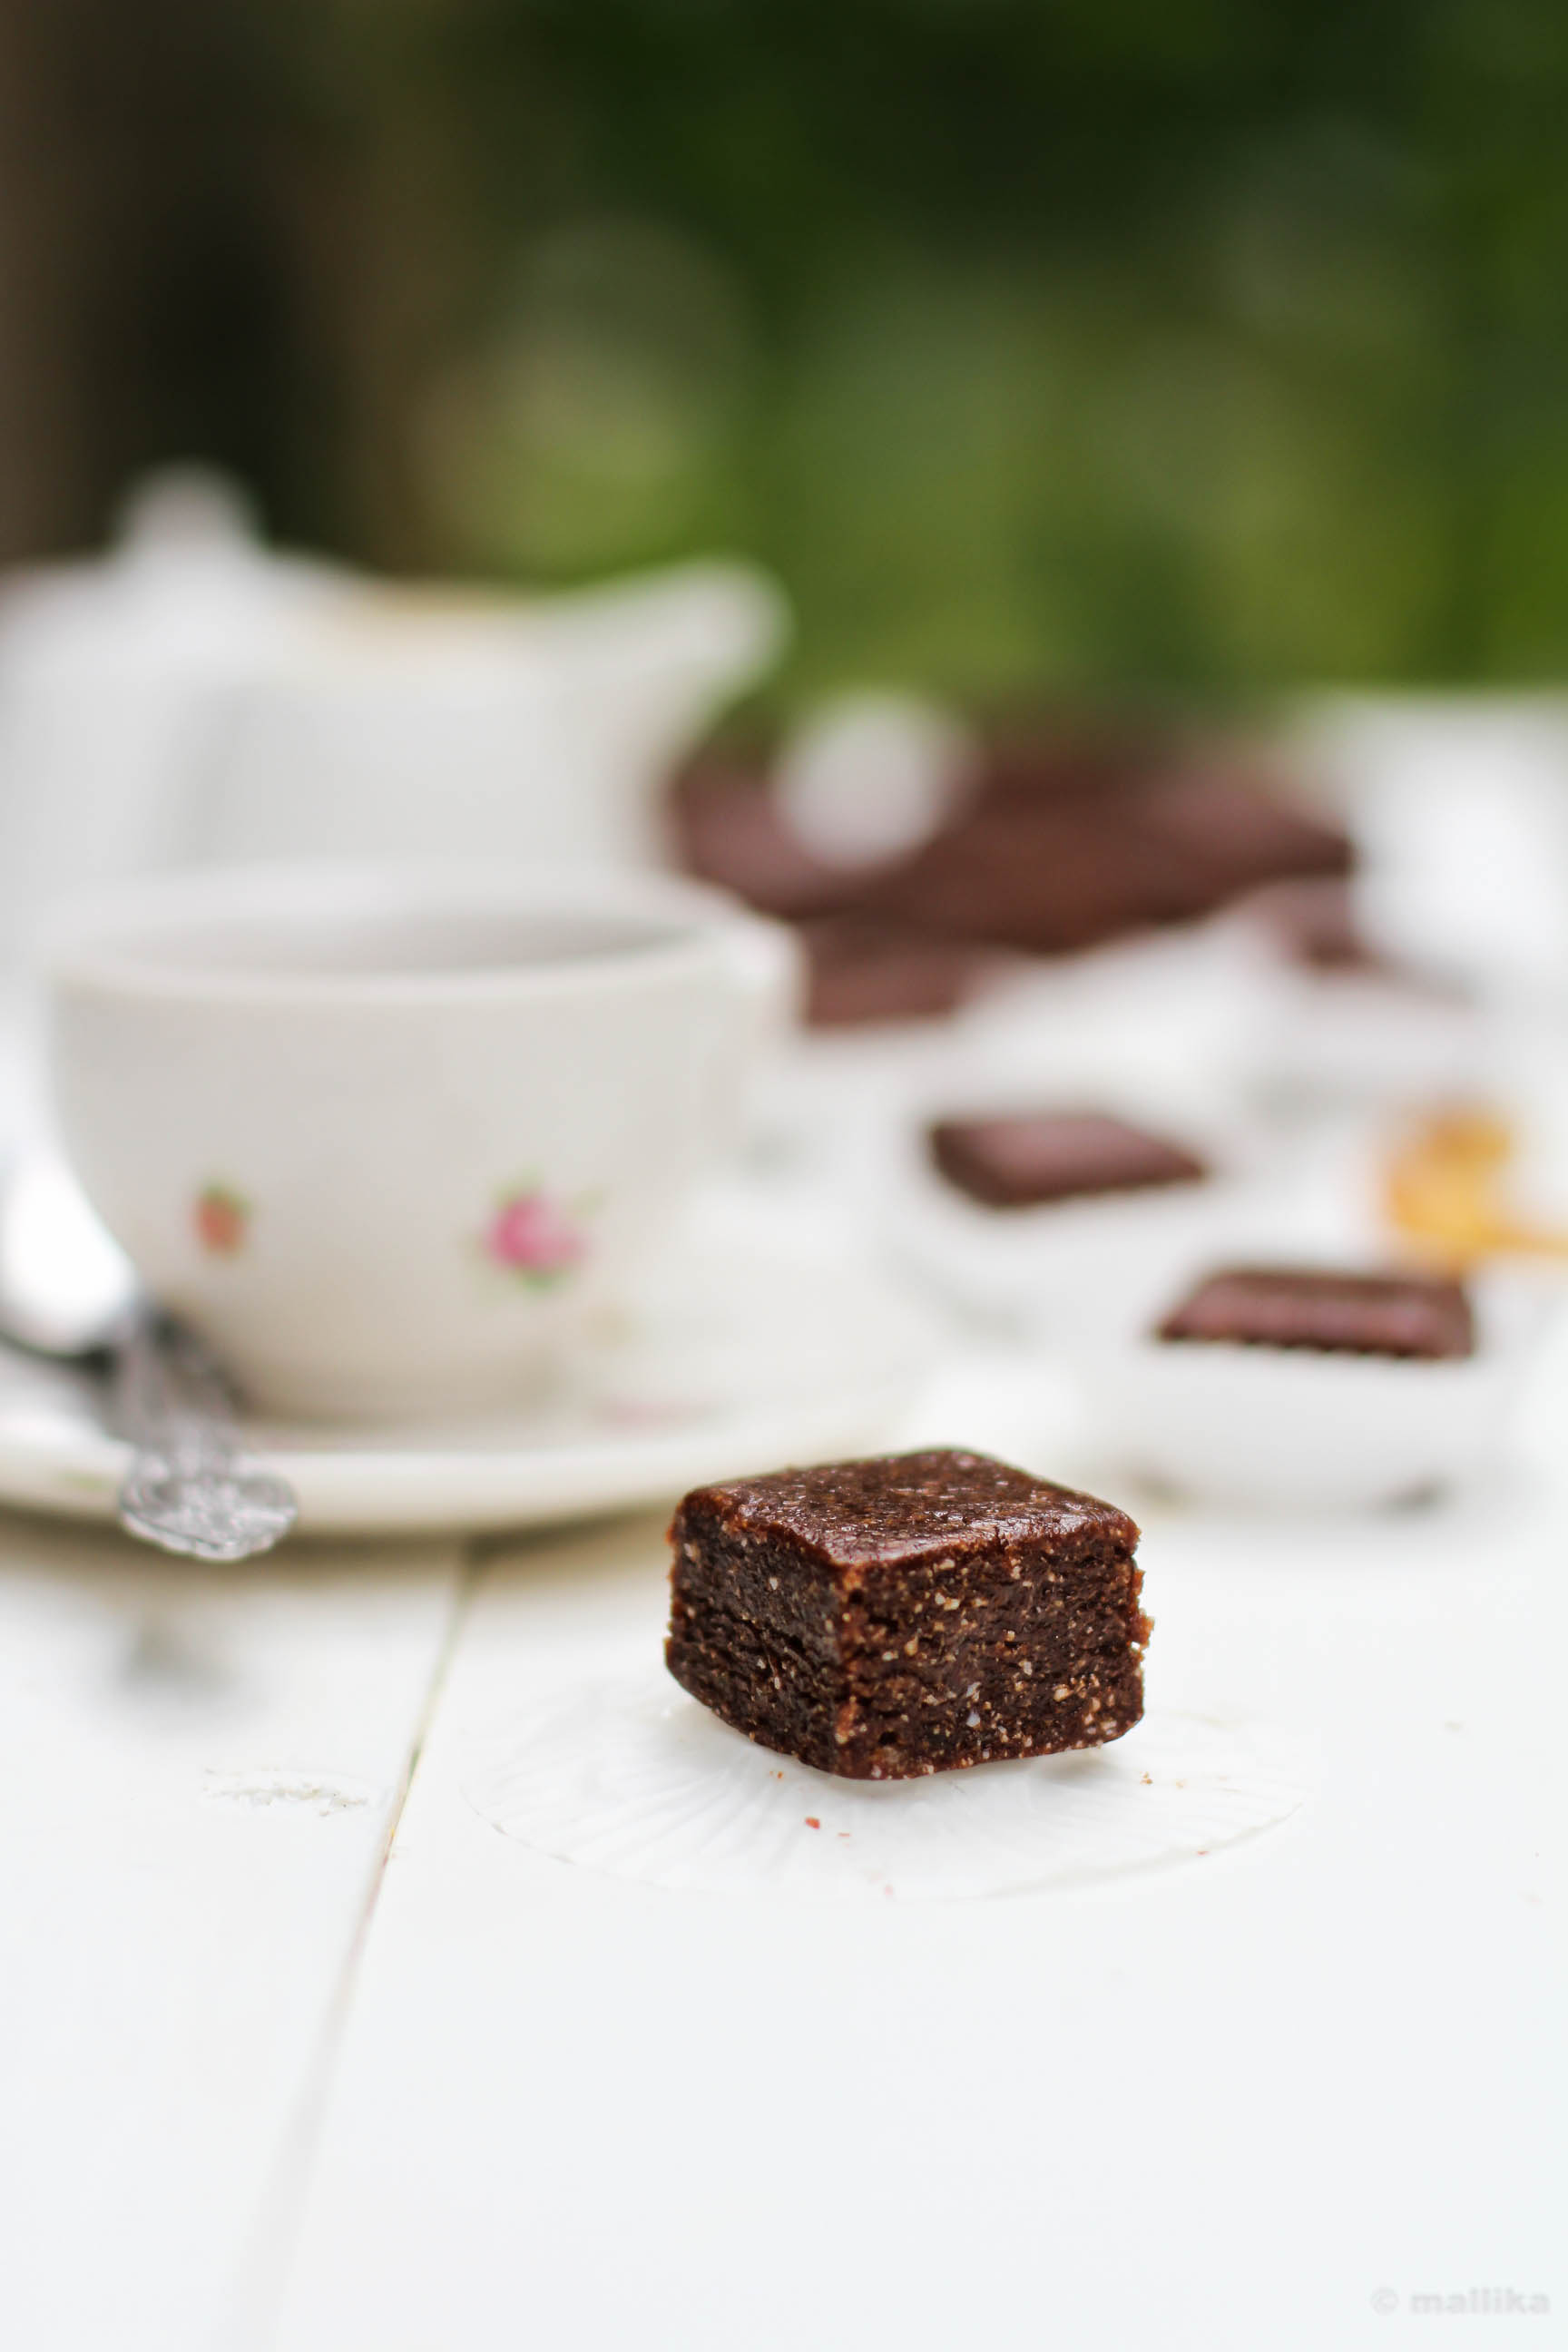
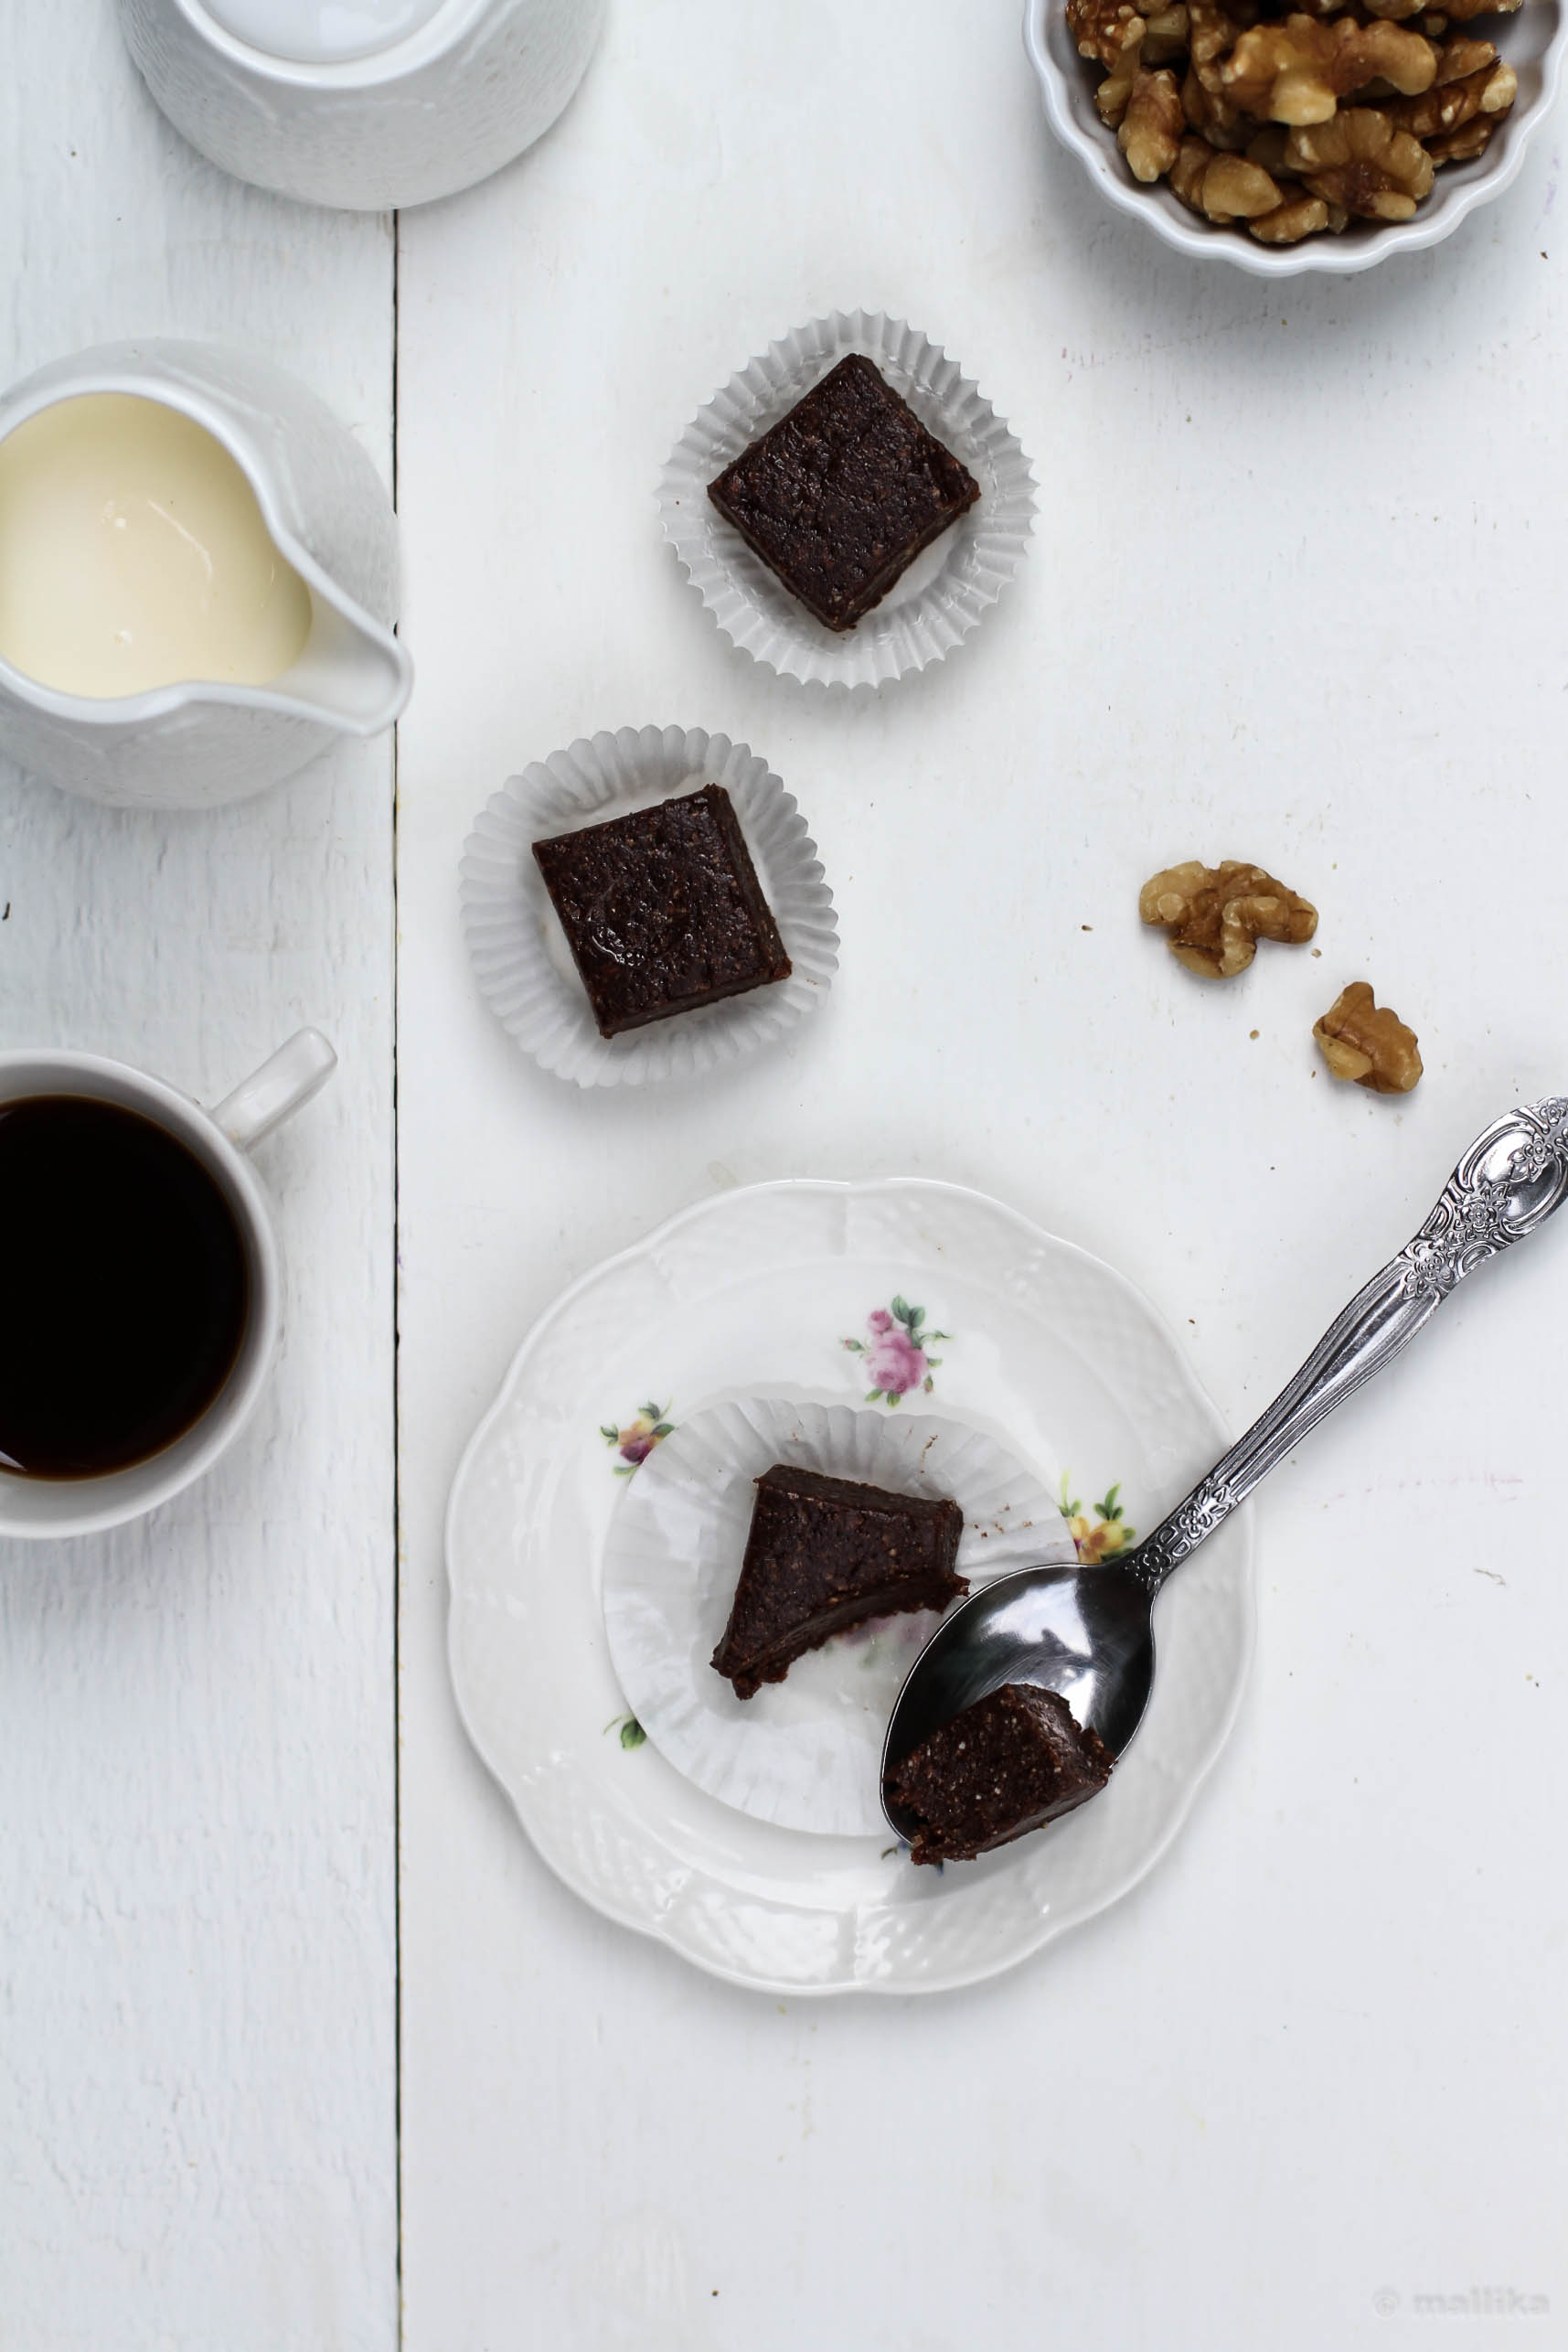
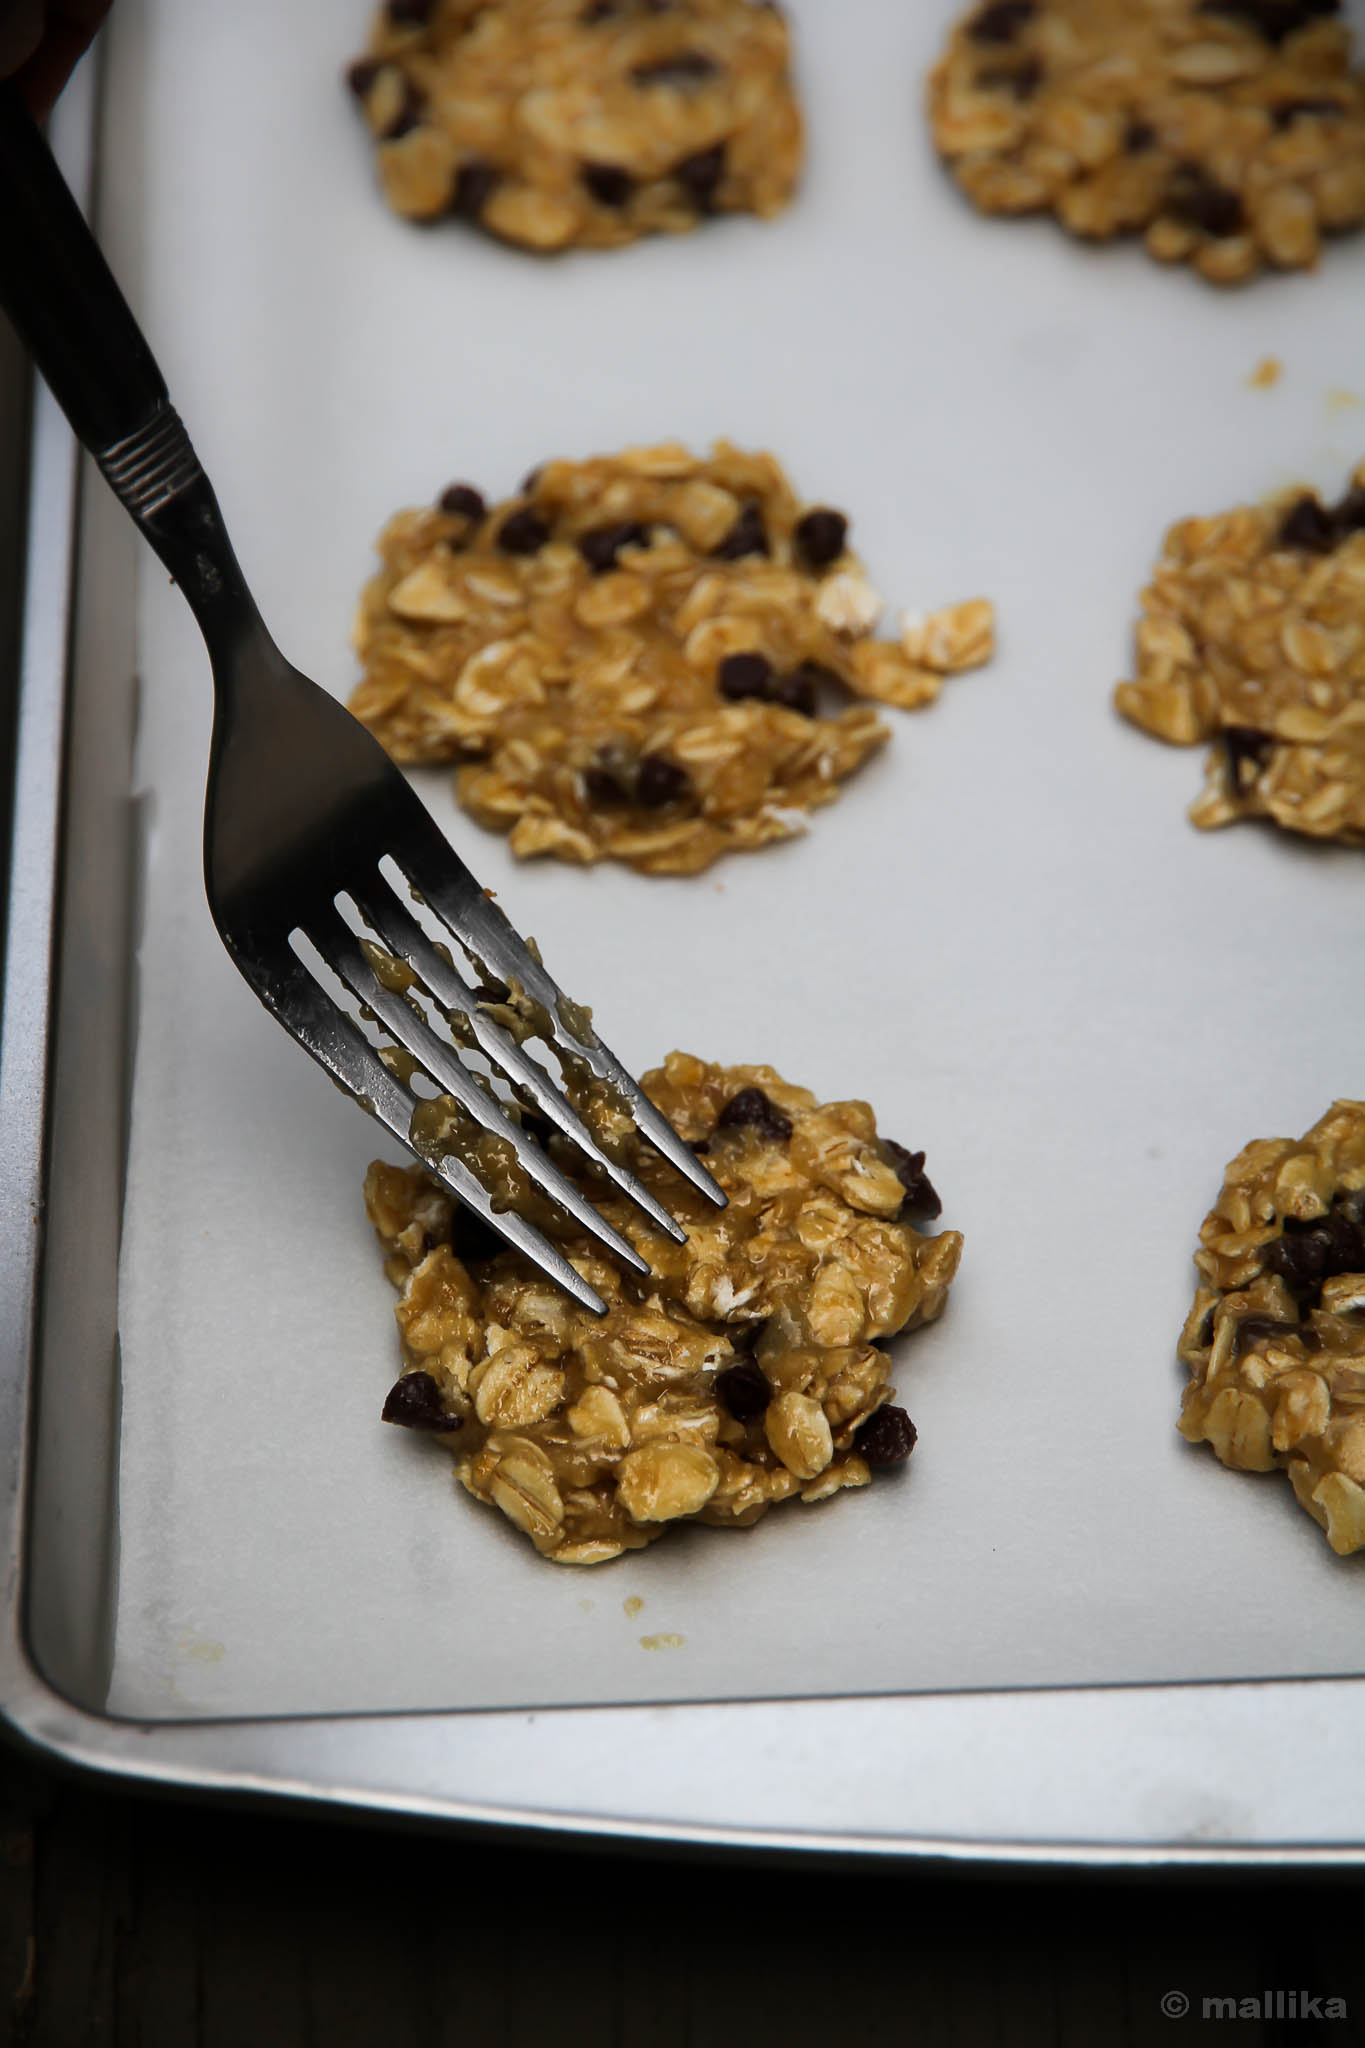
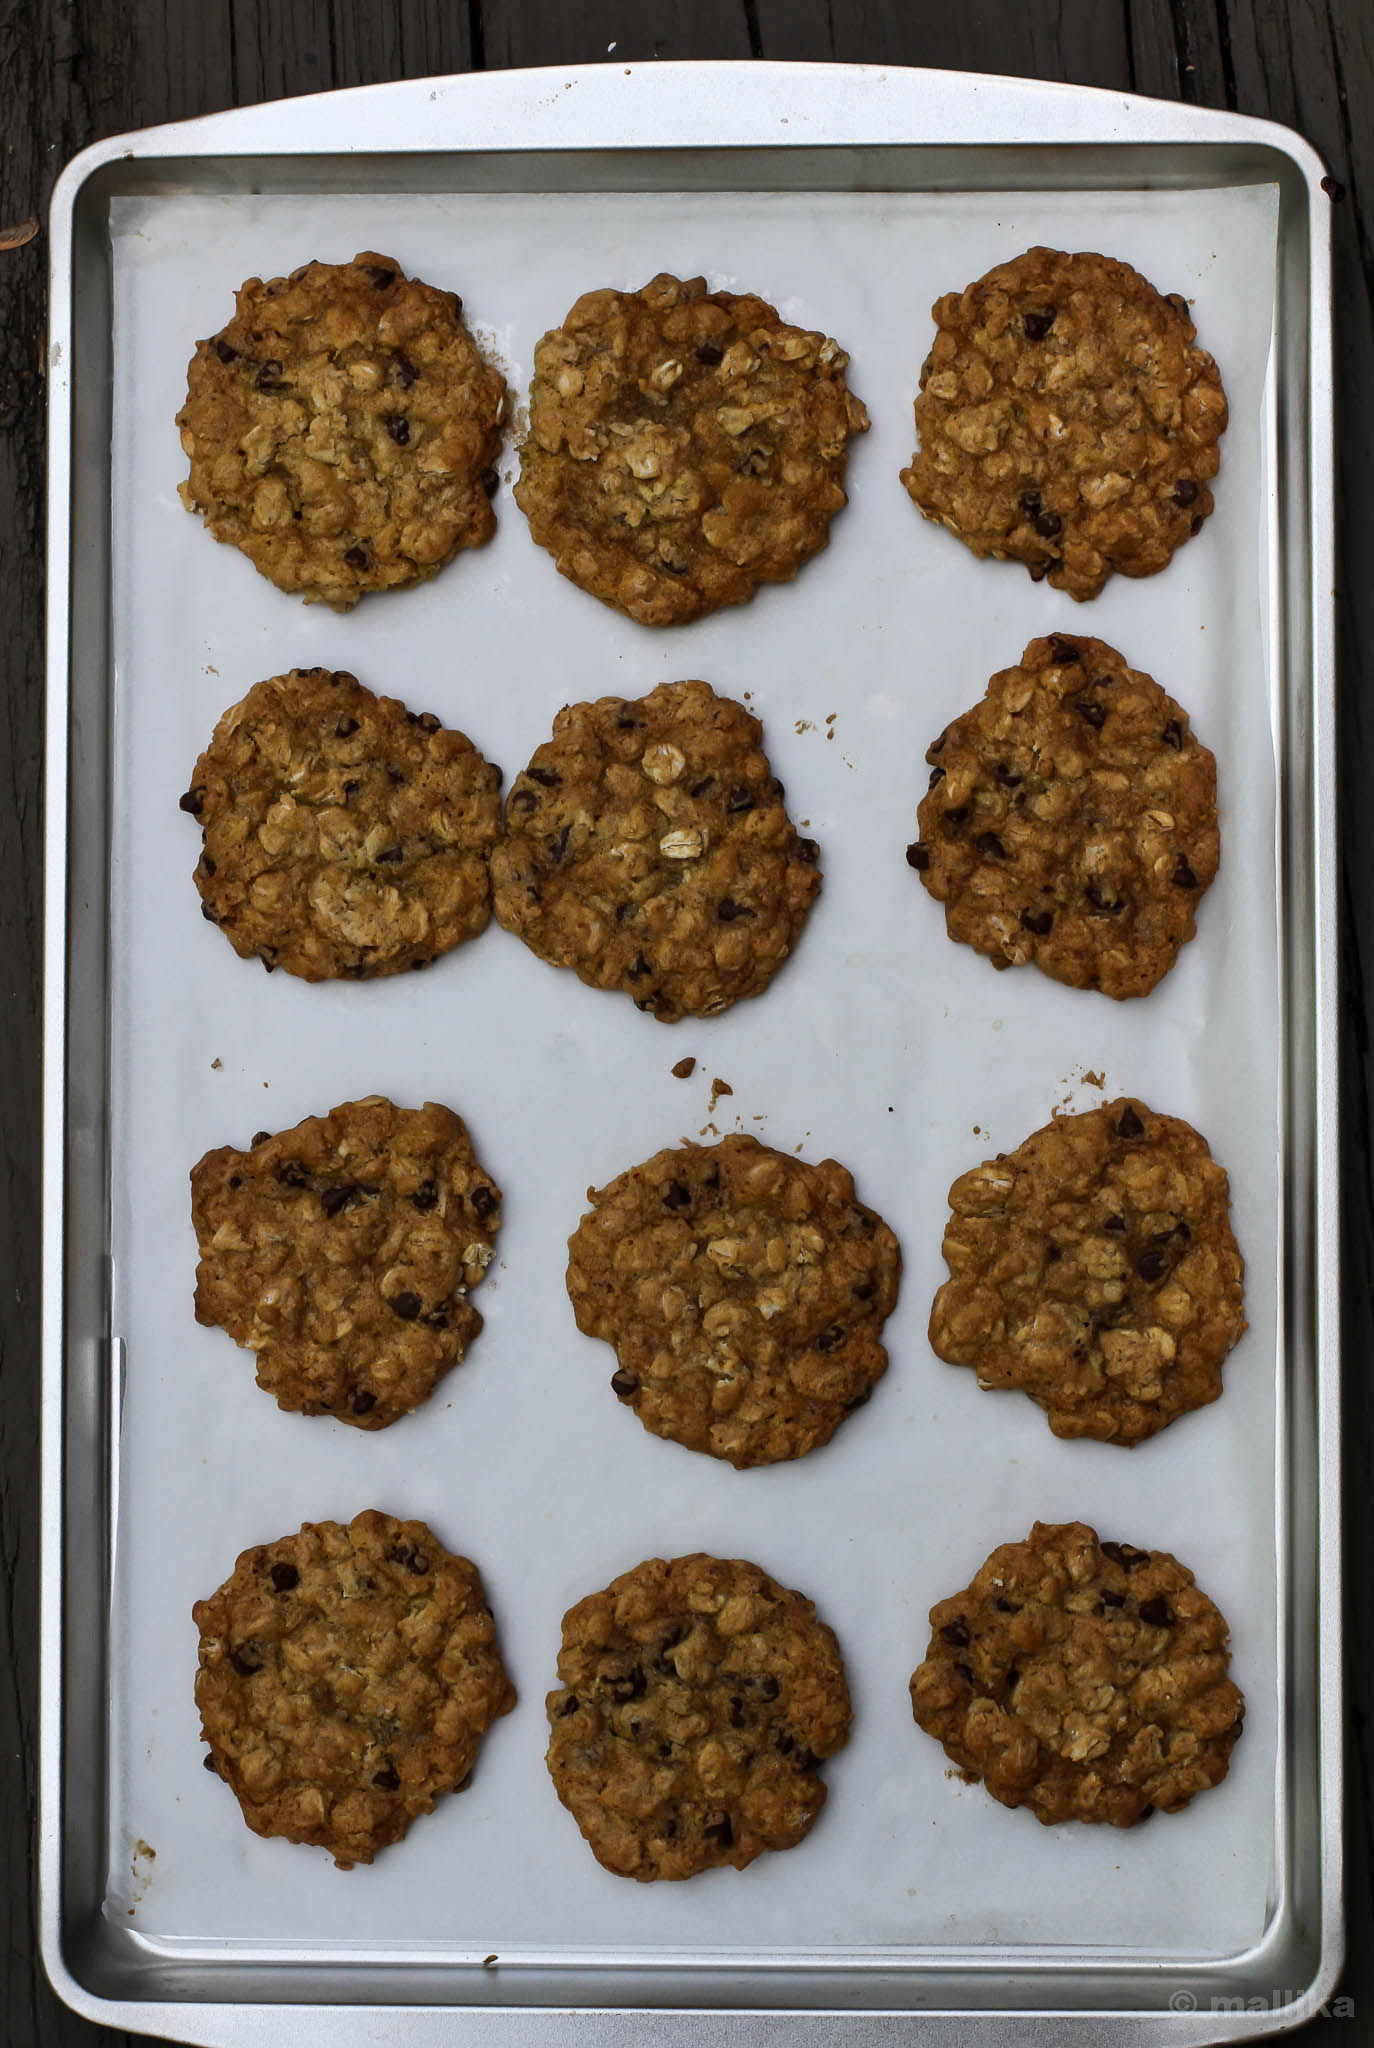
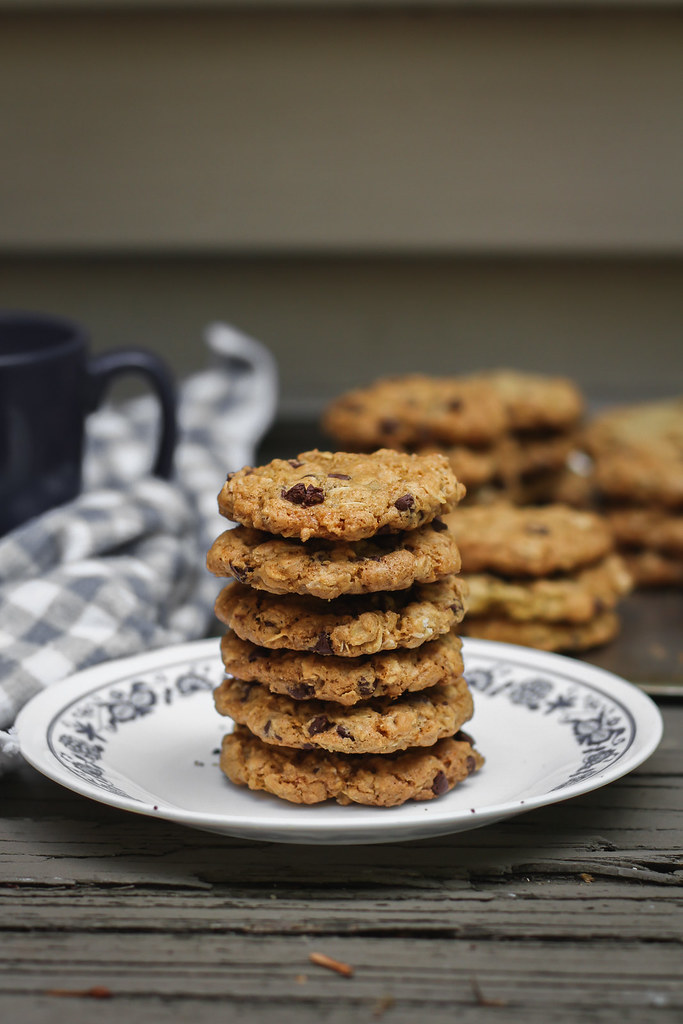
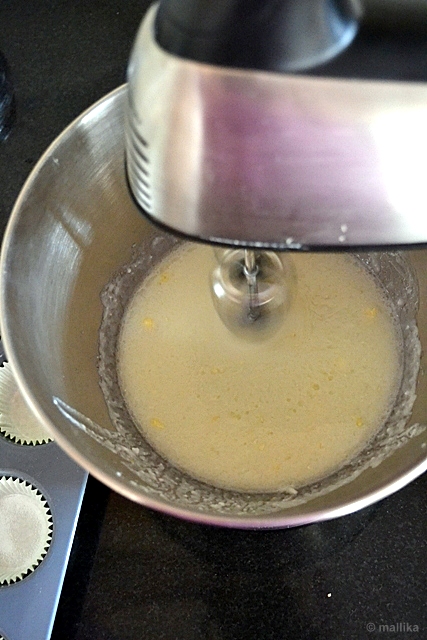
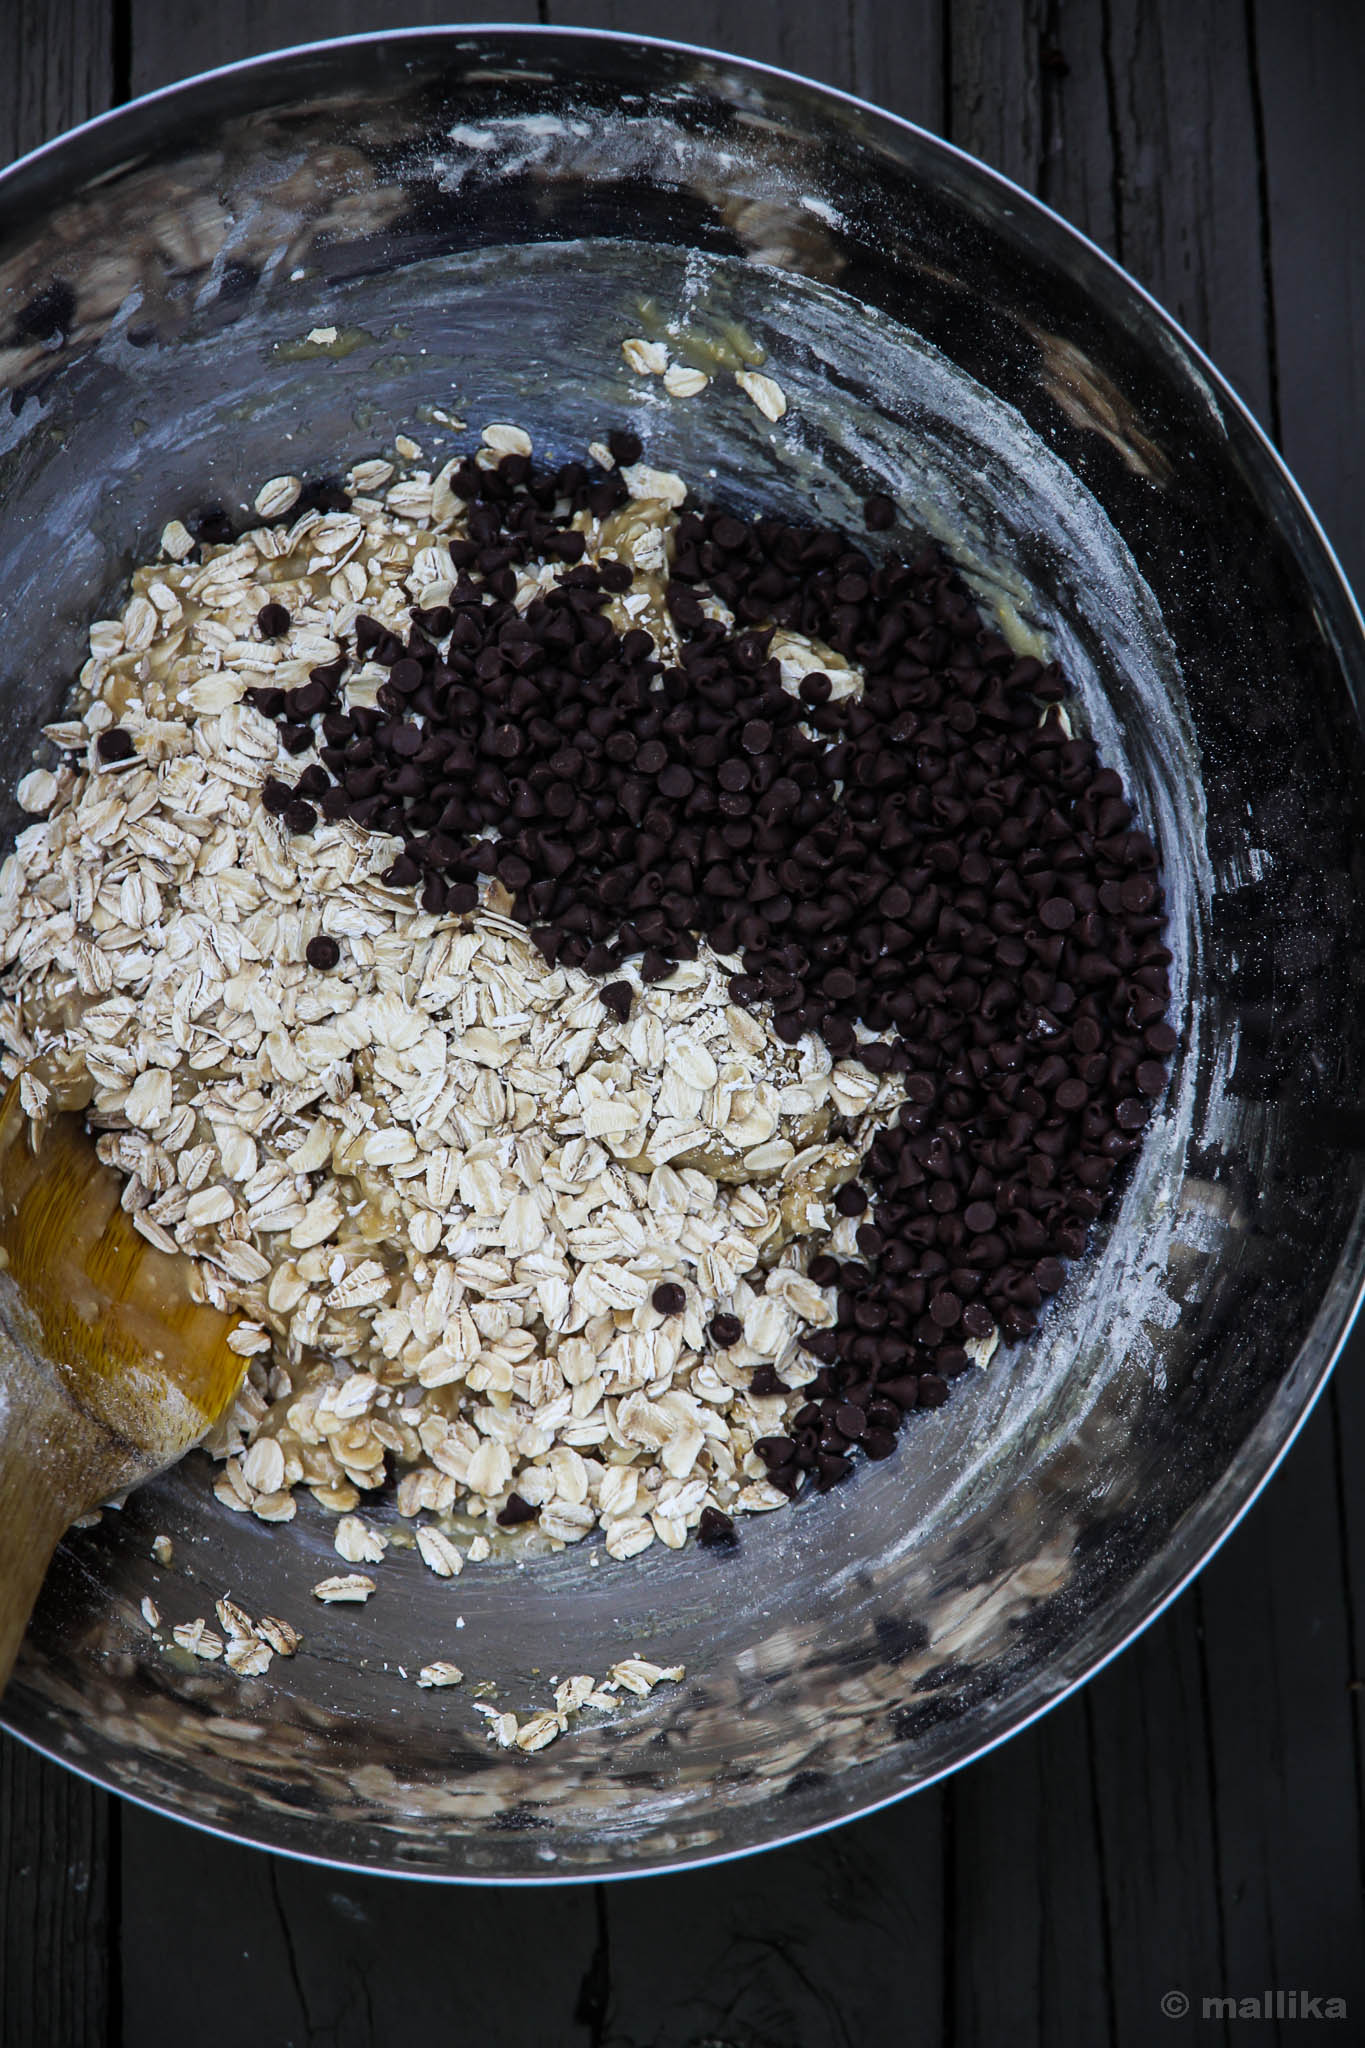
In the run to year end celebration, I've turned on my oven to warm up our home and bake some delectable goodies. Between churning out my favorite fruit cakes that will go out to friends and colleagues, I have some healthy cookies baking on the side, that serve as an instant solace to curb the cravings of my little girl and me. While the air is heated and scents of fruits and spices waft through the kitchen, these cookies are made instantly with left over bananas, some oatmeal and chocolate chips, just 3 ingredients put together into a loose dough and baked to form soft cake like cookies. They are an instant ramification of salvaging some near dying overripe bananas that are honey sweet and boost of potassium in abundance. They are healthy, have no fat, can be customized to your will by replacing chocolate chips with nuts and raisins of choice, are gluten free, dairy-free, can be easily passed on for breakfast or on-the-go snack at odd hour with no guilt. Now that's what you need on your hand while you are raking your brain sketching out the Christmas menu. Go ahead and bake these along too.

Banana Oatmeal Cookies Served Healthy Banana Oatmeal Cookies 1

Banana Oatmeal Cookies

Healthy Banana Oatmeal Cookies 2


Healthy 3 Ingredient Banana Oatmeal Cookies

Prep Time: 5 mins | Bake Time: 12 mins | Yields: 9 medium sized cookies

INGREDIENTS

1 large overripe banana
1/2 cup quick-cooking oats*
1/4 cup chocolate chips*
1 tsp. vanilla extract (optional)

DIRECTIONS

Preheat oven to 350°F.

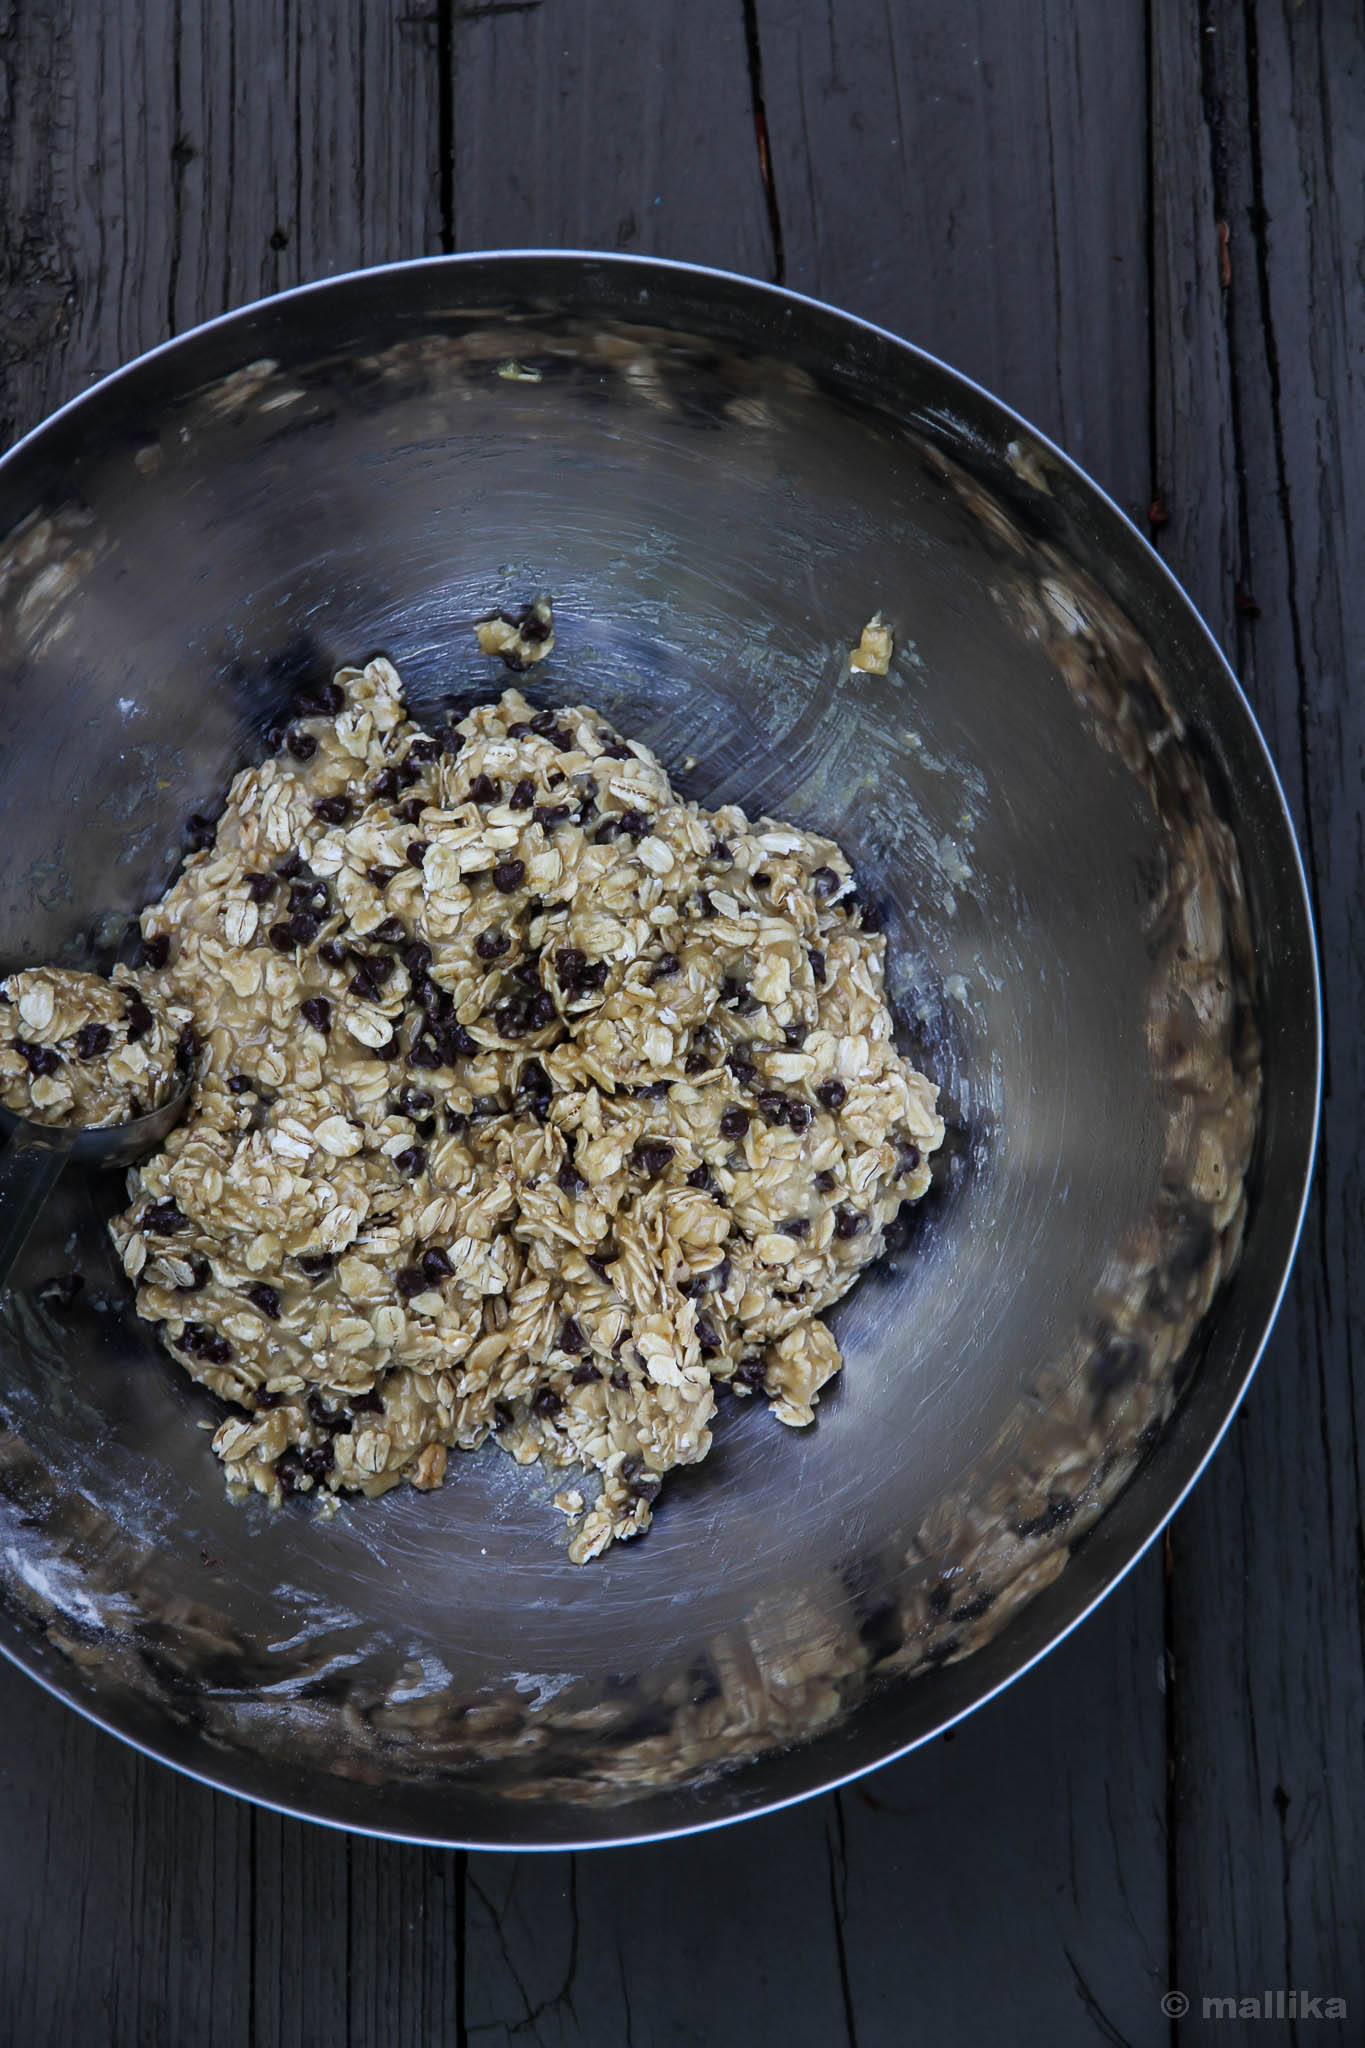
Mash the bananas in a medium bowl. Add the oats, vanilla extract and chocolate chips. Stir in well to form a loose dough.

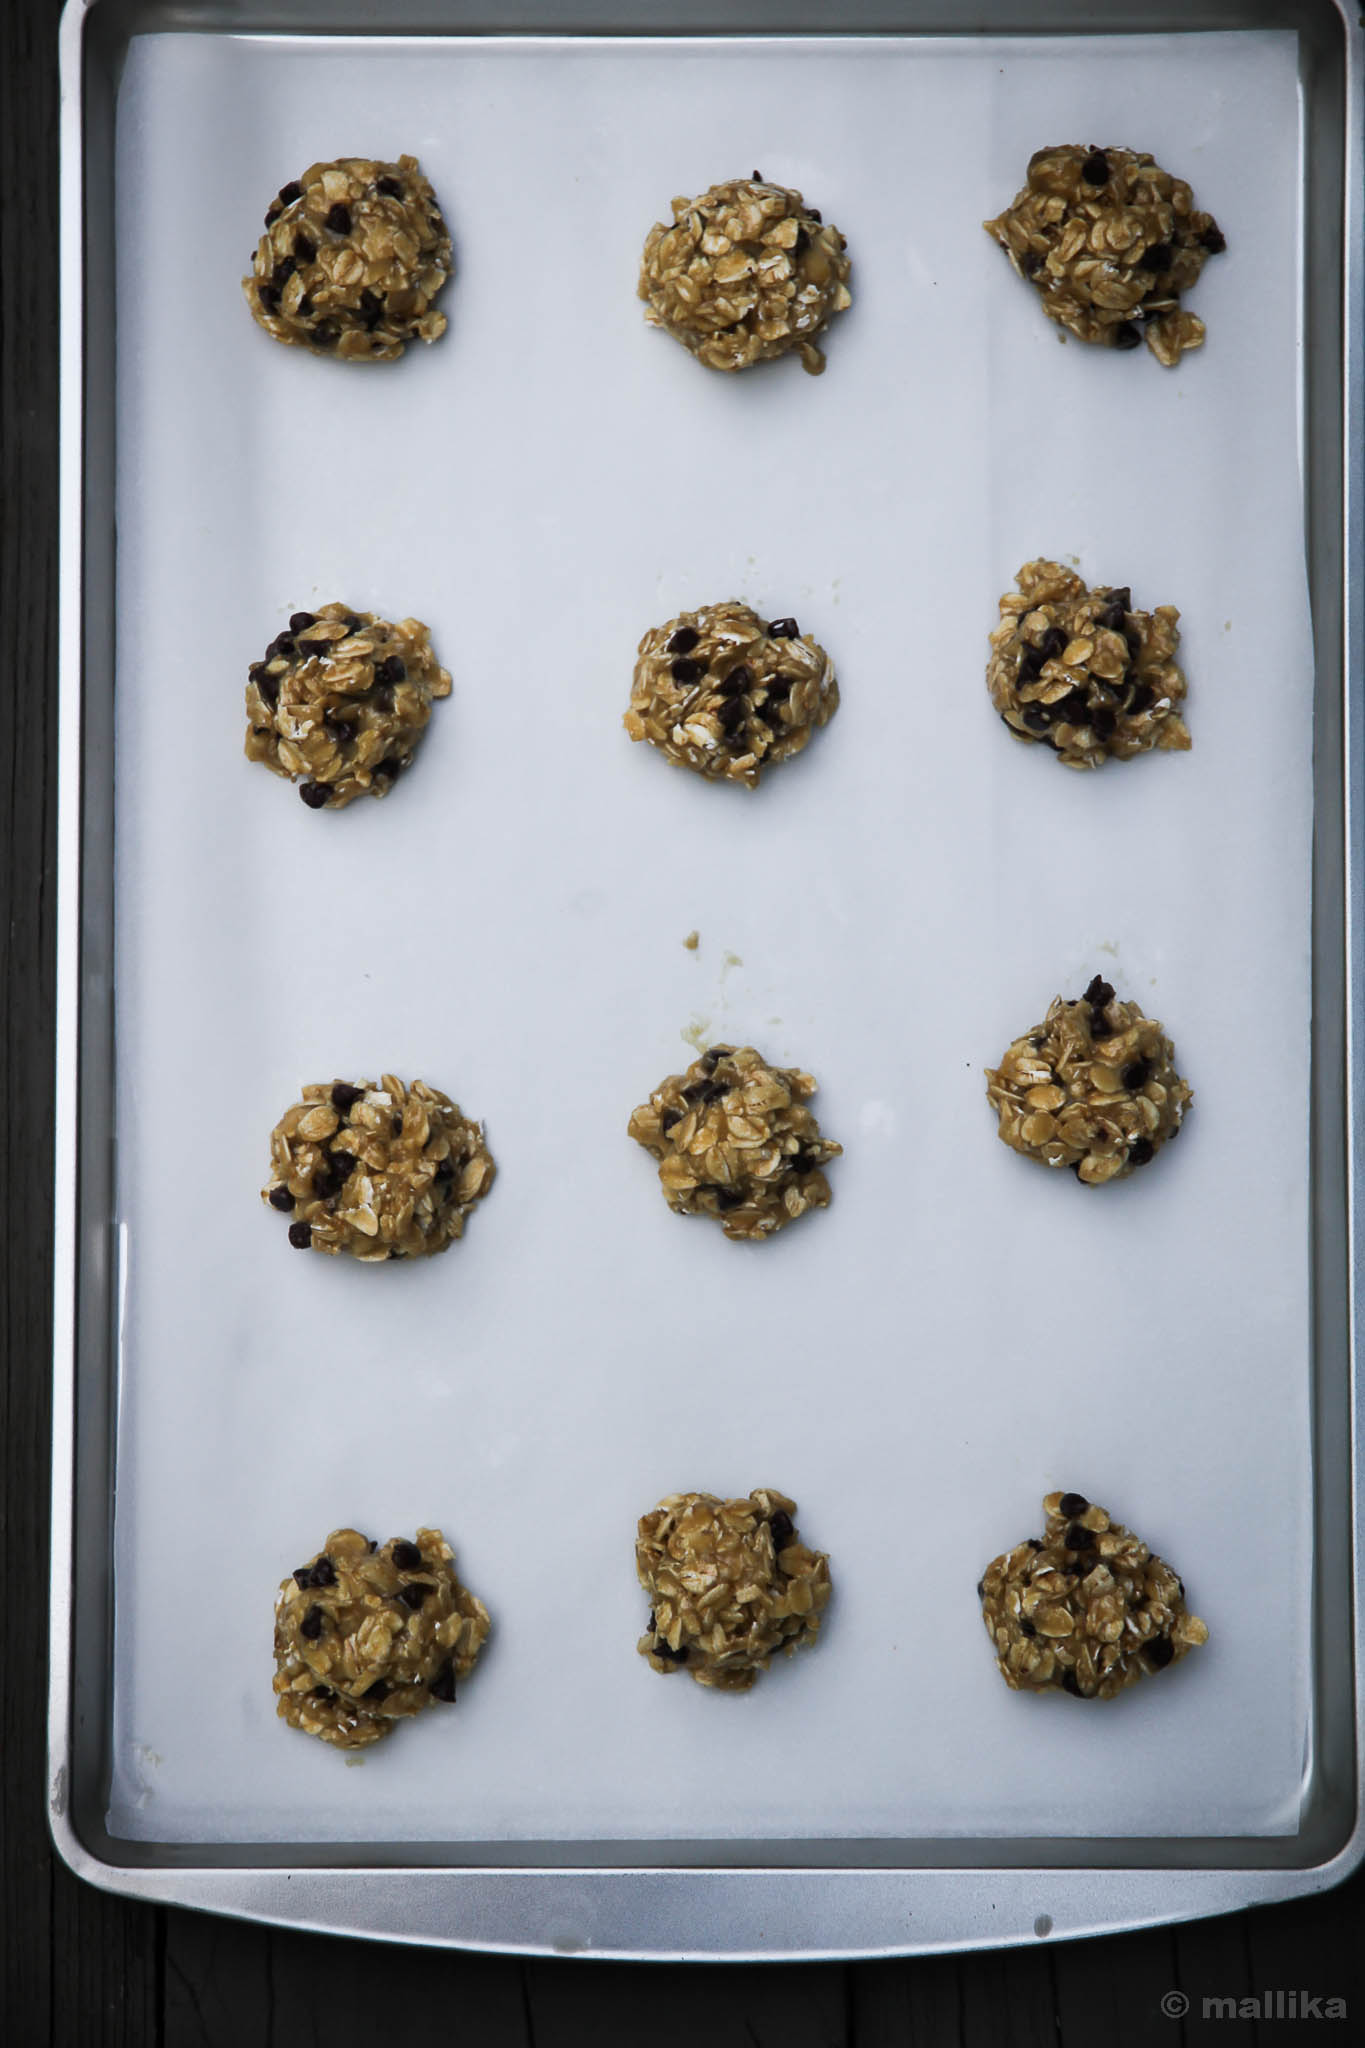
Using an oiled spoon, drop a tablespoonful of the cookie dough to a baking tray. Flatten them down gently into a disc shape if desired.

Bake for 12-15 minutes. Remove from oven and allow to cool on a cooling rack. Serve with tea or coffee or take as an on-the-go snack.

Banana Oatmeal Cookies (2)


Notes:

* Use gluten-free oats for gluten-free option
* Use vegan chocolate chips for vegan option
* Replace the chocolate chips with raisins or nuts like almonds or walnuts for a nut based option
* Vanilla extract is optional but highly recommended for more flavor. You can do without it however.

Cranberry Tokku

How to make Cranberry Tokku, Easy Cranberry Pickle, Cranberry Relish
I started blogging in a time when the internet world had taken to blogs burgeoning everywhere like little mushrooms enticed by rains. There was an unfaltering gush of novel, unexplored cuisines, recipes, ingredients and more, all brimming on various sites with their evocative photographs and stories, each compelling and competing by themselves to make a mark on the space. I'd viciously eye those berries and stone fruits that would pop up randomly every now and then, in seasons and festivities, their crimson reds, navy blues and sunlit ambers marrying blissfully into butter, sugar and flour to settle into marvelous looking desserts - desserts that could trigger hunger at odd hours of the day and post hefty meals; leaving me much in envy of being unable to get my hands on them back in time, while the world around rejoiced in celebration with such food.

That said, what did not make much of an appearance on the web space were fresh, glossy, scarlet red cranberries. There were several recipes out there that had them in scones, breads and cakes, mostly used in dried form, the kind of ones that are drowned in sugar and shriveled to douse the tart flavor. For a while, now that these are easily accessible in India, I too made my convenience with using the dried varieties in our favorite mincemeat recipe that sat bathing, cramped up with other dry fruits and weighed down by nuts in a heady spiced rum concoction for months before being brought out to be baked into Christmas Fruit Cake.


I had never seen fresh cranberries in the past till I came to the US. With dried cranberries available on ease, it was what it was known to me. For several years till lately, I was tricked into assuming that cranberries were akin to karonda, or karvanda (as known in Kannada), the tart-sweet Indian berries commonly used erstwhile in Indian pickles. I was excited about cranberries being karvanda, for two reasons.

One, I had never seen a karvanda bush, nor tasted its fruit in ripe, however I grew up hearing my dad often commend his love for these extinct pickling fruits, reminiscing how he missed watching his mother and grandmother collect the tart green berries off the bushes that grew in their backyard while the summer set in, of how they let them mature in brine for weeks, hand pounded the fresh spices and amalgamated them for months in sun to be pickled. Those were his memories, far and few, raved and deemed. For me, in rare times that I met a marinated young karvanda berry eye to eye, it was always camouflaged, heavily absorbed in red spices, and tart from being infused with bite sized mangoes pieces, served as delicious pickles alongside other dishes in odd occasions of weddings or family gatherings. Hardly an acquaintance to delineate something about.

Yet, those who grew up in the North of India may spin you tales of their childhood spent twiddling around the karonda (as they call it) bushes in the backyard of their aunt's, grandma's or friend's home, plucking them and popping it to their mouths with puckered face; karonda being more popular in the North of India than in the South where I grew up.


For second, Karavanda wasn't popular in generation of our times by any means; at least, it wasn't regarded high as the imported peers were. No one told us how good they were, no magazines or food channels professed it high, nor did our Sunday markets run its produce, probably because a lot of our Indian population was either disinterested to honor it or the ones like me, had hardly known it by trait. For a long time I did not know what it was called in English, or if it did exist in the lexicons of English circles. On the other hand, we had newspapers and magazines that constantly spoke of how fab cranberries were in beating the beast out of cancers and UTIs, tipping off cranberries to be our very Indian karavanda, and how our long forgotten fruit had captured attention in the West and that it may be touted as a superfood, pronto. Internet added to that fad with burst of knowledge.

My assumptions may have been misleading me, but thankfully I know today that karonda is karonda and cranberry is cranberry. Both live in separate worlds, with different identities, in their own identities that can't be swapped. It took me a trip to Nantucket in summer to realize this. That's where I saw the process of cranberries being grown and harvested, much unlike the trees that my grandmother harvested from, but bog flooded and cragged from vines. I came back home with a bag full of organic cranberries to turn them into a desi relish!


That brings me to this interesting recipe I have to share with you today. A mod-western ingredient with a traditional twist. The east meets west kinds. An old wine in a new bottle. This cranberry chutney, a dip, or more traditionally a thokku. Its very Indian at heart, its spices and the flavor - piquant, tart and delicious in a tiny blob on the side to any dish. You drag a lump of it with your fingers and mix along with steaming hot rice or simply scoop a small portion with your roti or dosa and relish it. Its makes a kicking dip to tortilla chips or even khakras, and that's exactly how I've zinged up over the past couple of evenings alongside my tea.

Cranberry Tokku

INGREDIENTS

2 cups fresh cranberries
5 tbsp. vegetable oil
2 tsp. red chilli powder
1 tsp. fenugreek seeds powder
1 tsp. asafoetida (hing)
1 sprig curry leaves
Salt to taste

DIRECTIONS

Heat vegetable oil in a kadai/ wok. Add mustard seeds and fry till it begins to splutter.

Next add the red chilli powder, fenugreek powder and the asafoetida into the oil and fry for 5 seconds. Do not allow spices to burn.

Add the torn curry leaves and fry for few seconds till they turn crisp.

Reduce the flame and add the fresh cranberries. Stir them in to coat all the spices. Cook till they pop and begin to reduce in volume. Using the back of spatula, gently mash them. Add in salt to taste and stir continuously until the cranberries soften, reduce in volume, and begin to lump, and the oil begins to separate.

Remove from heat and allow to cool completely. Store in air tight ceramic or glass containers.

Notes:

* You can add a tablespoon of jaggery to balance the tart incase you do not like the sour taste of the thokku.
* Fenugreek powder is bitter on its own, however when fried in oil it imparts a lovely flavor to the dish. It's the heart of this thokku and hence do not skip this ingredient.
* If you plan to store this over the counter for couple of days, its important you do not skip the amount of oil suggested. However, incase you plan to make a smaller quantity that will be consumed in a day or two, you can reduce the oil content. Oil helps in longer shelf life of any pickle.
* If you don't like heat, reduce the amount of chilli powder. We love our pickles spicy, so you may find the red chilli powder on slightly higher side. The heat of the chillies is also dependent on the kind of chilli powder you use. Hence use it judiciously.

How to make Healthy Raw Brownies | Easy Raw Brownie Recipe
Be thankful for what you have; you'll end up having more. If you concentrate on what you don't have, you will never, ever have enough. - Oprah Winfrey

Its Thanksgiving tomorrow and under five weeks, we'll be well into Christmas, my favorite time of the year when all else goes still and only food and festivities shall prevail. I am excited and am so looking forward to it. As for now, there isn't a grand event of celebration lined up for tomorrow, but, we'll take joy in the holiday to follow, time for togetherness and bonding over relaxed morning, lazying noon and a slow evening. Hurray to no work, no deadlines, no meetings for a day. We'll wake up late in the bed, follow a laid back routine and lavish a little on a good homemade breakfast. The day calls for my time in kitchen, where get to I play with pots and pans, may be tossing up some flour, butter and sugary goodness into a ton of fruits to come up with something worthy for Christmas. A cake is in store, a Christmas fruit cake that I can hopefully talk about in posts to come. We'll have our family at the table, the three of us, savoring lunch in an austere way, which in itself is a small celebration to do on a weekday - bringing in tit-bits of our weekend-ness, in a little modish way.


Meanwhile, I have these super healthy brownie treats for you to feature on your Thanksgiving table. I made them this summer, though they don't pertain to any seasons. They are treats you can make year round. No seasons attached. You can make them for your Thanksgiving dessert menu or keep them handy to treat your guests over a cup of coffee or just carry them on your hiking trip to give you adrenaline boost. There's no sugar in them, no butter whatsoever, no flour, no guilt too. And no no! I am not on diet if you ask so. But I thought I should be a little considerate and save you from splurging way too much before the year end celebrations kick in. There's a lot awaiting there, Christmas on its way, New Year dinner to follow, so you may want to treat yourself slowly and sanely before getting there. These little treats don't steal away the joy of splurging, mind you. They are delicious as is in small bites or you can make them in a wonderful no-bake pie base with fancy toppings. Hope these make your Thanksgiving table a little more glamorous.


Raw Brownies

Prep Time: 5 mins | Pulse Time: 10 mins + 2 hrs refrigeration | Yield: 12 pieces

INGREDIENTS

2 cups of medjool dates
1/2 cup of roasted almonds
1/2 cup of raw walnuts
3 tablespoons of raw cacao powder
2 tablespoons of maple syrup

DIRECTIONS

Blend the almonds and walnuts in a food processor until they form a crumbly mixture. Then add the dates and blend again till dates are pureed. Next add the cacao and maple syrup and blend again. The mixture will come together in form of a dough. If its wet to handle, add in some walnuts and pulse again.

Place the mixture into a baking tray. Refrigerate for two hours or freeze for one hour so that it sets well. Cut into slices and serve. Store in an air tight container and keep them refridgerated for freshness.


Oatmeal Chocolate Chip Cookies

Oatmeal Chocolate Chip Cookies | Easy Oatmeal Chocolate Chip Cookies Recipe
In our direct sight, right outside our balcony are two young, strong maple trees that stand next to each other in a row. They are probably the last of few trees in our region to hold on to their deepest summer greens, while across the street, the one that we take to drop our daughter to the school bus stop, the towering maples have turned into fiery red, fancy yellows, even burnt browns, scattering themselves on sidewalks and spilling over streets in favor of the autumn's climax that we saw a week ago. The leaves trodden path smell of gentle rot, casting that sweet autumn perfume in air, as many wear their bare-dare look and poke their woody nibs high into the murky skies.

By the time the first streak of sun rays hit our home, we are wide awake, our hair strewn, usually done with brushing and sipping a cup of hot ginger tea for the two. We are at a point when we begin nudging our daughter out of her sleep. That takes us a two-man effort to canoodle, our attempts to wake her up over several minutes - the husband and I, at times her dear grandma adds in too, to pull her off the bed and tow her to the bathroom to start her day with. By this moment there's enough light curtailing the darkness of dawn, and the two maple trees outside our home are well in our sight. We watch it every morning in exhilaration for its transformation, awaiting patiently as it takes its turn to move from greens to yellows, and then to browns. For all the autumn we have seen this season, these two are holding on to their cavernous greens. Did I not say they were strong?

Yesterday, this Saturday morning, voila! The magic unfolded. Leaves changed hues, turning themselves to beautiful golds and bronzes, some earthy greens and blazing reds splashed in random - autumn's treat to us. The curtains stayed open all day long, the doors left ajar despite the chill air, providing us with a better sight and coverage to the trees overall, as we stepped out excitedly to snap a few moments to be treasured. For the next couple of days, the magic shall prevail till they turn matte coppers, sway feebly into air, and pile up in heaps of burgundies and russets on the ground below, before the snow flakes engulf them in uniform of black and white.

IMG_3129 IMG_3130 IMG_3138 IMG_3136 IMG_3129 IMG_3130


With fall around, there's an awesomeness in air that makes home baking more gratifying. With the year end coming closer, and the holiday spirit in air, desserts will make their prominence on family lunches and dinner gatherings. Oatmeal and Chocolate Chip Cookies are just the perfect things you could bake this season. They'll add more charm to your coffee trays that will roll in as guests visit you. If not, consider them gifting to your loved ones and bring joy to their celebrations.

The recipe is adapted from All Recipes. In my quest to find a good recipe for eggless version of Oatmeal Chocolate Chip Cookies, I researched a bit and tried a couple of recipes with varying results. I highly suggest this recipe, albeit minor modifications. I advice you do not cut down on the fat content in this recipe, and balance the brown and white sugars to the below said, that is, if you care for crisp cookies. The cookies do spread a bit, so place them well. We are a family that loves crisp cookies, very Indian in that aspect, so I like to flatten these cookies with a fork before baking. The recipe here will make you a batch of about 16-18 medium sized cookies depending on how much you fill your tablespoon with. If you wish to bring fall to your cookies, add a nice helping of sweet cinnamon and heady nutmeg powder to this recipe. So pull your pans out, warm up your oven and let's bake a batch of these Oatmeal Chocolate Chip Cookies.

Oatmeal Chocolate Chip Cookies

Prep: 10 mins | Cook: 12 min | Makes: 16-18 cookies

INGREDIENTS

1 cup salted butter
1/4 cup packed brown sugar
3/4 cup white sugar
1 teaspoon vanilla extract
1 1/2 cups all-purpose flour
1 teaspoon baking soda
1/4 cup boiling water
2 cups rolled oats
1 1/2 cups semisweet chocolate chips (I used mini chocolate chips)

DIRECTIONS

Pre-heat the oven to 350 degrees F (175 degrees C). Line the cookie tray with baking / parchment paper and set aside.

Bring the butter to room temperature, and beat it with brown sugar and white sugar till its light and fluffy. Add in the vanilla extract and all-purpose flour to this and mix.

Next in a separate bowl, dissolve a teaspoon of baking soda in boiling water. Add this to the above mixture and stir gently.

Stir in the rolled oats and raisins and mix them in. Drop by tablespoonful into a tray lined by baking / parchment paper. Bake at 350 degrees F (175 degrees C) for about 10-12 minutes. Don't over bake.

Remove from baking tray and allow them to cool completely on a wire rack. Store them in a air-tight container.

Oatmeal Chocolate Chip Cookies

Kodubale

How to make Kodubale | Easy Kodubale Recipe
It's eve of Diwali today, that time of the year I look forward to the most with great yearning and excitement. Its around this time I hit my best stride. I'm the happiest, consumed by thoughts only positive, blurring out all negativity and pessimism, guzzled with happiness, reflection, joy and celebration, irrespective of how high or low the year may have been. I hope yours was a fantastic one and continues to be so in the year ahead. I wish you a wonderful Diwali, and a year filled with good luck, health and prosperity. Wish you all a Happy Diwali and a prosperous New Year!

Kodubale_02


Right now as I write this, I sit on my dining table overlooking our balcony lit with tiny serial bulbs, running end to end, hung over the balcony parapet like wet jeans on cloth liners, its warm LEDs creating a bokeh effect on the hindsight in a very soothing way. Our little girl has been running around the home in sheer excitement of the festive hoopla. I miss the sounds of zameen chakras, rockets and phooljhadi (flower-pots) bursting in the vicinity, that reminds me of home back in India; but in a few minutes from now we'll head out to the local temple about 5 miles from home, where sounds of bursting crackers and rings of temple bells will chime alongside families wishing each other Happy Diwali. There's community get together - with prayer, celebrations, food and musicals to round off the night. Also, with parents around, our home is smelling of kodubales and shankarpalis and that's nothing short of what Diwali has been for us - food and celebration, both in plenty.

Before I head out, I'll leave you with this recipe for Kodubale, a traditional Indian savory snack that we grew up eating way too often, that there came a point when I hated it by heart. After I moved to Bangalore, I did not eat them for years. And then slowly, there came a time when I went back to eating them on my occasional trips to Mangalore, where they are made in plenty. It wasn't with much fervor though, but I know why so. Kodubales are made plenty in Mangalore - every bakery stocks them, every house stocks them, they are gifted too. They stay fresh for long, so most homes will serve you with a plate of these alongside tea. Women in most households have a recipe of their own, so they either whip up batches and stock by larders or they rush out to the nearest bakery to buy them the moment they hear a guest is about to arrive. My relatives even brought them along to gift whenever they visited us. Eventually it was overdosed and I saw aversion to it.

Of what I remember, these require no occasion to treat upon really. You make them on whim, serve your guests, feast them on festivals, snack on them in evenings with your tea, or simply carry them on your bus rides to munch on when odd hunger pangs strike. They are fried ofcourse, but they won't do much harm as a lot of the rice flour in the recipe is immune to absorbing oil. So you'll have a delicious savory that you can eat guilt free. I highly advise not experimenting these with baking, as they can obviously end disastrous. But if you have courageous nerves that I don't have, and you are successful at baking these, please share your tips with me. I will be overwhelmed to hear from you. On another note, you can control the amount of heat to your liking. I love these spicy, but if you like them low on spice, use a milder chilli powder for the heat. They are delicious I bet!

Kodubale_03


Kodubale

Prep: 30 mins | Cook: 20 min | Makes: 3 dozens

INGREDIENTS

Dry Ingredients:

2 cup rice flour
3/4 cup roasted split bengal gram (huri kadale)
1/2 cup desiccated dry coconut (powdered copra)
1/4 cup maida / plain flour
1 sprig finely chopped curry leaves
1 tsp. red chilli powder (I use a spicier one, such as Guntur chilli powder)
2 tbsp. sesame seeds
1/2 tsp. good quality asafeotida
Salt to taste

Other Ingredients:

2 tbsp. hot ghee
Oil for deep frying

DIRECTIONS

In a mixie, pulse the roasted gram into fine powder and keep it aside. Mix all ingredients mentioned under dry ingredients list along with roasted gram flour and make a well in the center. Add hot ghee and mix into the flour. Add just enough water to knead it into a firm dough.

Pinch out lemon sized balls of the dough and roll them using your palms into a long, 1 cm thick rope. Cut the rope into 7-8 cms long strips. Bring the 2 ends of the strip together and pinch its ends to form a tear drop shape. Alternatively, you can bring the either ends together and pinch them to seal, thus forming a round bangle shaped ring. Prep all of the dough and keep it ready for frying.

Meanwhile, as you prep the dough, heat up oil in a kadhai / wok to medium low heat. Test by dropping a small ball of dough. It should sink first and raise up to the surface. Once heated to this stage, drop the prepared kodubales into the hot oil and fry them in batches on medium low heat till they are golden brown in color. Do not clutter many in each batch as they need to be cooked through well. The temperature of the oil is key in making good kodubales as hotter oil will tend to crisp the kodubales faster, while the centers may still be uncooked. Remove from oil and drain on a kitchen paper. Allow them to cool completely and store them in dry airtight containers. They can be stored and stay fresh for about 2 weeks.

Kodubale_04

Classic Buttermilk Waffles


So it came finally. The tail-end of September wagging its way out and giving way to the rolling acorns and lazying dawns of October. I feel giddy and selfish at the moment, with all that summer, and its bounty warmth we are parting away. I'm unwilling to let go of the September coziness, its weather so impeccable, yet, October is right around the corner knocking to besiege. For our little girl, it holds promises of play-a game of picking the fallen acorns and bringing them home each evening to fill her jar of what she calls her little craft goodies. She counts by numbers and makes sure no one gets to mess around with them. The sun is up late these day, like us on Sundays, stretching out at ease and retiring to bed sooner than should.

Classic Buttermilk Waffles


October, my herald, you are finally here! Riding along with Autumn, bringing all things nice and beautiful in its direction. So have I heard, from D and my colleagues, books and magazines. You are D's love more than mine. He lauds you with a twinkle in his eye, like a teenager dizzy in infatuation. You are his season, his reason for admiration. I've been waiting for you eerily, the hallelujah he's been all about. D is a huge fan of you; he's a sucker for colors, the leaf peeper, our foliage tracker, the nature lover, a sincere admirer. "You MUST watch fall colors, there's nothing like it", he'd say all the while. I'd reel in excitement, like in glee of a kindergartner counting on her Christmas gift. With several videos and photographs of autumn spreading its golden hues that D had been aptly sharing with me on watsapp over the past 2 years, I wondered if this was so surreal in pictures, what the heck would it look like in real. I had seen the spring and the summer landscape of New England, narrowly gotten glimpse of winters, their snow capped rooftops and bare tress too. Of what was remaining to witness was this season sandwiched between summers and winters -the autumn, or the fall as they call - the transition - getting into the skin of winters.

So you are here, out of your closet after months of solemnly hiding; playing with my sunshine, my daily dose of Vitamin D. You frisk us with your bouts of chill, make us miss our morning alarms, after all its still gloomy outside, sky blemished with neutral hues of blacks and whites dangling high, it has us snuggling longer with curled toes in our beds. You make people on walks wear boots and scuffle in their coats, their hoods still flapping their backs. You peek-a-boo the sun, filling skies with grays. You daub our backyard with shades of reds, burgundies and browns. You make the poor squirrels run helter skelter, scouring for their hibernation. Those sparrows are gone too. You spill acorns, pluck crisp maples and oaks, line them on our sidewalks to crackle as we tread on.

Classic Buttermilk Waffles


You know I am excited, I want you around. I've been waiting, waiting this long. I am anxious though about the chill ripples you'll bring soon. I smell your autumn perfume, the air sweet in its giving. I worry for those naked trees, all their browns you'll soon skin away. I worry for the squirrels, hoping they'll stay warm. I worry for the flakes that will come pouring down, the streak of gloom, and the white blanket you'll engulf all things with. I worry about winters, of what I've heard and seen, about shoveling the driveway, of making it to office on time, and being back home. I worry for my daughter burying herself into layers of warmth. I worry for myself. I can't bear cold even as I am prepared. I worry what you'll soon bring along.

I want to hold on to this for a while longer. I fear losing these golden sweet peaches, the last of my summer treasures as you'll soon fill them with apples, winter squash and sweet pumpkins. Not that the apples won't be welcome, but I lament my berries were long gone; what's left of it is a handful of them sought from our berry picking days, clung in clusters, glued by ice, sitting high in my freezer, their box cover identical in color as these navy beauties. Just by chance.


These waffles don't have much to speak for, except that they are belong to realm of classics, and ofcourse have some buttermilk in them like their name suggests. They were made inspired from one of the cookbooks I rented from the library last year, jotted down roughly on scraps of kitchen towels and placed randomly in between pages of a cookbook I own.

I made these a few weeks ago, in a brand new waffle pan that I put to use since I received as a gift from my cousin's wife last year. I met her for the first time after several years, and we bonded very well. I love such gifts that conjure up old memories each time I use it. Peaches and blueberries make a light summery topping. Maple syrup brings the right touch of sweetness to these waffles. Overall its the right kind of breakfast for these days - warm and comforting for those lazy Sunday mornings.

Classic Buttermilk Waffles

Prep: 10 mins | Cook: 5 min each | Makes: 5-6 waffles, 6" in size

INGREDIENTS

Wet Ingredients:

1 cup buttermilk*
1/2 cup melted butter
2 eggs
2 tbsp. vanilla extract

Dry Ingredients:

1 3/4 cups all-purpose flour
2 tbsp. sugar
2 tsp. baking powder
1 tsp. baking soda
1/2 tsp. salt

To serve:

Pure maple syrup, sliced peaches and fresh blueberries, to serve

DIRECTIONS

Preheat the waffle iron as per your manufacturer's instructions.

In large mixing bowl, beat together all the wet ingredients, i.e., the buttermilk, melted butter, eggs and vanilla extract until they are light and fluffy. In a separate bowl, mix together the dry ingredients well.

Transfer the dry ingredients into the wet mixture and stir them together gently with a wooden spoon till they are just combined.

Using a measuring cup, spoon out about 3/4 cup of the batter onto center of hot waffle iron and spread it around to spread on the waffle pan. Waffle pan sizes can differ based on manufacturers. Depending on your pan and your first waffle, you can increase or decrease the amount of batter needed for subsequent ones. Alternatively, refer your waffle maker’s manual for the recommended quantity of batter. Close the lid of waffle pan and allow it to cook till the lights go off and the waffle pan stops steaming from the sides. It usually takes about 5 minutes to turn golden brown.

Carefully lift the waffle and serve immediately. Top with pure maple syrup and fresh blueberries and sliced peaches.

Classic Buttermilk Waffles


Notes: Incase you do not have buttermilk at hand, you can prepare one by mixing 1 scant cup milk with 1 tablespoon lemon juice or vinegar. Whisk well and allow it to rest for 10-15 minutes. The prepared buttermilk should thicken the milk slightly. Use as required.

Alternate option is to use watered down yogurt. Whisk water into plain, unsweetened yogurt until you get a buttermilk-like consistency. The amount of water needed to thin down will depend on the thickness of your yogurt. I like to use 1/2 cup water to 1/2 cup of thick Greek style yogurt.

Chocolate Black Forest Ice Cream

How to make Black Forest Ice Cream | Easy Chocolate Black Forest Ice Cream Recipe
I am clueless how months have flown by since my last post here. Let me put excuses aside and so that you know, let's get started with first things first. While many guessed, for the ones who remained uninformed, I made a big move from India to the US about 6 months ago. That was way back in the mid of March when the snow caps here in Connecticut were on the verge of melting and the spring sat on its edges awaiting to set in. From the summer heat of Bangalore to the ceasing winters of New England, I moved in with 2 huge suitcases packing all that meant the world to me.


It took me a while to settle down to the demands of not-so-new-anymore place, work and routine. And believe me, while it wasn't hard at all, I did not have it all easy either. It was life at work that was most consuming. Caught up in a new place, with new folks, new skills to learn and new team to work with, I was jostling myself with an identity crisis. I worked on many weekends and put aside blogging for a while for the sheer busyness and lack of motivation. And when we had time off, we hit the road and traveled places to make most of the summer.

We also have my parents over here right now. That's a big joy and great support knowing that our little girl has just started school and will be back home in the noon to house full of folks she loves and is pampered by the most. They will be around till the mid of November to witness the glorious fall season. That tells you our kitchen has been the busiest place at home where most of the action is seen. You can hear whistles of pressure cooker go by at regular intervals. You can smell pots of steaming rice and sambhar bubbling away. We just got done with guLiappams and chutney for breakfast this morning. Right now, potatoes are being boiled for Aloo Parathas tonight, the husband's all time favorite. And there's this Chocolate Black Forest Ice Cream sitting in the freezer to be devoured for dessert at will.

Pitted Cherries


I made a repeat of these brownies last weekend. I also had a can of condensed milk, a box of fresh cherries and some leftover cocoa powder awaiting to be consumed. So it turned out that this Chocolate Black Forest Ice Cream was a well timed recipe to make use all that I had been wanting to consume. The cherries I used here were fresh sweet ones. You can make do with frozen ones too. Roasted walnuts are quite optional, but give a lovely crunch to this ice cream and pair really well with the brownies. If you aren't a fan of chocolate ice cream, but love brownies, try skipping the cocoa powder while making ice cream and leave it plain old vanilla. Don't forget to stir in the cherries and brownies, because that's what makes them Black Forest :). For a more decadent, richer, adult version, I highly recommend using rum soaked cherries in place of fresh cherries. Drizzle some hot chocolate sauce before you serve this to your chocolate loving guests and I would probably call that death by chocolate!


Chocolate Black Forest Ice Cream

INGREDIENTS

400 ml heavy cream, cold
200 grams condensed milk, preferably cold
2 tbsp. good cocoa powder
1 tbsp. vanilla essence
1/4 cup chopped roasted walnuts
1/2 cup chopped fresh cherries
1/2 cup crumbled / bite sized chocolate brownie chunks

DIRECTIONS

To prepare the chocolate ice cream, whip the heavy cream till it doubles and holds soft peaks. Then add the condensed milk, vanilla extract and cocoa powder. Continue to whip until the mixture is smooth and fluffy and holds soft peaks, about 1 minute.

Transfer half the prepared ice cream to a loaf tin or your ice cream container of your choice. Top it with half of the brownie chunks, cherries and walnut. Using a fork, gently swirl so that the nuts, brownies and cherries mix into the ice cream.

Top this with another layer of prepared ice cream, followed by topping of the remaining half of the brownie chunks, cherries and walnut. Swirl again gently.

Cover with a lid or plastic wrap and allow the ice cream to set in the freezer for at least 4-6 hours. To serve, remove from freezer and place the ice cream in fridge for 10 minutes to soften. Using a warm ice cream scooper, spoon out the ice cream and serve.

Chocolate Black Forest Ice cream Prep


This post has been long over due. Though this may look simple and straight forward, I can't emphasize how many months have gone over writing this post. And then it went into a hiding. Further to my post on baking essentials in my kitchen posted couple of years ago, I sat down to put another post on the tools and gadgets that I am obsessed with. When I began jotting down this post, I had no clue where to start from. There was so much to put down here that I wondered if I could do all on this post. Here is a humble attempt to share the most of what I thought was essential. This is not an endorsement for a product or brand, but I believe this will give you an insight of what I use in my kitchen and where I bought them from, with a sincere attempt to help all.


Baking Pans: Baking pans are available in various sizes, shapes, heights and makes. Sizes can vary from 3 inches and go up to 9 inches for home use. The pan to be used will depend on the quantity of cake batter you have. For most cakes, the batter should not exceed 3/4th the height of the cake pan, allowing sufficient space for cake rise.

Silicon make, non-stick or aluminium tins are most commonly available in Indian markets today. I commonly use either non-stick or aluminium tins for my bakes. While my aluminium tins require proper greasing and dusting of flour to prevent the bakes from sticking to the pan, the silicons and non-stick ones can be used directly. If you do not have an oven and are using microwave method, use silicon moulds. Most silicon moulds work well in microwave mode, however I suggest you check with your manufacturer.

Ovenproof Glass Bowls: I picked mine from couple of places and these are readily available in most supermarkets in Bangalore these days. Supermarkets like Hypercity Mall, Spar, Total Mall, Hometown, @Home, Jamaals, etc. in Bangalore sell good ovenproof glass bowls, pans in various sizes and heights. You have round, square and oval ones to choose from. I use glass bakeware extensively for baking savory goods. They are great for pastas, lasagnas and au gratins, where you can bake and present in the same dish. These are perfect for puddings, pies and cakes too, the ones that do not require to be transferred to another dish. Ovenproof Glassware generally require longer baking time, hence baking times will need to be adjusted accordingly.

Disposable Aluminum Pans: These are easily available in most Bangalore supermarkets. Infact I have seen many small vendor shops selling them too. So fetching them shouldn't be an issue. They come with aluminium foil base and cardboard paper cover. They are commonly used to pack n' parcel food and help in easy take-along while traveling. Bake your goodies and take them along your travel in the same casing. Mess free and easy peasy! And if you are not a regular baker and do not see the need to invest in bakewares these are cheaper, clutter-free options. I have baked brownies in them and taken them to parties and picnics with much ease.

Springform Pan: A springform tin has a bottom that is separable from the side. A clamp holds the pan together and opens to allow the side to easily be pulled away from the baked dessert. When I first ventured to baking, I almost considered this pan was a must for making cheesecakes and other desserts that are tricky to remove from their pans. Yeah it does help, but buy one if you really intend to bake such complex desserts. They aren't good for baking regular cakes otherwise as the batter may seep out from the pan base edges.

I love my springform pan from a brand called Prestige that I got from Bahrain. It's is a heavy gauze metallic one and extremely sturdy against any wear and tear. Another one I own is from a brand called Nordicware that I got from US, though its delicate and have never really used. Honestly, I craved for my springform pan when I did not own one. However since the past 2 years, I have barely used them apart from baking in them for Christmas. Do you really think you will bake a cheesecake that often???


Loose base Tin: A fabulous replacement for springform pans in Indian markets. I picked mine from Nilgiris supermarket in Mangalore. Grab one if you manage to get your hands on them. Most springform pans in India are imported and expensive. Loose base tin does the same job well. Ofcourse if you have a runny batter, I recommend you against using it.

Tart Pan: Tart pans come with shallow depth and fluted edges. They come in many different sizes and the ones with removable bottom makes it easy to neatly transfer a tart to a serving plate. The ones with deeper depth are used for quiche and shallower pans are used for delicate dessert tarts. Honestly, I am not a tart person and for the one that I own, I have never used it till date, except to bake this Apple Raisin cake once. I love its fluted edges though!

Pie Tins/Pans: Generally, pies are baked in a relatively deep pan with sloped sides that can hold a large amount of filling. Pie plates come in varieties, ranging from ovenproof glass, ceramic, heavy foil, aluminum, stainless steel and nonstick. I use a Tramontina brand pan that I bought from Jamaals, Forum Value Mall, Whitefield. I also bought a couple of mini pie pans that I bought randomly at some sale shops.

Muffin Pans & cases: Available in 24-, 12-and 6-cup pans, the standard muffin cup holds a scant 1/2 cup batter. Muffin pans are available in various sizes and come in capacities holding about 1/2 cup to 2 tablespoons batter.


I bake muffins and cupcakes quite a lot and hence these pans are definitely one of my most used items in my bakeware list. Muffin pans are very easily available in Bangalore, especially in most malls and supermarkets. I use a silicon mould with 6-cup pan, but you can go for aluminium, silicon or individual moulds. I often love using my jelly moulds to bake my muffins. I get my muffin pan and cupcake papers from Jamaals. I am not biased towards Jamaals here, but then I do buy a lot from them since they sell quality stuffs, hence recommend them for your purchase too.

Loaf Pan: Aluminum loaf pans can turn out tender cakes, while dark, nonstick or glass pans will produce a crunchy-chewy crust. Mine is a legacy aluminium loaf tin I borrowed from my mother and I love it. Apart from that I have a smaller sized loaf tin, again in aluminium for smaller bakes. Either ways, I use them a lot.


Bundt/Tube Pan: Also known as an angel food cake pan, this deep pan has a hollow tube in the center that promotes even baking. Mine is a standard aluminium bundt pan. Demoulding a bundt pan can get quite tricky, especially if you are impatient with it. Be sure you grease your pan really well and dust liberally with flour before baking. If you want to avoid this hassle of demoulding with butterflies in your stomach, opt for a non stick bakeware.

Ramekin: Ramekins are usually made of porcelain or earthenware and can be used for both sweet and savory dishes - either baked or chilled. I use ramekins from Clay Craft brand that I bought for a reasonable price of Rs. 70 per piece. It works like a charm in making individual 2 min cakes, warming butter in microwave or baking creme caramel.

Aluminum Sheets: Aluminium baking sheets are great for barbecues and grills as they are good heat conductors and will produce evenly baked and browned goods. I use them often to line my oven and keep it clean. They are great for packing food, especially parathas, tortillas and rotis.

Parchment Paper: These sheets are great substitutes for non-stick pans and are used as disposable non-stick surface. It eliminates the need to grease and re-grease pans for repetitive batches of baking like cookies or cakes. Do not confuse this to the wax paper, also commonly called as the butter paper that's commonly used in crafts and tracing. Wax papers are not great for baking as they can cause smoke in oven. I have personally tried this and can vouch for that! However you are good to use them in microwave cooking since the paper is mostly unaffected by microwaves, hence safe.

Kitchen Gadgets


Electric Stand Mixer: I get several requests from my readers on this one. Understandably, stand mixers are not so common in India and not of great help in our traditional Indian cooking. Often I am asked if it's worth that investment. I can vouch that it's not an essential for a home baker, especially if you have a hand blender at hand and you are not a professional baker. Yet, my Hamilton Beach Stand Mixer has been a fabulous companion in most of my bakes. It helps me whip up cream, make homemade marshmallows and knead my bread dough effortlessly. It's stand mixer with detachable blender option makes it space effective and an investment worth the dollars spent. I bought mine from the US. You can get one locally too, however, I am not sure how well they perform.

Kitchen Blender: I swear by my Hamilton Beach blender for most of my bakes. I pull it out for almost every cake, bake, whip or dessert I make. It's handy and makes my job easy. I certainly recommend this one.

Mixer Grinder: A must in my kitchen, especially in Indian cooking. Prior to owning a blender/stand mixer, I've used my Morphy Richard mixer grinder to whip creams too. That apart, it does an excellent job in mincing and grinding both wet and dry ingredients. I use it to grind the toughest of ingredients including cinnamon bark and nutmeg effortlessly. My life wouldn't be the same without my favorite mixer grinder. That's how much I adore it.

Tortilla Maker: I bought my Jaipan Roti/Tortilla Maker a few years ago when I was staying alone. It did help me avoid the hassles of rolling the dough thin or the need of separate tava to roast them. But I admit, nothing beats the art of making rotis the traditional way. Yet, if you are the one who avoids making rotis and tortillas because you hate rolling them thin and round, then this one will help you for sure. They make excellent papads and khakras .

Miscellaneous and et al.


Pastry Brush: I have spent minutes wasted over brushing glaze on bakes with spoon, fork, blunt knife, fingers and what not! My thumbs up for this one. Certainly helpful to brush milk, butter and egg whites on baked goodies.

Pastry Wheel: This rolling-bladed tool works well to cut pizzas, pies, pastry sheets. Not a must, but will be of great help! I use them in cutting shankarpalis.

Citrus Zester: If you are a lot into zesty bakes with citrus fruits, then this one is a must have. The zester peels away only the zest part of the fruit avoiding the bitter pith portion. Add the zest in your bakes and you'll totally love it's refreshing citrus punch.

Cookie Cutter: If a fancy shape is not what you crave, go ahead and use the rear of a glass bottle cap or the rim of a small steel glass. Cookie cutters are available in aluminum and plastic in various shapes, sizes and designs.

Rolling Pin: You would never find an Indian kitchen sans a rolling pin! Though this kitchen tool is used mainly to roll out dough, it's also handy for a number of other culinary tasks including crushing ice, crackers, flattening bread and shaping cookies. Rolling pins can be made of almost any material including brass, ceramic, copper, glass, marble, plastic and porcelain. The favored material, however, is good quality hardwood. The heavier pins deliver the best results because their weight and balance produce smoother doughs with less effort.


Grater: I own a couple of them and am huge fan of good graters. I have from micro to mini to noodle sized ones and use them extensively for cheese, chocolate shavings, ginger, nutmeg, coconut flesh, vegetable noodles, and butter. A must have in my kitchen.

Whisk: Whisks have been one of the most essential tools I use for whipping ingredients such as eggs and cream to incorporate air into them. The more wires a whisk contains, the more effectively it will incorporate air into a mixture.

Wooden Spoons: These are essential for my non-stick pans. Apart from this it's easier to mix batter because it does not cut into the batter, but rather, stirs or mixes it. I keep a variety of wooden spoons specifically for my baking projects. Always wash and dry wooden spoons after use. Allow them to air dry to avoid molds on them.

Measuring Cup and Spoons: are indispensable tools for the accurate measurement of dry and liquid ingredients. I highly recommend a good set of stainless steel measuring cups and spoons that will last long and are safe for prolonged use. Plastics ones are cheaper good alternatives if you are a beginner at baking.

Skimmer/Strainer: I spent several years not owning a strainer assuming that I would barely use it as I disliked sweating over pot of hot oil and frying batches of fried food. I sincerely wish I hadn't waited so long. Having a good strainer at hands eases out all your frying frills. It drains away excess oil and saves your energy from flimsy frying. Additionally, its a great skimmer for soups and stocks. It not just drains away water, but acts as a ladle for noodles and pasta. Occasionally, I use mine to drain away excess water from washed greens too.

The above list is quite extensive and I have jotted down common items I use regularly in my kitchen for baking purpose. I have probably not covered some basics like kitchen scales, rice cooker, pressure cooker (my lifeline), sandwich maker, steamer, chopper, knives, microwave, OTG and their brands I use, because I assume the list can go on and on and this holds true for most homes where you accumulate a lot over years. My gadgets and tools are not limited to the above, though this can sound quite an exhaustive list in itself. Over years I have collated enough and more than I desired to and it would put me to shame if I put them all here in a single post. Some of these have been my most trusted, beloved tools - a wise purchase, while some were just impulsive purchases. I do hope this serves as a guide for you and not a rule book in any sense. What works best for me may not work for you and vice versa. So, happy owning and happy baking!