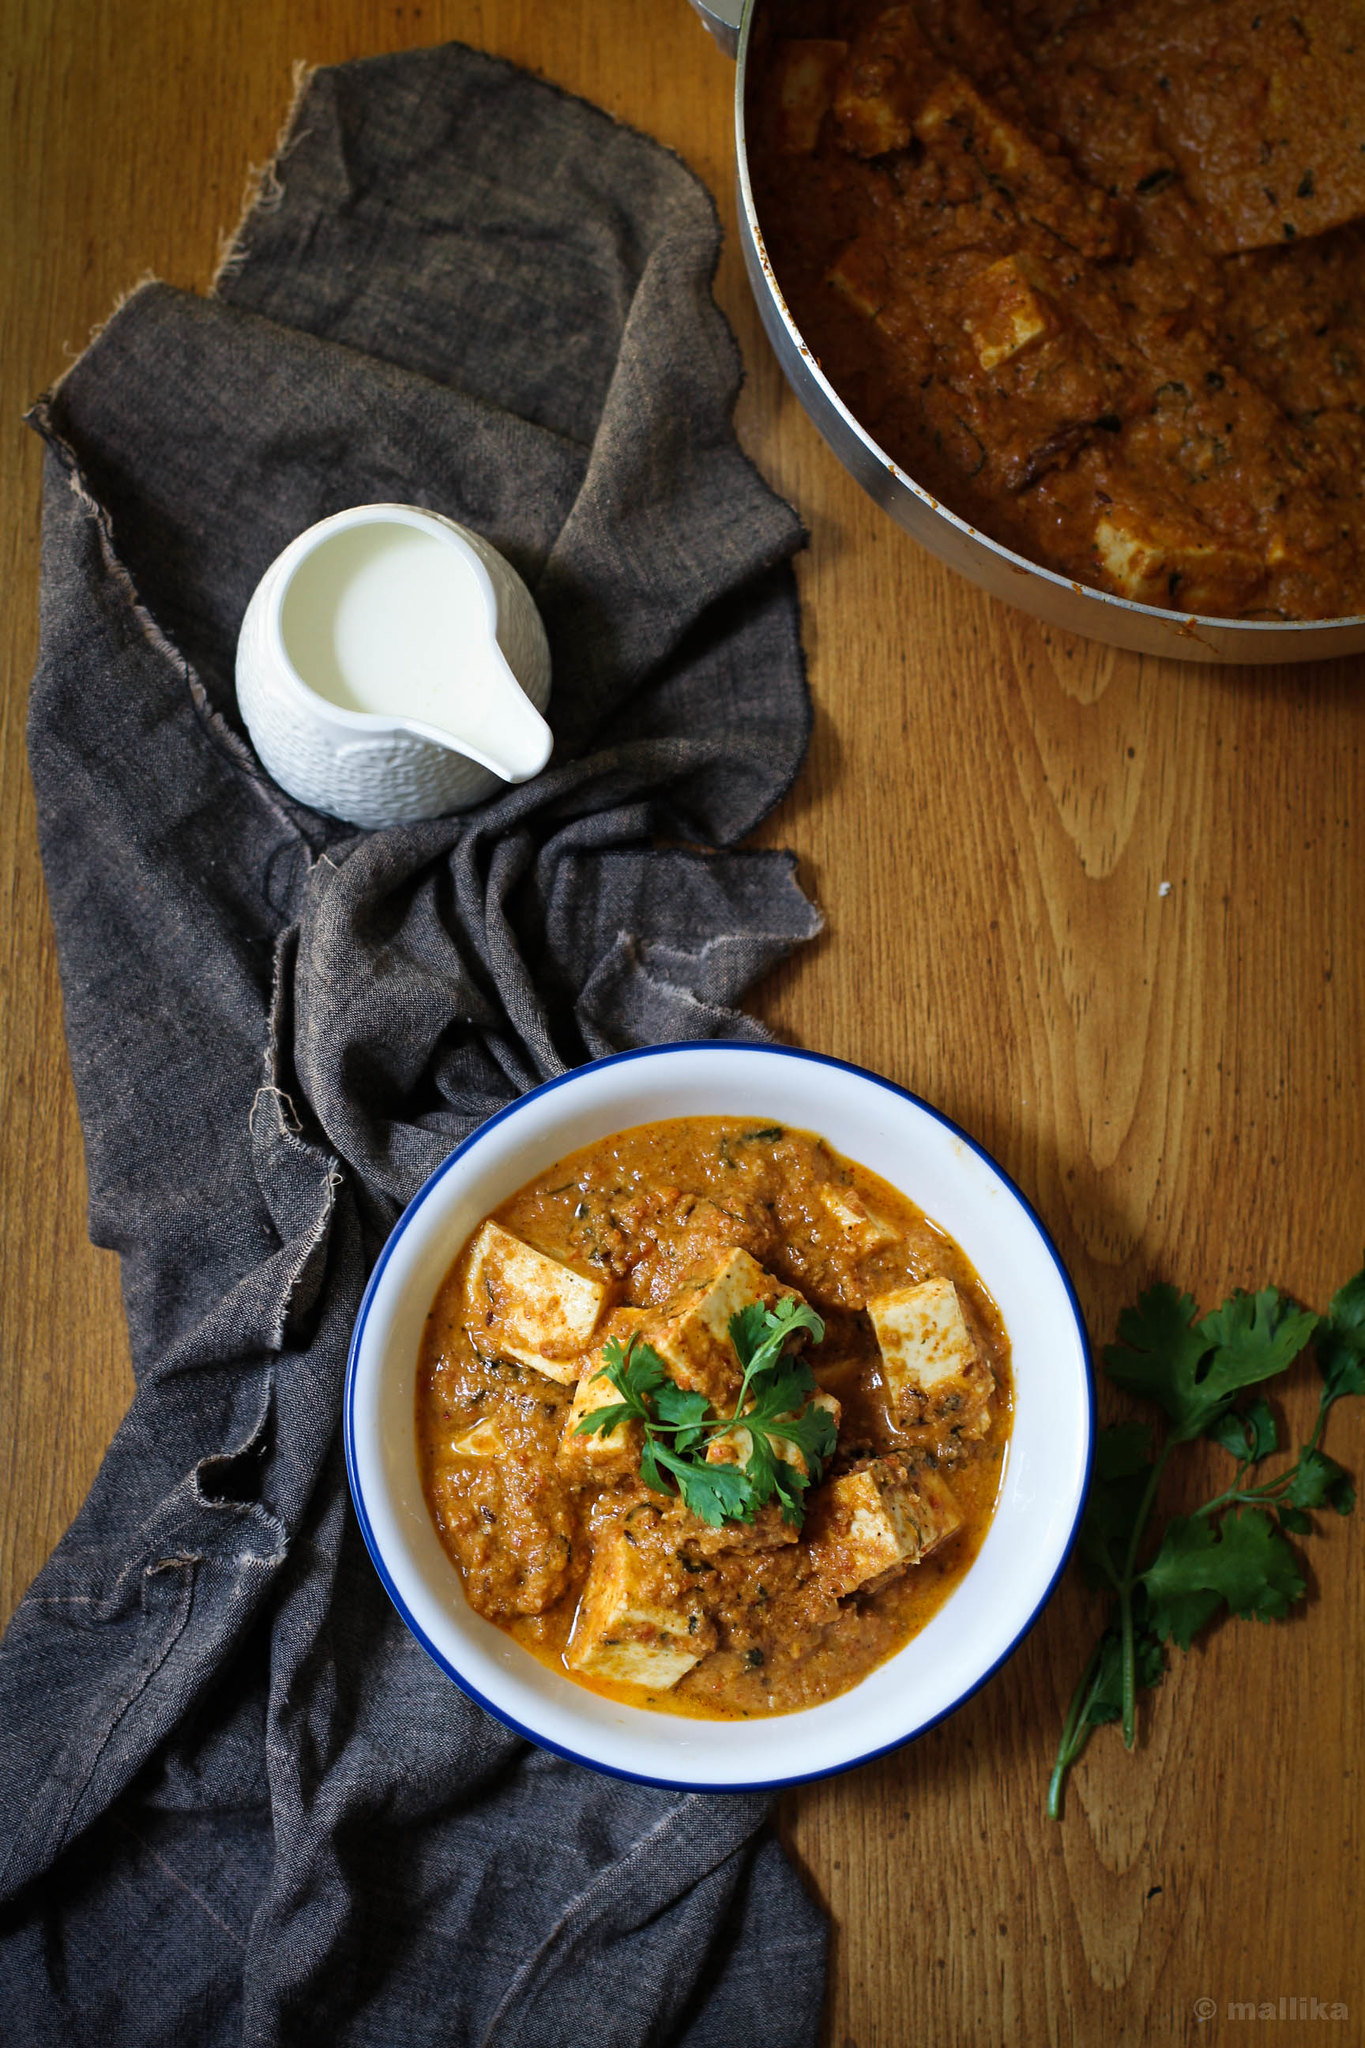
Paneer Makhani

How to make Paneer Makhani| Easy Restaurant Style Paneer Makhani
Back in the 80’s and 90’s, the only kind of restaurants we went out to as kids were the ones that served good North Indian cuisine. A good ambiance and décor was just one factor. A commendable restaurant however, was measured by the North Indian fare it served on its menu. A simple, hot Dal Tadka that had a great smoky flavor; the rich Palak Paneer in its deepest green hues - deeper the green, better the dish - that meant, it was stir fried better, hence it tasted better; Baingan ka Bharta dotted with cooked fresh peas and shreds of ginger juliennes, topped with fresh cream or melting butter, Choles and Rajamas that were spiced liberally and had a good layer of fat floating atop, the ladle going deep to stir it up gently before being served by the waiter; all of this usually formed an integral part of an Indian restaurant menu. This was either served with an assortment of Indian flatbreads like naans and kulchas or flavored rice like Biryanis and Pulaos.

No Indian restaurant menu though was complete without the quintessential assortment of gravies made from either the fragrant butter and cream based tomato sauce, or the white cream and nut sauce. Dal Makhani, Paneer Makhani, Malai Kofta, Veg Makhani, Paneer Butter Masala, Phool Makhani, Navratna Korma, Shahi Paneer and such alike formed the elite part of the menu. They weren’t the usual dishes most moms would cook at homes, hence relishing them at restaurants was a treat we looked forward to. I loosely remember how our palms smelt of makhani masalas after several hours of being back home from savoring the heavy North Indian meal at those restaurants.
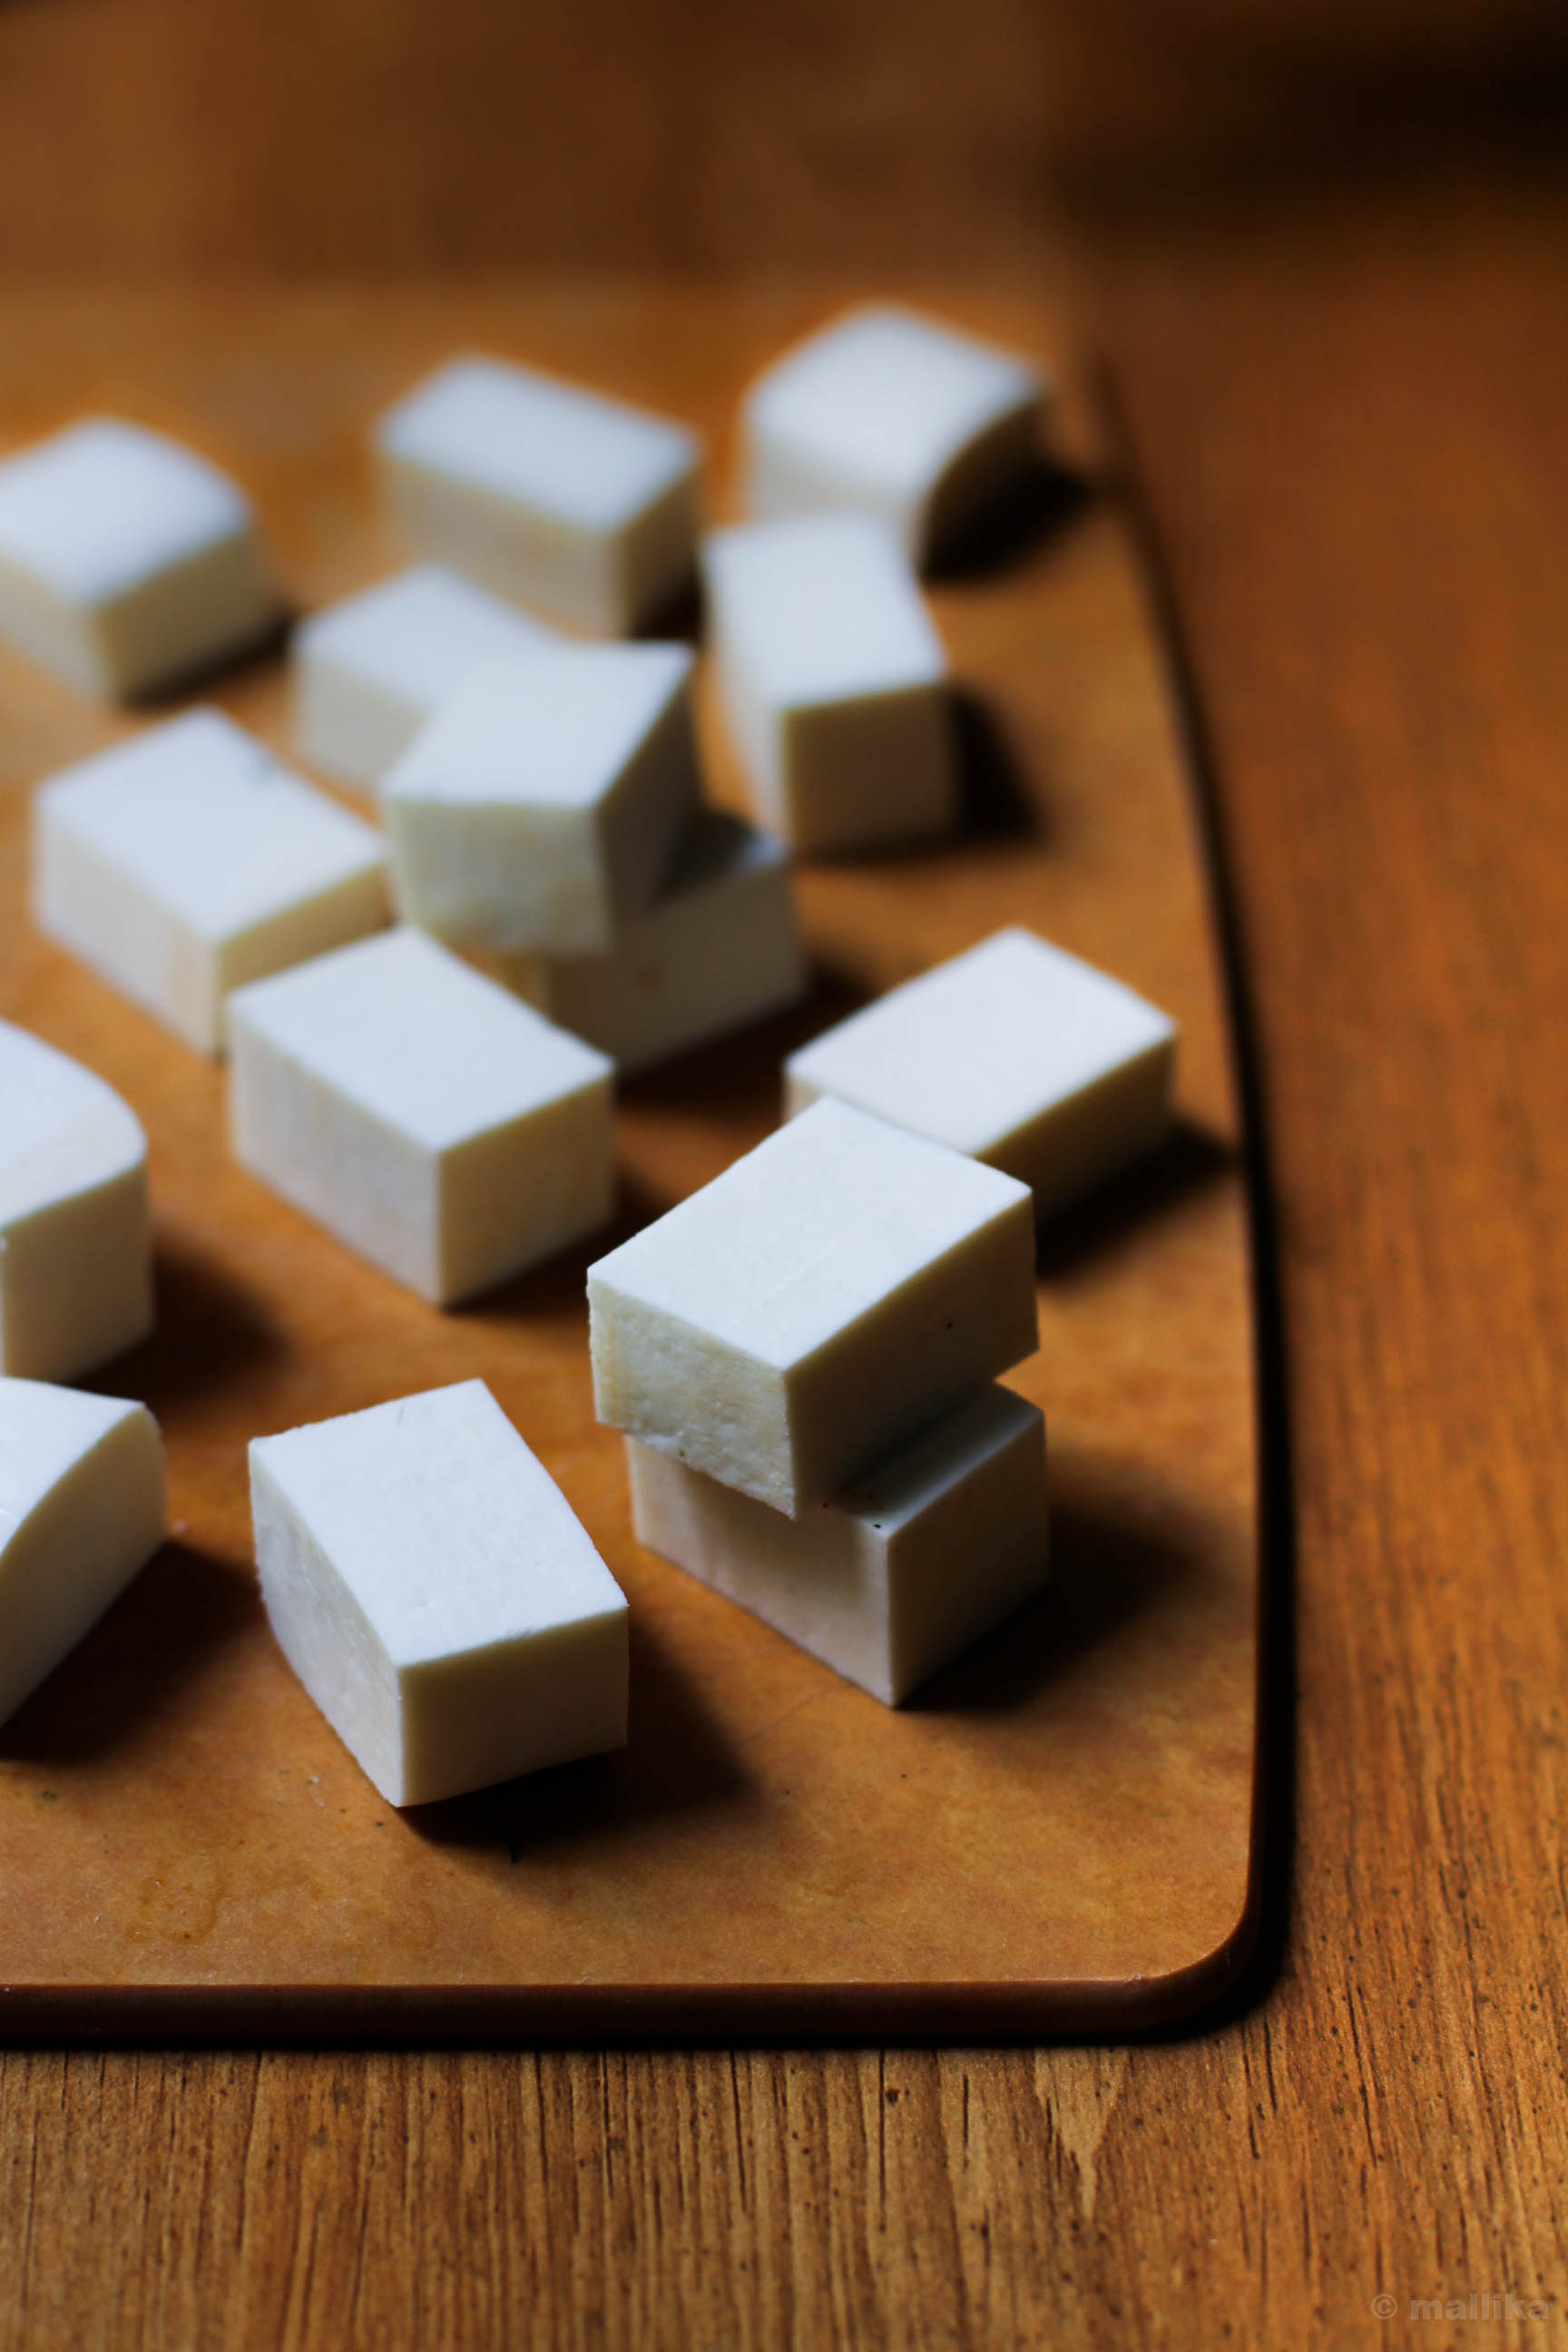
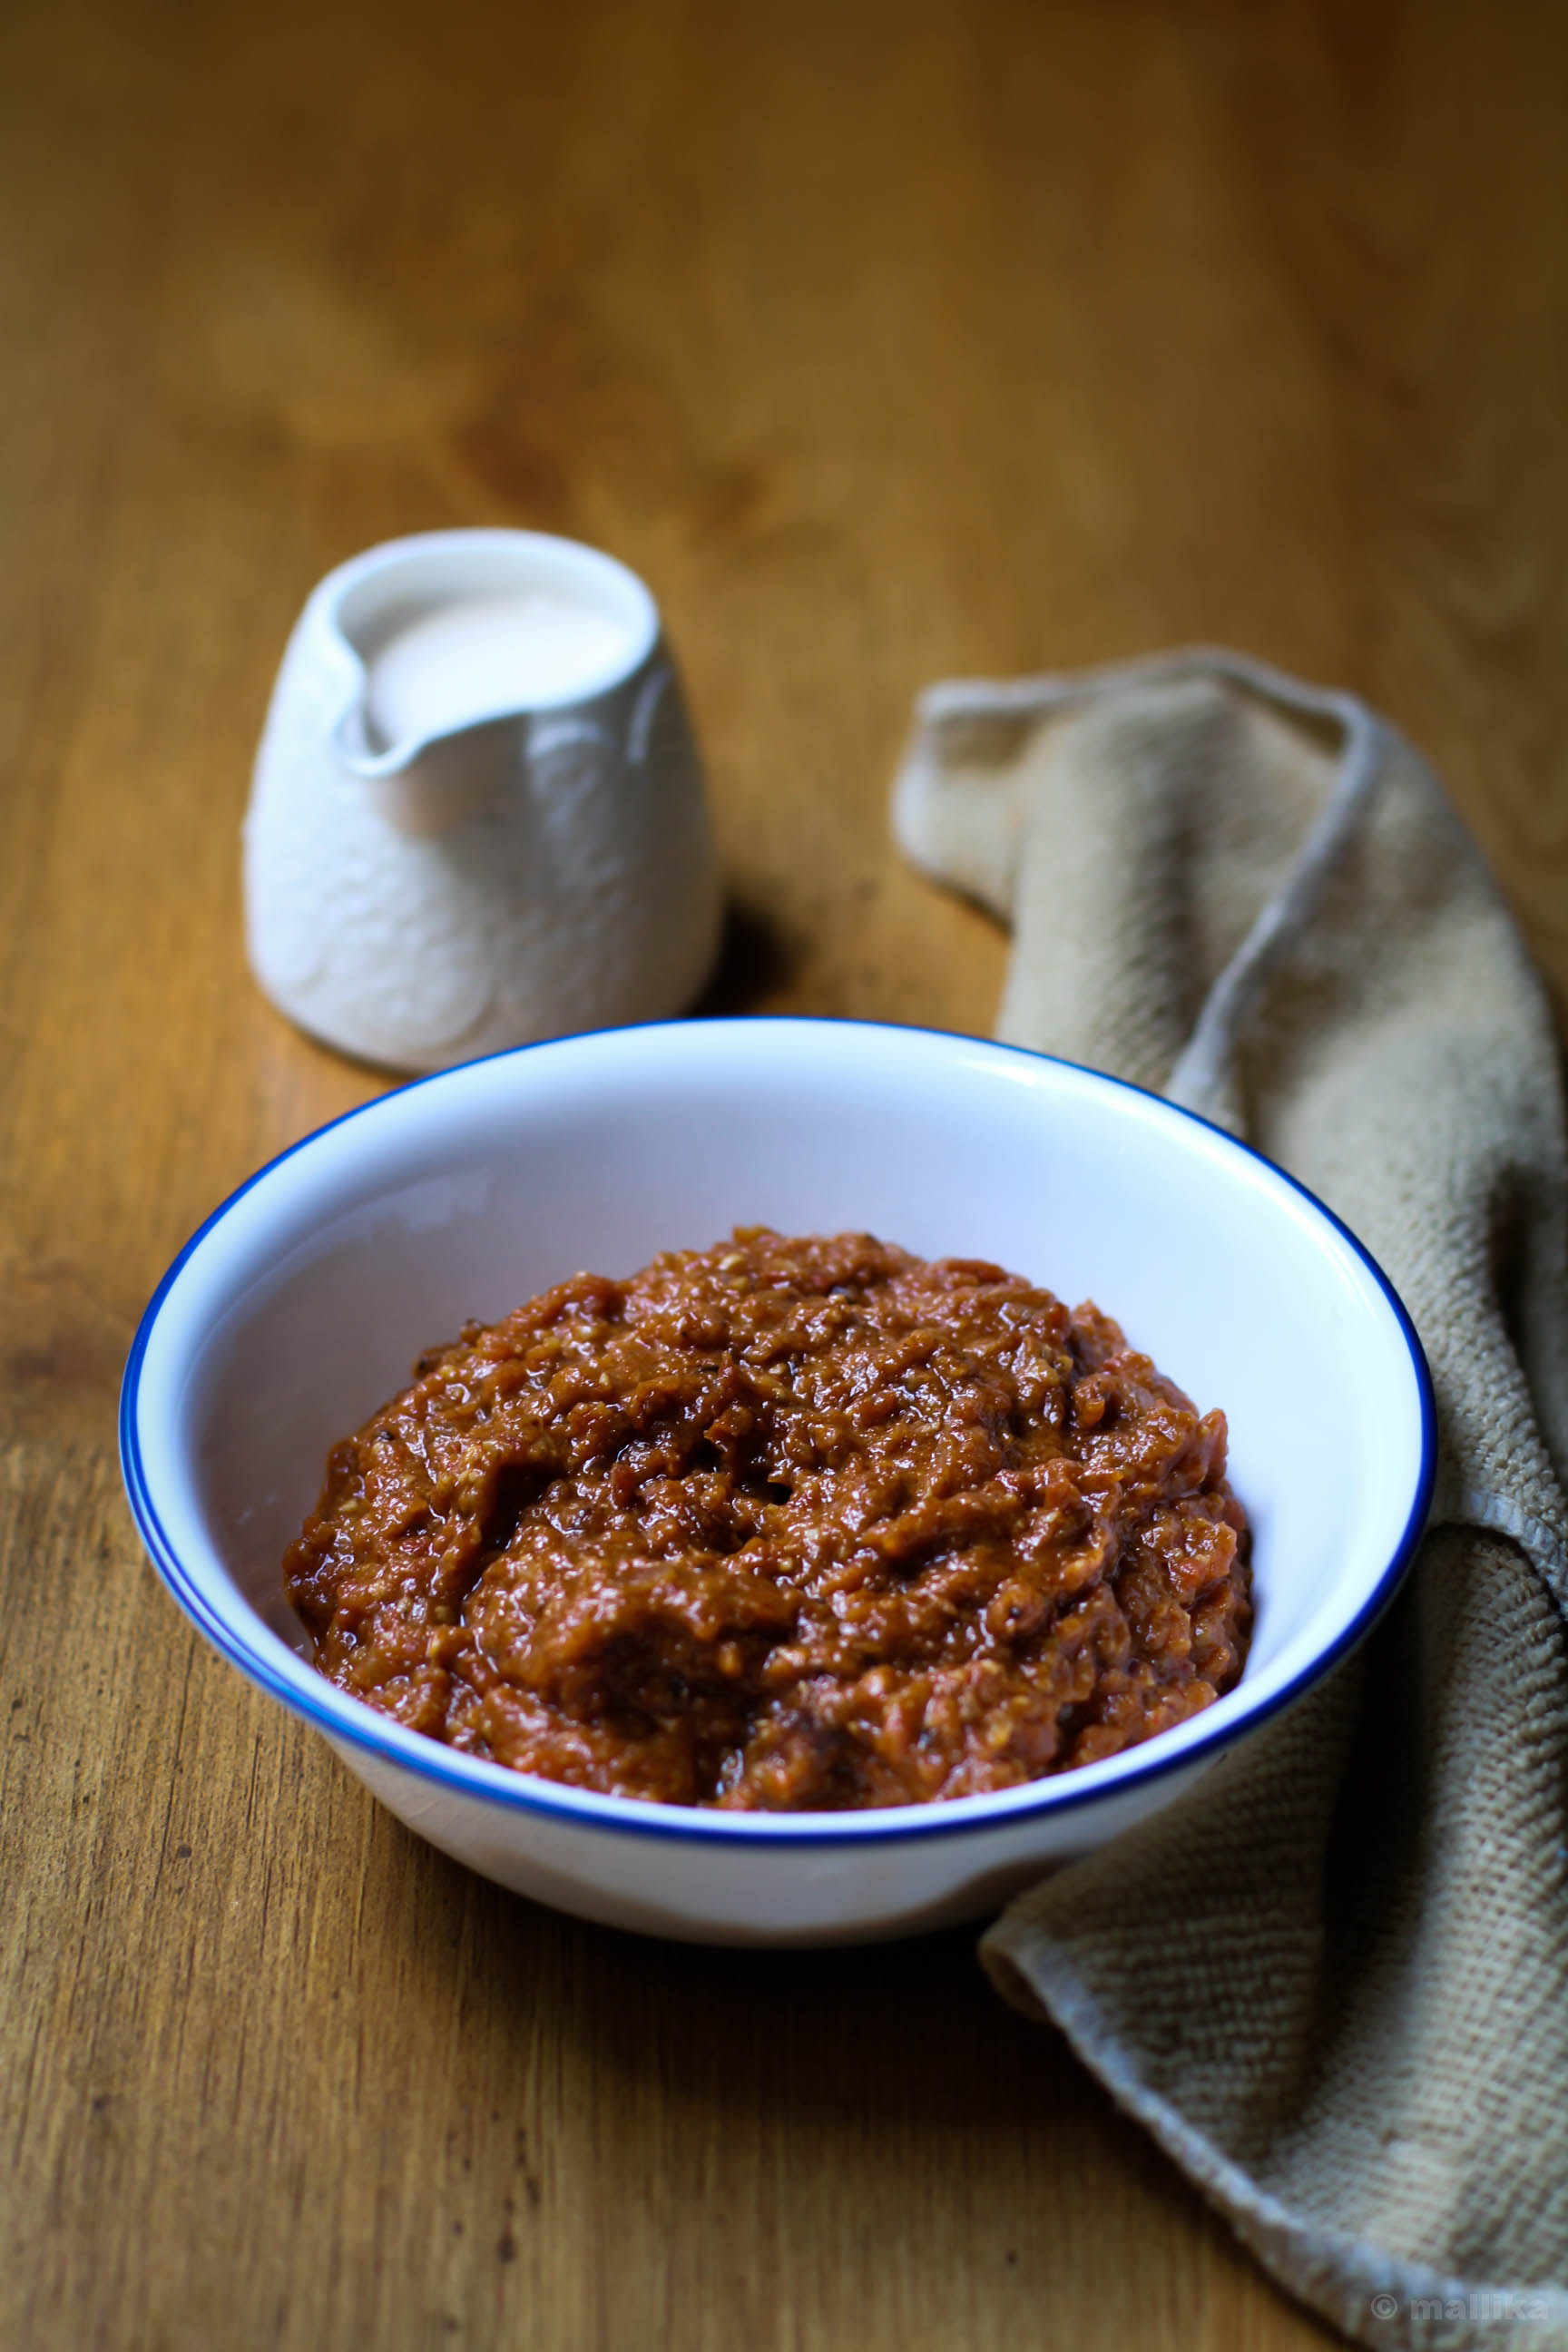
Paneer CubedMakhani Masala 2


Though, that was a thing of past. We no longer gauge a restaurant by the standards of Indian food served. There are plenty of global cuisines to explore from, so usually an Indian fare takes the least preference. We love settling to home cooked Indian meals most of the times, replicating restaurant styled dishes at home in the comfort of my kitchen. On a Valentine's Day, when the restaurants are brimming with crowd, here's a better way to cozy up your evening - with good home cooked food and music to make your day memorable with your loved ones.

I have a fantastic recipe for Paneer Makhani for you. It's a keeper for years to come and you may want to thank me for that. The heart of a good Paneer Makhani dish lies in its base, the rich and flavorsome tomato cream sauce that can be made ahead and stored for a couple of weeks in the freezer. Inspired by Soma's post here, I have loosely adapted her recipe for Makhani Masala, tweaked it a bit to get a beautiful recipe that makes an array of dishes with just one basic gravy. This is where you start and can further adapt it to make many more popular recipes that are usually found in Indian restaurants.

So this Valentine's Day, if you are running out of place to dine out or if you've made no fancy plans to spend the evening as you had wished to, whip up this restaurant styled recipe in your kitchen, lay your table, light your candles and surprise them with this dish in the warmth of your own home. And don't forget to tell them how much you love them. Ofcourse, if you don't, this Paneer Makhani will do that for you!
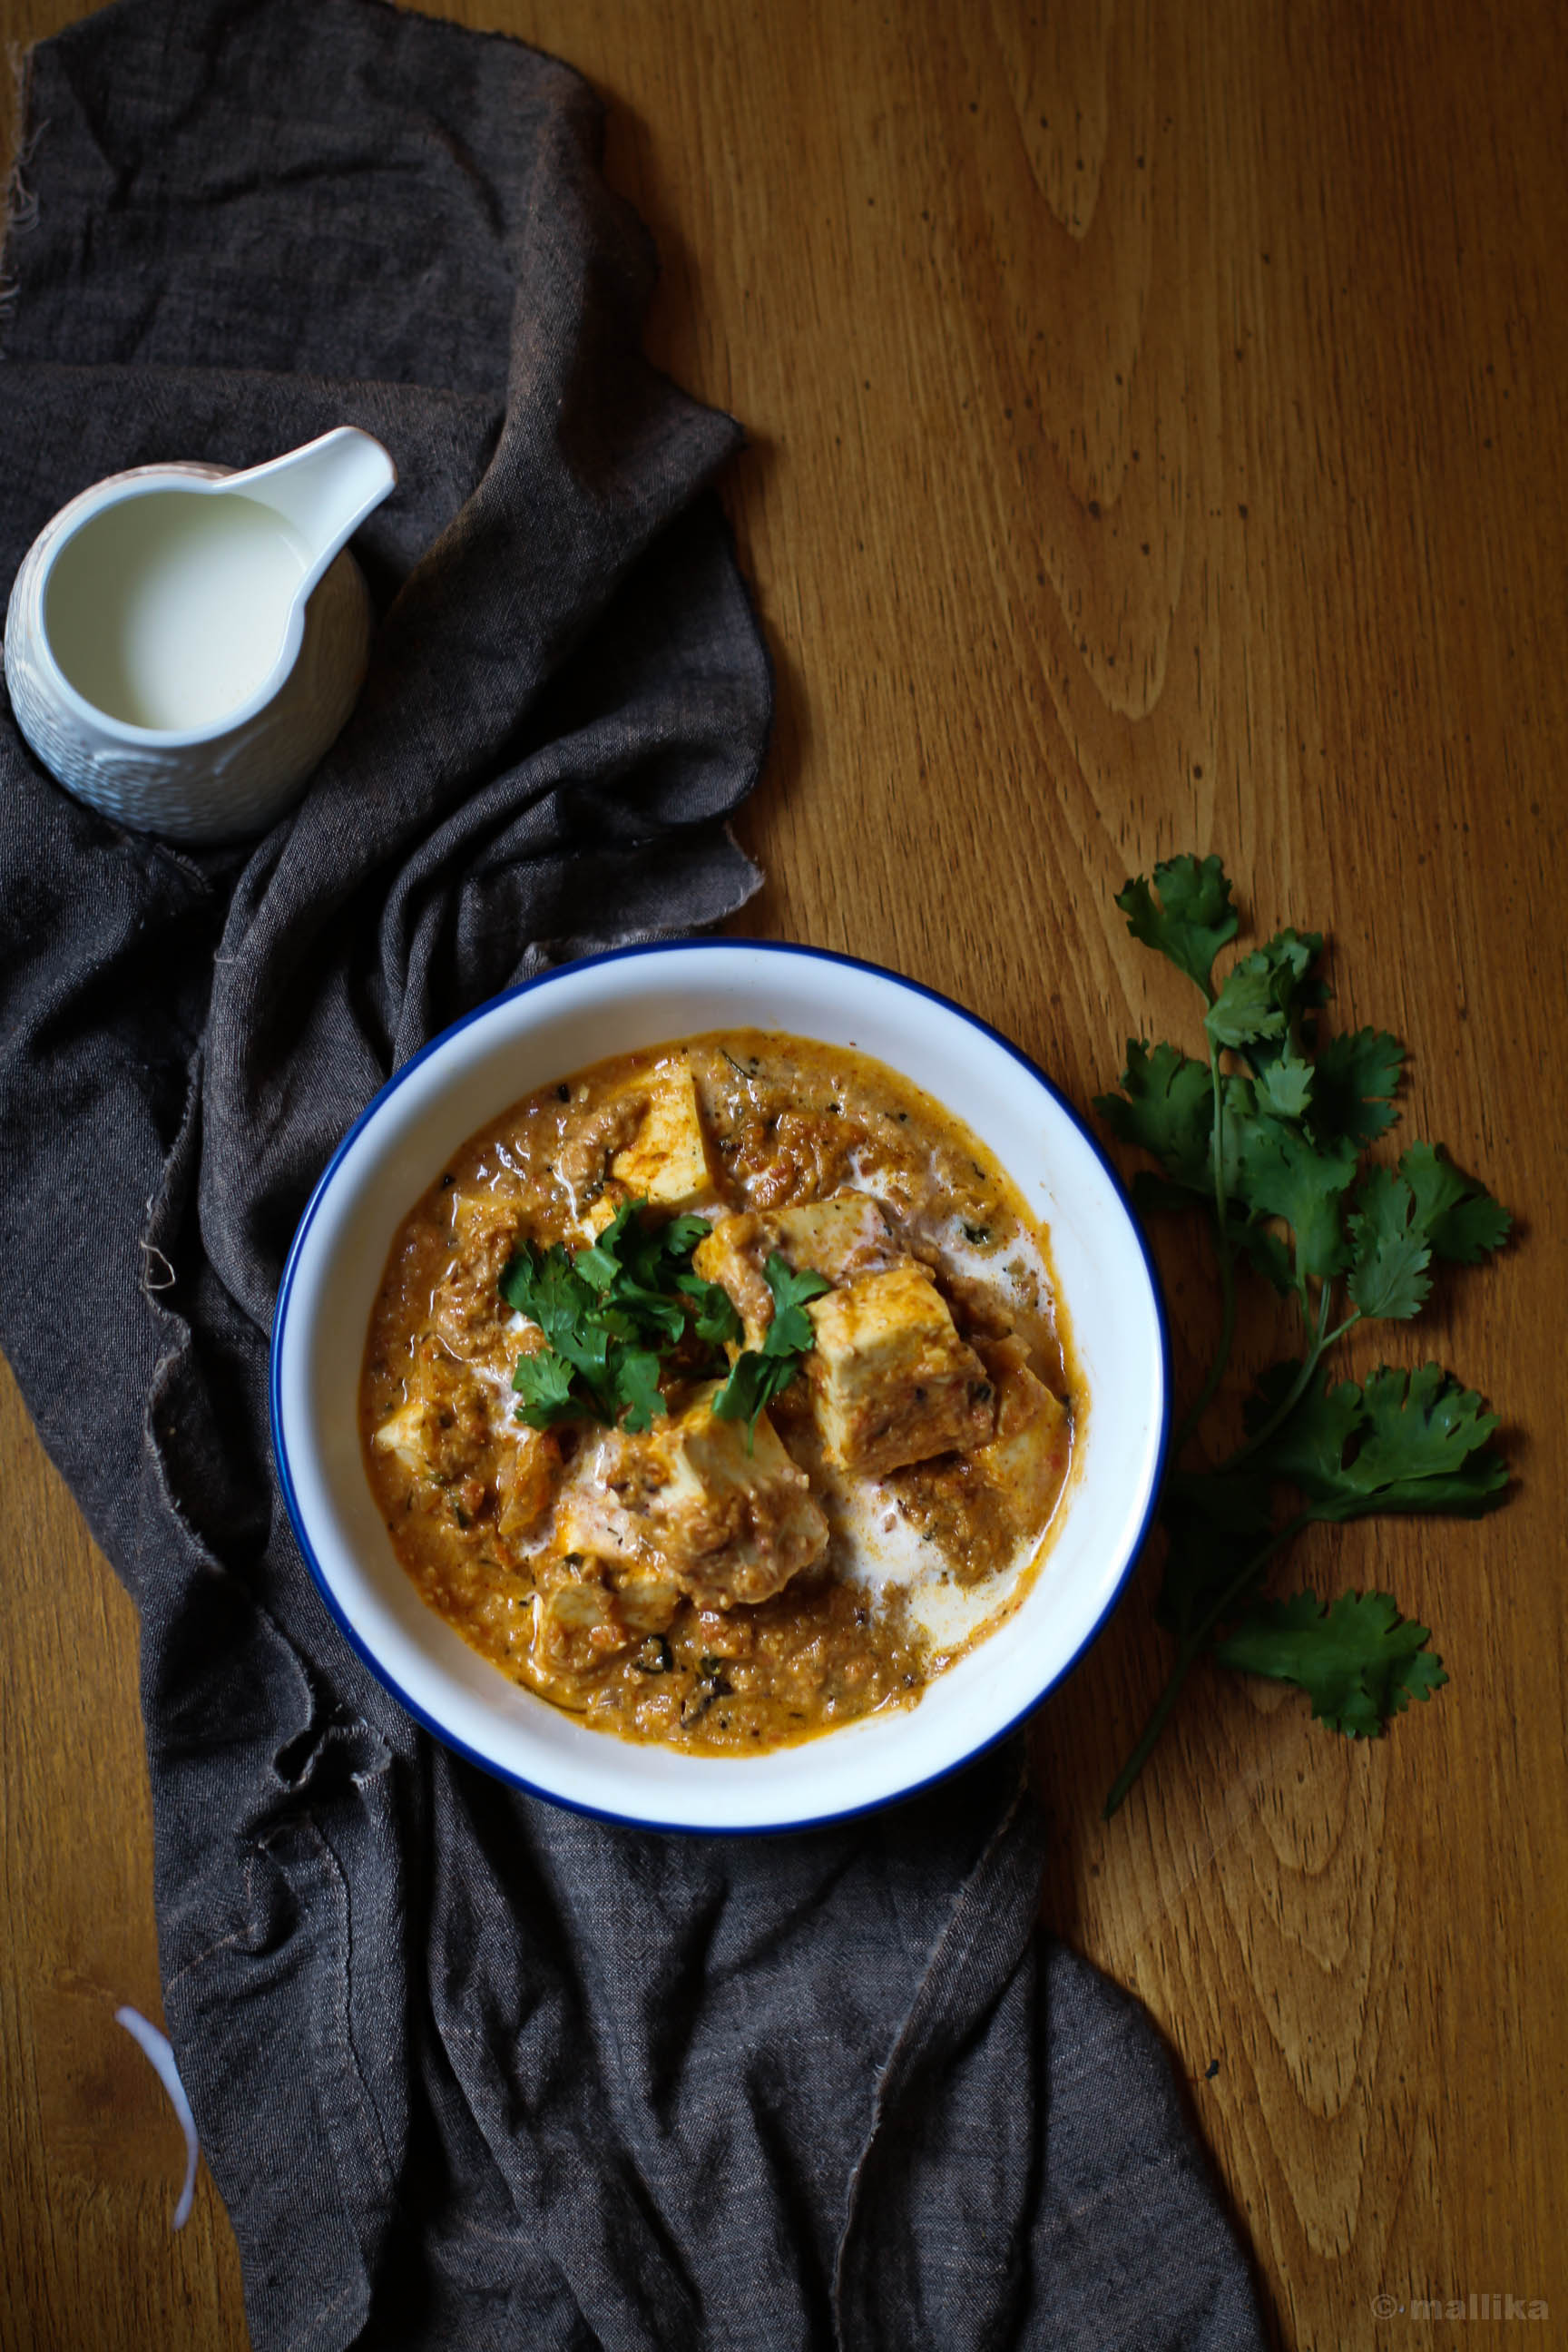
Paneer Makhani 1


Paneer Makhani Restaurant Style

INGREDIENTS

For Makhani Masala

3 tbsp. butter / ghee / oil (more you use, better the flavor, hence do not reduce it)
2 green cardamoms, lightly crushed
1/2 cinnamon stick, broken
1/2 tsp. fenugreek powder (fenugreek seeds will also do)
1 green chilli, slit to half lenghtwise
1 tsp. fresh garlic paste (skip this for satvik version)
1 inch ginger, freshly grated
5 large ripe, red tomatoes, pureed to paste
1 tsp red chilli powder*
1 tsp. garam masala
1 tsp. kasuri methi, gently crushed
Salt to taste

For Paneer Makhani

1 block / 200 grams paneer, cut into cubes
1/4 cup cream (adjust to your taste)
Fresh coriander, cream for garnish

DIRECTIONS

To prepare the Makhani Masala:

Heat the butter / ghee / oil & add the green cardamoms, cinnamon stick. Fry for 20 seconds. Add the fenugreek powder / seeds and fry for another 10 seconds. Never let the fenugreek burn, else they will turn the dish bitter. Add the grated ginger, the garlic paste and fry them till the raw smell is gone. Next add the tomato paste and cook till it reduces and oil bubbles up from the sides of the pan. Add the red chilli powder, slit green chilli, garam masala, and salt to taste. Finally crush kasuri methi gently between palms and add it to the simmering gravy. At this point you can either turn off the flame, allow the gravy to cool and store the prepared Makhani Masala in air tight container and freeze it for future, or proceed ahead to prepare the Restaurant Styled Paneer Makhani.

To prepare the Paneer Makhani:

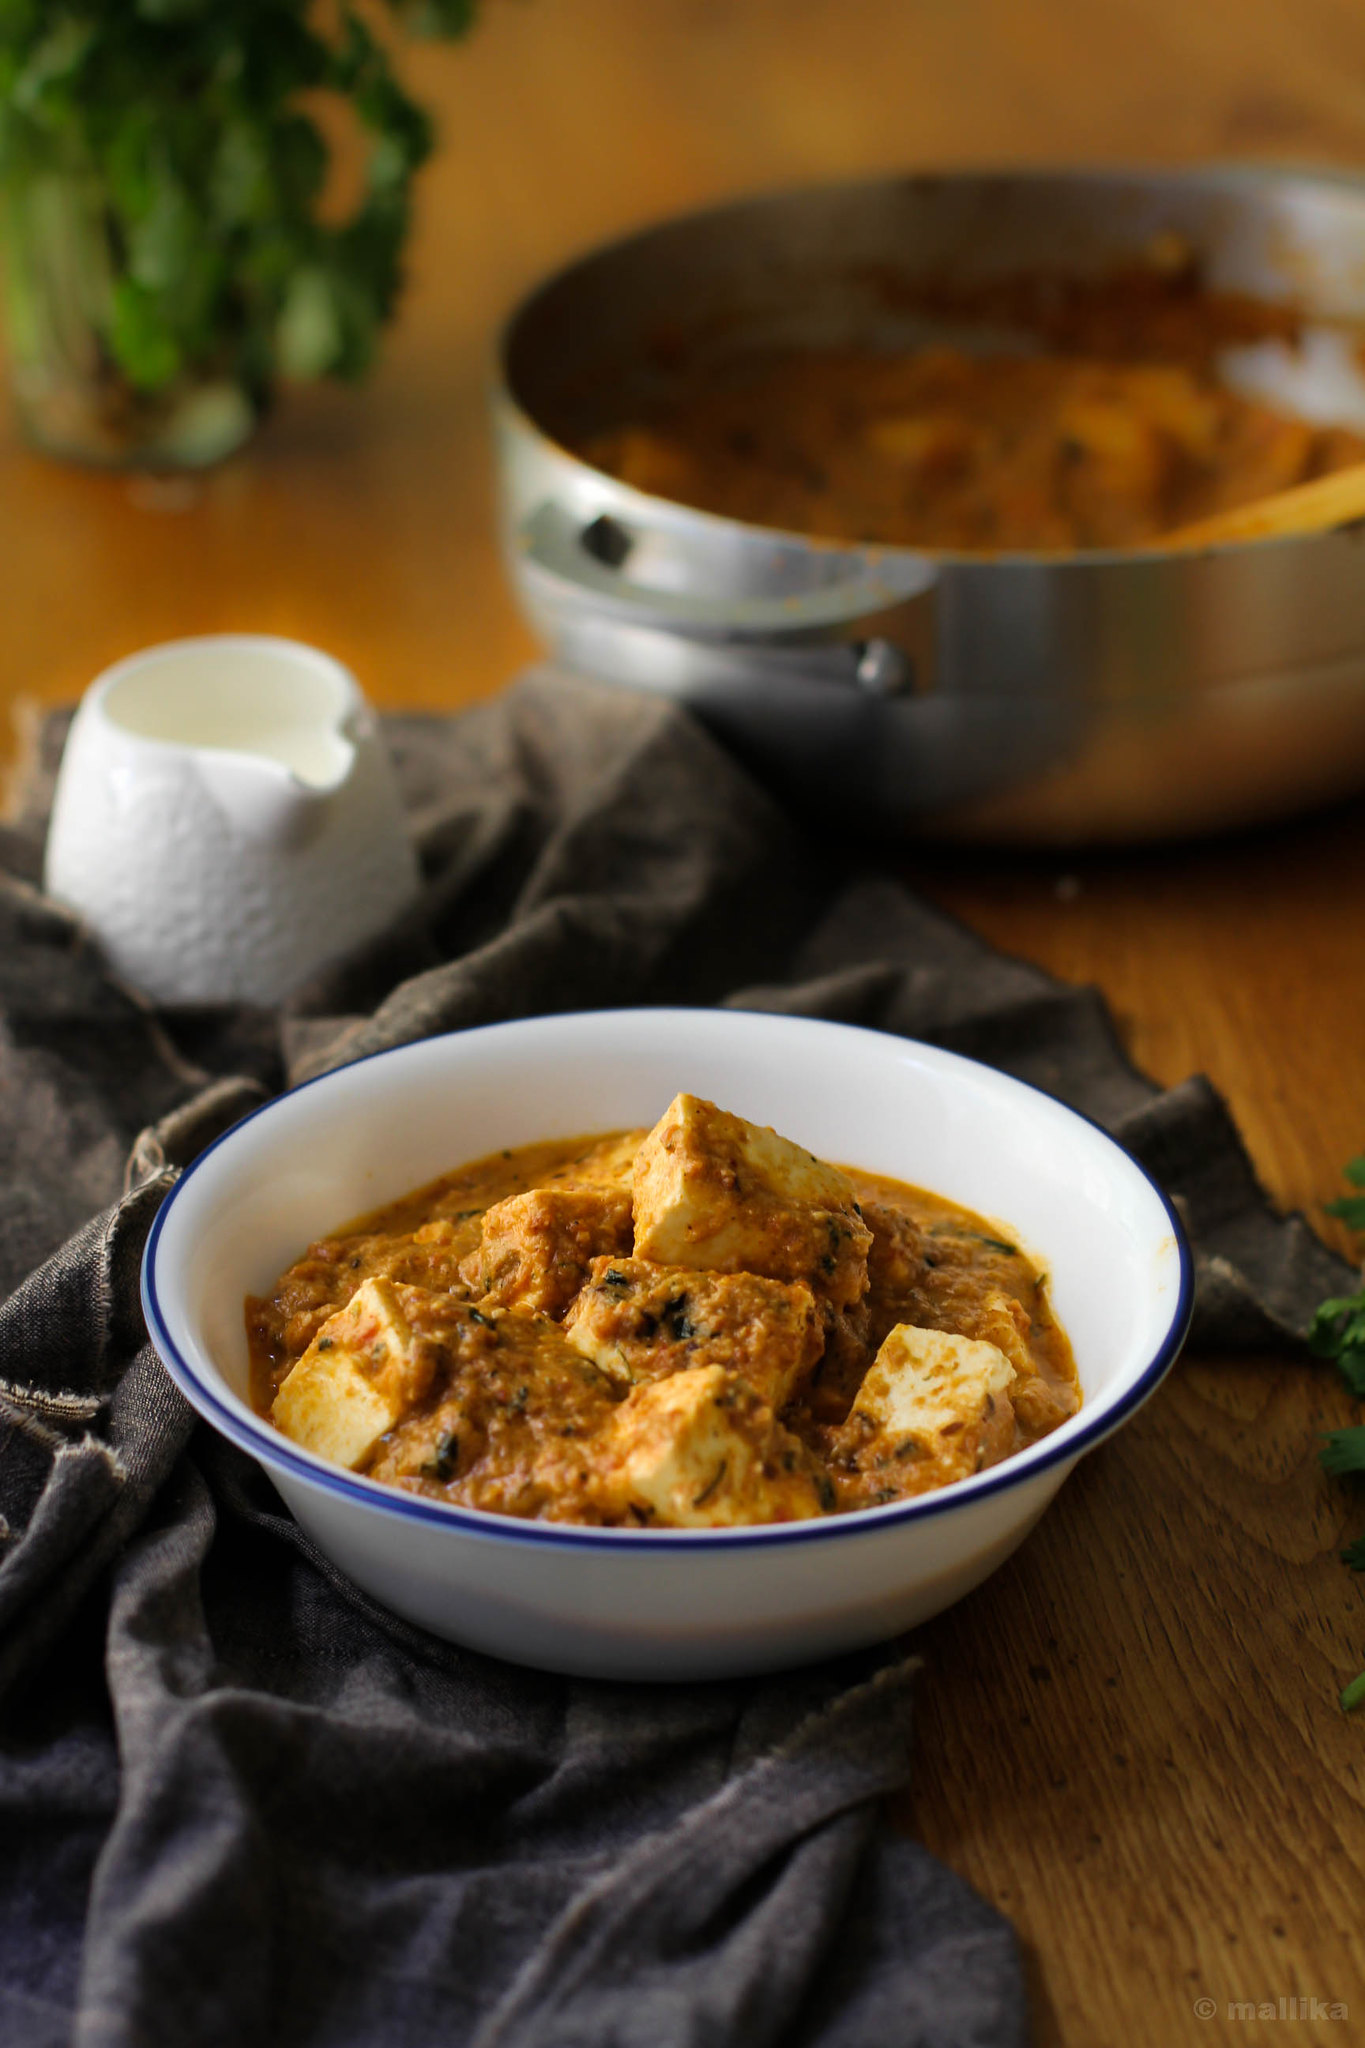
To the above simmering gravy, add 1/2 cup of water and cubed paneer and bring it to a boil. Stir and cook for 3 minutes. Finally add the cream and simmer for 2 minutes. Transfer the Paneer Makhani to a serving bowl and garnish with cream, ginger juliannes and coriander leaves. Serve hot with rotis, naans or kulchas. Pairs well with Jeera rice too.
Paneer Makhani 2


Notes:

- The above quantity of Makhani Masala will suffice for this Paneer Makhani recipe. Should you make in larger quantities, you can easily double up the recipe and store them in the freezer.

- This is a rich dish and is supposed to be made with butter or ghee. If you want it to be healthier use oil instead of butter or ghee. However, you are compromising on the taste.

- The color of the gravy depends on the amount of cream and the red chilli powder being used. If you want a richer red color, use Kashmiri chilli powder. More the cream, lighter the color.

- Kasuri methi leaves are dry fenugreek greens. Its a MUST in this recipe and renders a lovely flavor. However, don't use a lot of it. It can be overpowering.

- In case you plan to make ahead and store the makhani gravy, then I recommend you use half a tsp. of the kasuri methi greens to the gravy. The other half tsp. can be added as you prepare the final dish. This will enhance the flavor of dish and fresh crushed green render amazing flavor to the dish.

- There are no onions used in this recipe. You can avoid the garlic for a satvik version. However do not skip ginger as it gives a lot of flavor to this dish.

How to make Sabudana Vada | Easy Sabudana Vada Recipe
I spent a fairly large part of December living out of my suitcase traveling to Pune for work. Being my first visit ever to Pune as an adult I was looking forward to it. I’m told this is not my first time there. We lived for many years in Maharashtra and had crossed Pune en route on multiple occasions. The last time I was there, I don’t even remember. That must have been moons ago when I was a kid, most of which I can barely recall. And even if I did, it would do no good. Over decades, Pune is known to have seen oceanic wave of change the way Bangalore did. Nevertheless, it was a trip I lived and loved like I owned it.

I am taking you on a short walk to Pune through my eyes. Bear with me, these photos do no justice as I was without my real camera. All these captures were shot on my cell phone.


Vivacious and live. Modern, yet heirloom. It’s a city where warriors whisper their manifestation through their wadas in every nook. Where the stony edifices call out in solitude and their empty staircases in splashes of grey monotones make you weep. They take you back to school, to those history classes of 6th standard, leaving you in terrible guilt by reminding you how much you dreaded mugging Shivaji and Bajirao’s valor. Why I ask? Instead why didn’t our schools profess visiting these iconic citadels with their near-collapsing rustic wooden panes and ornate windows, that speak of their crumbling legacy and history entangled in this contemporary city. Echoes of bygones are heard in these architectural splendors. You wonder what lives have lived behind those warped doors. Their ruins and textures speak to you peeking from their pasts - from those granite slabs at the entrance of Shaniwar wada that etch their account, from their colossal wooden doors that weathered the centuries gone by; they once stood as epitome to the bygone Peshwa and Maratha reigns. You hear them whisper through cracks as they frail.

Pune is a sprawling city where urbanization is vastly seen in every spectacle that your eyes go. There are pockets of lanes and by-lanes that speak of their heritage caving their ways into modernization. There are wadas, forts and caves in the heart of city. Women draped in nauvaris haul carts heaped with fruits, weighing their daily sales. Men with kind eyes line the pavements, ride bicycles, and crowd the bazaars in their faded dhotis and topis, heavily dusty and pale from whites to browns. There are beautiful images of the daily Pune life that can't escape your eyes. Like markets crammed with fruit and vegetable vendors calling out to you. Kirana stores dotting the city all over. Wada-pav and sabudana wada bringing bliss to the common man’s appetite. Chitalebandhu and Kayani lending soul to early evenings. Marathi interspersed in sweet high tones; chalā chalā, puḍhē jā, kai jhālē. Sounds and smells of Marathi culture in everything, everywhere. It draws you into their culture, ties you with theirs.


Yet, if you tour the city as a tourist you’ll see a wave of urbanization. Buildings over buildings, like matchboxes stacked over each other, glued together. From a bird’s eye view, they look like cardboard cutouts in varying heights placed randomly. That’s how cities look like, right? Like blueprints in real time? Construction in every area. Flyovers at every stretch. Tall, wide ad banners in every sight, at every turn. You read in Hindi, it sounds like Marathi. A melodious rhythm that leaves you thinking their meanings. There are buildings called IT factories shaped in form of an egg, globe, geometrical structures of triangles, hexagons and pentagons, some lopsided and shapeless too, that seem like the architects’ messed up work. There’s keenness everywhere to cover them with tinted glass panes to hide the lives behind. They see you, you don’t. Instead, they reflect the bustling streets, the women behind carts, the men in faded dhotis, the bike riders, the car goers, the kirana dukaan, the traffic signals, the floating clouds, and the flying sparrows, like holding mirrors to the city. Its visible there for you to see. Like a slap you can’t turn your face away to. People and cultures merge, dissolving like water colors on paper blotched over each other. Some pockets murky, some clear, some overlapping into one another, each color varying in their depth and degrees. Overall it’s a beautiful blend of tradition and modernity, a beautiful picture you can’t ignore.

Pune, you are beautiful, no doubt. But I long to go back in time. To time when it spun back into history. Where the wadas came alive in their full splendor and their now dark staircases were filled with giggles and laughter from women of those times. Where modernity did not nudge the traditions and replace with this blend so quickly. Where the frail walls that stood strong to weather and time, spoke of valor. Where the cracks in cultures merged, the history disentangled itself and the heavens called for legacy to rule again.


In my ode to Pune, I bring this delicious Sabudana Vada from my kitchen to yours; a classical, traditional Maharastrian dish that I have loved for several years now. I made this in the fond yearning of the time spent there savoring local delicacies, sabudana khichdi, misal pav, vada pav and this sabudana vada. Its flavors sing to you in simplicity, bursting from the golden crisp pops of sago pearls, punctuated with potatoes, peanuts and chillies in each bite, each subtle and well blended. It's a thing you should try, incase you haven't.


Sabudana Vada

INGREDIENTS

1 cup sabudana / sago pearls
2 medium potatoes, boiled and mashed
1/2 cup roasted peanuts, coarsely ground
1 tsp cumin seeds
2-3 green chillies, chopped
2 tbsp. finely chopped coriander leaves
1 tsp. lemon juice
1 tsp. sugar
Salt to taste

DIRECTIONS

Wash the sago and soak it in just enough water to cover the pearls. Soak it for 4-5 hours or preferably overnight. In the morning, the pearls will be plump and doubled in size. For 1 cup of soaked sago, I used 1/3 cup of raw sago, washed and then soaked them in 1/2 cup of water for nearly 5 hours.

Combine all the ingredients in a bowl and mix well. Pinch a lemon sized portion out of the prepared vada mixture and shape it into ball. Gently flatten it with fingers. Prepare all the vadas to fry and keep them aside. Meanwhile, heat the oil in a thick bottom vessel and deep-fry the vadas on a medium flame till they are golden brown in color on either sides. Drain on kitchen paper. Serve hot with green chutney or tomato sauce.

Tawa Pulao 1

How to make Tawa Pulao | Easy Vegetable Tawa Pulao Recipe
Last month, when everyone was busy counting down days for Christmas and gearing up for year end celebrations, I was out in Pune, spending a fair share of December in a city familiarly unfamiliar to me. Familiar, because any Bangalorean can best draw similarities to this city. Its traffic, roads, breadth of the city, the weather, all so similar. Unfamiliar, because this was my first time here. Its language, people and directions, so unfamiliar. I spent weekdays at my desk, busying myself between colleagues, emails and phone calls, and sightseeing the city on weekends. I will give you a glimpse of Pune through my eyes in my next post, and I promise on that; but for today, I have something more to share. Its a bit of what I had been procrastinating for a while because of my wrung out busy life.

Sometime around the first week of December, in an afternoon by the pool side of JW Marriott, sipping some refreshing rose mocktails and exchanging greetings with a couple of bloggers and press folks, a handful of us came together to be a part of Canola Cook-off event hosted by Chef Jolly Surjan Singh. We flocked around the Chef that noon as he spoke about his love for Canola oil and spun his magic around the table, cooking some versatile Indian dishes at the first Canola cook-off sponsored by Canolainfo.org. Mind you, its not a brand they endorse, but an awareness they are trying to create towards understanding Canola oil and creating its identity in Indian cooking. The rest of the evening was spent in chatters, sipping tea as we savored the Khada Desi Palak, Tandoori Broccoli, and many other delicacies that Chef had created to display the versatility of this little known oil.


This isn't my first time with Canola. The first time I saw it, it read C-A-N-O-L-A, and I had assumed it was a brand name. I stared at it for a long time trying to identify where it came from. Coconut? Olive? Groundnut? Sunflower? What breed did it belong to? It glared back at me, its words 'Canola Oil' in its bold black font and that left me worrying its identity. In a new country, a new home, a new kitchen, it sat on the kitchen counter-top in a gleaming plastic bottle, radiating its thin golden liquid, feigning like a silly hypothetical thing. We did not grow up knowing each other. It was as alien as meat is to a born vegetarian like me. I had never heard of it till I traveled out of my country. Nor had I encountered it on the webspace. That's now a thing of past. I read up on it later and soon we were friends shaking hands with every meal I made till the time I was there.

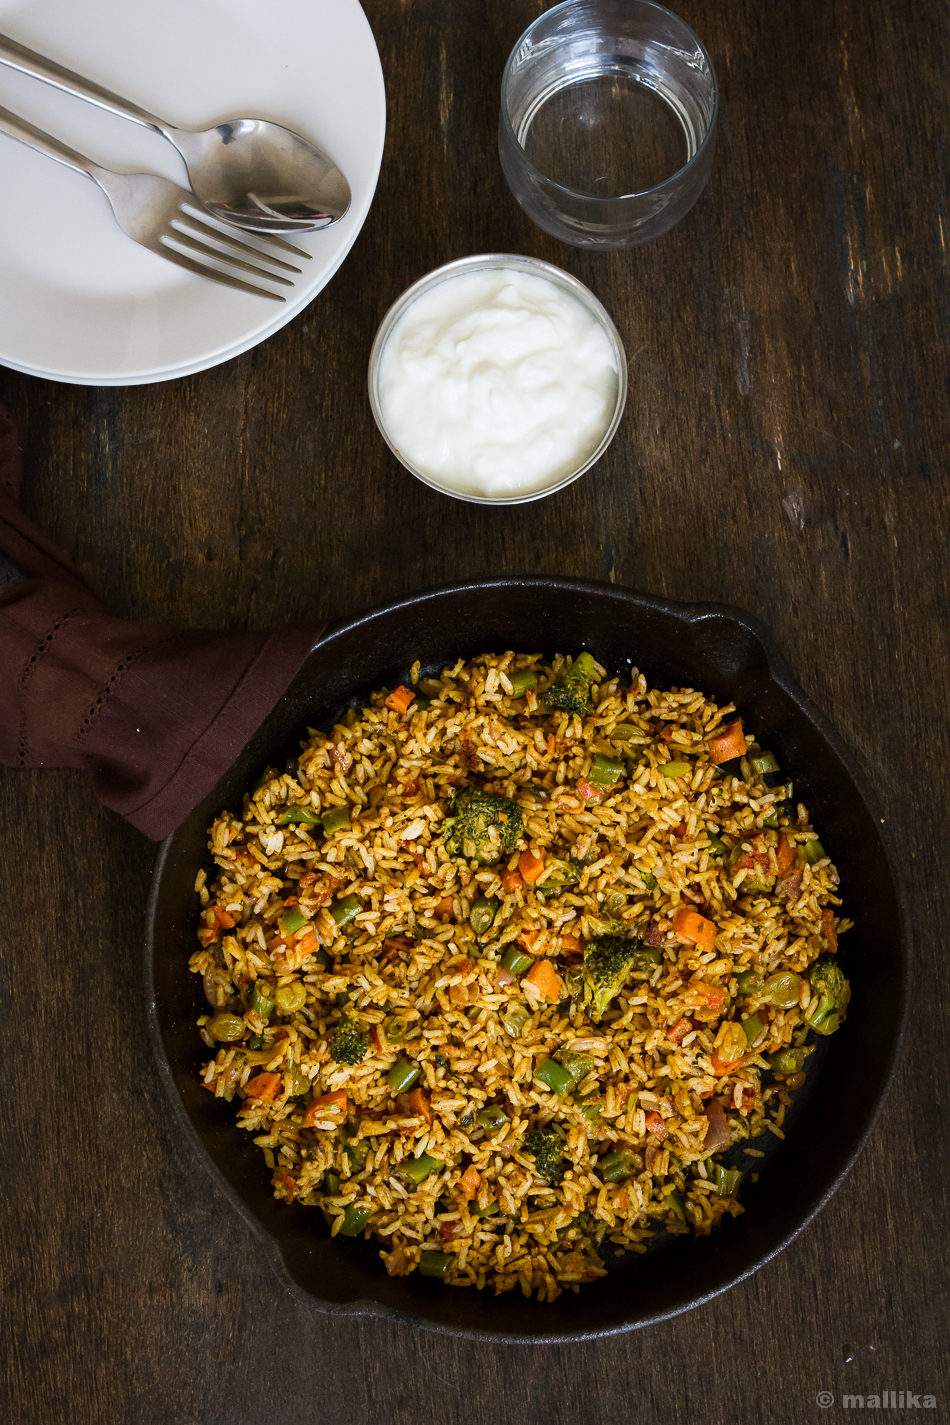
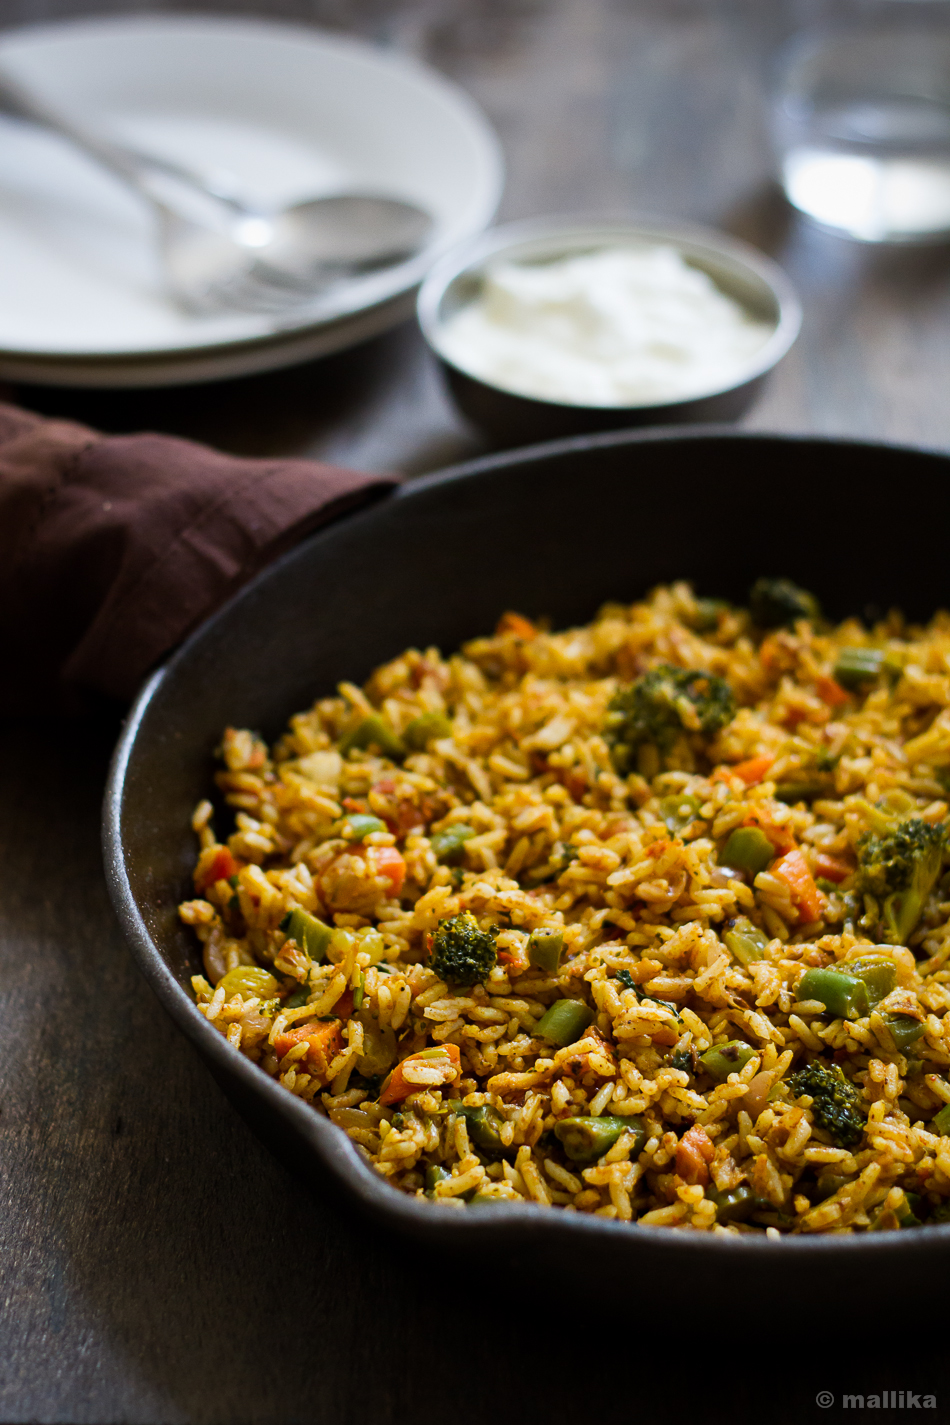
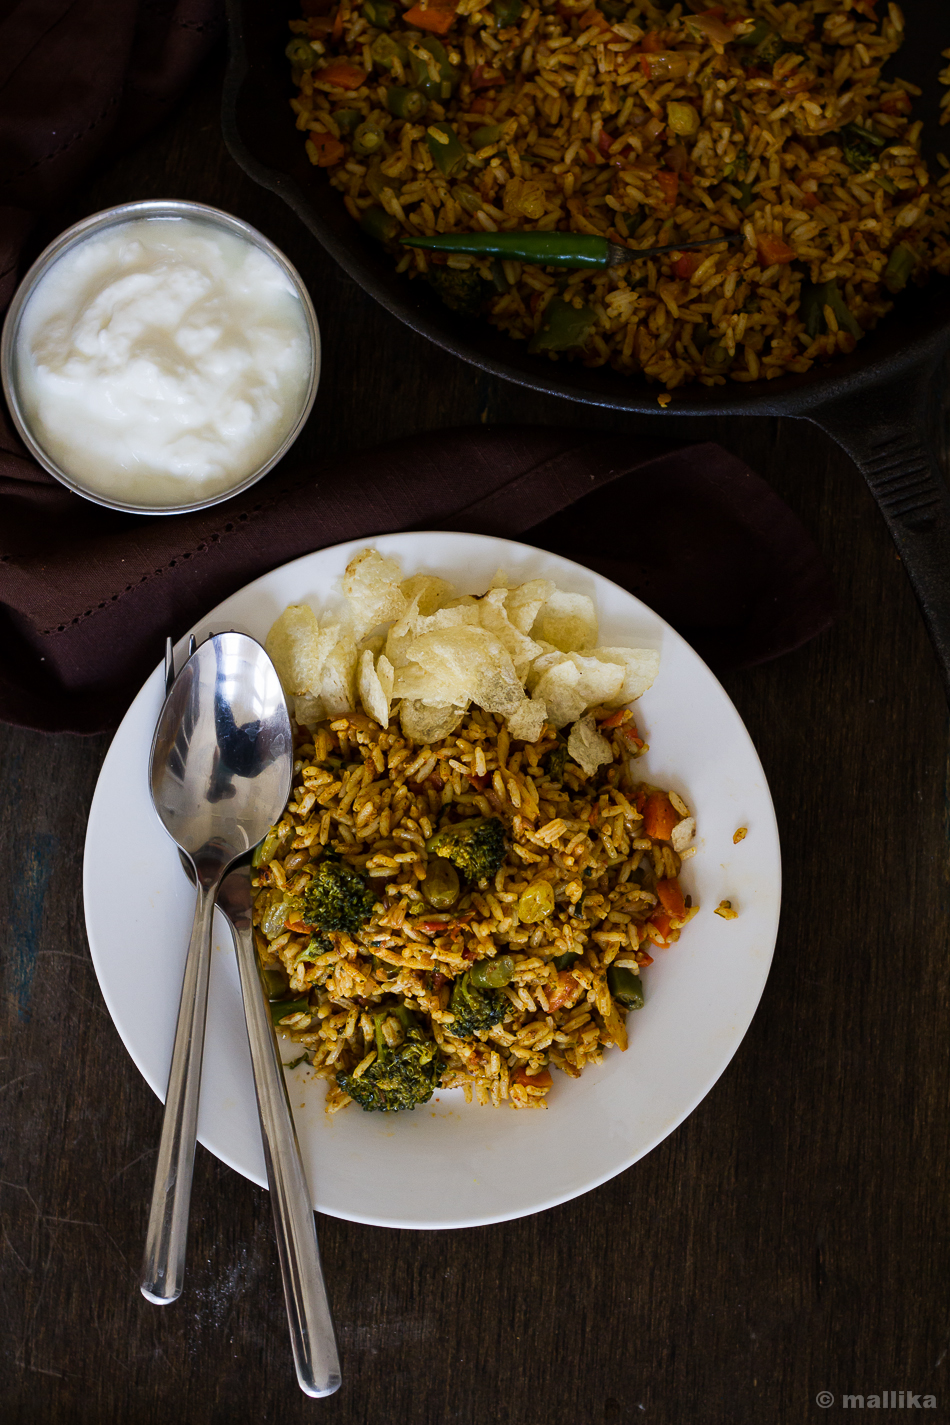
So what's canola oil and why are we Indians not so aware of it? A little known to most of us, it comes from the seeds of the rapeseed plant that is extracted and processed to remove some unfavorable substances. It's a heart friendly oil with less than half the saturated fat of olive (now, do you believe that?) or soybean oil, that gives you more excuses to fry your samosas, bake muffins or use them in tadkas intrepidly. Grown commonly in the West, mainly Canada and US and widely used there, this oil is slowly walking baby footsteps in Indian markets. Having lived in the US and used it in every meal of the day, I know how popular canola oil is back there. Rediscovering canola through this event was like meeting a long lost friend, someone whom you had known a while ago but had faded out of your memory. They appear unexpectedly and brush the rust off the oblivion. A bottle of canola now sits on our kitchen counter, in a prominent spot where the vegetable oil had once reigned that space. We've fried jamoons, roasted chivda, used them in salads, stir fries and pulaos with the same ease as with our regular cooking oil with no change in flavor and additional boast to health. I'm excited to share with you my recipe for Tawa Pulao, made with this golden goodness; a street side food often found on carts and road side eateries in Mumbai. Its quick, delicious and healthy one pot meal made from steamed rice, vegetables and pav bhaji masala. For me, this serves the best way to use up left over rice from the previous meal.

Tawa Pulao_2


Tawa Pulao

INGREDIENTS

2 tbsp canola oil
1 tsp cumin seeds
2 tsp ginger-garlic paste
1 onion, finely chopped
1/4 cup fresh peas
2 tomatoes, finely chopped
1/4 cup each of chopped vegetables like carrots, beans, capsicum, broccoli
1/4 tsp turmeric powder
1 tsp chilli powder
2 tsp pav bhaji masala
3 cups cooked rice
Salt to taste
Juice of 1/2 lemon, squeezed
Finely chopped coriander or fried green chilli, for garnish

DIRECTIONS

Heat oil in a heavy bottom pan and fry cumin seeds till they brown. Add ginger-garlic paste and fry for a few seconds. Then add the onion and sauté till its brown. Add the fresh peas, tomatoes and turmeric powder. Cook till the tomatoes are soft. Next, tip in the chopped carrots, beans, broccoli and capsicum and fry till they are nearly cooked. Add the rice and mix well with the vegetables. Add the salt, red chilli powder with pav bhaji masala. Toss well and cook on high flame for a 2 minutes, till all the masalas coat the rice well. Switch off the flame. Squeeze the lemon juice and mix well. Garnish with coriander leaves and serve with yogurt / raita and fried green chilli, if desired.


Tawa Pulao Plated

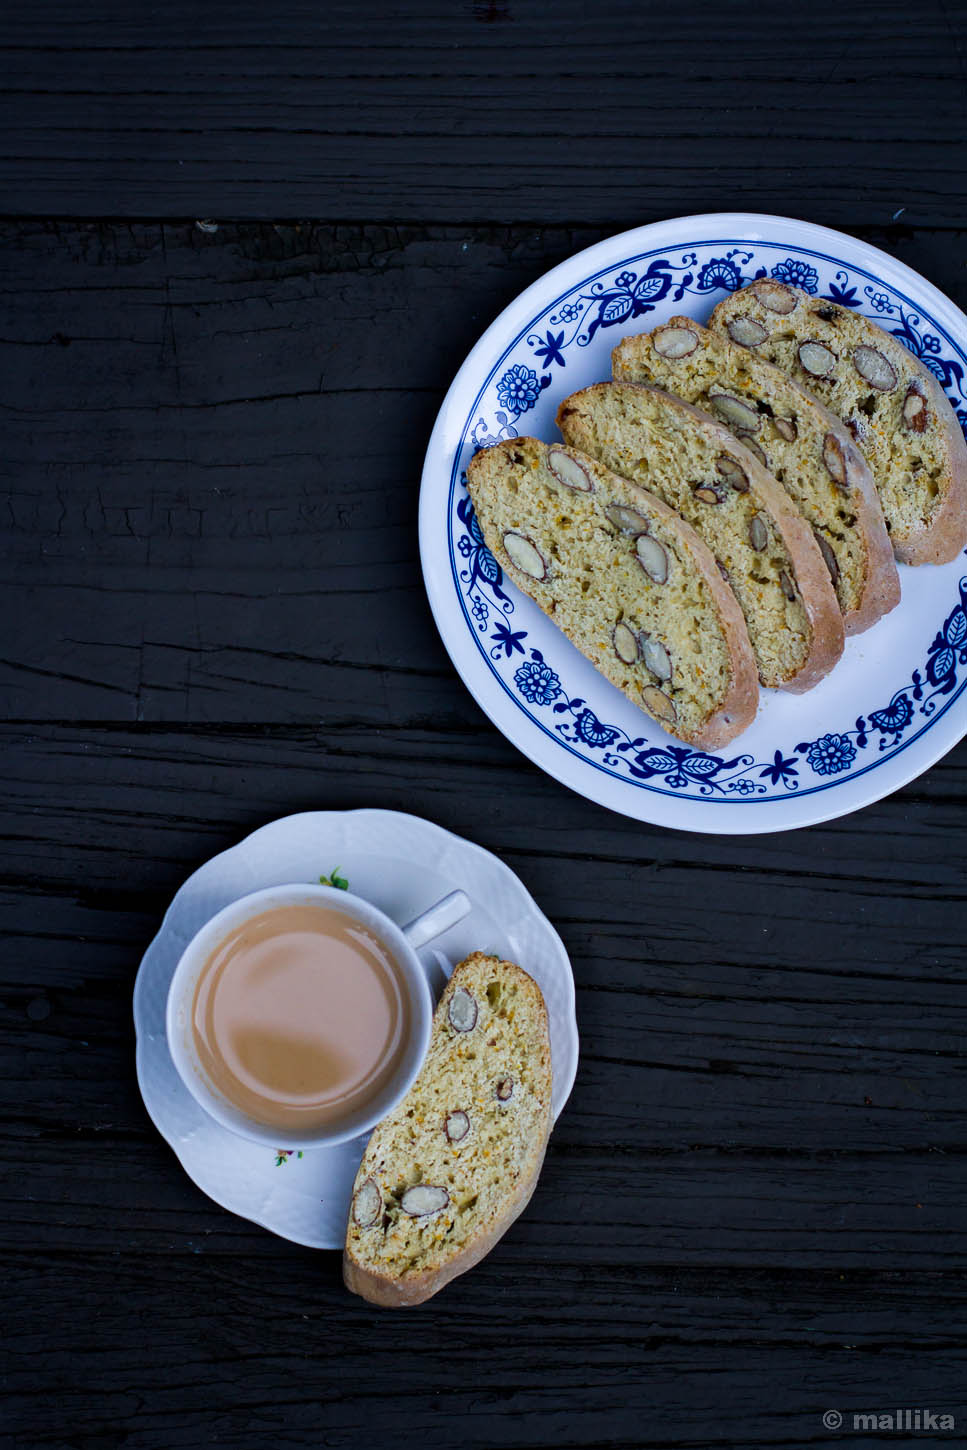
Clementine Scented Almond Biscotti 1

How to make Clementine Scented Almond Biscotti | Easy Orange Almond Biscotti Recipe
The mornings since a week have turned wonderfully chill. Its been cooler than any other month I have known in Bangalore the past year. It’s been a while since we’ve been going to bed tucking the quilt snugly till our necks, windows partly open to let the cold air in, and without the usual sounds of whirling fans putting us to sleep. I scuffle in hunt for my home slippers which I don’t else care for. I love walking barefoot at home. The sounds of bare feet slapping against the floor, thap thap thap. It has a thing to it. Like adding music to the silent mornings. A melodious slap. Have you ever thought so?

The nip in the air has taken over the water too. They seem to be flowing from the refrigerators above and I can barely rinse after brushing, the mint flavor in the toothpaste adding to the effect of its chillness making my mouth go nearly numb. I stepped out this morning to put my sandals on; within minutes though, I rushed back in and led myself into the closet that stores many long forgotten things. Under the hiding of my ill-fitting jeans and handful of old salwar kameez, I pulled off my good ol’ maroon winter scarf (which had its ornate prints faded out in its seclusion, I yet love it), wrapped it around my neck, crossed my hands to chest and walked my way to work. The homeless dogs had gone into hiding, probably looking for warmer shelters under the extended roofing of kirana stores. There they sat warming up against the heap of ugly gunny rugs, rolling over lazily, snugging deeper into them. Above, the leaves wavered, their sway hushed, like the pendulum of a wall clock in a slow motion. The strollers on sidewalks had many like me who tucked their arms firmly across their chest, others burrowing their fingers deep into the slots of their jeans, their shoulders stooped; while women held to their scarfs covering the faces with their eyes stealing glimpse to the world passing by, as they rode pillion on the bikes.

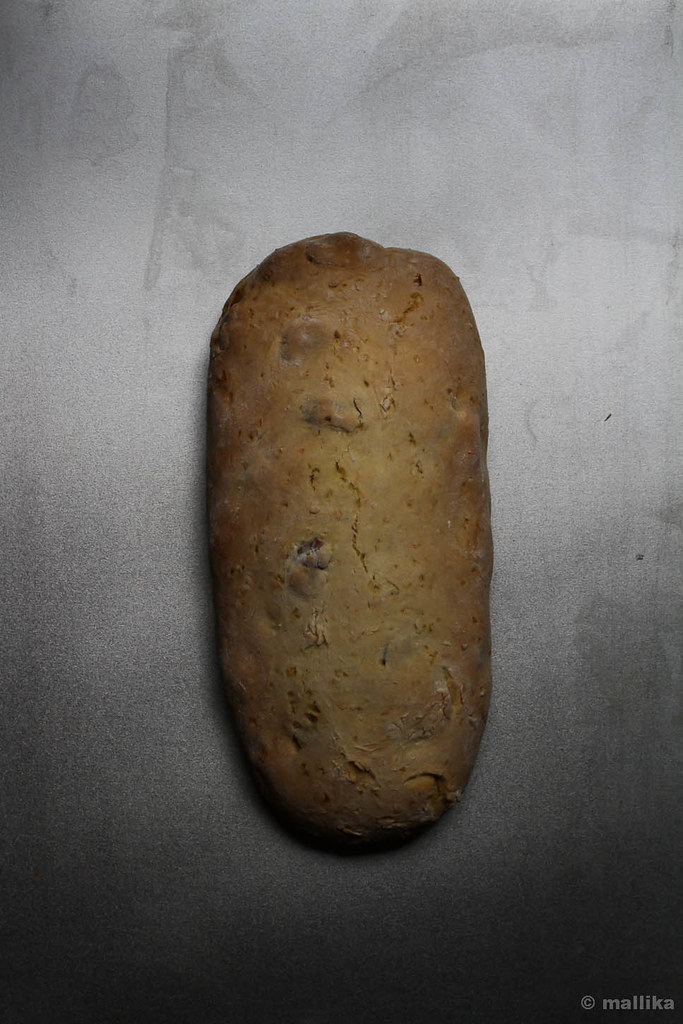
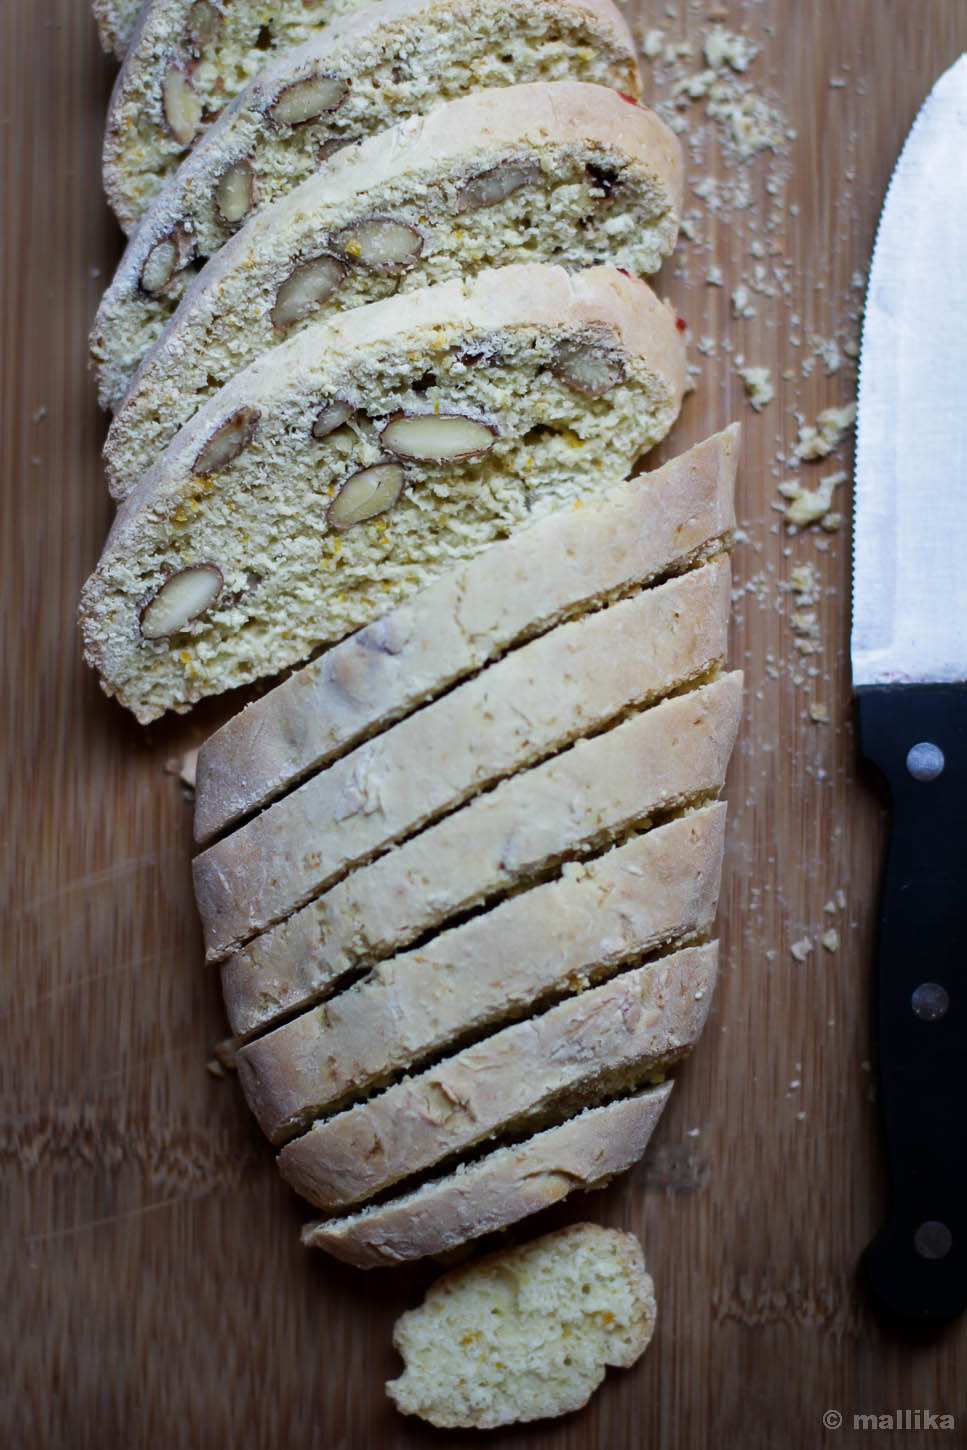
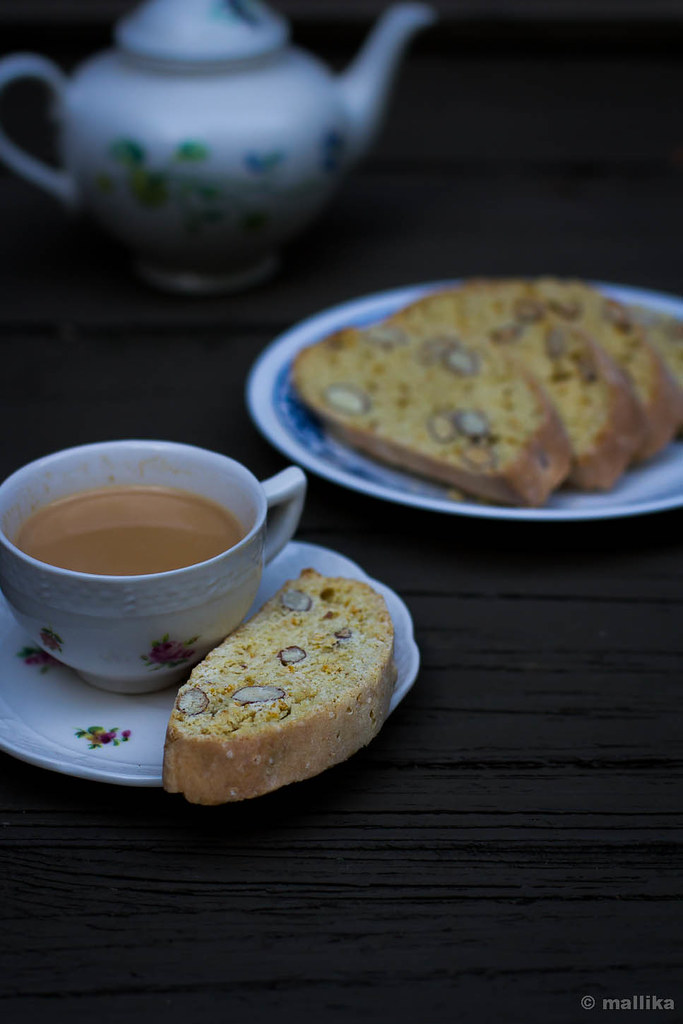
Biscotti First Bake Almond Biscotti First Bake SlicedClementine Scented Almond Biscotti 2


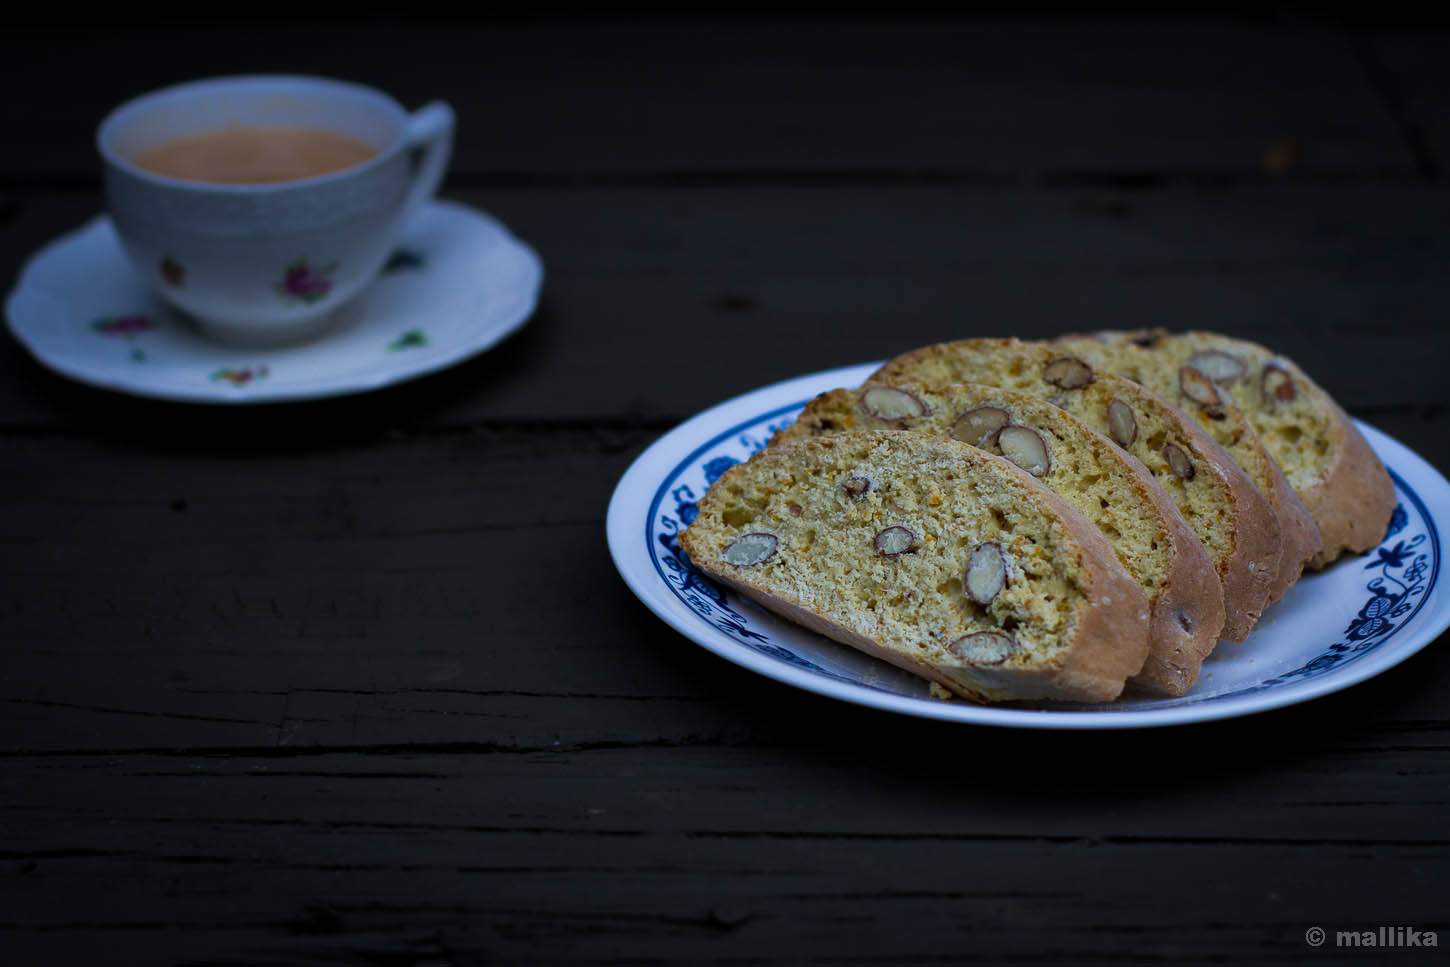
Behind the pads of clouds I see sun poking out. By 8 am or so, the sun is out in its full glory. It’s the kind of weather I love. Cool, bright and sunny; the gentle warmth from sun seeping tenderly into my skin. It promises me that the day will turn good. There are no resolutions this year. Only optimism. An eagerness to see what future holds for us. No matter what, hope is mightier than all. Hope for positivity and accomplishment of many unspoken promises. That brings me to craving a good cup of masala chai and these Clementine Scented Almond Biscottis I baked in the mid of last year while in US when the weather turned this way. When the skies brightened and the cold air made us snug, we dunked biscottis and drank tea. Decembers and January of Bangalore ought to be like this. The season of winters. The season when oranges appear in plenty. The season to warm up. The season to eat almonds. The season to bake. The season for a reason to bake.

So I craved these biscottis and baked them again. The original recipe calls for clementine oranges. It said mandarins or other fruit zest will work too. I tried these again replacing clementines for Indian oranges and they were zesty and flavorsome. Although these photographs come from the time I baked them with clementines, let your imagination drift away to try other flavors. During that vacation, I spent many evenings flipping pages of cookbooks I had borrowed from the nearby State library. The flipping, the photographs, the intros and side notes for the recipe had often inspired me to get on my toes and rush to bake. This recipe comes from one among them. I wish though I had noted down where it came from. I promise, the moment I figure out, I shall credit it duly. For now, I hope this biscotti brightens up your day irrespective of the weather in your country.

Clementine Scented Almond Biscotti


CLEMENTINE-SCENTED ALMOND BISCOTTI

INGREDIENTS

1/2 cup / 70g caster sugar
1 large egg
Grated zest of 1 clementine / mandarin / Indian orange
2 cups / 150 g plain flour
½ tsp baking powder
50g raw, whole almonds, skin on

DIRECTIONS

Preheat oven to 180C. Line a baking tray with baking paper.

Place the eggs, sugar and zest in a large bowl, and beat it in a food processor or with an electric beaters until its pale and creamy. Fold in the flour, baking powder and almonds. It should be quite a wet and sticky dough at this point. Scrape the dough onto a floured surface and knead gently to bring it together. Shape the dough into a long log.

Place the dough log on the baking tray and bake for around 20 minutes. The dough should be fully cooked through before removing the logs from the oven. Allow to cool on a baking rack for 30 minutes.

Using a sharp serrated knife, slice into 0.5 cm thin slices. Place the slices on the baking tray and bake on each side, till the edges begin to brown. It took approximately 10 minutes on each side. Remove from the oven and allow to cool on a baking rack. They will continue to crisp up as they cool down. Once completely cool, enjoy them dunk in milk, tea or coffee of your choice. Else, store these biscuits in an air tight container.

NOTES

- You can replace the clementines for mandarins too. Clementines and mandarins belong to family of oranges. Indian oranges will be a great substitution.
- You can try replacing oranges to lemon zest for a lemony flavor.
- You can replace the almonds for nuts of your choice. I haven't tried dry fruits yet, but I am sure they would be wonderful too.


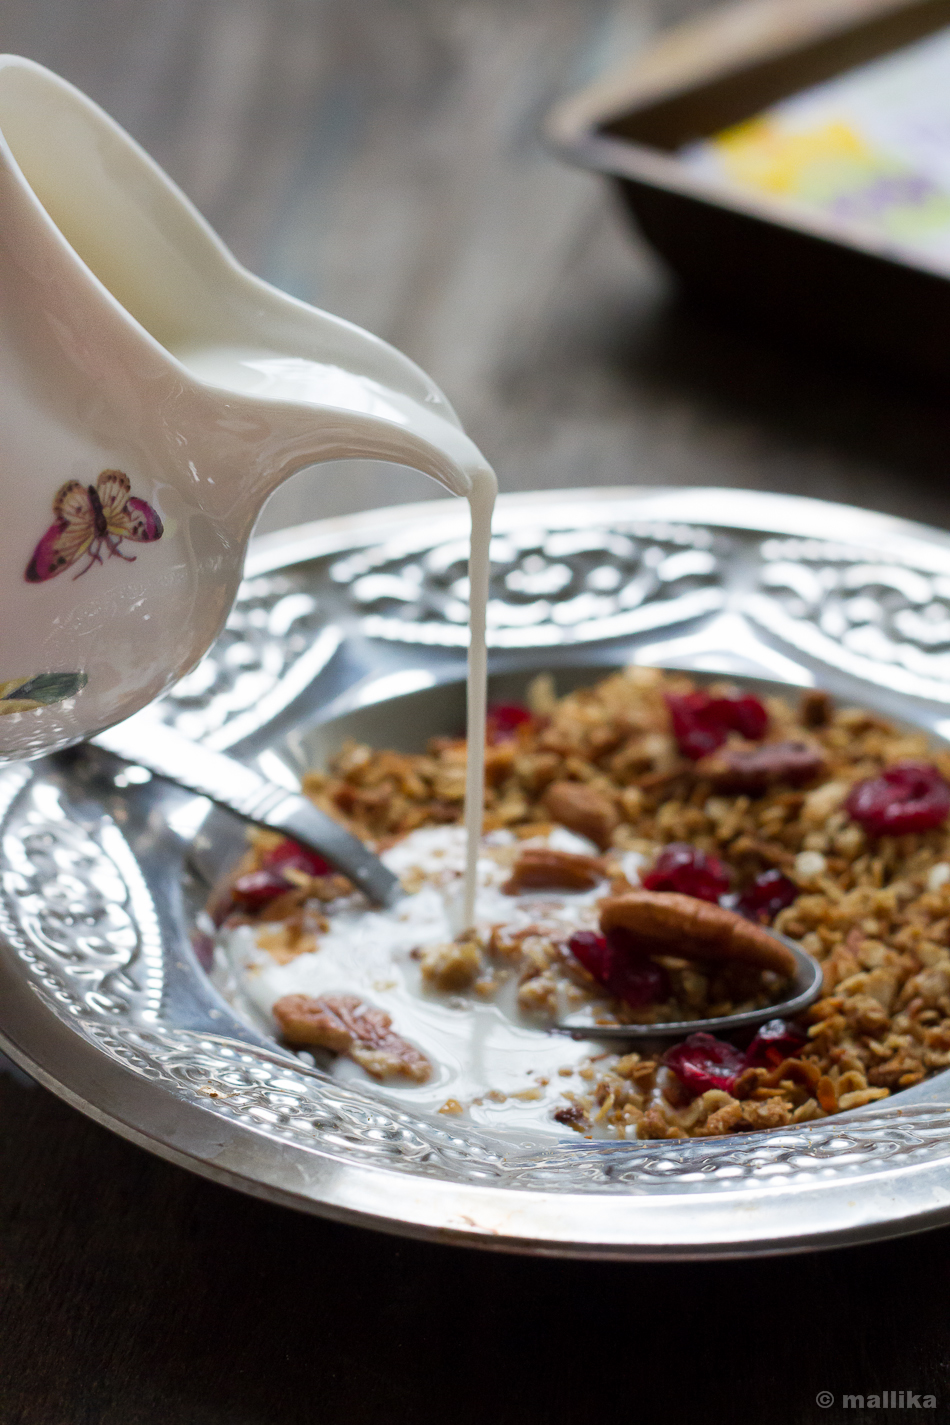
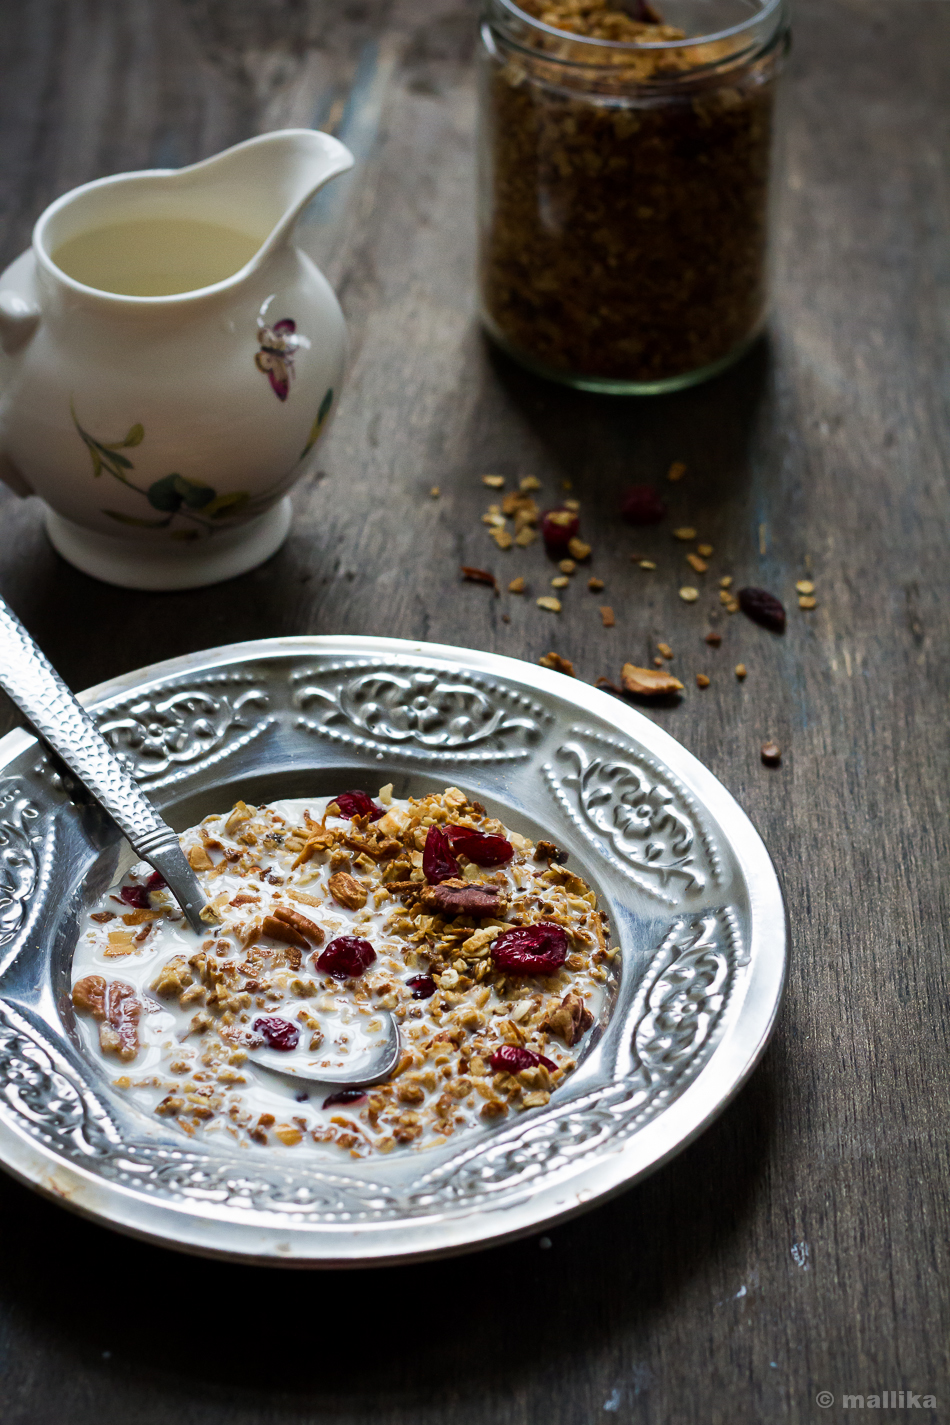
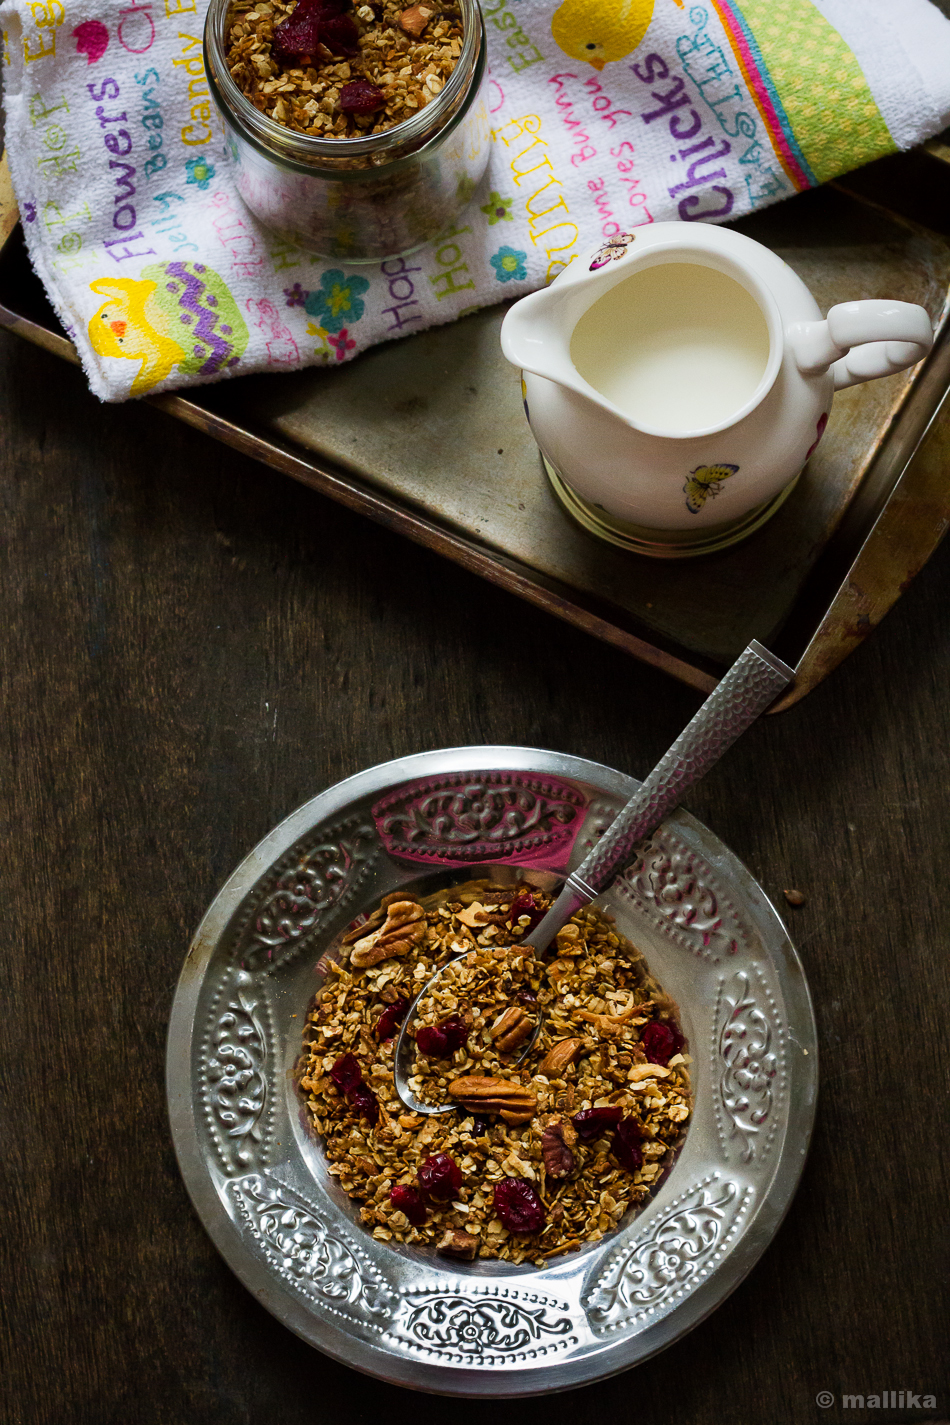
Pecan, Cranberry, Coconut Granola_1

How to make Pecan, Cranberry and Coconut Granola | Easy Granola Recipe
Another year has arrived and in less than an hour 2015 will be gone. All gone, like vapors transpiring into thin air till there’s none you can see. I see and feel those last few minutes transpire as I sit down to put this post together. The calendar ticked away without notice. Days rolled into nights, snapped to weeks, cascaded till they sprinted into all 12 months. And finally, in a few hours from now we will gallop into the finishing line, calling it a year. A year that will be gone forever. For me, this was faster than anything I have known. Faster than the blink of an eye. Faster than the speed of lightening. Faster than the fastest I know.

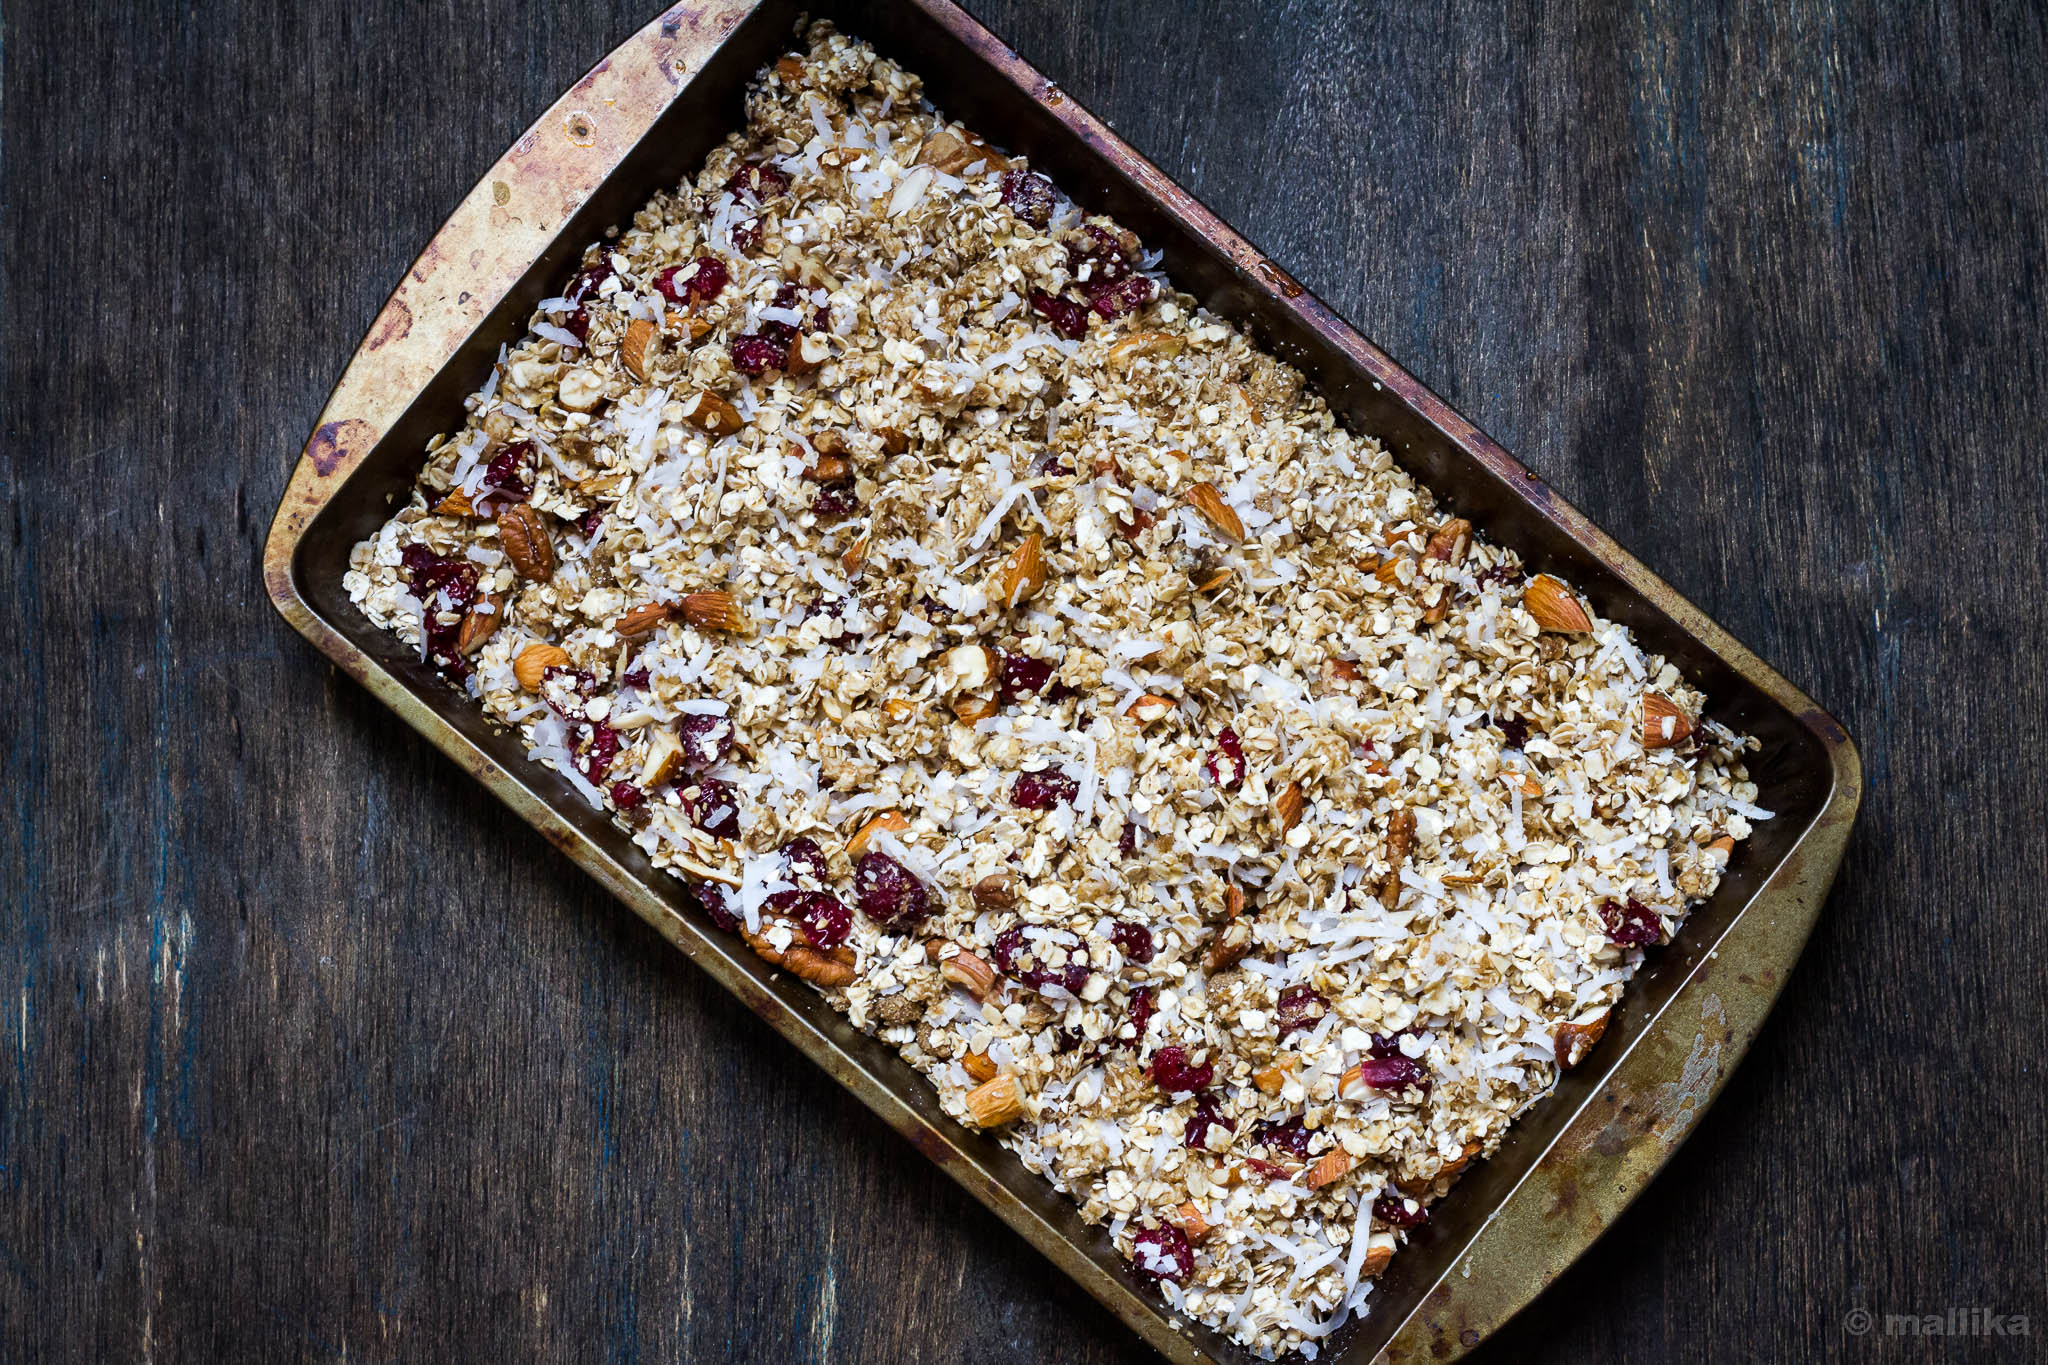
Granola prebake Granola


My jaws dropped at the crack of this dawn in a sudden realization that something worthy is going away forever. A year made up of 365 well-meaning days. Either you’ve made the best of it or wasted it. There are days that made you laugh hard or the ones that had your faces dug into pillows and weep into nights. If you are like me, you would assume you've hung in neither ends of extremes. The year came and passed by with good measure of mighty highs and lows, in a sweet sour concoction, like biting into a digestive candy that gives you a balanced taste in bits of everything - sweet, salt, spicy and tangy. Though I am unable to concur what it has been sort of, it sure has been a mixed bag of emotions. It makes you think. It worries you. It brings you hope, dreams and aspirations plenty that paves way into welcoming the new year with wide arms. While 2015 has been generous and giving, etching many memorable moments that evoke nostalgia, I’m also thankful for it giving the greater positivity & strength to face the welcoming of the new year.

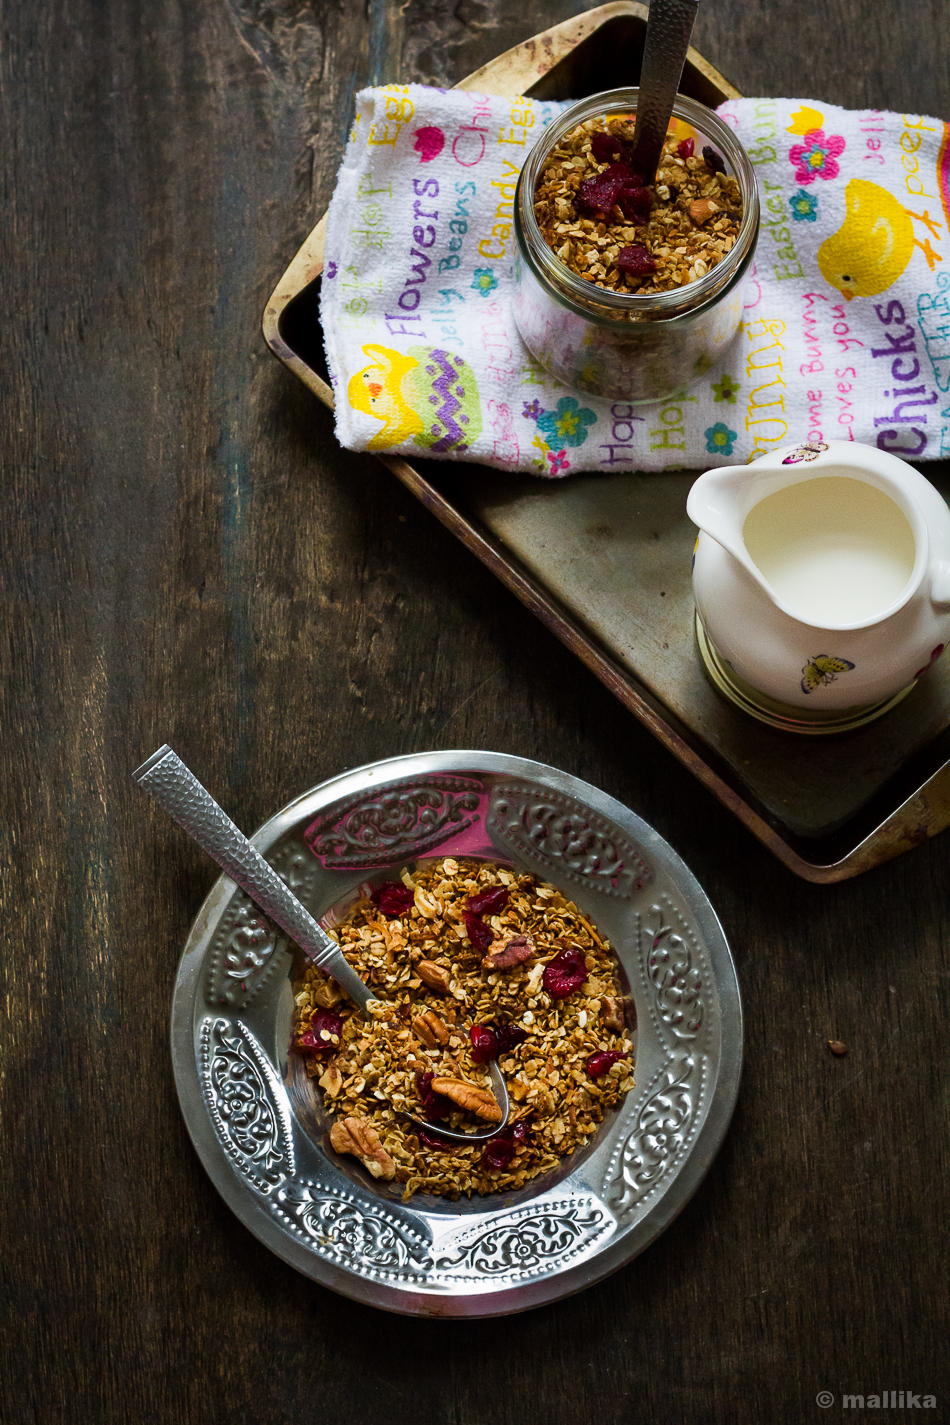
Pecan, Cranberry, Coconut Granola Served


So let this year come on us. I wish it brings large measures of health, happiness, and prosperity for all. I pray it brings peace on earth. Peace in minds, at heart, in relations, with neighbors, friends, nations and across the globe. Irrespective of what race we belong to, let love be unbiased by color, united by humanity and progressive by nature. I wish your moments are filled with joy, laughter, trust, immense love and happiness. Happy New Year to each one of you for a fantastic 2016 and wishing you have greater prosperity & fortunes to the extent that it increases in great leaps and bounds for this new leap year!!

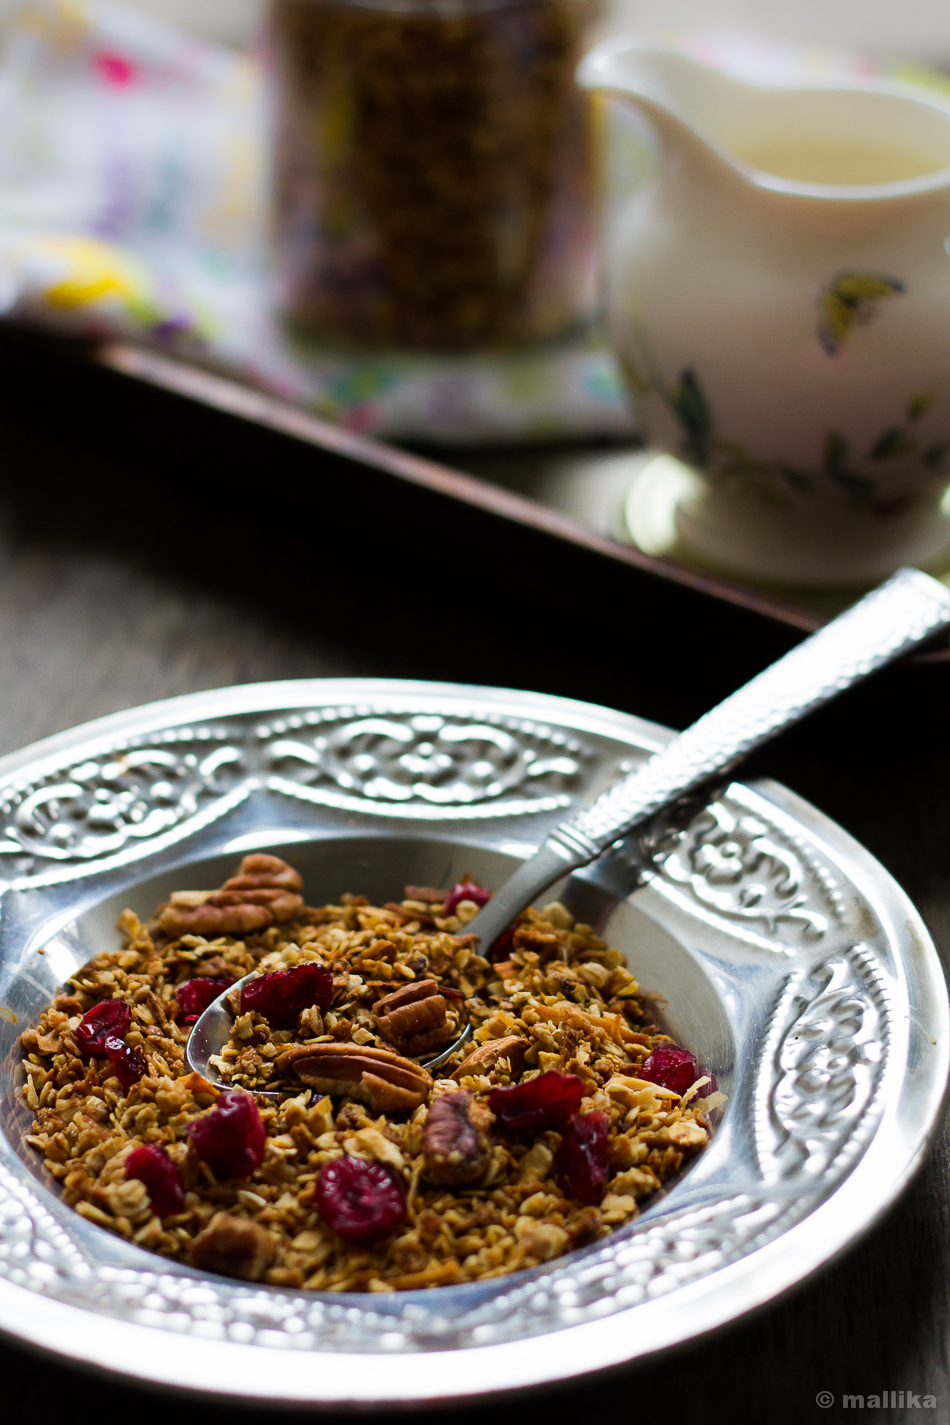
As I bid adieu to the year gone by and welcome the new year, I share with you a recipe for this Pecan, Cranberry and Coconut Granola that is just the perfect way start the first day of the year with. With the festivities and the week long celebrations gone by, lets make new beginnings with a fulfilling breakfast to treat our families to. Here's a recipe promising ease and health together with home made joy at breakfast table for your family.

Pecan, Cranberry, Coconut Granola Plated


Pecan, Cranberry and Coconut Granola

INGREDIENTS

2 cups instant oats (old fashioned oats preferred)
1/2 cup shredded dry coconut
1/4 cup dried cranberries
1/4 cup broken pecans
1/2 cup maple syrup (or honey)
1/2 cup coconut oil

DIRECTIONS

In a clean bowl, combine oats along with dry coconut, cranberries and pecan nuts. Drizzle the vegetable oil and maple syrup and toss well.

Bake in a pre-heated oven for 30 minutes at 180 deg C till the oats begin to turn golden brown, tossing them once in every 10 minutes to ensure even cooking.

Remove and allow to cool completely before storing them in a clean dry container. Serve with warm or cold milk.

Pecan, Cranberry, Coconut Granola

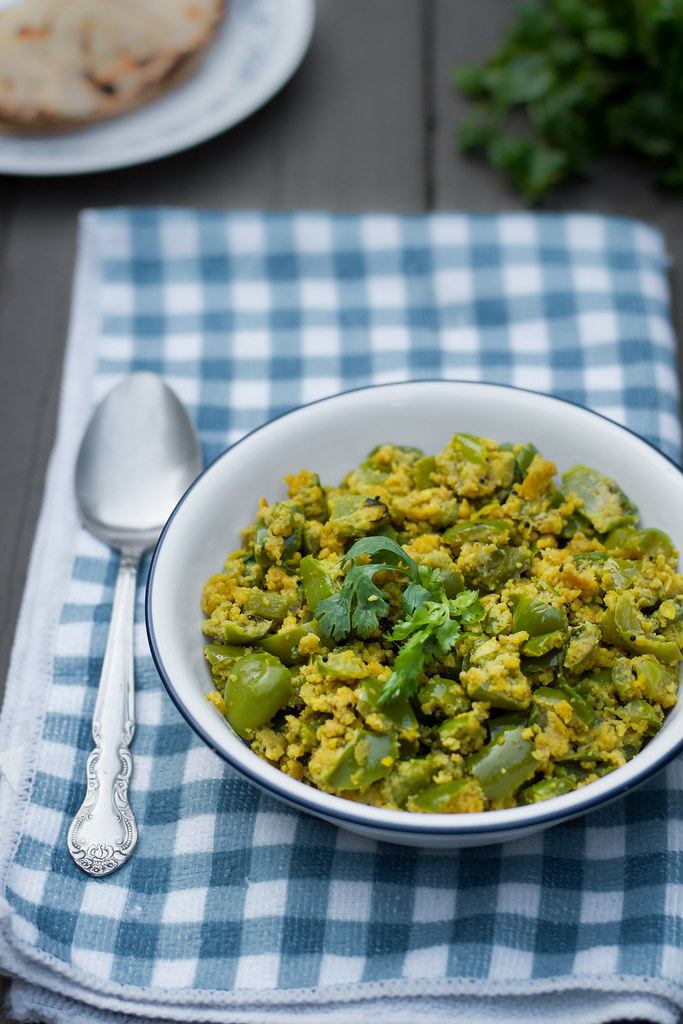
Besanwali Simla Mirch

How to make Besan wali Simla Mirch | Simla Mirch ki Subzi | Capsicum Recipe
When the weather plunged low, it brought along bouts of cold, incessant sneezing and coughs that plagued our home. We fell sick in a row, taking turns to seize the bed and blanket. The bedside table saw our favorite magazines being replaced with a spread of ayurvedic tonics, amrutanjan and all kinds of inhalers for the most desired relief. What good were those magazines when our eyes threatened to water in a stream and our nose constantly bled phlegm? It seemed like a trending viral infection as each of us made our way in and out of the bed, and nearly all of whom I knew were suffering the way I did. I nearly survived each day of that heavy headiness with glasses of warm water, hot kashaayas and dozens of handkerchiefs by my side. Days have finally passed by, recuperating and feeling much better, apparently much slower than we had liked. Coughing and sneezing are showing signs of receding, though the chest is still heavy with congestion. I hate fighting the dreaded infection, but alas!

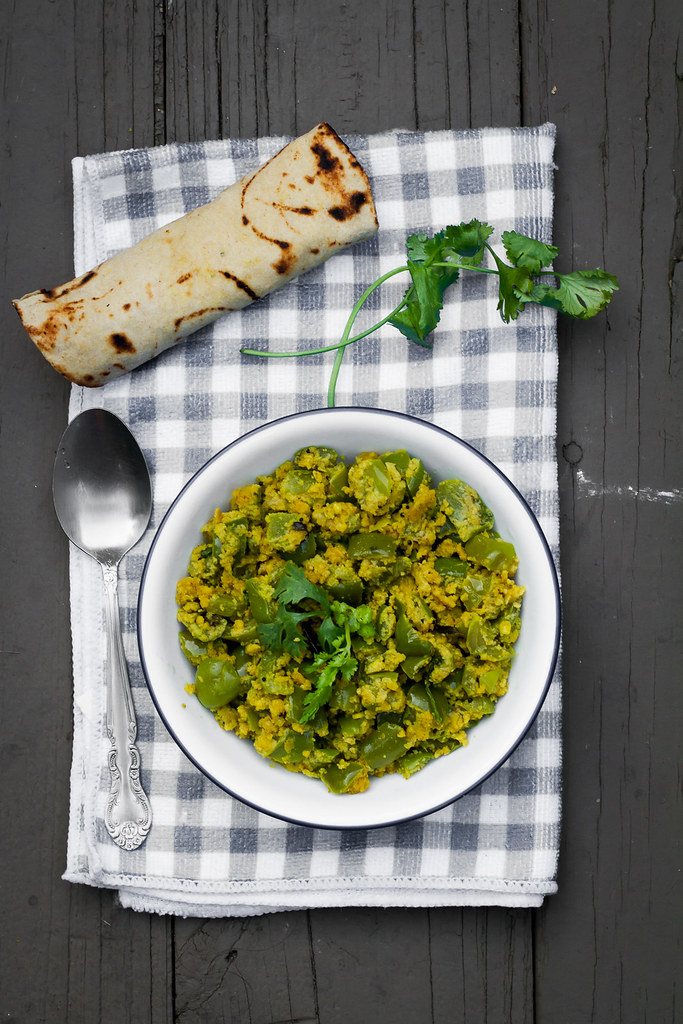
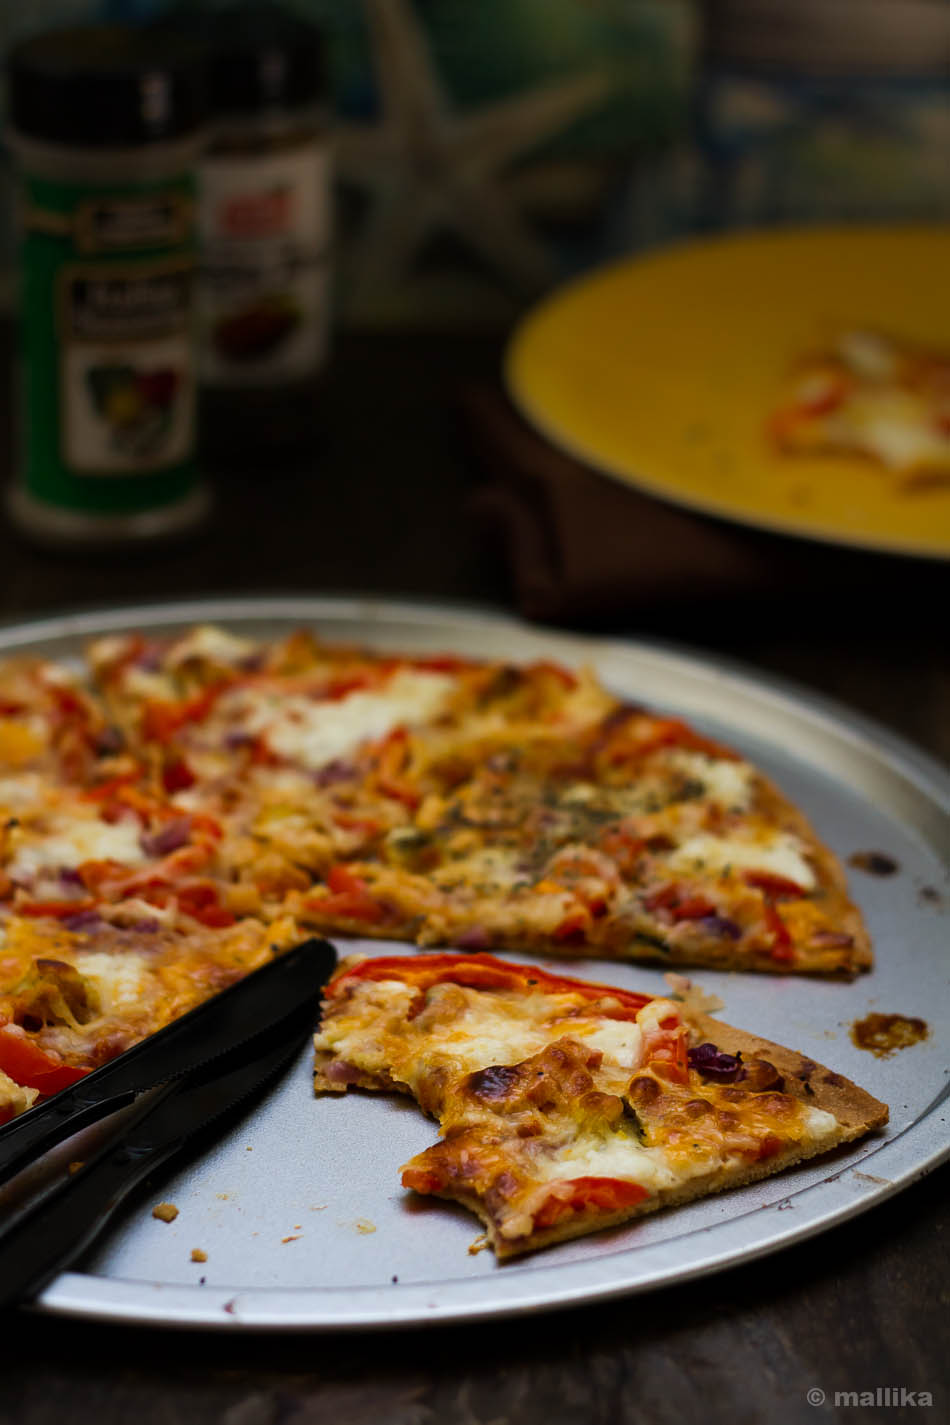
On my way to recovery, with spurs of intermittent coughs and an inhaler constantly plugged into my nostrils, I am back to blogging with this recipe for Besan wali Simla Mirch that has been my favorite for long. I have been looking forward to share this with you for a while, however each time we make it, it's wiped clean till the last bit. It was hard to save this portion for this post! That gives you an idea of how much we love it. It's a simple dish where green bell peppers are paired with roasted gram flour and other spices bringing out amazing flavors. On days when I am time pressed to make a simple dal to pair along, this recipe comes a savior as it takes care of both the vegetable and dal in a single dish. We usually serve this as a side dish for chapatis / phulkas along with salads. I hope you enjoy it as much as we do.
Besanwali Simla Mirch 1


Besan wali Simla Mirch

INGREDIENTS

1/2 cup gram flour / besan
3 medium sized capsicums, diced
1 inch Ginger, grated
1 tbsp. Oil
1 tsp. Mustard seeds
1 tsp. Red chili powder
1 tbsp. Coriander powder
1 tsp. Turmeric powder
3-4 tsp. Water
A generous pinch of asafoetida (hing)
1 tsp. sugar
Salt to taste

DIRECTIONS

In a wide mouthed pan, dry roast the gram flour (besan) it till it changes color slightly. The flour should smell fragrant as it is being roasted. Remove from the pan and set aside to cool.

Heat oil in a pan. Add mustard seeds and fry till the seeds crackle. Add hing and chopped ginger and fry for a minute. Then add the diced capsicum along with turmeric powder and saute it for few minutes till it's cooked, yet has a nice crunch. Add chilli powder, coriander powder, salt and sugar to taste and saute further on a low flame.
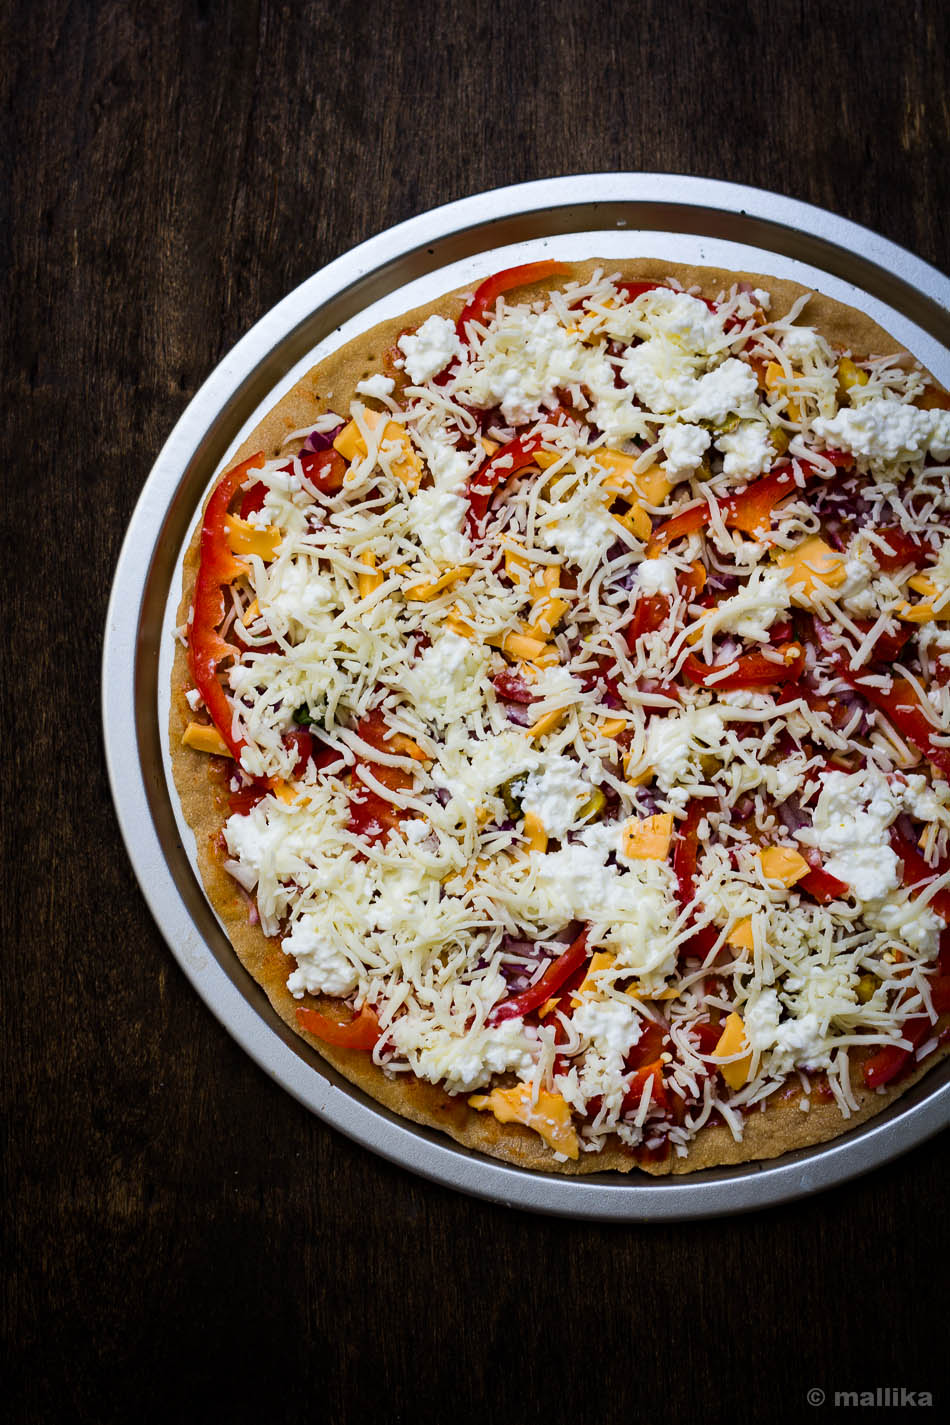
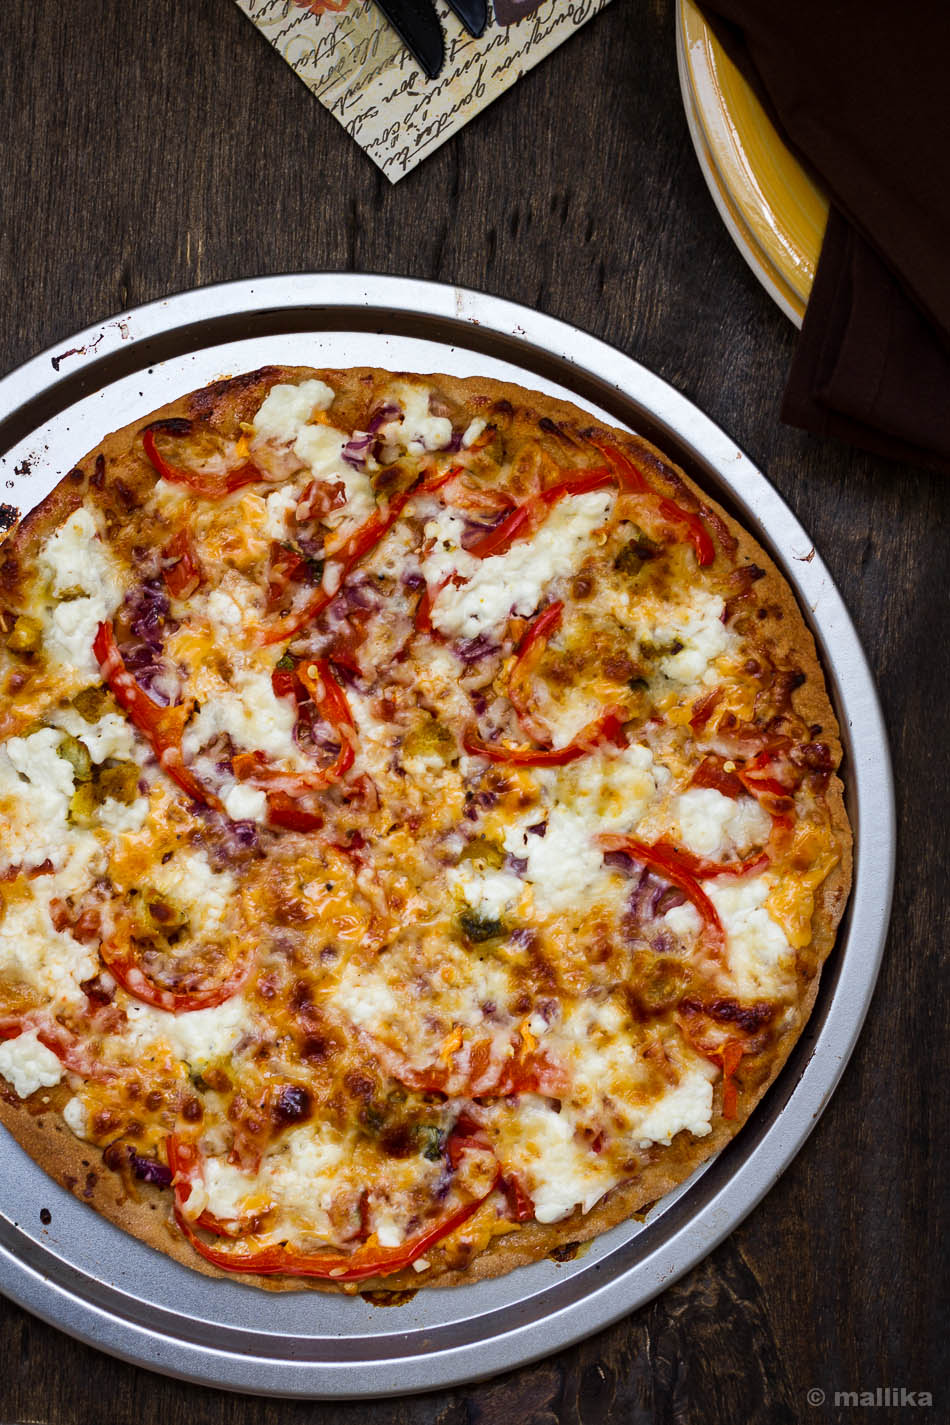
Add the roasted gram flour, sprinkling a couple of teaspoons of water into it. Cook on low flame for 10 mins. Transfer to a serving dish and garnish with coriander leaves. Serve hot with rotis or as sides with steaming hot rice.

Kaju Katli

How to make Kaju Katli | Cashew Burfi | Cashew Fudge Recipe
Sometime in October last year, just ahead of Diwali, we bumped into my husband's close family friend at a mall one evening. After a brief chat, Mr. S and his wife headed to shop in the mall, while his mom and young daughter hung around us, continuing the talk. My mother and I spent nearly an hour chatting with aunty while the kids were engrossed playing in the ball pit. We spoke at length about the upcoming Diwali preparations, the new dress that aunty had sewn on occasion of Diwali for her grand-daughter, the small disparities in our cultures and the celebrations (they being Tamilans), sharing our favorite family recipes that made the festive celebrations more special.

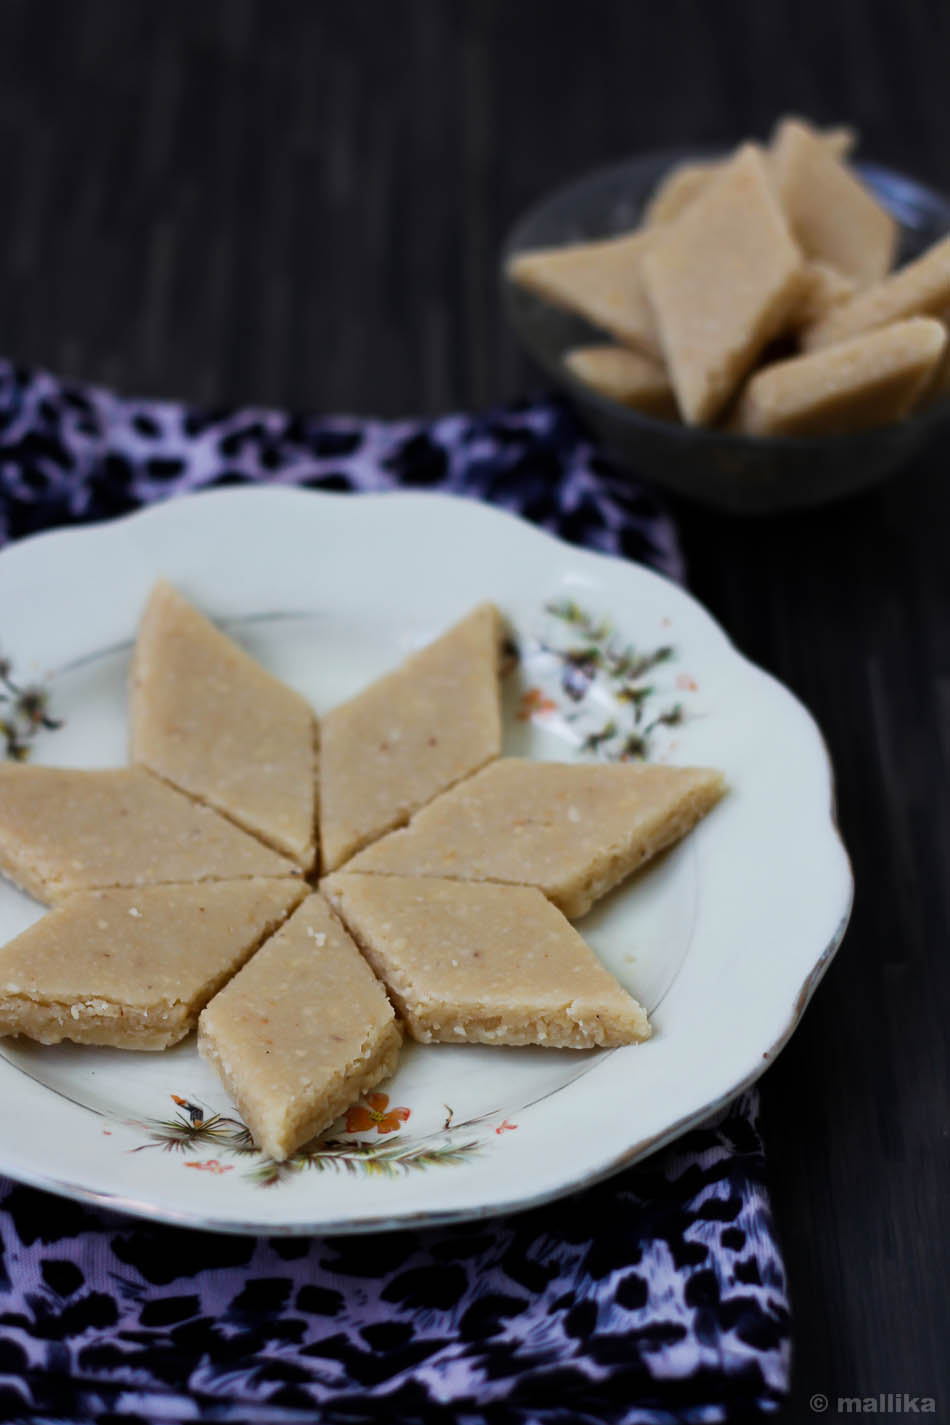
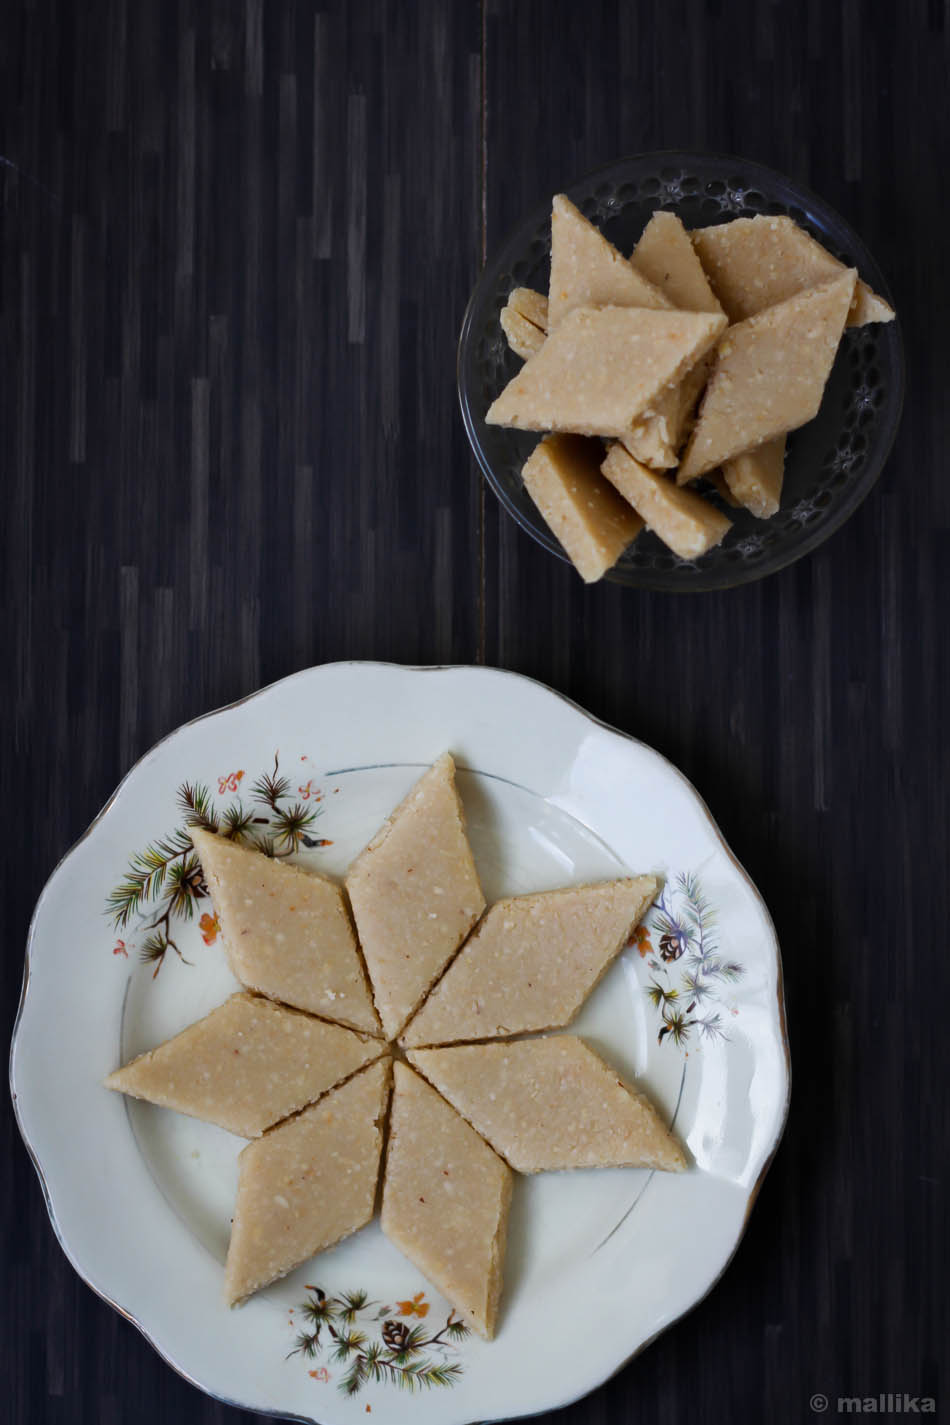
One of the recipes that aunty shared with us that evening was the recipe for this Kaju Katli, a popular cashew based sweet that's a popular family favorite in many homes, especially in the North, where gifting boxes of sweets is customary to their traditions. Although we are past Diwali now, I don't think this requires any occasion for celebration. You can make them at home, at your convenience anytime and feel pleased with this indulgence. If you have a weakness for Kaju Katlis, then I am afraid you may not be able to resist eating just one.

Kaju Katli_1


Making these burfis at home may sound intimidating, but it isn't. This was the first time I attempted making them at home and they came out delicious. I started off nervously even as I measured the amounts suggested by aunty, but she had assured that the recipe would work even for the most novice, immature cook, and that assurance itself wanted me to try this recipe in the first place. The end result ofcourse was smooth, melt-in-mouth goodness of cashew fudges.

There are many ways to prepare this dessert. A common one being where the cashew nuts are soaked in water overnight and ground the next day, then cooked in single-strand sugar syrup till it comes together to form a dough. As an alternate, easier method, you can grind the cashews to a fine powder and mix with sugar syrup, cooking it on a low flame to form a soft dough. The dough is then spread and flattened on a plate and cut into thin diamonds. Commercially sold katlis have a layer to silver wark on them, however, for a home version you can skip them totally. This version of kaju katli is an easier where you do not have to worry about sugar syrup or its accurate consistency. Hence, time saving and easier which gives you the burfis of same quality as bought at a store.

Kaju Katli_2


Kaju Katli | Cashew Fudge

INGREDIENTS

2 cups cashewnuts, heaped
1 cup sugar
1/2 cup water
1 tbsp. ghee (approx. 3 tsp.)

DIRECTIONS

Grind the cashews to a fine powder in a mixie. I used the chutney jar as the whiz option on my mixie helps me control how fine I want the cashews to be powdered. Ensure that the cashews are not powdered to an extent that they begin to leave oils.

Heat the sugar and water in a thick bottomed pan and stir well till all of the sugar is dissolved in the water. Just as it comes to a rolling boil, add the cashew powder and stir well on a low flame.

The cashew mixture will soon come together and begin to thicken. Once it thickens enough to form a mass / sticky dough / lump, add a teaspoon of ghee. Remove the whole of the mixture from the pan.

Transfer the prepared mixture on to an upturned greased plate or a butter paper. I used a marble chakla. Allow it cool a little. When its cool enough to be handled, knead it gently to form a smooth dough. If the dough is too stiff and find it hard to knead, add another teaspoon of ghee. This is optional though.

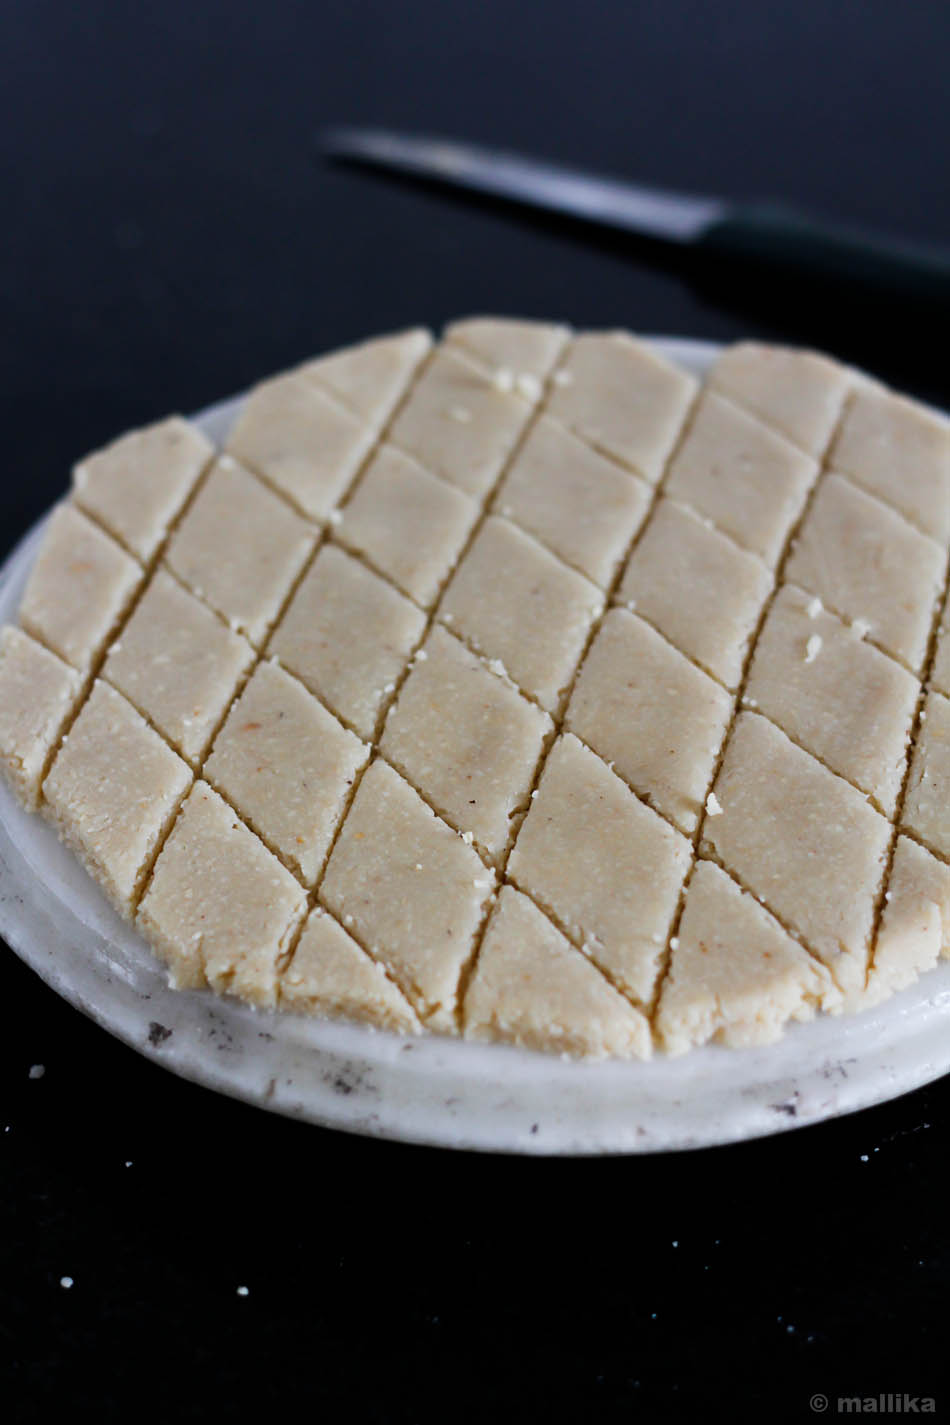
Using a greased rolling pin, roll the dough gently and evenly till its about 4-5 mm thick in height. Allow to cool. When cooled completely, use a sharp knife to cut the cashew fudge into diamond shapes. Gently transfer the kaju katli to serving plate or store in an air tight container.

Tomato Three Cheese Thin Crust Pizza

How to make Tomato Three Cheese Thin Crust Pizza Recipe
Another month has gone by and boy, October is here! I had promised myself to get out of the cocoon and post atleast couple of more recipes before the end of September, but I failed myself again.

The changing months remind me how blessed the second part of the year has been, particularly this year with some long weekends falling back to back over the past 3 weeks. We had Ganesh Chaturthi fall on 18th Sep, the Friday, followed by Bakrid on 24th, the Thursday last week. It came as an advantage when the leave on Thursday was called off and pushed to Friday. As an unplanned holiday, we decided to make the best of a long weekend break, stayed home, sewed some teeny-weeny clothes for the little girl's barbie, napped well in the noon and baked some delicious pizzas for our dinner.

Pizza dough prep Pizza dough prep_1Pizza dough prep_2


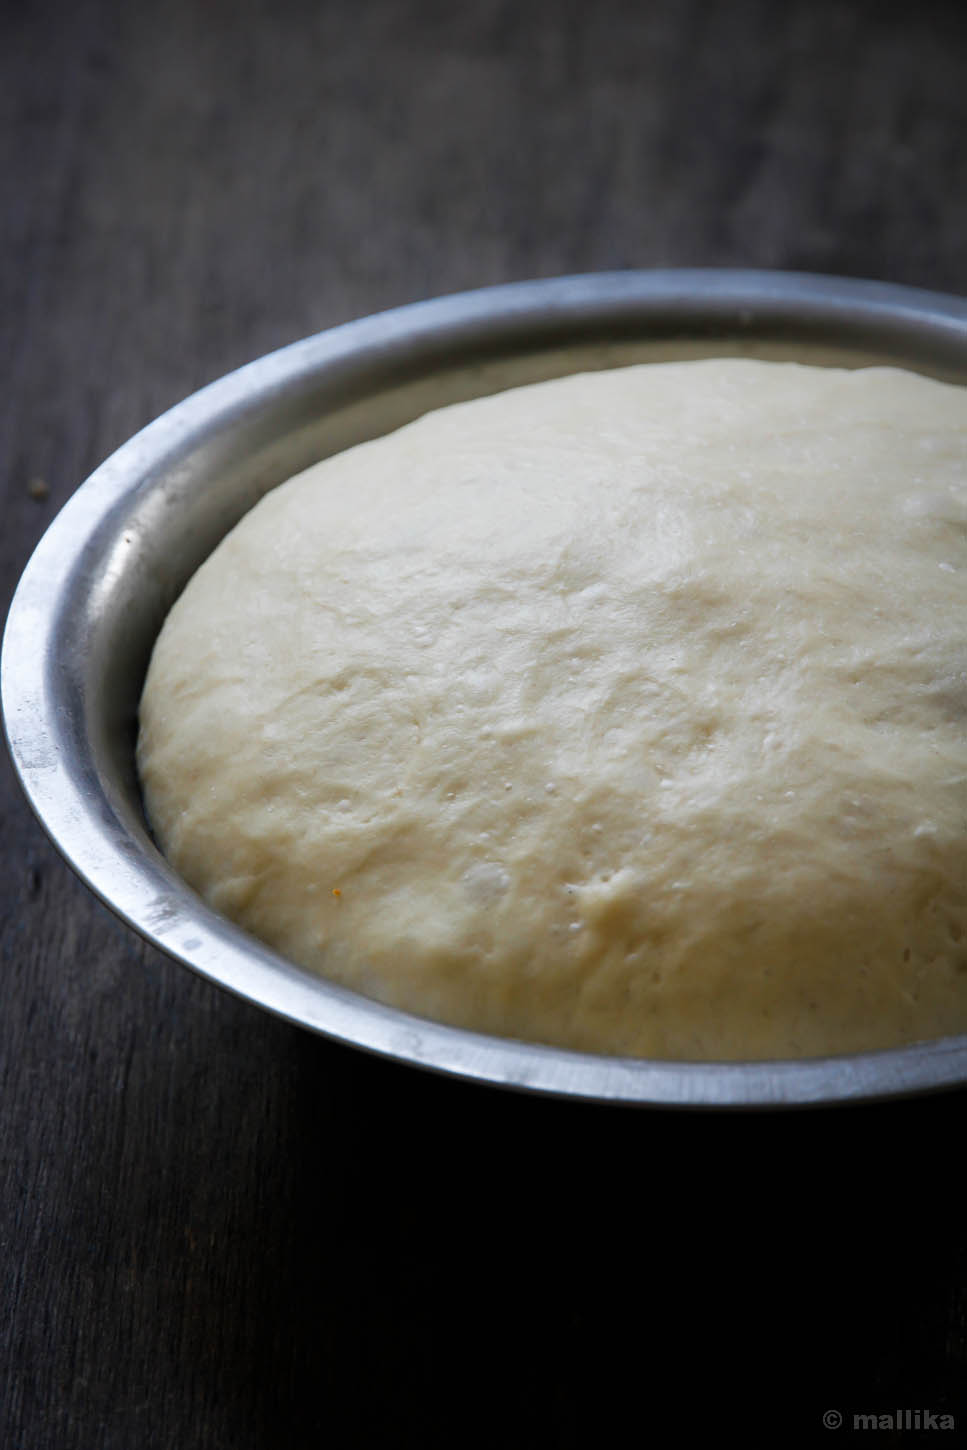
For a long time now, making pizza at home has not just been a menu of convenience and break from the usual course, but very therapeutic when made from scratch. Its a joy to watch the yeast act it's way through the dough, rise and double it up. Intimidating it may sound. But there's hardly anyway one can go wrong with a pizza flatbread if the yeast has played its part well.

Making the dough and sauce from scratch indeed calls for some pre-planning and can end up being time consuming if you are time crunched, but this is what makes the most delicious pizza, with slices that are endearing and smell of freshly baked bread, topped with molten lava of cheese to boast.

So, I've made pizzas several times at home. Combinations vary. Toppings change. Each time they evolve. Yet, every time they sing of freshness and subtlety. The flavors burst and melt with each bite. At times they are made quick, simple and unpretentious, on other occasions they can be fancy with a varirty of vegetable toppings. I decide toppings on a whim, unplanned and unprepared. But they hardly matter. When you have good cheese to camouflage, you always have sumptuous and satisfying slices on your plate and lips that curve into a smile. Don't forget, a well made crust and good cheese is the key, and you have a winning recipe.

Pizza prep


There are several recipes available for a good pizza dough, but this recipe always works like charm for me, especially when I prefer to use whole wheat flour. It may seem unusual to use milk based bread recipe in a pizza dough, but I prefer it for the soft, supple and airy results it provides to a dough base that holds the sauce, vegetables and cheese well, yet doesn't lose its texture. The whole wheat flavor adds a healthy twist with a nice nutty backdrop to whatever toppings you want to layer on.

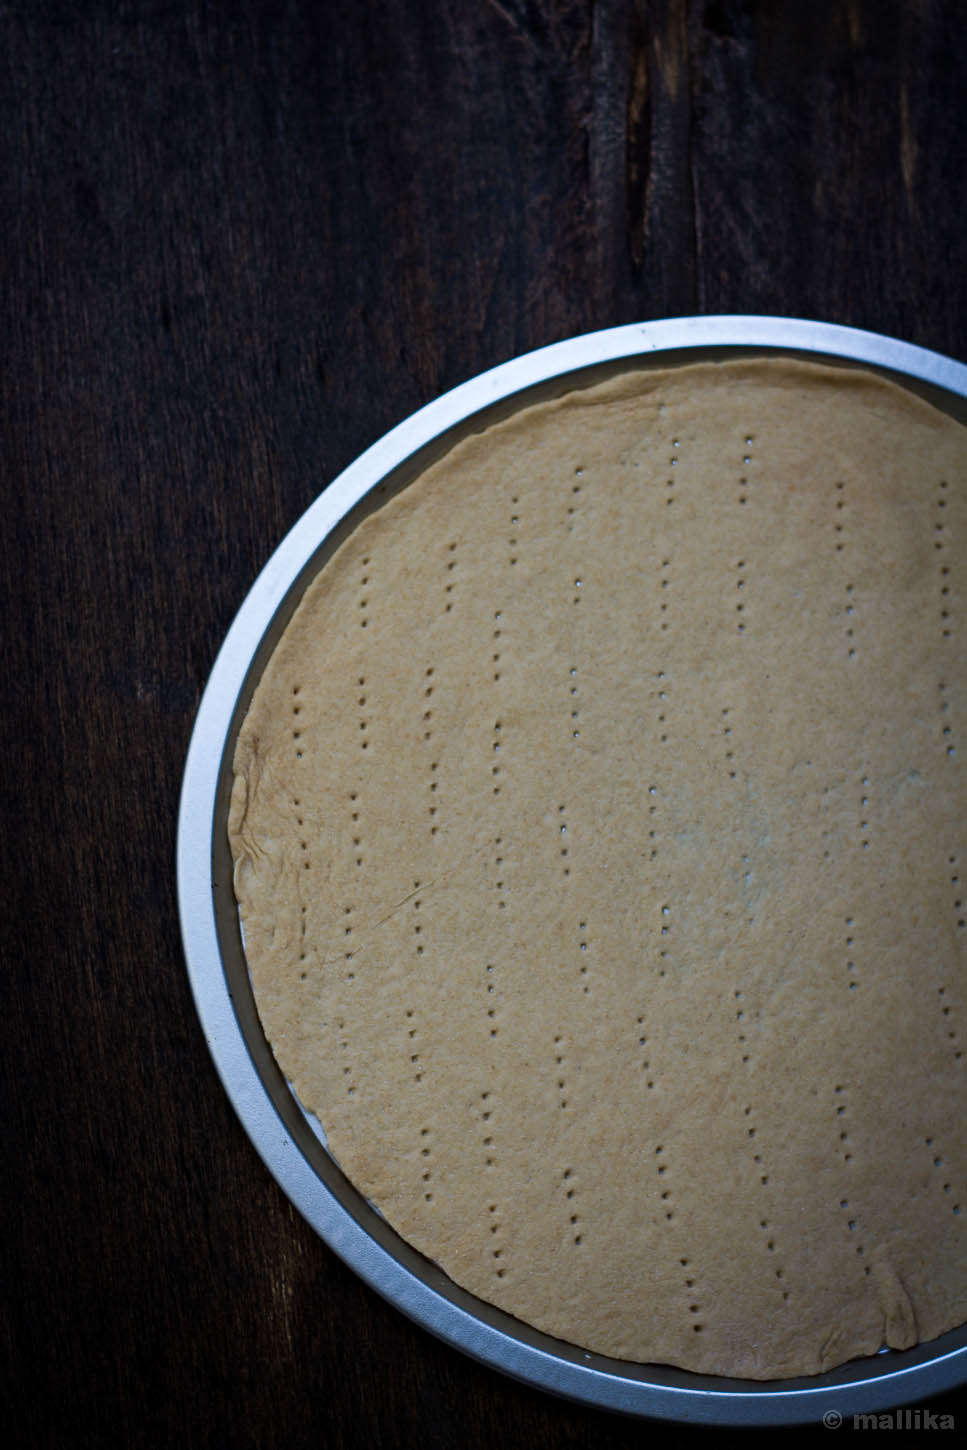
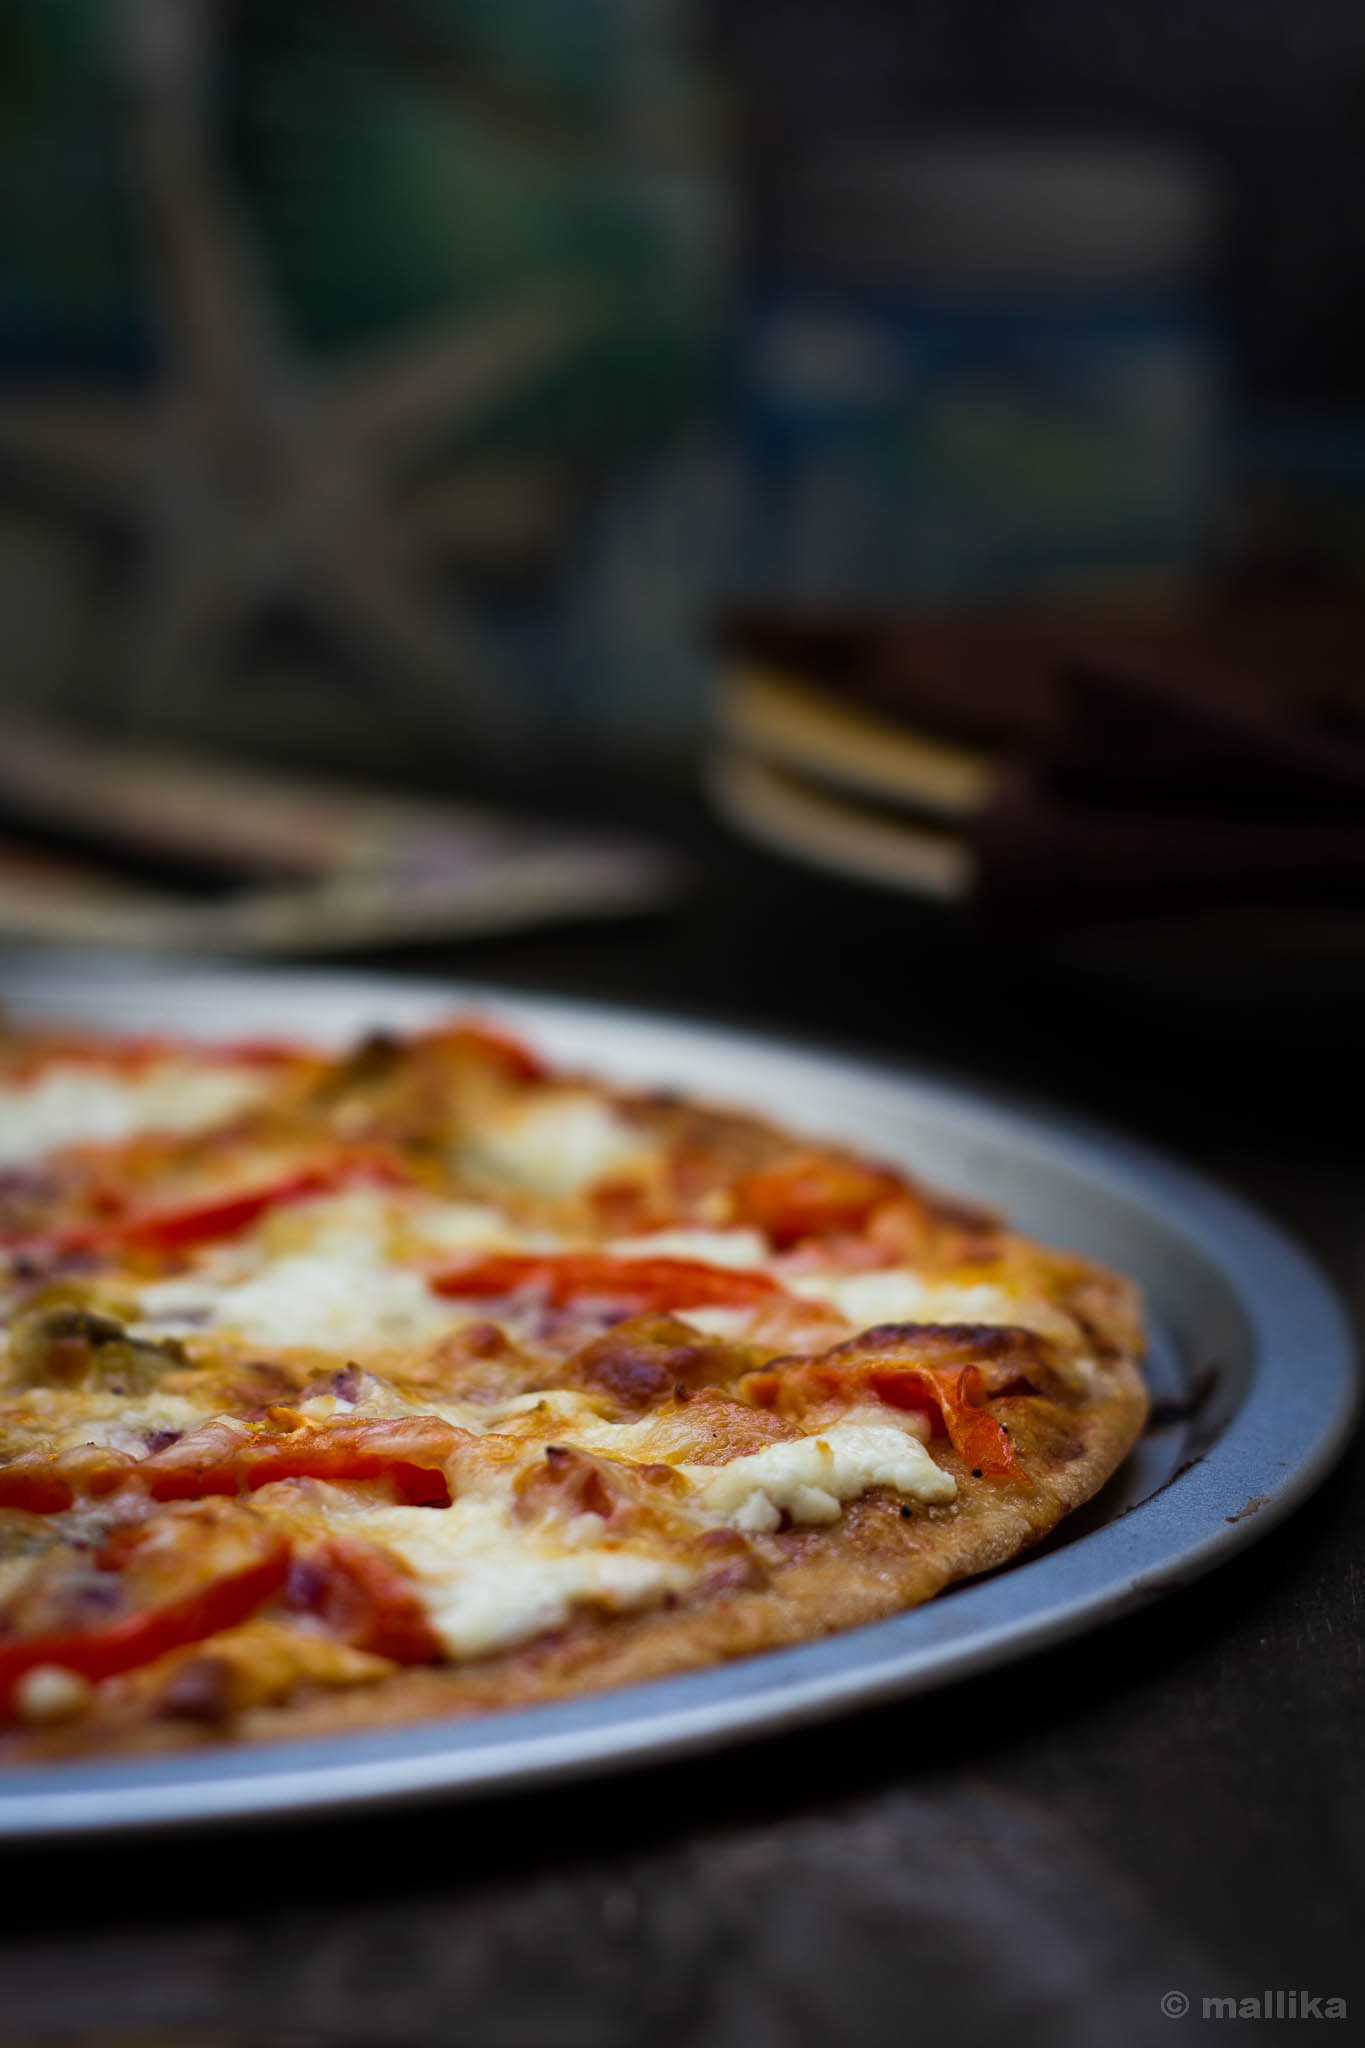
One of the reason why I love keeping the crust on the thinner side is that the dough doesn't require time to rise after proofing nor requires par-cooking. As the dough rests and doubles, you prepare the sauce, cook, simmer, season it and let it cool. Then you roll out the dough and let it rest on the counter while you prepare the toppings. For a recipe like this three cheese tomato pizza, all you need a good dough base and a fresh tomato basil sauce with three variety of cheeses you can get your hands on. Remember, mozzarella is a must for that gooey-stringy mess. The others are much upto your choice. I suggest you get the best fresh mozzarella possible. I chose a combination of cheeses with high, medium and low melting points. Ricotta has a low melting point, and I paired it with cheddar and mozzarella with medium to high melting points. That helps avoid this pizza disintegrate into a cheesy mess.

Tomato Three Cheese Thin Crust Pizza_1


Tomato Basil Pizza Sauce

INGREDIENTS

8-10 pods of garlic, finely chopped
1 1/2 cup tomato puree
1/4 cup tomato sauce (optional)
1/4 cup of fresh basil leaves, torn
1 tsp. dry oregano (optional)
2 tbsp olive oil
Salt and Paprika to taste

DIRECTIONS

Saute finely chopped garlic in oil for 2 mins till they turn transparent. Add the tomato puree and stir well. Simmer and cook for atleast 15 minutes or till it reduces and leaves oil from the sides of the pan. Add in the tomato sauce and stir well. Cook for another 5 minutes. Add in the freshly torn basil leaves, dry oregano herbs (optional), paprika and salt to taste. Stir well. Turn off the flame and set aside to cool. Use this sauce to spread over the pizza base.

Three Cheese Tomato Thin Crust Pizza

INGREDIENTS

For the dough base:

Follow the recipe here or use a store bought thin crust pizza base

For the homemade sauce:

Homemade (recipe above) or store bought pizza sauce

For the toppings:

1 large tomato, de-seeded and sliced in rounds
1 onion, sliced
1/4 cup ricotta cheese
2 slices of cheddar cheese, torn
1 cup mozzarella cheese, grated
Salt and pepper to taste
Italian seasoning / Italian herbs

DIRECTIONS

Pre-heated oven at 200 deg C.

For a thin crust pizza, roll out the pizza dough as thin as possible, about ¼ inch thick. Prick all over the pizza dough using a fork. Allow it to sit on the counter for 10 mins.

Place the pizza on the pizza tray. Top with homemade tomato sauce and slather it evenly. Top with sliced tomatoes and onions. Sprinkle drained ricotta cheese, followed by cheddar and topped by generous amounts of mozzarella cheese. Bake in a pre-heated oven at 200 deg C for 20-30 minutes or till the cheese melts and the edges of pizza brown. Slice into wedges and serve immediately.

Tomato Three Cheese Thin Crust Pizza

Methi Mutter Malai Recipe

How to make Methi Mutter Malai Restaurant Style | Methi Mutter Malai Recipe
Around the weekend, my mind scouts with ideas as I leisurely spend the day in the kitchen. The weekdays often go by unnoticed, dissolved in the hectic day at work followed by the madness of traffic and noise of city life. The usual mundanes of flurry and rush that I needn't talk about. As the weekend transpires, I seek an inspiration to cook that usually comes from the morning trip to the grocery store. I enter the store in enthusiasm, more so from the several moments I spend watching crates of fresh vegetables and fruits being loaded off the trucks and piled into carts to be brought in by the storekeepers. It's a sight I cherish with great delight and an absorbing interest.

Fenugreek and Peas


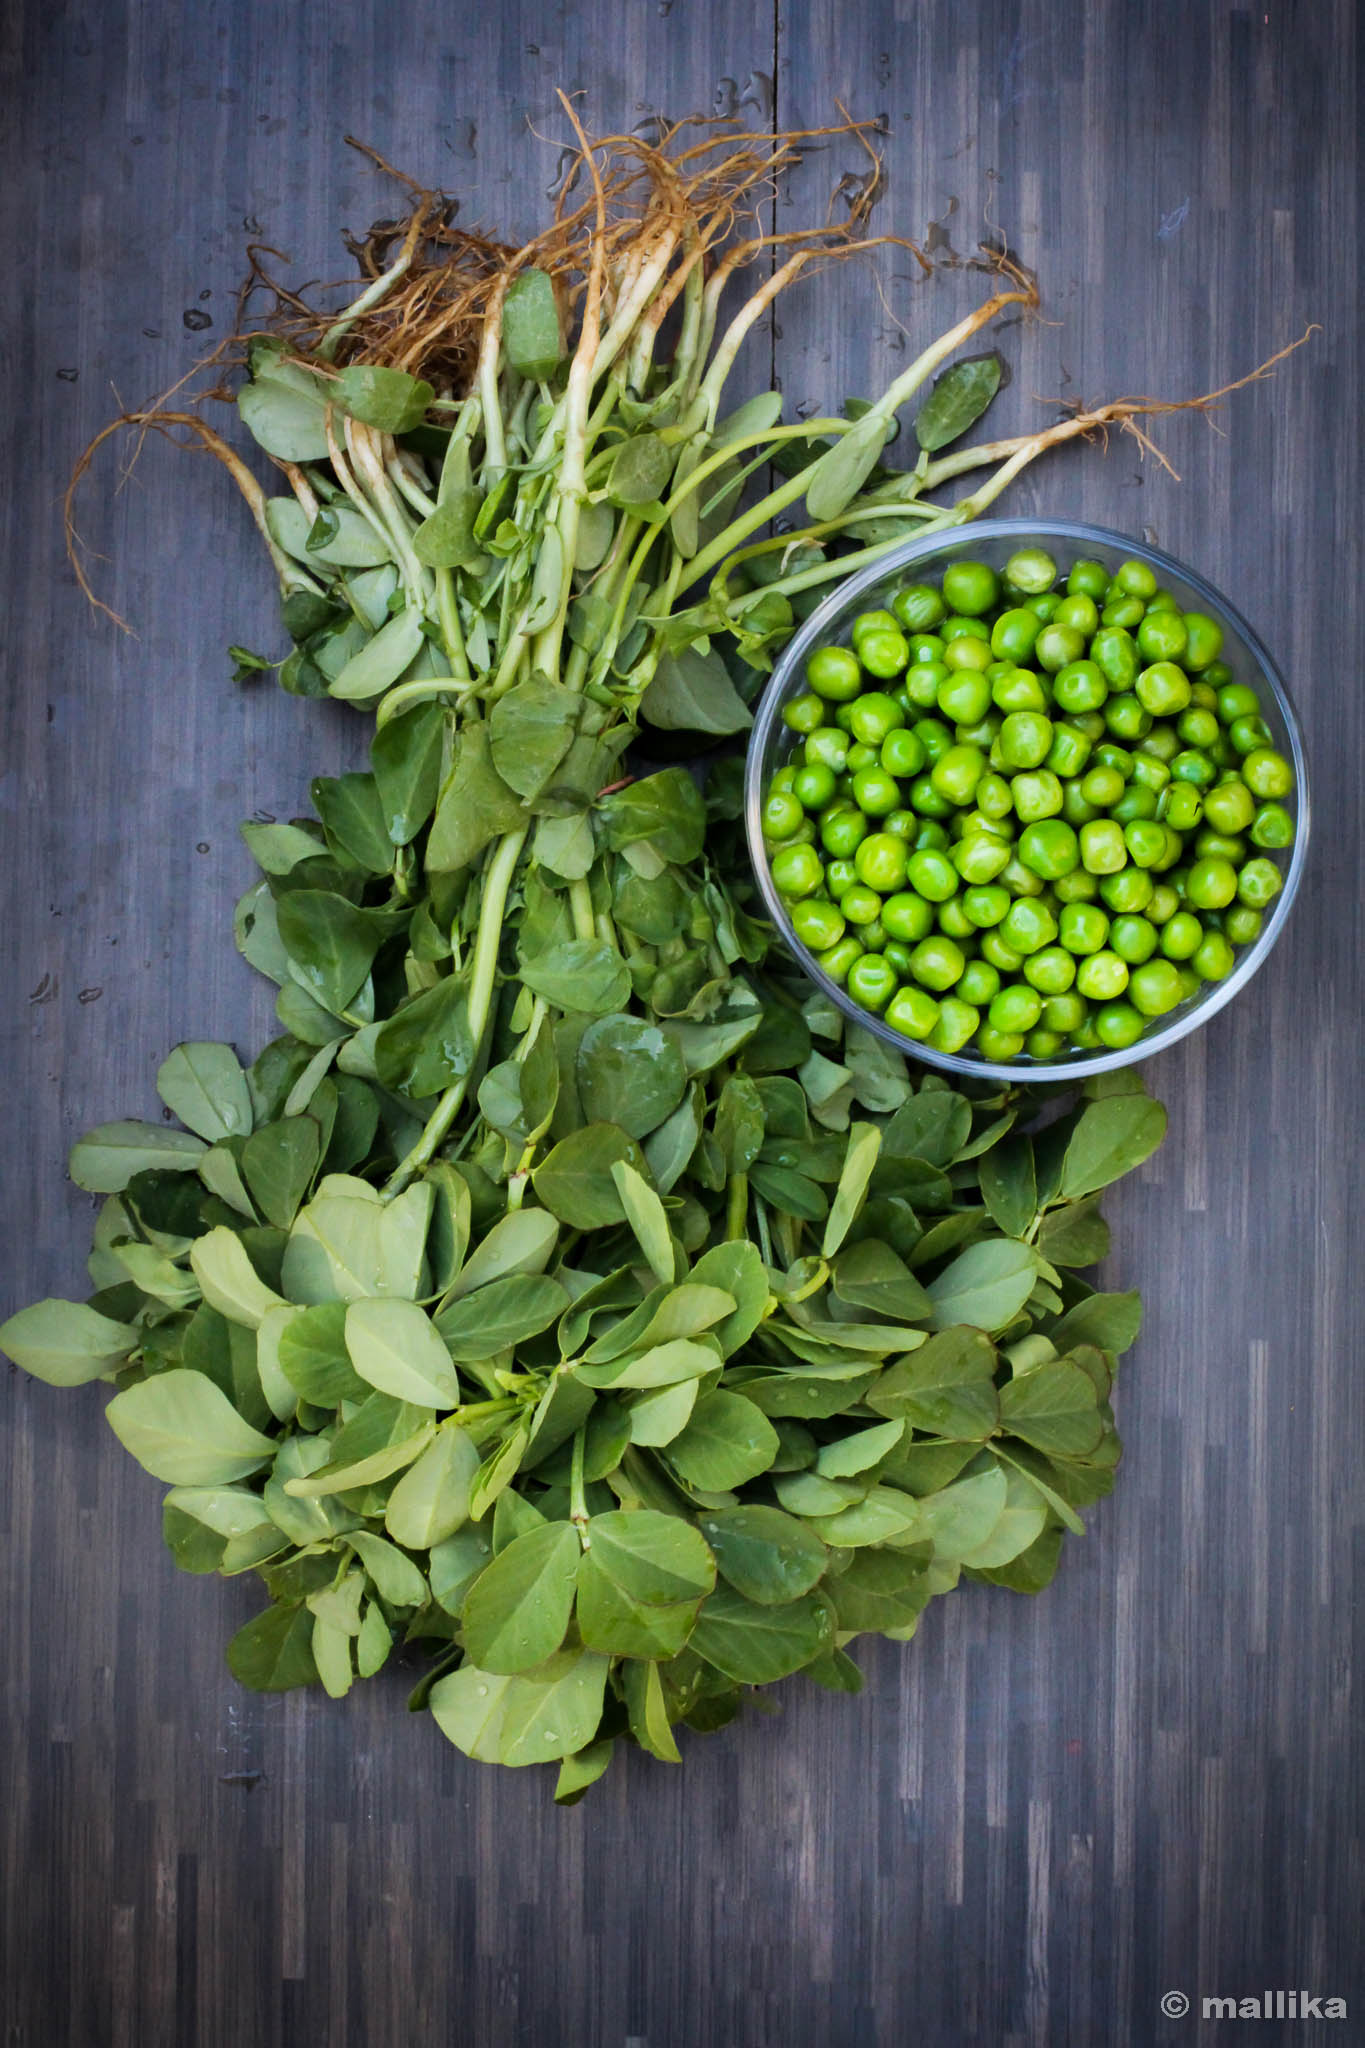
The grocery shopping this weekend saw me picking bunch of fresh fenugreek greens that gleamed off from the rest of the greens. For a long long time, my mind has been set on making restaurant styled methi mutter malai well in the comforts of my kitchen. Having had this a couple of times at restaurants in the past, and while seeing a lot of bloggers on web-space make this with ease, my heart was sold as I saw them on the grocery counter. May be it was the fresh leaves with tender stalks or the firm sap greenness that called out to me; quite undeterred I had a couple of healthy bunches carrying back home. You bet, I would probably not spare the roots too, given the chance may be!

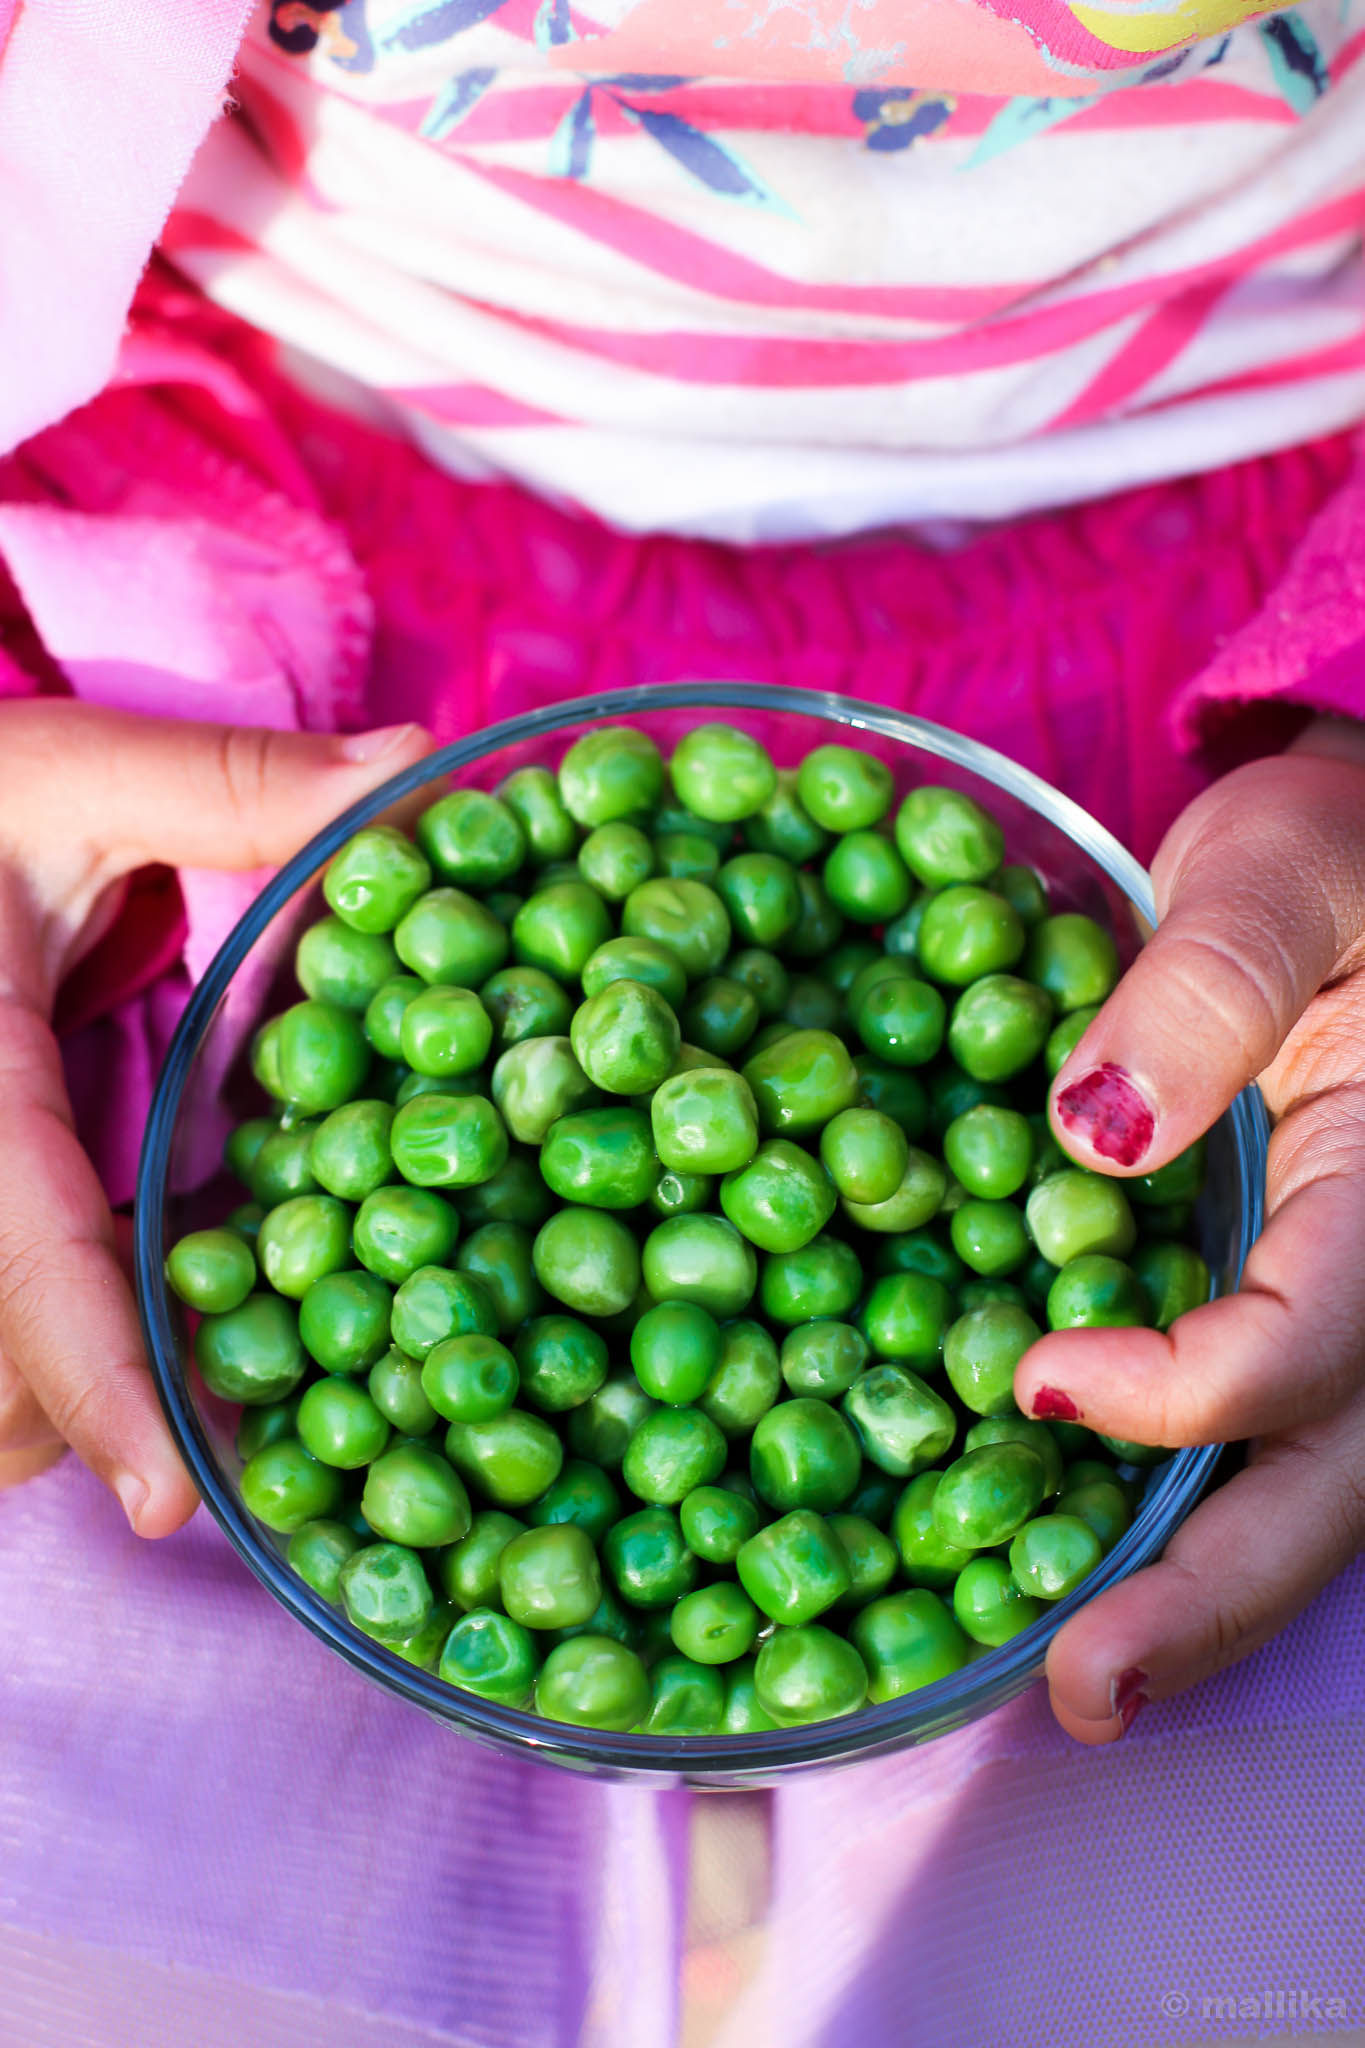
Peas


On another note the start to this weekend went off quite memorable. Late evening on Friday this week, I headed to Aloft to join them in their second MTV Asia Musical awards show where we saw the top five finalists battle out for the winning position. It was a musical night filled with glitzy, glamour, creativity over cocktails and canapes. The bands had it all that brought them up there. Their music, soulful compositions, phenomenal talent with creativity and technical skills - all put together to fill the space with their youthful aura.

So when Saturday came by, my mind was still grooving into the energies of the night before. Saturday, my grocery bag was stocked with all that I needed for a good methi mutter malai. However, I put that aside for the Sunday lunch. Instead, I pulled off the day lazying around and filling myself a light brunch and fruits, skipping dinner. Sunday though, this methi mutter malai and pulao made up for a royal feast.

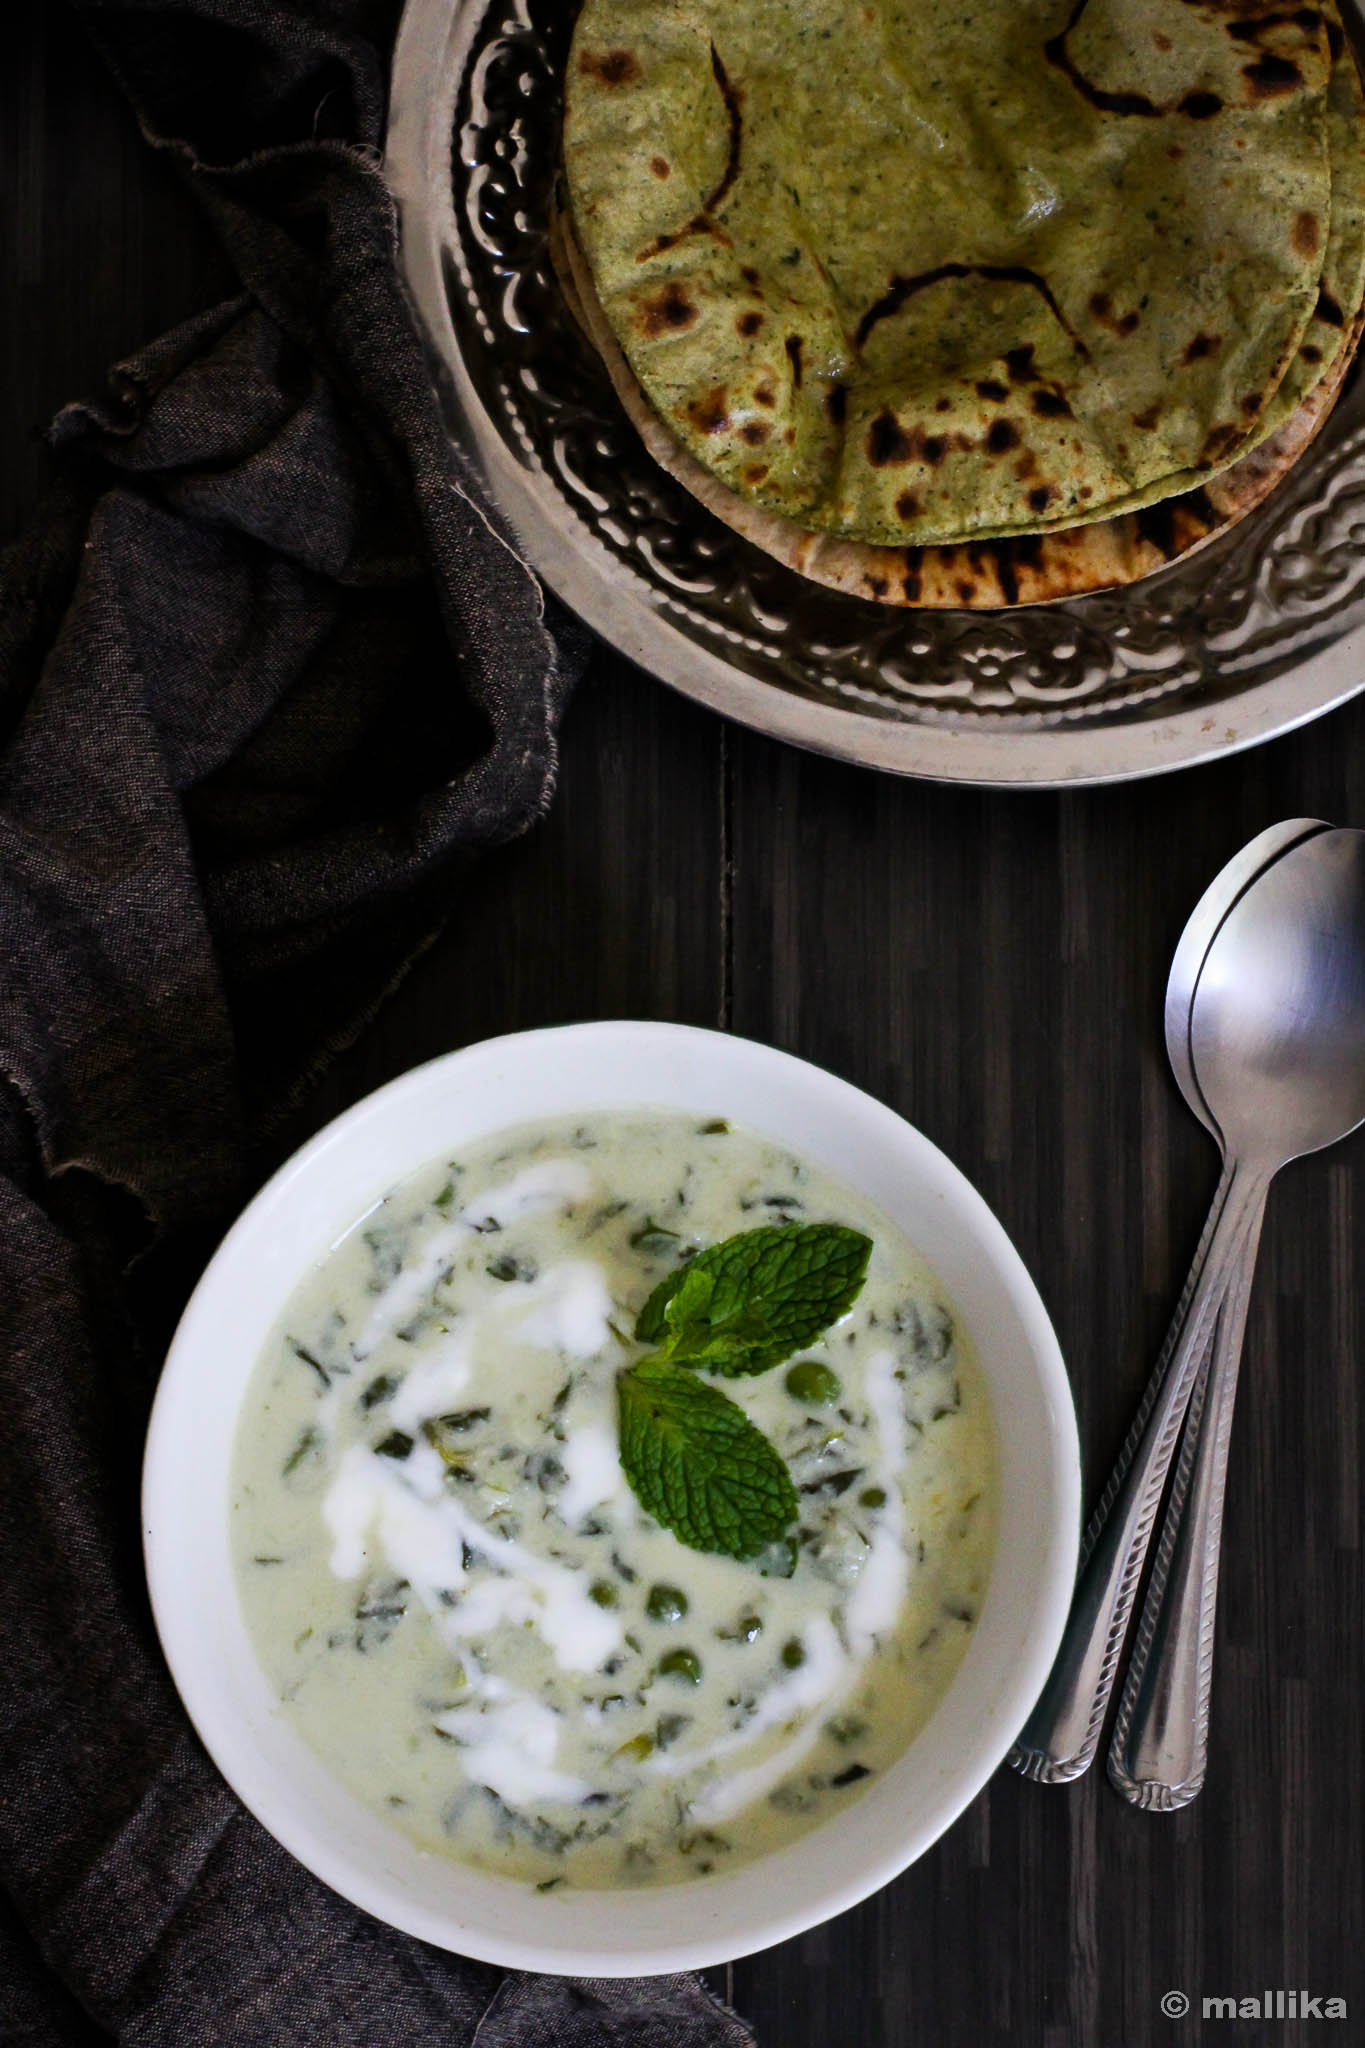
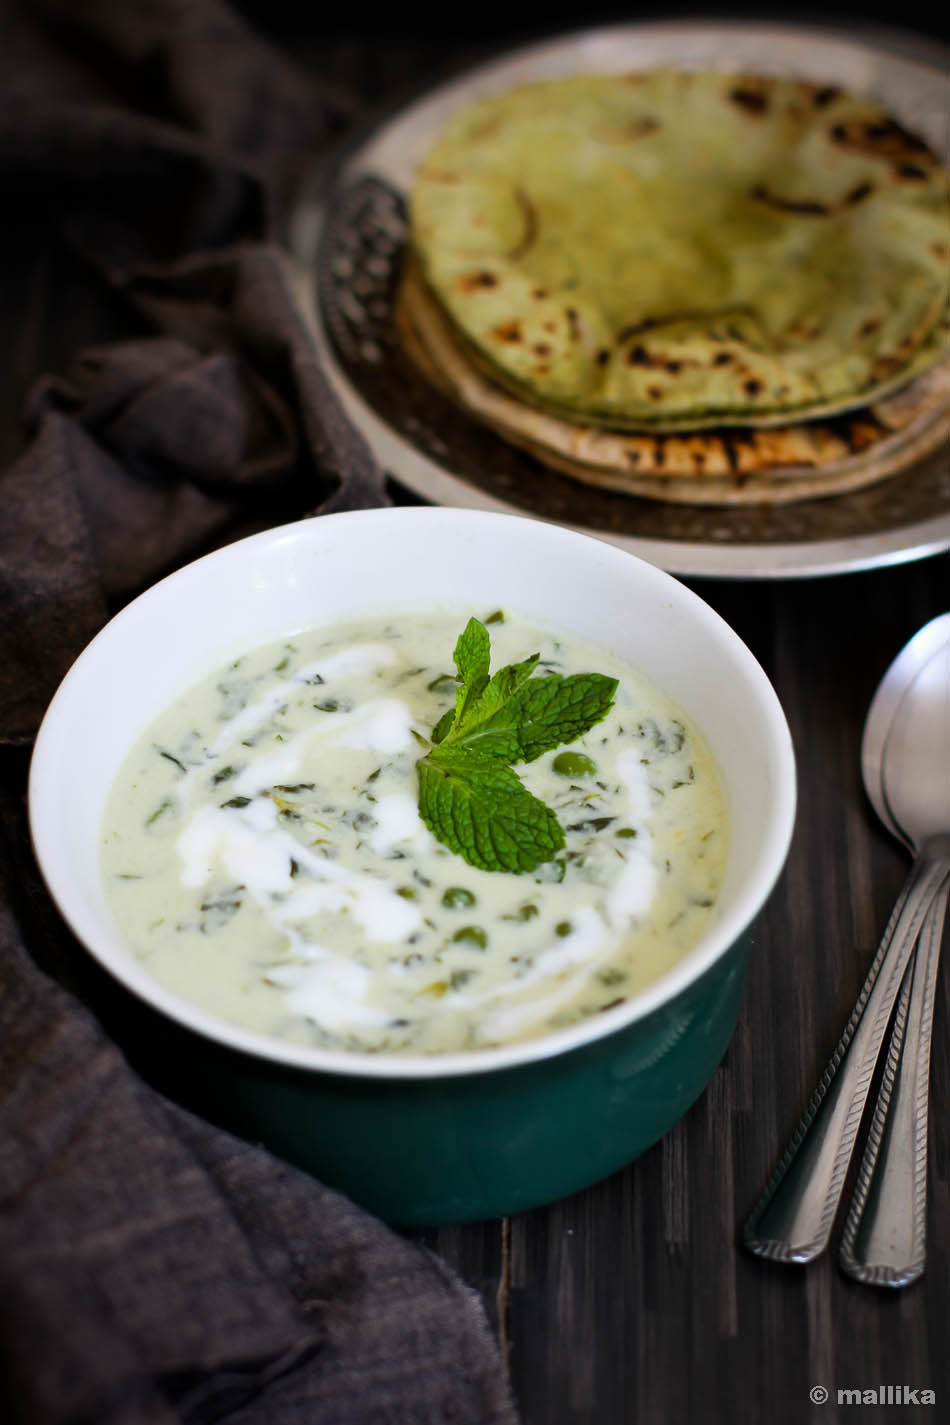
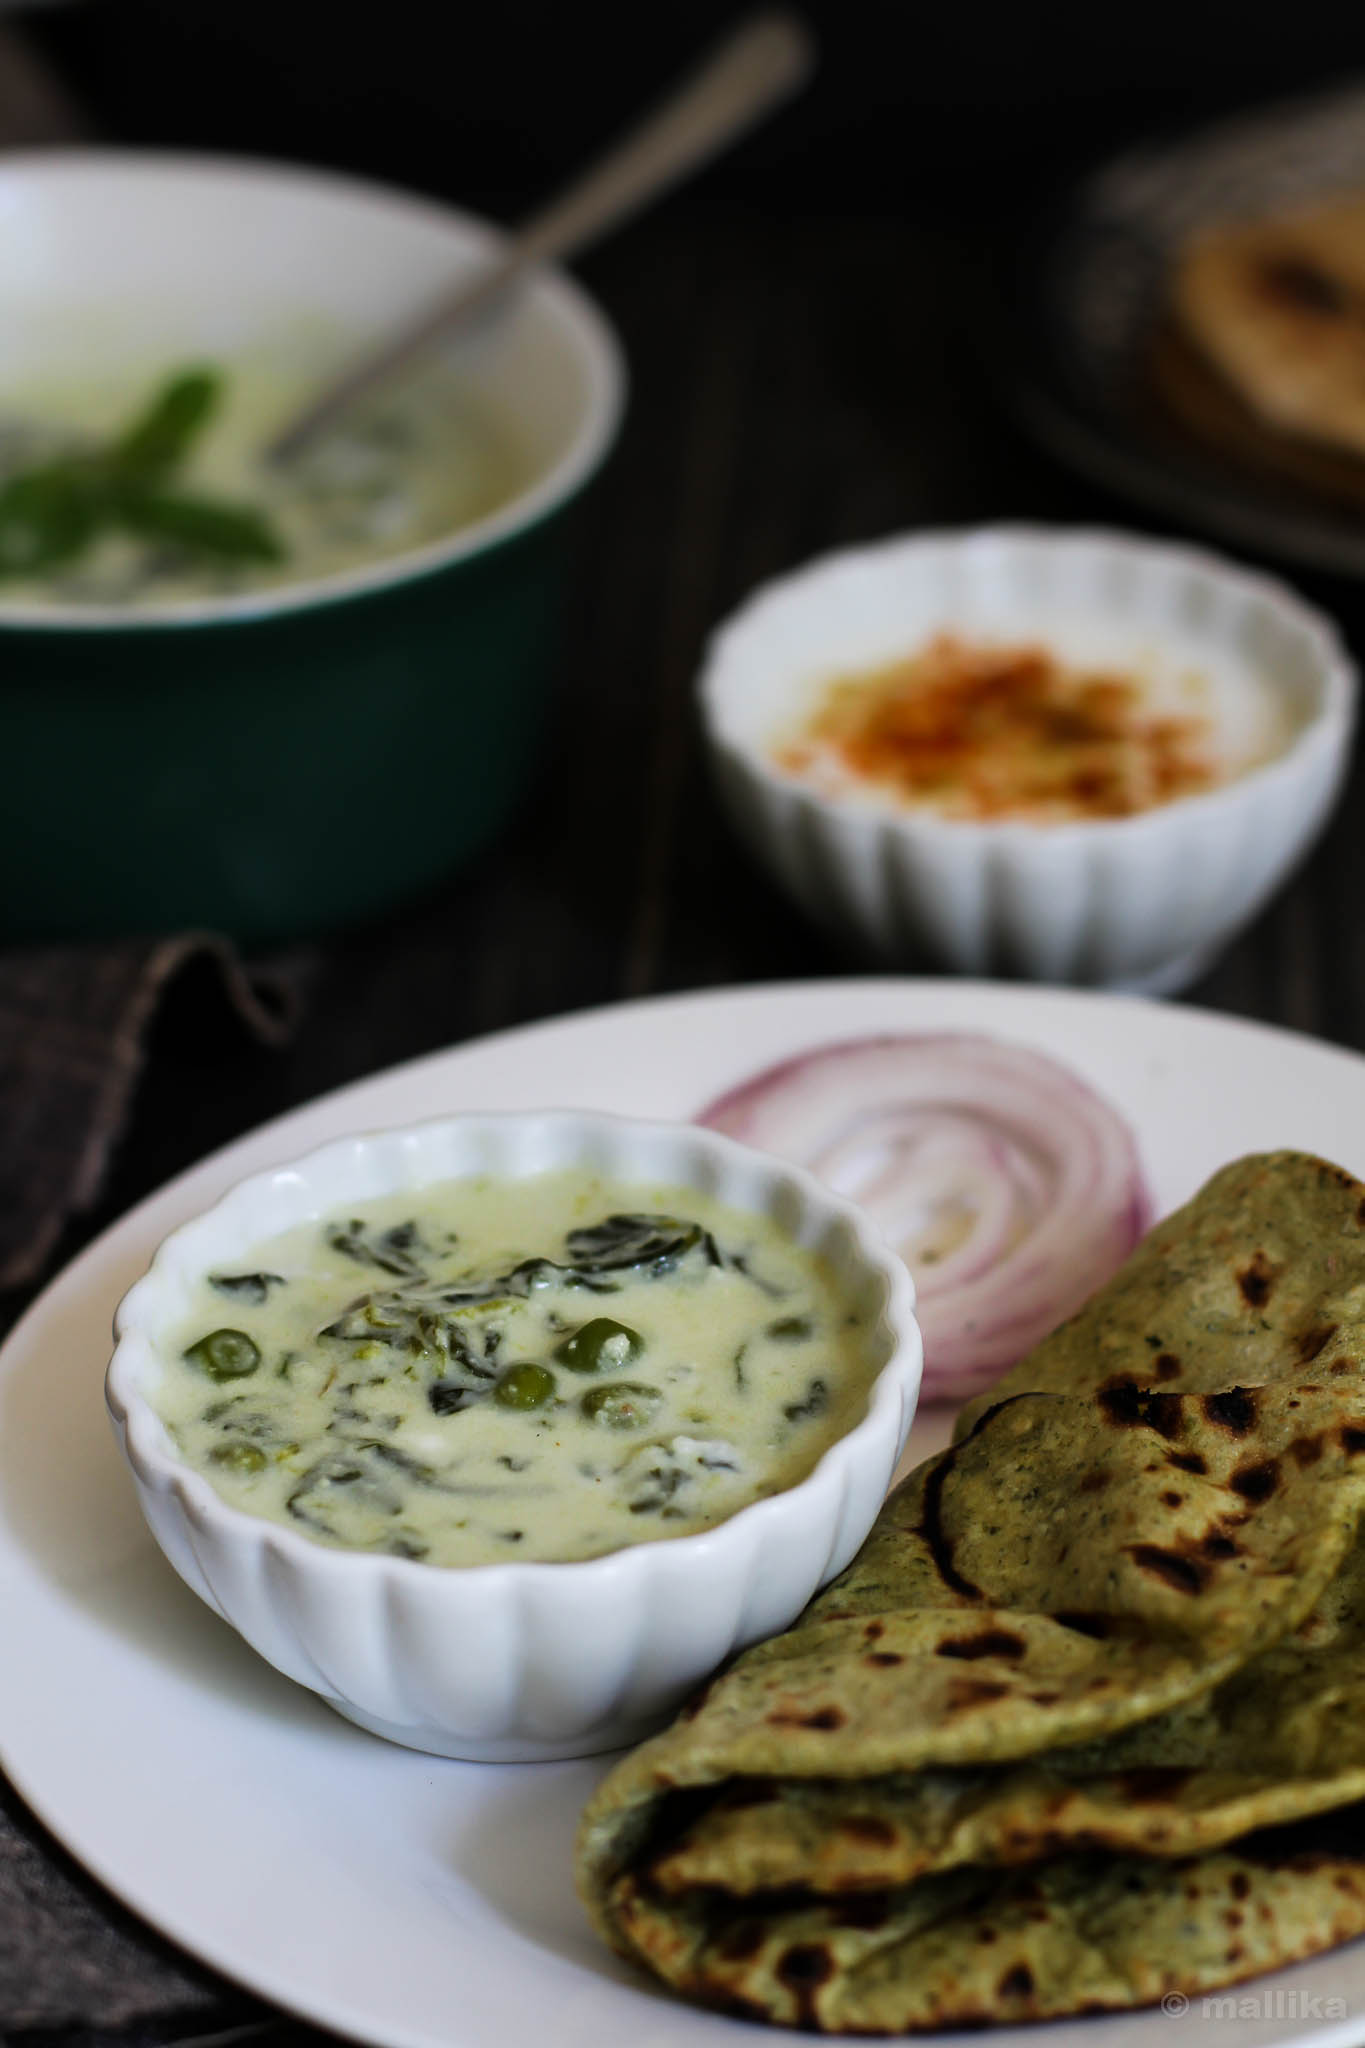
Methi Mutter Malai


Methi Matar Malai needs no introduction to most. Hailing from the Punjabi North Indian cuisine, this dish can be commonly found in the menu card of most North Indian restaurants. The fresh fenugreek leaves and green peas are simmered in a rich, white and creamy gravy base, it's simplicity and richness that will enamor you in the first place. It's great served as a side dish for roti, parathas, naan or pulaos.

It's not a dish one would recommend for a daily indulgence, yet, it never harms when it promises some health through greens that are packed with nutrition. The dish is fragrant and so mildly spiced that its loved by kids too. What I love is the sheer simplicity of this dish, the mild flavors and richness that this recipe offers, quite replicating the Indian restaurant styled methi mutter malai.

Methi Paratha


Methi Matar Malai | Restaurant Style Methi Mutter Malai

INGREDIENTS

2 cups chopped fenugreek / methi leaves
1 cup fresh / frozen green peas
1 tsp cumin seeds
1/2 cup milk
1/4 cup fresh cream
1 tsp sugar
2 tbsp oil
Salt to taste

To be fried and ground into a paste

1 onion
1-2 green chillies
1/2" ginger clove
1-2 garlic cloves
2 cloves
Seeds from 3 cardamom pods
1/4 cup cashewnuts

DIRECTIONS

Soak the cashewnuts in warm water for 20 mins. Drain and set aside to be ground along with other ingredients. In a pan / kadai, heat a tablespoon of oil and fry onion, green chilli and ginger till the onions are transparent. Turn off the flame and allow to cool. In a mixie, grind to paste the fried ingredients along with the soaked cashews with little water. Set aside.

In a pan / wok, saute the chopped fenugreek leaves along with half a teaspoon of salt till they wilt and let out the water. This will take about 5-6 minutes. Switch off the flame and allow it to cool to room temperature. Then, squeeze the water out of the leaves to remove the bitterness from them and set the drained leaves aside.

In another pan / kadai, heat a tablespoon of oil. Fry the cumin seeds. As they sizzle in the oil, add cloves and cardamom seeds, Then add the green peas and fry them briefly for couple of mins till the peas are cooked. Next, add the cooked and drained fenugreek leaves with 1/4 cup water. Add the milk and cream. Simmer on low flame for 5-6 minutes. Add the sugar and salt to taste and mix well. Transfer Methi-Matar Malai to serving dish and drizzle little cream on top if desired. Drizzle some fresh cream on top. Garnish with coriander leaves or mint leaves and serve methi matar malai hot with naan, parathas or phulkas.

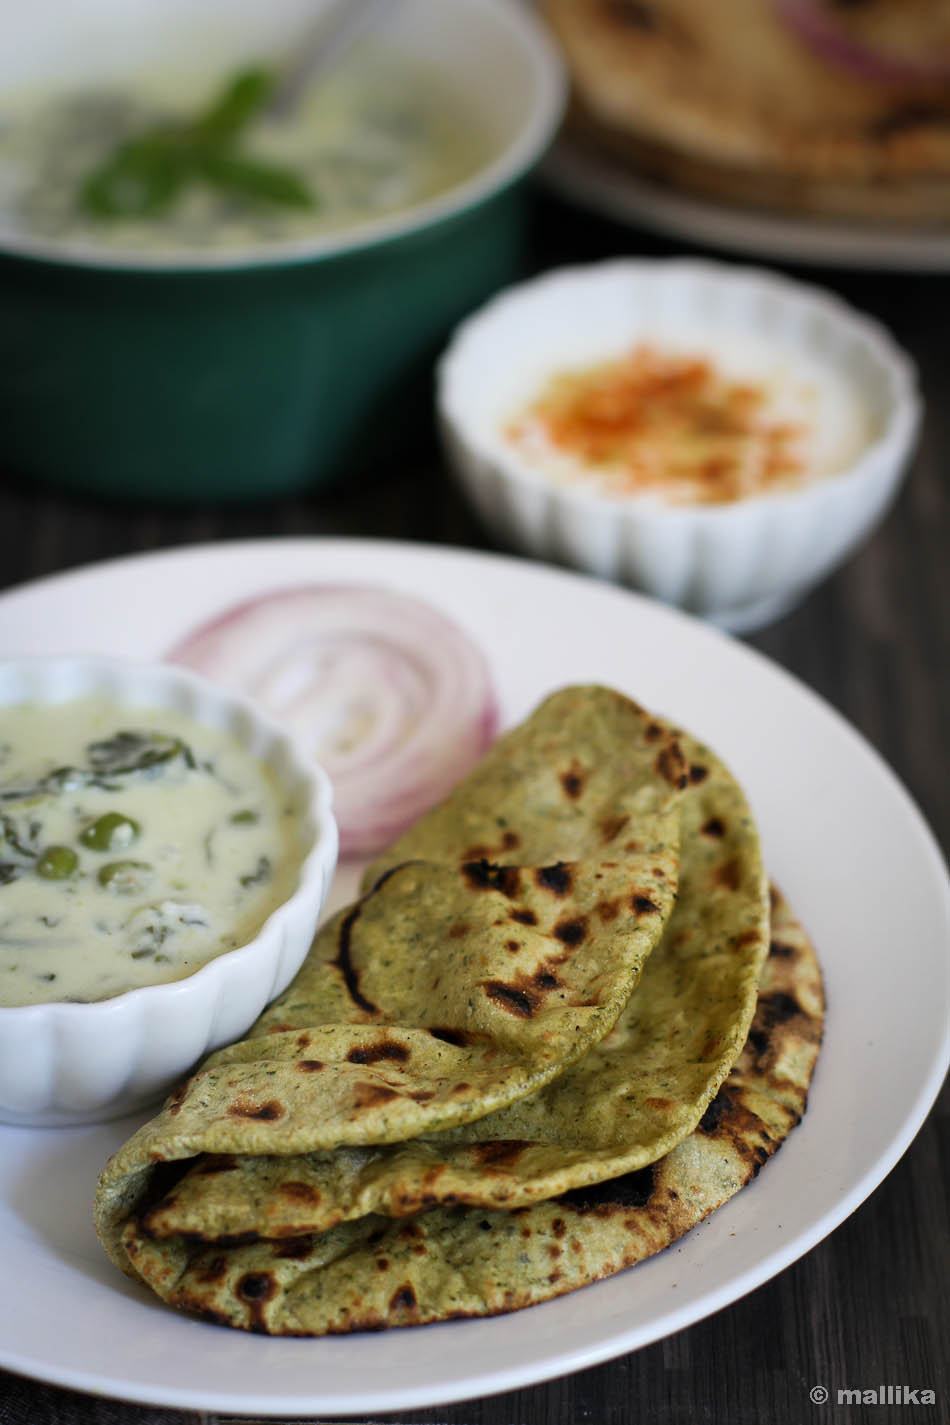
Methi Mutter Malai with Methi Paratha


Notes:

- Its not necessary to saute the fenugreek leaves prior to adding this to the recipe. However, fenugreek greens have some bitterness, and if you wish to avoid this coming through, it would be good to saute them first and then use in the recipe. This also helps in retaining the white color in the gravy.

- The water drained from fenugreek leaves is nutritious and hence instead of throwing it away, you may use them to knead dough and make rotis from these. Infact, my photographs will show some of the rotis I made using the water from the boiled greens. They taste quite like normal rotis and the bitterness is barely known.

- I used the small spicy variety of green chilli in this recipe. It provides the desired heat to the dish and does not affect the color of gravy. Alternatively, you may slit the green chilli lengthwise and fry in oil along with cumin and spices.

- On adding milk and cream, do not boil on high flame. Instead keep the flame on low and allow the gravy to simmer. This will avoid splitting.

- Cashews are important here as they not just lend flavor to this recipe, but the volume and richness to this gravy. You may replace cashews for soaked almonds as well.

- You may skip the milk cream and just use unsweetened evaporated milk / milk powder here. Milk powders usually have added sugar, so watch the quantity used and skip sugar. A heaped tablespoonful should do. The recipes with white gravies are usually mildly sweet. This sweet richness comes from the use of milk, cream and sugar. So don't be surprised. The flavor will vary if cream is substituted and the dish will not be as rich as the cream based.